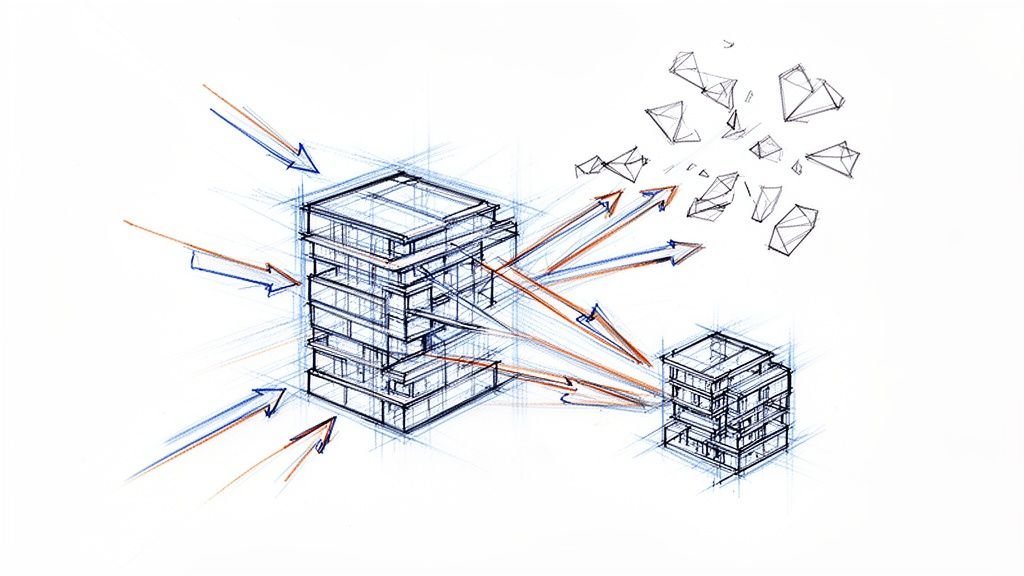
When people discuss 3D modeling for interior design, the conversation often jumps straight to glossy, photorealistic renders. But that’s only half the story. A truly effective 3D model isn't just a presentation tool; it's a core production asset that anchors the entire project, ensuring accuracy from design intent all the way through to installation.
Think of it as the single source of truth for your drawings, schedules, and fabrication details. When it's built with discipline, it eliminates the guesswork and costly rework that sinks timelines and protects your margins. This is how you achieve operational consistency and predictable outcomes.
Beyond the Pretty Picture: A Production-First Mindset
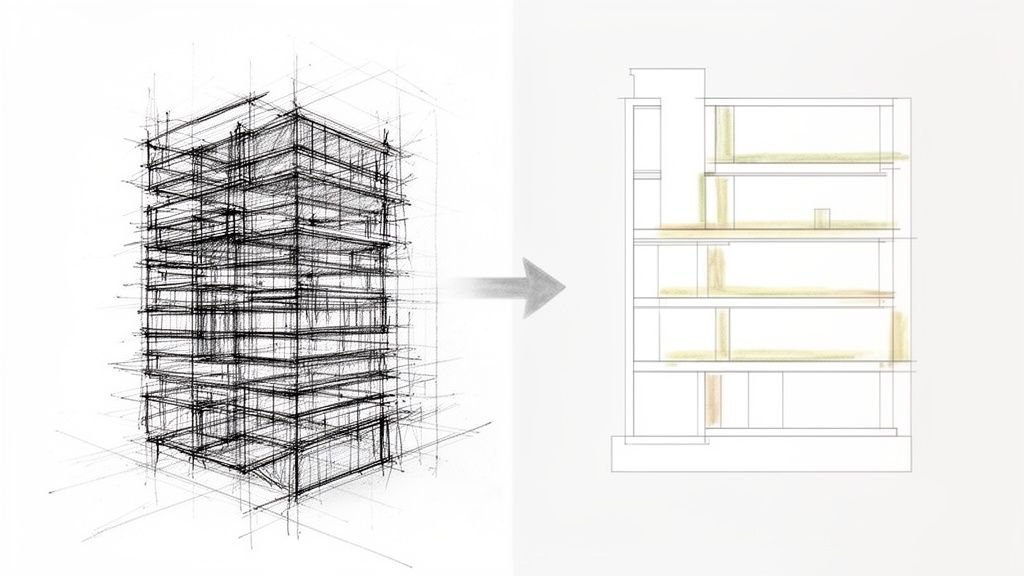
For too long, the industry has treated 3D models as disposable visualization tools. Teams burn countless hours perfecting textures and lighting for a client presentation, but once that meeting is over, the model becomes a dead end.
When it’s time to create construction documents (CDs), that "pretty" model is often too heavy, inaccurate, or unstructured to be of any real use. This disconnect is a massive source of margin erosion. It forces teams to essentially start over, redrawing details in 2D and manually creating schedules that could have been automated. What you're left with is a chaotic workflow filled with RFIs, change orders, and on-site clashes that were completely avoidable.
Shifting to a Data-Centric Approach
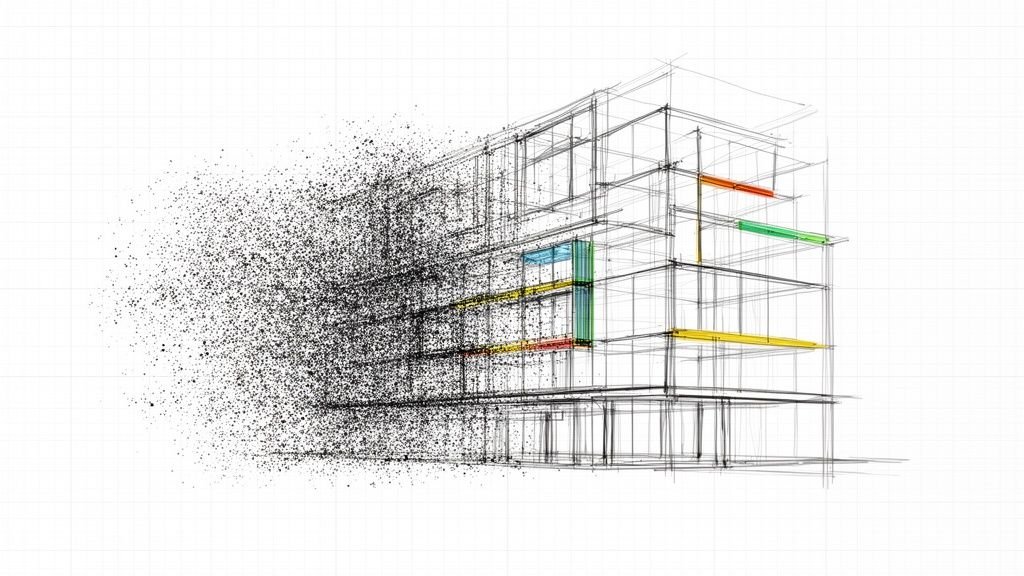
Adopting a production-first mindset means treating the 3D model as a data-rich resource. Every element, from a wall assembly to a light fixture, must contain information that supports the entire project lifecycle. This starts right at the beginning, rethinking how you approach the foundational step of converting sketches into detailed 3D renderings with documentation logic in mind.
This evolution from simple geometry to intelligent components is what separates a visual mockup from a true interior BIM modelling asset. It’s a shift reflected across the industry; the global interior design software market hit USD 5.37 billion in 2024 and is set to grow as more firms embrace these integrated 3D workflows.
We’ve seen interiors teams cut their CD timelines when their 3D models were built with documentation in mind. The predictability gained from a disciplined model isn’t a luxury—it’s a core business strategy for protecting profits and delivering consistent quality.
Building with the End in Mind
To make this happen, every modeling decision needs to be intentional. That means adopting clear standards for a few key things:
- Level of Development (LOD): Don't model everything to the max. Apply the right amount of detail for each project phase, avoiding the twin pitfalls of under- and over-modeling.
- Data-Rich Components: Use families and objects that carry critical information—think manufacturer, model number, finish codes, and lead times for accurate scheduling and takeoffs.
- Structured Geometry: Ensure walls, floors, and ceilings are modeled with real-world construction logic and correct elevations, not just as simple visual planes.
By putting these practices in place early, you turn your 3D model from a presentation tool into the engine that drives your entire documentation process. This is the foundation of a modern BIM for interior projects workflow—a system designed for clarity and predictable outcomes. If you're wondering which tools can get you there, our guide to mastering 3D modeling software is a great place to start.
Why Your Interior Models Create Downstream Problems
Every interior design firm has felt this pain. The stunning render that wowed the client suddenly becomes a liability the moment production begins. The model that looked perfect on screen starts spitting out construction documents riddled with inconsistencies, kicking off a chain reaction of RFIs, frantic clarifications, and costly on-site fixes.
This isn't a failure of talent; it's a failure of process. The root of the problem is a model built for one job—visuals—that gets forced into a role it was never designed for—construction accuracy. It’s like trying to build a car engine using a beautiful concept sketch instead of a proper engineering blueprint. That gap between a "visual-only" model and a production-ready asset is exactly where your profit margins disappear.
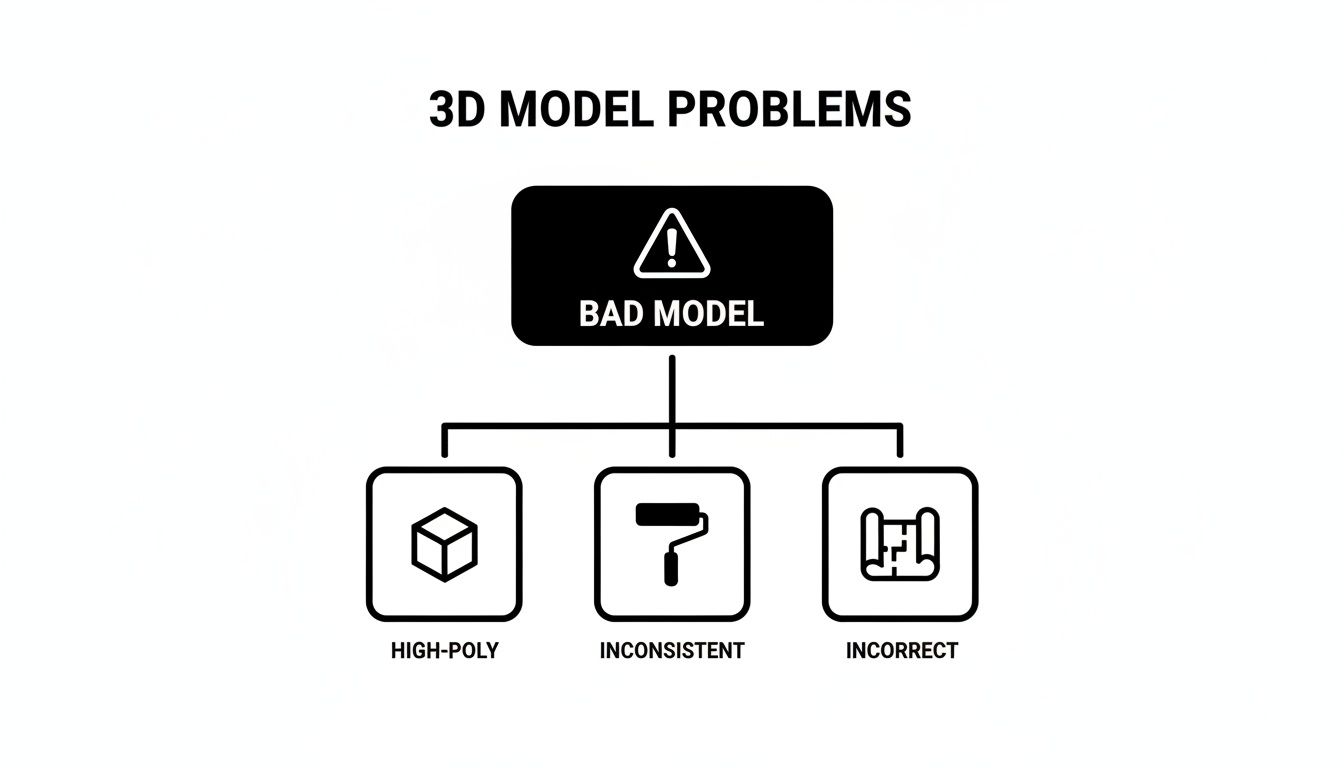
The Anatomy of a Problematic Model
A model built without production discipline creates specific, recurring headaches. It’s that high-poly, ultra-detailed sofa you downloaded from a manufacturer that now makes your entire file crawl. It’s the chaotic material library where "Gray Paint-1" and "Grey Paint – Final" both exist, creating confusion in the finish schedule and wrecking your quantity takeoffs.
We see teams wrestling with these same issues constantly:
- Mismatched Geometry: A ceiling height looks right in the 3D view but is off by an inch on the reflected ceiling plan because it was modeled as a simple plane, not a proper ceiling object with real thickness.
- Non-Parametric Casework: Custom millwork is modeled with static, "dumb" geometry. A small client change forces a complete remodel instead of a simple parameter tweak, introducing a massive risk of error across dozens of drawing sheets.
- Incorrect Elevations: Wall baseboards or trim details are just 2D lines drawn over an elevation view instead of being modeled as part of the 3D wall assembly. This creates a coordination nightmare when MEP outlets need to be placed accurately.
These aren't just minor annoyances. They are systemic flaws that sever the connection between design intent and what actually gets built. They trap your team in a cycle of manual checks and constant rework, undermining the very efficiency that interior BIM modelling is supposed to deliver.
Visual-Only vs. Production-Ready: Contrasting the Approaches
To fix this, you have to understand the fundamental difference between a model that looks right and one that is right. One is an image; the other is a data-rich instruction set for construction. Making the shift from the first to the second is the core of a mature Revit interiors workflow.
Think of it this way: a visual-only model is a pretty facade, while a production-ready model has the structural framing, plumbing, and electrical systems behind it. The table below breaks down the common habits of visual-first modeling versus the disciplined practices that lead to a reliable, buildable model. This isn't about chasing perfection; it's about building a system that delivers clarity every time.
Visual-Only vs. Production-Ready Interior Modeling
| Characteristic | Visual-Only Model (The Problem) | Production-Ready Model (The Solution) |
|---|---|---|
| Geometry | Modeled "for the camera" with simplified or overly complex shapes. Details are often 2D overlays. | Modeled with constructible logic. Wall assemblies, parametric millwork, and accurate ceiling objects are standard. |
| Components | Uses high-poly, unvetted families downloaded online, bloating file size and lacking useful data for scheduling. | Relies on a curated, lightweight library of families with embedded data (e.g., manufacturer, finish codes, specs). |
| Materials | Materials are named inconsistently (e.g., "Wood_01," "Floor-Final") and applied purely for visual effect. | Uses a standardized material library with structured naming conventions that directly populate finish schedules and takeoffs. |
| Data Structure | Lacks embedded information. The model is a collection of geometric shapes without intelligence. | Objects contain critical data. A chair family knows its clearance requirements; a wall knows its fire rating. |
| Documentation | Generates inconsistent drawings. Elevations, plans, and sections often conflict and require manual overrides. | Serves as a single source of truth. Changes in the model automatically and accurately update all related views and schedules. |
Adopting the habits on the right is the first step toward reclaiming control over your project outcomes. It's how you shift from reactive problem-solving to proactive, system-driven delivery, creating a seamless path from concept to CDs to fabrication. This foundational discipline is essential before diving deeper into a structured BIM modelling process.
Building a Disciplined Revit Interiors Workflow
Knowing you have a problem is step one. Building a system to fix it is how you protect your margins. A disciplined Revit interiors workflow isn’t about creative constraints; it’s about creating a reliable framework that makes high-quality production the default outcome. This system is built on solid standards, template discipline, and a team-wide understanding of how a model gets from concept to construction.
The shift starts with a well-crafted project template. This isn't just a blank file; it's your pre-configured starting point, customized for interior scopes. It should already contain view templates for plans, elevations, and sections, ensuring every drawing is consistent. Schedules for furniture, fixtures, and finishes should be pre-built and ready to populate, eliminating tedious manual data entry. This level of prep work is what separates mature production teams from everyone else.
Every one of these issues—from high-poly geometry to inconsistent materials—can be traced back to a workflow that’s missing clear standards and decision checkpoints.
Curating a Clean Family Library
Think of your Revit families as the building blocks of your entire model. If the blocks are bad, the building will be unstable. A clean, curated family library is non-negotiable for an efficient interior BIM modelling process. This means you have to stop downloading random, unvetted families from the internet.
Instead, your library should be built from:
- Lightweight Components: Families should be stripped of any geometry or nested details that aren't absolutely necessary. This keeps file sizes manageable and performance up.
- Data-Rich Parameters: Every family must have consistent, shared parameters ready for scheduling—think manufacturer, model number, finish codes, and clearance dimensions.
- Parametric Functionality: Millwork and casework families need to be parametric. This allows for quick dimensional adjustments without having to remodel everything from scratch.
Building this library takes effort upfront, but the payoff in production maturity is huge. It ensures consistency, automates your schedules, and drastically cuts down on model maintenance. Our in-depth guide offers more tips for designers on using Revit for interior design to build these robust systems.
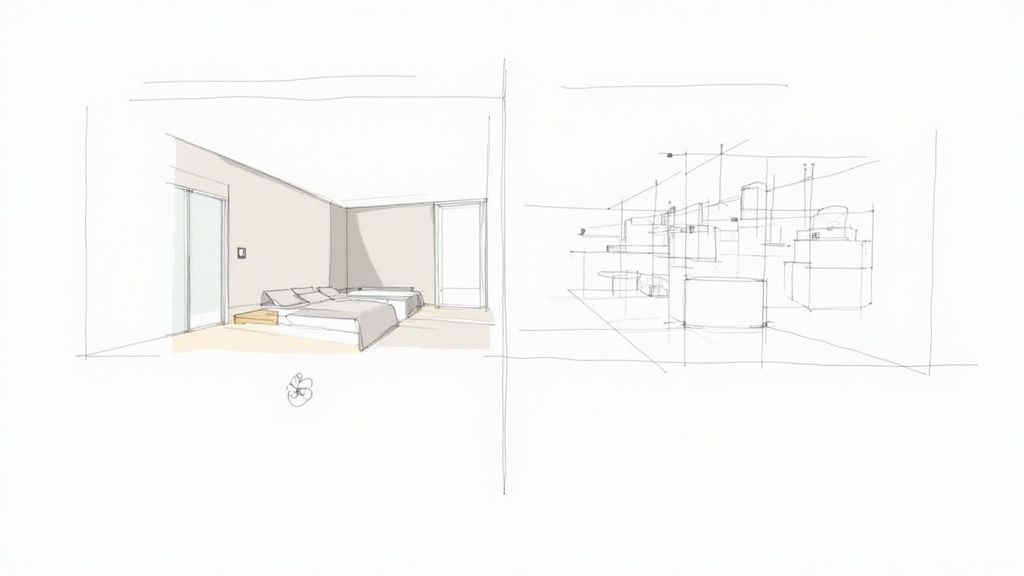
Demystifying Level of Development for Interiors
Level of Development (LOD) is often mistaken for just "more detail." In reality, it’s about modeling the right amount of detail for the right project phase. Nailing your LOD strategy is critical for preventing model bloat while ensuring you have the information needed for accurate documentation and coordination.
For example, in schematic design, a sofa might be a simple massing model (LOD 200) to confirm scale and placement. As the design moves into construction documents, you'd swap that for a manufacturer-specific family (LOD 300) with accurate dimensions and material data. For fabrication, it might even include specific hardware and joint details (LOD 400).
A disciplined workflow doesn't model everything to the highest detail. It strategically applies LOD to balance performance with the information needed for each deliverable—from client presentations to shop drawings.
This structured approach is at the heart of modern BIM for interior projects. Market analysis shows that a huge majority—around 65–68% of AEC professionals—who use BIM report the highest ROI from these kinds of structured workflows. Why? Because BIM-enabled coordination directly slashes downstream rework, cementing its role in cost control and predictable project delivery. You can discover more insights about these industry trends and how they impact profitability.
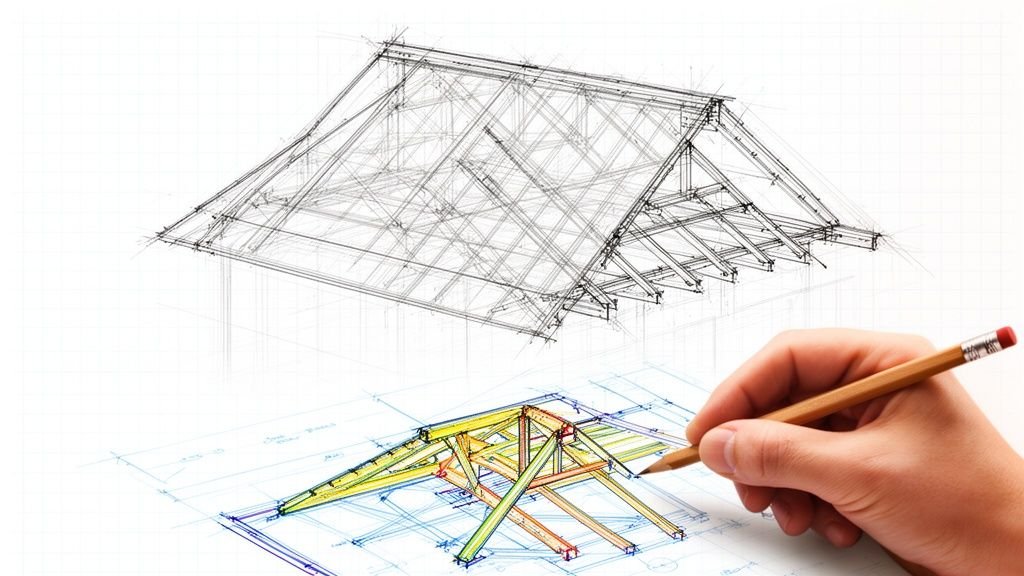
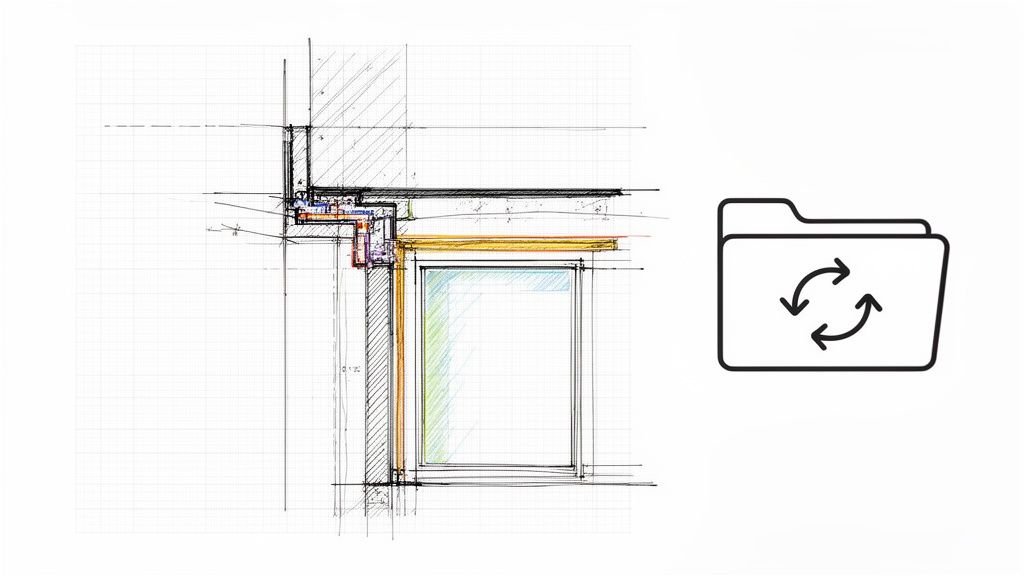
Turning Model Geometry Into Constructible Details
A disciplined model is more than just a visual aid; it’s a production machine. The real power behind a mature Revit interiors workflow is its ability to connect what you see on screen directly to the construction documents (CDs) and fabrication instructions that get things built. This is where your investment in BIM starts paying real dividends by automating accuracy and preventing RFIs.
When the model becomes the single source of truth, every drawing sheet, schedule, and detail is perfectly synchronized. The goal is to stop drafting and start documenting. Instead of drawing lines that you hope are correct, you’re pulling live views directly from a data-rich model. An elevation is no longer a static drawing; it's a live, direct window into your 3D assembly. Change a wall thickness in the model, and every single plan, section, and elevation where that element appears updates instantly.
From Parametric Components to Flawless Drawings
Think about custom millwork. In a 2D workflow, creating the plans, sections, and elevations for a reception desk is a painstaking, manual grind. Each view is drawn independently, opening up countless opportunities for error.
With a production-ready model, that headache disappears. A single parametric millwork family can generate every required view simultaneously:
- Plan Views: Automatically show correct counter depths and clearances.
- Sections: Instantly reflect accurate material thicknesses and joinery details.
- Elevations: Display precise drawer front dimensions and hardware locations.
When you change the height of the desk in one view, all the others update. This is the core of a modern interior BIM modelling system. It’s not just faster; it's fundamentally more reliable. Firms that get this right see a direct drop in shop drawing revisions and on-site fabrication mistakes. Mastering the art of creating Revit families that are both flexible and data-rich is key to this capability.
Automating Schedules and Quantity Takeoffs
Manual data entry is one of the biggest sources of error in interior design documentation. A misplaced decimal in a quantity takeoff or a typo in a finish schedule can lead to budget overruns and project delays. A disciplined 3D model for interior design eliminates this risk by tying schedules directly to the model’s data.
When you apply a material like "P-1" to a wall, that wall's surface area is automatically calculated and added to the paint schedule. When you place a specific chair family, it instantly populates the furniture schedule with its manufacturer, model number, and finish codes.
The model becomes a living database. Your schedules are no longer static documents but dynamic reports that reflect the exact state of your design, ensuring that what you specify is what gets ordered and installed.
This automation gives you unprecedented predictability. You can generate accurate quantity takeoffs for flooring, wall coverings, and other materials with a few clicks, giving you—and your client—a clear, data-driven picture of project costs.
Preventing RFIs Before They Happen
The ultimate test of a model's quality is its ability to prevent problems in the field. Every Request for Information (RFI) from a contractor represents a moment of confusion—a gap in the construction documents that costs time and money. A well-built 3D model is your most effective tool for preventing RFIs.
Modeling complex junctions in 3D forces your team to solve coordination issues long before they hit the job site.
- Ceiling Coordination: How does that recessed light fixture really interact with the ductwork above the ceiling grid? Modeling it in 3D reveals clashes immediately.
- Wall Assemblies: Where exactly does the blocking for a grab bar need to go? Placing it in the model ensures it’s accounted for in framing.
- Finish Transitions: How does the tile floor meet the wood base at a curved wall? Working it out in the model produces a clear, constructible detail.
This proactive problem-solving is the hallmark of a mature BIM for interior projects workflow. It turns the model from a presentation piece into a powerful coordination and risk-management machine that protects your project from permitting delays and costly on-site guesswork.
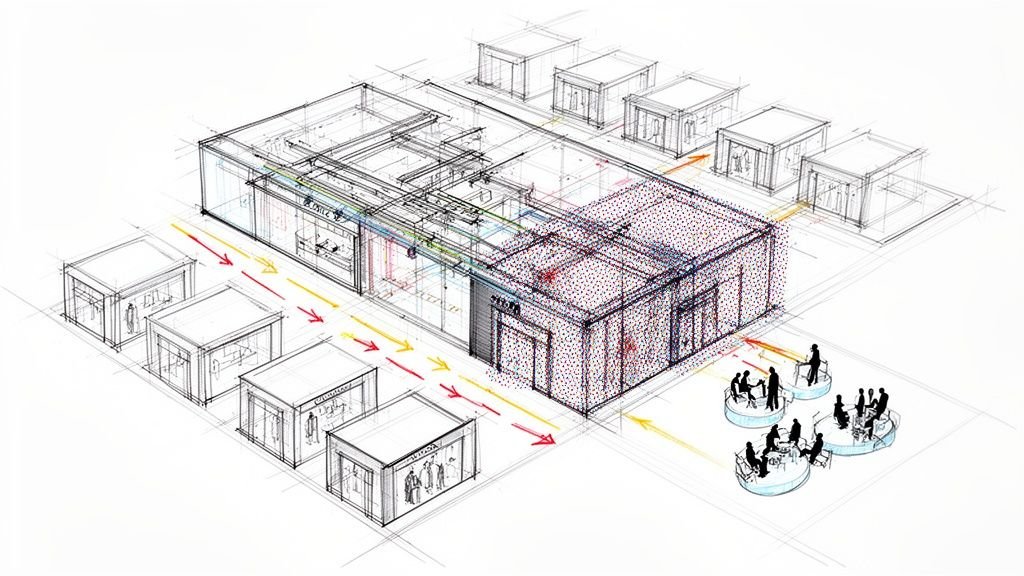
Integrating Your Model with the Project Ecosystem
An interior model, no matter how detailed, is never an island. It lives inside a larger project ecosystem, and its real value comes from how well it coordinates with models from other disciplines. When you've truly mastered 3d modeling for interior design, your work slots in perfectly alongside the structural, MEP, and lighting consultants’ models.
This is where you protect your margins. Every clash between a recessed light and an HVAC duct, or a wall-mounted TV that's missing structural blocking, is a change order waiting to happen. A well-built model, grounded in a shared coordinate system, turns that potential chaos into a controlled, predictable process. It changes the tone of coordination meetings from finger-pointing to proactive problem-solving.
From Clash Detection to Proactive Coordination
Smart coordination isn't just about running clash detection software and getting a report with 500 red-line items. It’s about building a model that makes those reports cleaner and more actionable from the start. This begins with a clear BIM for interior projects execution plan that spells out how external models will be linked and managed.
Your team needs discipline around a few key things:
- Shared Coordinates: Ensure your model is correctly geolocated within the master project file. When you link in the MEP model, everything must line up perfectly.
- Scoped Clash Tests: Don't boil the ocean. Run targeted clash detection on high-risk areas like ceiling voids, busy corridors, and walls packed with services.
- Model Management: Keep your worksets clean and create view templates specifically for coordination. This makes it easy to isolate and review geometry from consultants.
When your interior model is clean and logically structured, you become a better partner, fostering a collaborative spirit that heads off RFIs and keeps the project timeline intact.
Linking Model Data to Client and Vendor Workflows
Integration doesn't stop with the design team. A sophisticated interior BIM modelling asset also plugs into client-facing presentations and vendor procurement. For example, giving customers 3D product configurators built from model data has been shown to boost conversion rates and reduce returns, as customers can visualize scale and material accurately before buying.
The real objective is to create a digital thread that runs from your design model all the way to procurement and installation. Your model shouldn't just define the space—it should contain the data needed to furnish and build it correctly.
This connectivity makes your work far more valuable. You can even leverage the model to create engaging real estate video walkthroughs that bridge the gap between technical production and client approval. The model transforms into a central hub for communication, delivering clarity and reliable outcomes.
Weaving in Quality Assurance Checkpoints
A disciplined workflow is only as good as the systems you have in place to check it. Without solid quality assurance checkpoints, even the best standards will slowly unravel. Setting up a practical QA process isn't about adding red tape; it's about creating decision checkpoints that ensure every 3d modeling for interior design project hits a high bar for quality and consistency.
This process gives you predictable results and protects your bottom line by catching mistakes before they snowball into expensive rework. Think of these checkpoints as routine maintenance that keeps your production engine running smoothly.
Key Milestones for Model Audits
Instead of scrambling to review a model right before a deadline, QA should be baked into key project milestones. This lets you audit the model’s health and check for compliance while there's still time to make corrections without drama.
We’ve seen firms slash their error rates by running audits at these three critical stages:
- Schematic Design (SD) Handoff: The focus here is on fundamentals. Is the model built from the correct project template? Are worksets configured properly? Are basic naming conventions being followed?
- Design Development (DD) Completion: The audit gets more detailed. Verify that the right family libraries are being used, purge any random downloaded families, and ensure key components have the data needed for scheduling.
- Construction Document (CD) Kick-off: This is the last major check before the team dives into documentation. The audit should confirm that all linked models are coordinated correctly, view templates are applied, and the model is clean of warnings that could disrupt drawing accuracy.
This structured review process stops small mistakes from getting permanently baked into your construction documents. A clean, well-organized model is the foundation for a painless documentation phase, as detailed in our guide to the BIM modelling process.
Scaling Consistency with Delivery Pods
As a firm grows, keeping everyone aligned across multiple teams is a huge challenge. The answer is to structure your teams into scalable "delivery pods"—small, agile groups that all follow the same shared standards and QA processes.
A delivery pod isn't just a team; it’s a self-contained production unit trained on a unified Revit interiors workflow. This ensures that every model, regardless of who built it, meets the same high bar for quality and data structure.
This approach makes your output predictable. Clients get the same quality of work every time, and your firm can scale its delivery capacity without losing the discipline that keeps you profitable. It’s a framework that lets both in-house and remote teams operate like a single, high-performance unit. The National Institute of Building Sciences offers guidelines on BIM standards that reinforce the need for this kind of consistency.
Frequently Asked Questions
Shifting to a production-focused workflow always brings up practical questions. Here are straightforward answers to what we hear most often from interior design pros ready to get more from their 3D modeling for interior design.
How Do We Implement a Production-Ready Standard Without Disrupting Current Projects?
The key is to start small and be incremental. Don't try to overhaul everything overnight—that's a recipe for chaos.
Instead, begin by creating a standardized project template for your next new project. Focus on getting the view templates and naming conventions right from the start. At the same time, begin curating a small, high-quality family library with common items like casework and lighting.
Pilot the new standard on a single project, see what works, and then refine it before rolling it out further. Think evolution, not revolution.
Is This Level of BIM Discipline Overkill for a Small Team?
Not at all. In fact, small teams often see the biggest benefits because this kind of discipline is a massive efficiency booster and cuts down on unbillable rework. When you have a standardized Revit interiors workflow, you stop wasting time reinventing the wheel on every project.
When your model can generate schedules and details correctly, you save hundreds of hours that would otherwise be spent on manual drafting and coordination. This frees your team up to handle more work with less stress, which directly protects your profit margins.
What Is the Single Most Important Habit for a Better Interior BIM Workflow?
This one’s simple: stop using generic, downloaded families without cleaning them up first. The most critical habit you can build is maintaining a curated library of Revit families that are lightweight, contain the scheduling data you need, and have consistent parameters.
A clean family library is the bedrock of an efficient model. It prevents file bloat, ensures your drawings are consistent, and makes scheduling almost automatic. If you fix your families, you fix your workflow. It's the foundation for a more predictable delivery system.
We help firms build the systems and standards needed for predictable, high-quality production. If you’re ready to move beyond just visuals and turn your models into powerful production assets, establishing clear standards is the right place to start.
Download our free 3D Modeling Standards Checklist for Interior Design to get a head start on building a more disciplined and profitable workflow.