How to Batch Export Revit Sheets Without Losing Your Mind
Batch exporting Revit sheets can save you hours on large projects, reduce errors, and ensure consistency. Whether you’re exporting PDFs, DWGs, or other formats, tools like Revit‘s built-in features, third-party plugins, and custom Dynamo scripts can simplify the process. Here’s what you need to know:
- Revit’s Built-in Tools: Use default export options for PDFs or CAD formats. Configure settings for U.S. standards, such as layer naming and date formatting, to avoid errors.
- Plugins: Tools like ProSheets ($69/year), Batch Exporter, and DiRootsOne ($115/year) automate naming, multi-format exports, and file management.
- Dynamo Scripts: For custom workflows, Dynamo lets you automate tasks like organizing sheets or creating custom naming conventions.
Quick Tip: Always verify exported files for naming accuracy, proper formatting, and U.S. compliance. Use test runs to catch errors early.
This guide covers the tools, steps, and fixes to make batch exports faster and more reliable.
ProSheets | Revit Add-in For Exporting Revit Sheets with Custom Filenames – DiRoots

Revit’s Built-in Batch Export Tools
Before considering third-party solutions, it’s a good idea to explore the tools Revit provides right out of the box. Revit supports a variety of export formats, including DWG, PDF, and even image and animation files, making it versatile for different documentation needs.
How to Use Revit’s Default Export Features
Revit’s batch export process is fairly straightforward, and setting it up correctly can save you a lot of time. You’ll find the export options in the File menu.
For PDF exports, go to File > Export > PDF. From there, use the sheet selection dialog to choose multiple sheets at once. You can also configure output folders and set up naming patterns to keep your files organized. These options ensure your exports are both efficient and easy to manage.
If you need DWG exports, the process is similar. Navigate to File > Export > CAD Formats. Before running the export, make sure to configure your DWG settings. This includes setting up layer mapping, text formatting, and other technical details to meet your project standards. Running a small test export first is a smart move – it helps you catch any formatting or naming issues before committing to a full batch.
While Revit’s built-in tools are reliable for many standard tasks, they do have some limitations. Older versions of Revit, for instance, may encounter glitches during exports, so keeping your software updated is essential. Even with these quirks, Revit’s native tools provide a solid starting point for handling batch exports before exploring third-party plugins.
Setting Up Export Settings for U.S. Standards
To avoid common export headaches, it’s critical to configure your settings correctly, especially if you’re working with U.S. standards. Consistent settings not only prevent errors but also ensure a polished, professional result.
Start by adjusting your DWG Export Setup in Revit. Here, you can define imperial units, set proper layer naming conventions, and align text styles with U.S. drafting standards. Once configured, save these settings for reuse across projects to maintain consistency and reduce setup time.
For regional consistency, make sure your project templates include U.S.-specific settings, such as MM/DD/YYYY date formatting. This applies to both file timestamps and any date-related information on your exported sheets.
Revit also allows you to group exports by discipline, phase, or custom parameters, which can be particularly handy for larger projects. Once you’ve established your preferred export configurations, save them as named setups. This makes it easy for team members to access the same settings, minimizing errors and improving workflow efficiency.
That said, Revit’s built-in tools aren’t without their quirks. For example, when exporting to DWG, small objects might not appear at certain view scales. Adjusting the view scale can help balance accuracy with performance. For more complex workflows or specialized needs, third-party add-ins can provide advanced features like enhanced naming conventions and support for additional file formats.
Up next, we’ll dive into how plugins and add-ins can take batch exports to the next level.
Add-ins and Plugins for Better Batch Exports
Revit’s built-in tools can handle basic batch exports, but they often fall short for more complex workflows. That’s where third-party add-ins come in. These tools can simplify the process, offering automation, better file management, and support for exporting multiple formats in one go. Let’s explore some of the best plugins and how custom Dynamo scripts can further enhance your workflow.
Top Plugins for Batch Exporting
Batch Exporter is a versatile tool that supports a wide range of formats and allows you to customize file naming using project metadata. It’s designed to handle multi-format exports efficiently, replacing several manual steps with a single automated process. The plugin offers a 15-day trial, which includes 15 exports per format – plenty of time to see if it fits your needs.
"Having multiple export formats in one plugin for a small fee is valuable. Thank you! Super useful!" – Aida Mirniazmandan, Verified Download
ProSheets is another popular choice, especially among architects and designers. It automatically detects paper sizes and orientations while offering advanced naming options that go beyond Revit’s native capabilities. While the free version limits users to 150 prints per month, the premium version is available for $69 per user annually for U.S. clients. Despite some concerns about the shift to paid features, users praise its ease of use and excellent support.
"This tool works awesome across the board. And the support team is stellar as well. This is great for batch exporting anything in bulk and is way easier to use than the standard Revit bulking. I would recommend this to anyone using Revit." – Joe Dailey, Verified Download
DiRootsOne takes a different approach by bundling multiple productivity tools, including export features, into a single package. Compatible with Revit versions 2018-2026, this suite costs $115 per user annually for U.S. clients. It’s ideal for firms that require more than just batch exporting, offering seamless integration across various tools for a smoother workflow.
Custom Workflows with Dynamo Scripts
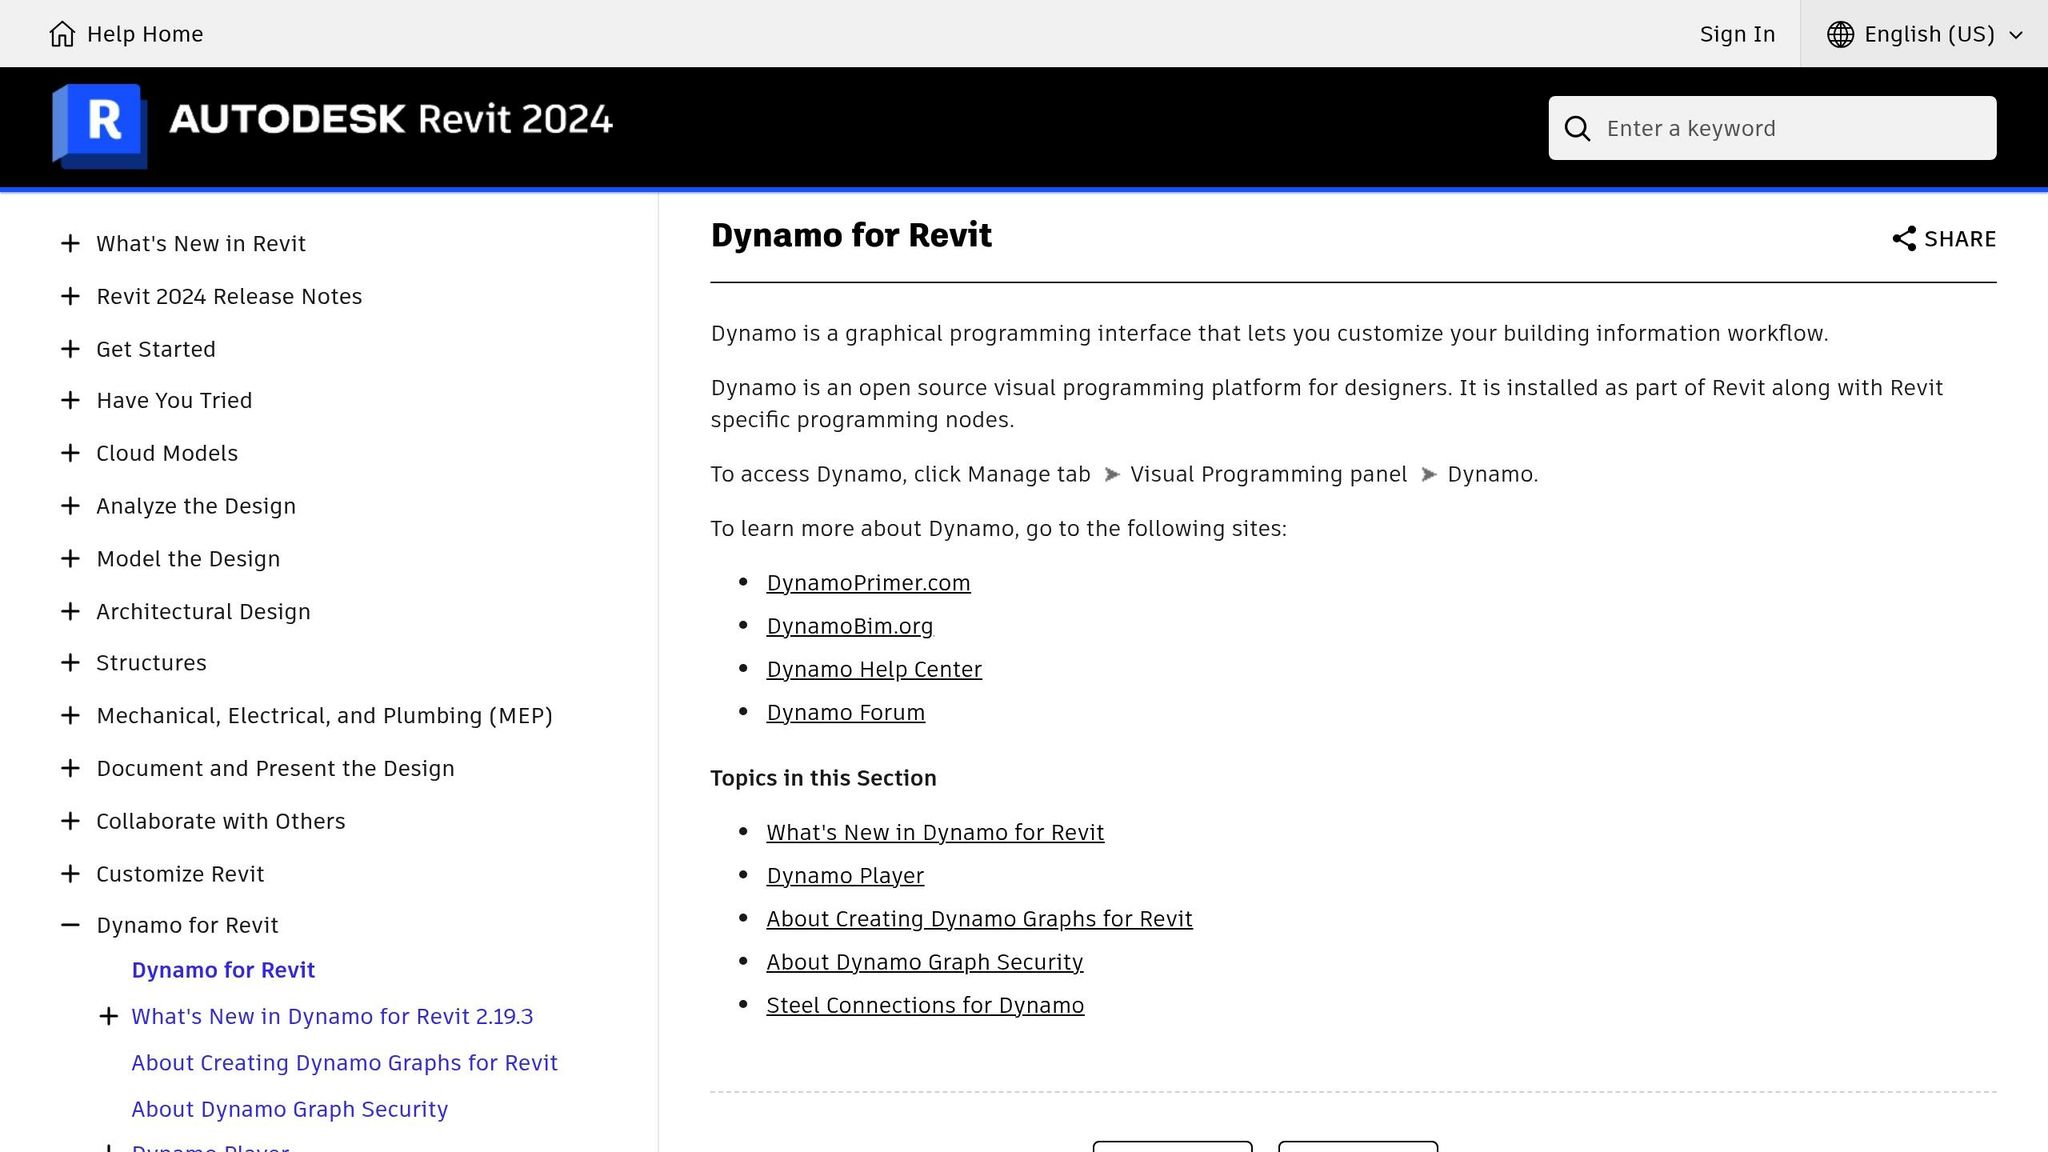
For those who need a tailored solution, Dynamo provides a powerful way to create custom batch export workflows. This visual programming tool allows you to automate complex tasks that would otherwise be tedious and time-consuming.
To get started, identify the specific tasks you want to streamline. For example, you might want to automatically create views, organize sheets by discipline, or extract specific data during exports. Dynamo can handle these multi-step processes with ease, especially when paired with essential packages like Clockwork, Data-Shapes, Rhythm, and Bimorph Nodes. These packages extend Dynamo’s capabilities, offering nodes for tasks like file management and Revit element interaction.
When building scripts, start with simple tasks – like renaming views or updating parameters – and gradually add complexity. Use groups and color coding to keep your scripts organized, and include documentation with Note nodes so others can understand and modify your work. For firms managing multiple projects, Dynamo Multiplayer allows you to run scripts across multiple models and even schedule operations.
Always test your scripts on backup or detached models to avoid potential errors that could corrupt your files. A little caution upfront can save hours of troubleshooting later.
Comparing Tools and Plugins
Here’s a quick comparison to help you decide which tool fits your needs:
| Tool | Supported Formats | Key Features | Pricing | Best For |
|---|---|---|---|---|
| Batch Exporter | DWG, PDF, NWC, IFC, DGN, IMG, OBJ, DAE, GLTF, FBX, STL, 3DS, STP, X3D, PLY, DXF, SAT, DWF/DWFX | Custom naming, multi-format export | Trial: 15 exports/format for 15 days; Full version upgrade required | Firms needing multi-format export support |
| ProSheets | PDF, DWG, DGN, DWF, NWC, IFC, IMG (JPEG, PNG, TIFF) | Auto paper size detection, advanced naming rules | Free: 150 prints/month; Premium: $69/year | Standard documentation workflows |
| DiRootsOne | Varies by included plugins | Bundle of productivity tools, seamless integration | $115/year | Firms needing broader workflow solutions |
| Dynamo Scripts | Unlimited (depends on script design) | Fully customizable, multi-model processing | Free (included with Revit) | Custom workflows and complex automation |
The right tool depends on your specific needs and budget. If you’re looking for a straightforward solution for exporting multiple formats, Batch Exporter is a solid choice. For standard PDF and DWG workflows, ProSheets offers excellent value. And if you need complete control over your workflow, Dynamo provides unmatched flexibility.
Testing trial versions is a smart way to see how these tools integrate into your existing processes. The time you spend setting them up will pay off when you’re exporting hundreds of sheets without the usual headaches.
sbb-itb-0af4724
Step-by-Step Batch Export Process
Now that you’ve selected your tools and plugins, it’s time to put them into action. A smooth batch export requires solid preparation, careful execution, and thorough verification. This method helps you sidestep common issues that can turn a straightforward task into a frustrating experience.
Preparing Your Sheets for Export
Start by organizing your project with consistent naming and numbering, as mentioned earlier. Use a clear naming convention, such as "A-101_Floor Plan_Level 1", to ensure every sheet is uniquely identified and properly sequenced.
Next, clean up your views. Remove any unnecessary, outdated, or duplicate views that could clutter your export list. This step not only keeps your project tidy but also speeds up the export process.
Once your sheets are organized and ready, you can move on to exporting.
Executing the Batch Export
Here’s how to proceed based on your chosen export method:
-
PDF Export Using Revit’s Native Tools:
Go to File > Export > PDF. If you want all your sheets in one file, select the option to "Combine selected views and sheets into a single PDF file" under File Name. -
Exporting to CAD Formats:
Navigate to File > Export > CAD Formats. From here, you can choose between DWG, DXF, MicroStation DGN, or ACIS (SAT) formats. By default, the tool exports the "current view/sheet only", but you can expand the dropdown to select "in session view/sheet set" or a custom sheet set. When naming your files, the specified name acts as a prefix, and the sheet name is appended. To maintain consistency, use the "Automatic – Long (Specify prefix)" option in the Naming dropdown. -
Using Plugins Like ProSheets or Batch Exporter:
Plugins simplify the process by enabling batch processing across multiple formats. These tools can save time by reducing the number of manual steps involved.
For larger projects, consider breaking the export into smaller batches to avoid crashes or unresponsiveness. Also, avoid running other memory-heavy applications during the process to ensure smooth performance.
Verifying Exported Files
Once the export is complete, take the time to verify the results. Check that all files are present, properly named, formatted, and organized according to your project standards.
Open a sample of the exported files to confirm they match what you see in Revit. Look closely at text formatting, line weights, and dimensions – small issues here can cause big problems when files are printed or shared.
For projects that need to meet U.S. standards, double-check that the files comply with specific requirements for your project type. This includes confirming that title blocks contain all necessary details, scales are clearly marked, and any required stamps or certifications are included.
To streamline future projects, create a verification checklist. This checklist should cover essential points like file naming accuracy, completeness of the export set, proper scaling, and text readability. A standardized checklist ensures no critical details are overlooked, even when working under tight deadlines.
Lastly, test your files in the software your recipients will use. For example, a PDF that looks fine in one viewer might have font or formatting issues in another. Similarly, test DWG files in AutoCAD or another CAD program to confirm compatibility and proper display. This extra step ensures your files are ready for their intended use.
Fixing Common Export Problems
Even with thorough preparation, batch exports can hit unexpected roadblocks. Knowing how to address these issues will save time and keep your projects on track. Here’s how to tackle some of the most frequent challenges.
Fixing Missing Sheets and File Name Errors
One of the most frustrating export problems is missing sheets. This often happens when Revit halts mid-export, leaving you with an incomplete set of drawings. To reduce the chances of this happening, restart Revit regularly and clear your user temp directory to improve performance and avoid export failures.
If you’re using Revit 2022 or newer, you can set up naming rules for PDF exports to automatically include sheet or view names. For older versions, consider using Dynamo scripts or file renaming tools to streamline the process. Third-party batch exporting and renaming applications can also be a big help.
Keep sheet names short to avoid file path problems, especially since Windows has limitations on path length. If you’re dealing with DWG exports that have incorrect names or numbers – a common issue in older Revit versions – check for known bugs in your version and apply any updates or hotfixes. Sometimes, a simple software update can solve these persistent naming issues.
Once you’ve addressed missing sheets and naming errors, it’s time to focus on format compatibility and file size concerns.
Handling Format Issues and Large Files
Exporting can quickly become a headache if you run into compatibility problems or oversized files. For instance, when saving DWG files, always save them locally instead of directly to a cloud folder to avoid issues.
Large file sizes often result from unnecessary elements being included in the export. Before exporting, resolve Revit warnings regularly to prevent file corruption and enhance performance. Use the "Purge Unused" tool to clear out unused elements, families, and groups that inflate file size.
For IFC exports, common errors like incorrect model rotation, misplaced base points, or exporting too much property data can be fixed by choosing the right coordinate base and limiting the export to essential information.
If exported views are missing elements, check settings like worksets, categories, phasing, and view range. Instead of adjusting the entire plan view range, use Plan Regions to manage specific areas. This keeps the rest of the project unaffected and ensures the export remains accurate.
When moving column grid bubbles, switch to 2D extents to avoid unintended changes. Small adjustments like this can prevent major issues in the final exported sheets.
Keeping Your Exports Organized
Once export errors are resolved, staying organized is crucial for managing large project files. Start by establishing clear naming conventions for groups and files. For example, use descriptive names like "Ground Floor Bathroom" instead of generic ones like "Group 1".
Store Revit families in a shared, easily accessible location, such as a network drive or cloud-based storage. Organize your central library into categories and subcategories (e.g., architectural, structural, MEP) to ensure consistency and quick access across projects.
Create a folder structure for exports that mirrors your project organization. Use consistent naming patterns that include project numbers, sheet types, and revision dates. For instance, a file named "2024-001_A-101_Floor Plan_Rev-C.pdf" immediately provides details about the project, sheet, and revision status.
Regularly maintain your central library by reviewing and removing outdated families. This keeps file sizes manageable and prevents old elements from slipping into your exports. Use type catalogs to manage variations within a single family file and organize them efficiently with the Project Browser.
For larger projects, consider Revit plugins for batch loading, editing, and exporting families. These tools can automate much of the organizational work, saving time and reducing errors.
Finally, set up a backup routine for your export batches. Save copies in multiple locations, such as local drives and cloud storage. While cloud storage is convenient, keeping local backups ensures you’re covered in case of technical issues and can meet deadlines without delays.
Conclusion: Making Batch Exports Easier
Mastering batch exports in Revit boils down to integrating the right tools and maintaining disciplined project practices. By leveraging Revit’s built-in export features alongside specialized plugins like RTV Xporter and ProSheets, you can automate repetitive tasks and handle complex naming conventions with ease. These tools not only save valuable time but also simplify workflows. For context, RTV Xporter is priced between $19 and $4,995, while ProSheets Premium costs $69 per user – investments that quickly pay off in saved hours and smoother processes.
Taking proactive steps, such as purging unused elements, compressing images, and addressing warnings early, helps prevent performance issues and file corruption during exports. Additionally, using view templates and adhering to standardized naming conventions ensures consistency and reduces the risk of confusing revisions, making the entire process more predictable.
FAQs
What are the benefits of using third-party plugins like ProSheets or DiRootsOne for batch exporting Revit sheets instead of just using Revit’s built-in tools?
Third-party plugins such as ProSheets and DiRootsOne offer notable benefits when it comes to batch exporting in Revit. These tools let you export sheets in various formats at the same time, automate tedious tasks, and simplify workflows – helping you save both time and energy.
Compared to Revit’s built-in tools, these plugins are better equipped to manage large-scale projects with greater efficiency and fewer errors. They also provide advanced customization features, making it simpler to keep files well-organized and meet specific project needs.
How can I use Dynamo scripts to simplify and automate batch exporting in Revit?
Dynamo scripts offer a smart way to simplify batch exporting in Revit by automating those tedious, repetitive tasks. With the right custom scripts, you can easily export sheets to formats like PDFs, DWGs, or Excel files, cutting down on manual effort and reducing the chance of errors.
Here are some tasks you can automate with Dynamo:
- Batch plotting multiple sheets in one go
- Exporting schedules directly into spreadsheets
- Renaming or numbering sheets in a consistent manner
- Handling large-scale exports for more complex projects
Using Dynamo not only saves you time but also helps keep your files organized and your workflows in Revit much smoother.
How can I ensure my exported Revit files meet U.S. standards and avoid common mistakes like incorrect layer names or date formats?
To make sure your exported Revit files comply with U.S. standards, start by setting up custom layer naming conventions that follow established guidelines, like the AIA CAD Layer Guidelines. During the export process, use Revit’s layer mapping tools to ensure everything stays consistent and accurate. It’s also a good idea to create templates with predefined settings for layer names, date formats (MM/DD/YYYY), and number formatting (e.g., commas for thousands and periods for decimals). For larger projects, you might want to use automation tools or scripts to catch errors and save time. These steps can simplify the workflow and help avoid common errors.