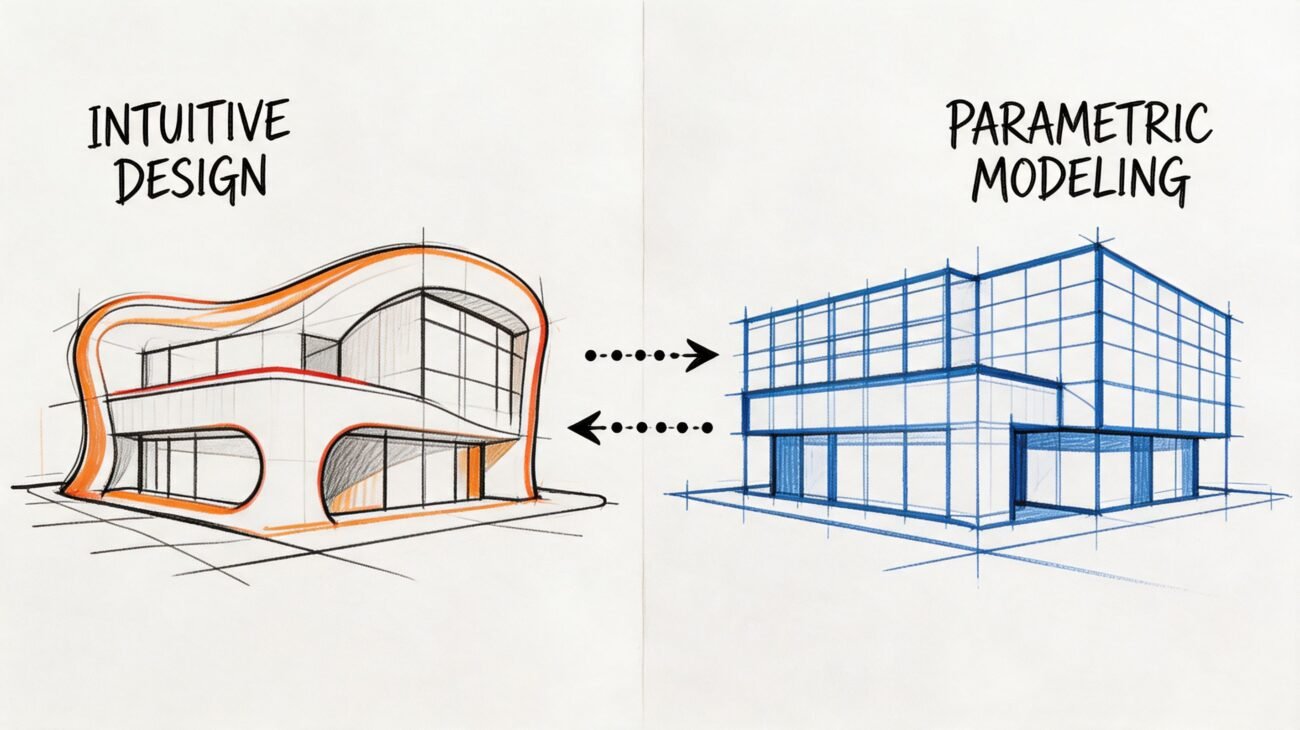
To reduce Revit file size effectively, teams have to stop thinking about cleanup and start thinking about governance. A smaller, faster model isn’t the result of a last-minute purge before a deadline—it’s the direct outcome of disciplined modeling habits, template discipline, and a mature BIM workflow.
This means establishing clear Level of Development (LOD) rules from day one, vetting families before they ever enter a project, and managing your links and views with precision. It’s about building operational consistency, not just running a utility.
Why Your Revit Model Is So Slow
Staring at a ‘Synchronizing with Central’ progress bar that barely moves? We’ve all been there. The common advice to just “purge unused” is a band-aid on a much deeper wound. I’ve seen production teams paralyzed by models that crash during plotting or take minutes to open, creating a culture of fear around any late-stage edit.
This isn’t a software problem; it’s a workflow problem. The real reason your Revit models are so slow comes down to an accumulation of small, undisciplined habits that let digital waste pile up. Bloated files usually come from specific causes: over-modeled geometry, poorly built families, excessive imports, unmanaged links, and a lack of modelling boundaries.
Shifting From Cleanup To Governance
A healthy model isn’t about some heroic, last-minute cleanup. It’s about building operational consistency from the very start. When Revit file optimization becomes a core part of your QA process, you’re not just saving time—you’re protecting project margins and ensuring predictable delivery.
The goal is to prevent bloat before it happens. This means tackling the root causes head-on:
- Unvetted Content: Loading in poorly built families without checking their performance impact.
- Import Mismanagement: Embedding complex DWGs directly into the model instead of linking them cleanly.
- LOD Creep: Modeling way too much detail way too early in the design process.
- Warning Neglect: Letting thousands of warnings accumulate, which absolutely tanks Revit model performance.
We’ve seen teams cut file size dramatically once they fixed a handful of modelling habits instead of running risky cleanups. Aggressive cleanup without understanding the cause often breaks schedules, annotations, and coordination.
The True Cost of a Bloated File
A huge Revit file costs more than just wasted time. It injects risk and unpredictability into your delivery schedule, which directly hits your bottom line. Every crash, delayed sync, and RFI caused by a sluggish model is a drain on your resources. It can even introduce subtle geometry errors that silently corrupt your model over time. You can learn more about these dangers in our guide on the hidden geometry errors that break Revit models.
A slow model is more than an inconvenience; it’s a symptom of deeper issues in your BIM workflow that can erode team morale and client confidence. Fixing it is about restoring clarity and control.
Data proves the direct link between file size and speed. A detailed analysis found that regular file compacting alone can deliver size reductions of up to 38%. Halving a file’s size could slash sync and open times by nearly 50%.
The following table really drives home the difference between a proactive and reactive approach.
Proactive Model Health vs Reactive Cleanup
| Discipline | Proactive Model Health (The Goal) | Reactive Cleanup (The Problem) |
|---|---|---|
| ** predictability** | Schedules are reliable, deadlines are met. | Constant fire-drills, unpredictable delays. |
| Team Morale | High. Team feels in control and productive. | Low. Frustration, burnout, and blame culture. |
| Profitability | Margins are protected, less rework. | Budgets are eroded by wasted hours. |
| Data Integrity | Model is a reliable source of truth. | Risk of data loss and coordination errors. |
| Client Confidence | Strong. Seen as a competent, organized partner. | Weakened. Deliveries are inconsistent and stressful. |
As you can see, the reactive path leads to chaos. This guide is all about achieving predictable results through strategic governance, not just last-ditch tools.
Finding the True Sources of File Size Creep
Before you even think about hitting “Purge Unused,” you need to play detective. A bloated Revit file is almost never the real problem; it’s a symptom of deeper workflow issues. Just purging is like taking a painkiller for a broken leg—it might feel better for a minute, but you haven’t fixed the underlying cause.
We’ve seen it time and again: teams cut their file size in half not by running risky cleanup scripts, but by fixing a few bad modeling habits. This isn’t about a frantic cleanup right before a deadline. It’s about building the discipline to spot the sources of bloat before they grind your project to a halt.
The Hidden Cost of Over-Modeling
One of the most common culprits is modeling with way too much detail, way too early. We call it “LOD creep.” It’s what happens when someone on the team models every single bolt on a steel connection during Schematic Design, or drops in a manufacturer’s hyper-detailed family for a chair that will only ever be a simple rectangle in plan.
This unnecessary complexity adds a massive data load to the model. Every edge, face, and parameter is another piece of data Revit has to churn through every single time you open a view or sync to central. It’s a classic case of diminishing returns—the visual benefit in a drawing set is zero, but the performance cost is huge.
A key principle of a mature production workflow is modeling only what is necessary to communicate design intent at a specific project stage. Anything more is a direct hit to your project’s budget and timeline.
This kind of discipline has to be baked into your process from the start with a clear BIM Execution Plan and team-wide agreement on Level of Development (LOD) standards. It’s a checkpoint, not an afterthought.
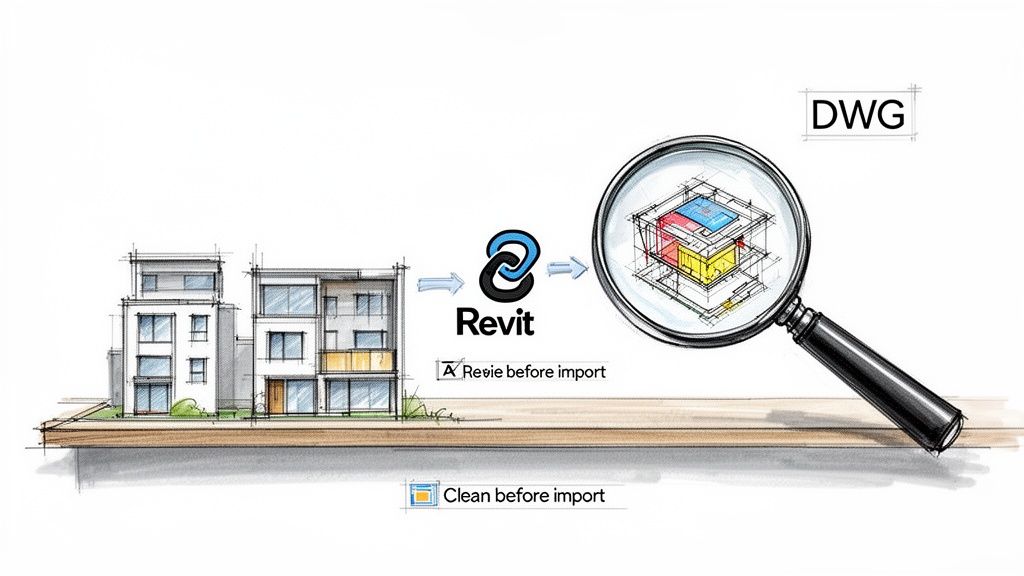
Imported CAD: The Silent Performance Killer
Another major offender is the misuse of imported CAD files. A lot of teams, especially those still transitioning from AutoCAD, will import DWGs directly into Revit families or even the project itself. This is, without a doubt, one of the fastest ways to corrupt your model and send its size through the roof.
When you import a DWG, you’re not just bringing in lines. You’re embedding all of its layers, line styles, text styles, and—more often than not—a ton of messy geometry and proxy objects. This junk data becomes a permanent, un-purgeable parasite in your Revit file.
Here’s where the real damage happens:
- Bloated Families: A single door family with an imported DWG for its plan swing can add megabytes of garbage data to every single instance of that door in your project.
- Coordination Breakdowns: Imported geometry just doesn’t play nice with native Revit elements. It leads to all sorts of problems with snapping, dimensioning, and visibility.
- Data Corruption: Over time, these embedded files are a leading contributor to model corruption, causing random crashes and data loss.
The correct workflow is always to link CAD files, never import them. Linking keeps the data external, giving you full control over visibility. You can unload the link when it’s not needed, keeping your Revit file much healthier and smaller. For a deeper dive on this, Autodesk University has some great resources on managing linked files effectively.
The In-Place Family Trap
In-place families feel like a quick and easy fix for those unique, one-off conditions. But their overuse is a dead giveaway of an immature BIM workflow and a huge contributor to poor Revit file optimization.
Each in-place family is a unique dataset stored directly within the project file. Think about it: with a normal component family, Revit stores the definition once and just references it over and over. But with an in-place family, you’re adding its full geometric weight to the file every single time you create a new one. Ten unique in-place families add ten times the data load.
They’re also notoriously difficult to manage, track, or schedule. They completely break the fundamental principle of component-based modeling and create a data debt that will slow the project down for its entire lifecycle. A disciplined team uses them sparingly—for truly unique conditions that will never be repeated—and relies on well-built component families for everything else. This is a core tenet if you want to fix slow Revit models for good.
Executing a Strategic Model Purge
Let’s get one thing straight about “purging.” It’s not just a button you click when your model starts to lag. A real, strategic purge is a calculated effort to trim the digital deadweight—it’s a core discipline for keeping a project healthy. This goes way beyond just clearing out unused families and targets the hidden junk that silently inflates your file size.
Jumping in without a plan is just asking for trouble. It’s shockingly easy to delete content that was staged for a future phase, break a bunch of annotations, or remove something a teammate was relying on. This isn’t just a cleanup task; it’s a model governance checkpoint that demands clear communication and a bit of precision.
Targeting the Biggest Offenders First
You’d be surprised what actually makes a Revit file so heavy. It’s rarely the complex 3D geometry. More often than not, the real culprit is the sheer accumulation of 2D data. I’ve seen teams reduce Revit file size far more effectively by focusing on views, sheets, and schedules than by obsessively cleaning up families. These elements multiply like rabbits during production, creating a dense web of data that slows down every single operation.
The process should always start with a thorough audit of your Project Browser. You’re hunting for:
- Temporary or Test Views: We all create them. Quick sections for a coordination check, a few design option views, or test elevations that were used for one task and then forgotten.
- Unused Sheets and Schedules: Placeholder sheets from the project setup or data schedules that are no longer part of the final deliverable set.
- Redundant Legends: How many versions of the same wall tag legend do you really need? Consolidate them.
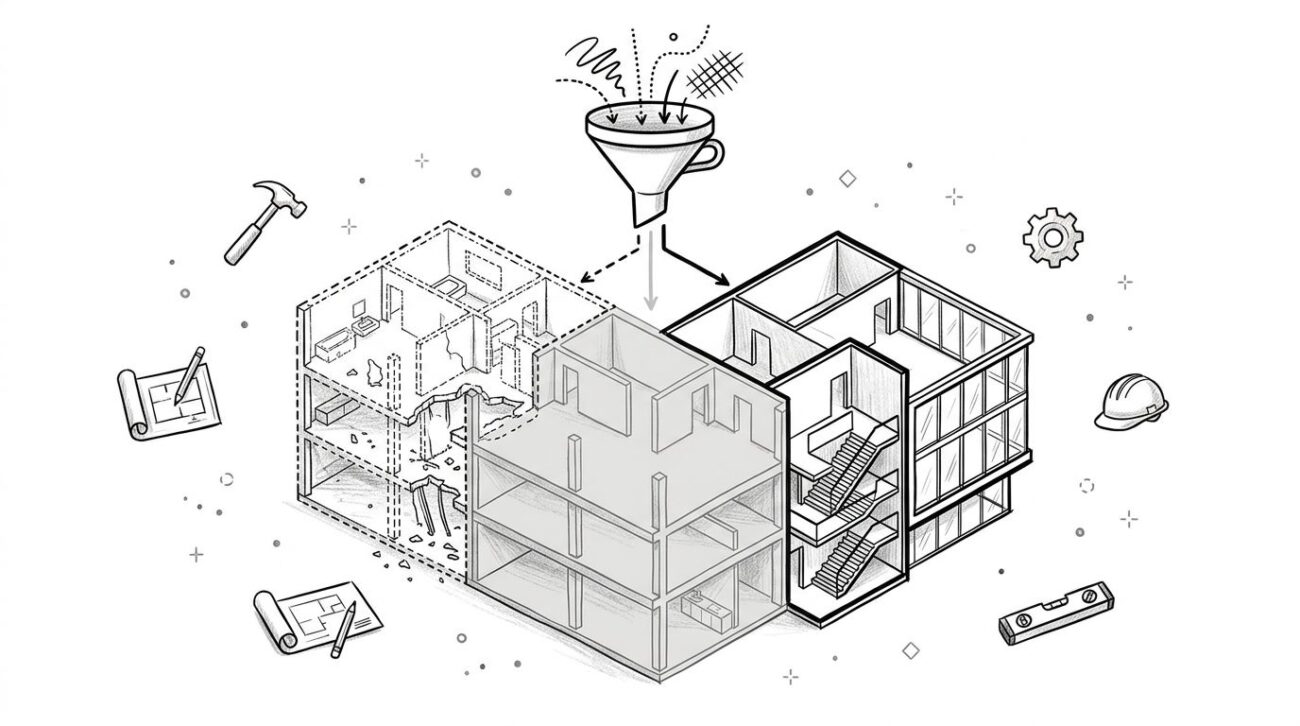
This simple flowchart breaks down where to look for the most common sources of file bloat, from over-modeled geometry to unused content.
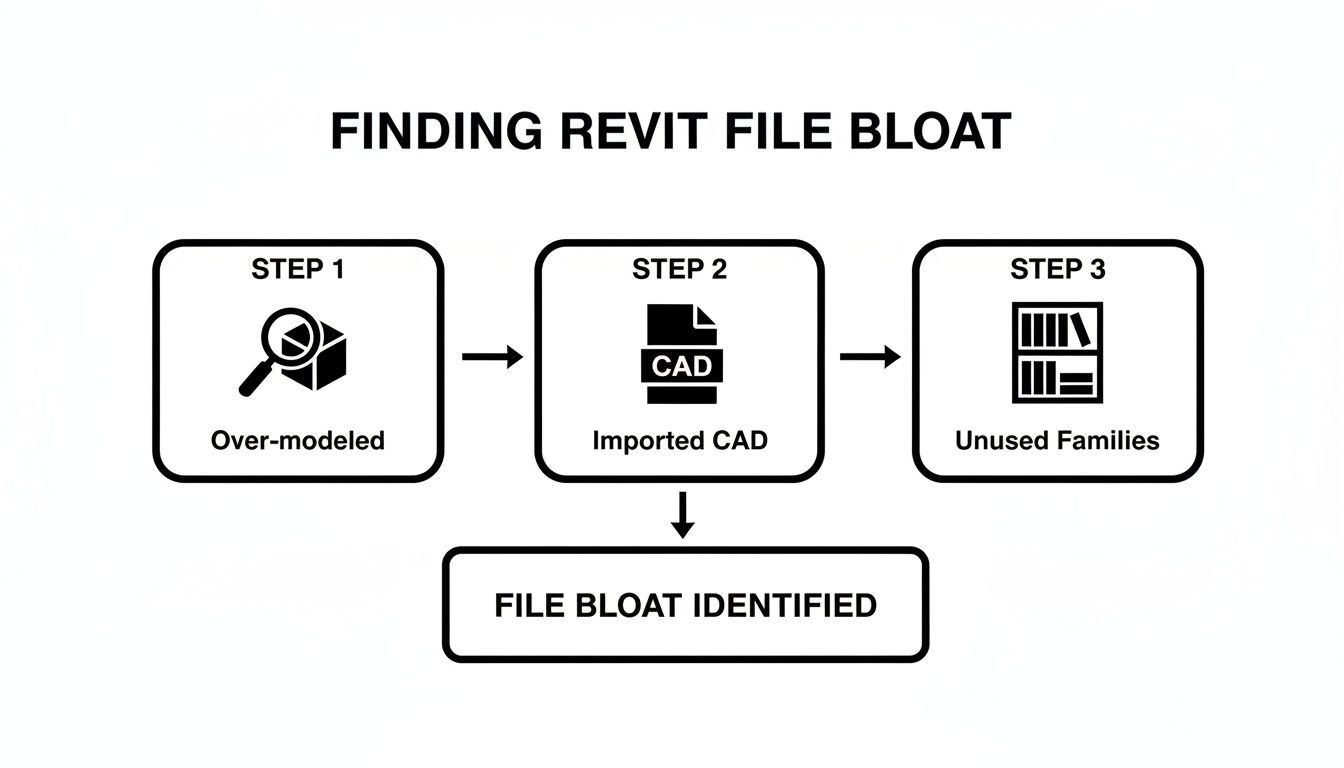
Each of these steps—analyzing geometry, auditing CAD imports, and culling families—is a critical checkpoint in a healthy model maintenance routine.
Deleting unused views and sheets is probably one of the highest-impact moves you can make. Industry analysis from folks like RV Boost consistently shows that purging these elements delivers the ‘biggest impact,’ especially on shared models with 20+ collaborators. Once you’ve coordinated with your team and backed things up, combine this cleanup with a final triple Purge Unused run and a Compact Save. You’ll often see files shrink by 20-40%.
Uncovering Phantom Elements and Data
Beyond what you can see in the Project Browser, Revit files are often haunted by “phantom” elements. These are items that exist in the model’s database but have no physical representation, making them impossible to find just by clicking around in views.
The two biggest culprits here are unplaced rooms and areas. They get created accidentally or are left behind after design changes, but since they aren’t placed in the model, they’re completely invisible. They still carry data, though, and they absolutely contribute to a bloated file.
A healthy model has no ghosts. Hunting down and removing unplaced rooms, areas, and spaces is a fundamental step in any serious Revit file optimization effort. It cleans the database and ensures your schedules are accurate.
You can find these phantoms easily. Just create a new schedule for Rooms or Areas and set the filter to only show elements that are “Not Placed.” This gives you a clean list of ghosts you can safely delete, instantly trimming junk data from your project. This isn’t just about file size; it’s about data integrity.
The Multi-Pass Purge Technique
Finally, we get to the “Purge Unused” command itself. The most common mistake I see is running it just once. A single pass rarely catches everything because of how elements are nested within families and systems. The established best practice is to run the command three consecutive times.
Here’s why:
- Pass 1: Revit removes a top-level unused family.
- Pass 2: With that family gone, the specific materials, line styles, or nested components inside it are now considered “unused.” The second pass catches and removes them.
- Pass 3: This final pass cleans up any remaining stragglers that were nested even deeper.
This multi-pass technique, combined with a focus on cleaning views and phantom elements first, transforms purging from a blunt instrument into a precise surgical tool. It’s how experienced production teams maintain lean, high-performing models without disrupting the project or risking data loss.
Taming Your Families, Links, and Imports
A Revit model is only as healthy as what you put into it. I’ve seen massive projects grind to a halt not because of overall complexity, but because of a handful of bloated, poorly built families. They act like anchors, dragging down performance every single time someone opens a view or syncs to central.
This is where you can really tell an experienced team from a novice one. Controlling file size isn’t a cleanup chore you do at the end; it’s a discipline you practice from day one. If you let unvetted families, messy CAD imports, and oversized links into your project, you’re constantly fighting a losing battle. The key is to be ruthless about what gets into your model.
Get Serious About Family Performance
Your Revit family library is the bedrock of your production pipeline. Letting it become a digital junkyard for random downloaded content is a recipe for disaster. Before any family gets into a project, it needs a proper audit.
And this isn’t just about looks. It’s about performance. We’ve seen teams reduce Revit file size dramatically just by cleaning up a few bad habits in their family creation. So here’s a rule to live by: no family over 1-2 MB gets into a project without a manager’s sign-off. Period.
Your family QA process should be a checklist looking for these classic performance killers:
- Nested CAD Imports: This is a cardinal sin. If a family has a DWG inside, it needs to be rebuilt from scratch with native Revit geometry.
- Overly Complex Geometry: Does that faucet really need modeled threads and manufacturer logos that no one will ever see? Simplify it. Get rid of the fluff.
- Useless Parameters: Manufacturer families are notorious for this, packed with dozens of parameters you’ll never schedule or use. Purge them mercilessly.
- LOD Compliance: The family must have appropriate Levels of Detail. A simple symbolic line in coarse view saves a massive amount of processing power compared to showing full 3D geometry everywhere.
Mastering this discipline is non-negotiable for high-performing teams. If you want to go deeper, our guide on creating high-performance Revit families gives you a solid framework.
Link vs. Import: A Critical Distinction
One of the biggest culprits of file bloat, especially with linked and imported files, is unoptimized CAD. Taking the time to get better at understanding the DWG file format is an invaluable skill for any BIM manager. It helps you spot and clean up messy files before they ever touch your Revit model, preventing data corruption and sluggishness down the line.
The rule here is simple and should be non-negotiable: Link, don’t import.
When you import a DWG, you’re injecting all of its junk—layers, line styles, strange proxy objects, and messy geometry—directly into your Revit database. It becomes a permanent part of your file that’s nearly impossible to fully remove. Linking, on the other hand, keeps the CAD file as an external reference. You’re in complete control.
We treat every linked file as a temporary guest in our project. It’s brought in for a specific job and then unloaded the moment it’s no longer needed. This single habit is a cornerstone of effective Revit file optimization.
A solid workflow for managing your links is essential for maintaining Revit model performance. This means regularly auditing the Manage Links dialog to remove outdated or unnecessary Revit links, CAD files, and images. For any shared files, always use “Overlay” instead of “Attachment” for your link type unless you have a very specific, documented reason not to. This one change prevents nested links from loading unexpectedly and slowing down every model they touch.
A Proactive Stance on Model Health
This obsession with content governance pays off across the entire project. Just by routinely purging unused families, materials, and groups, you can easily trim file sizes by 15-25%. These things often linger invisibly long after design phases have shifted.
This isn’t just about cleanup; it’s about building a proactive culture of model health. It protects your margins, keeps your schedules predictable, and builds the operational consistency needed to deliver projects reliably. It’s how you fix slow Revit models for good.
Building a Culture of Model Health
Tactical fixes like purging and cleaning links are crucial, but let’s be honest—they’re reactive. They treat the symptoms, not the disease. The only way to permanently solve the problem of bloated files and poor Revit model performance is to stop thinking about cleanup and start building a culture of model health.
This isn’t just some feel-good goal; it’s a production necessity. It means embedding clear, non-negotiable standards into your daily workflows so that your models stay lean by design, not by last-minute intervention. This is how high-performing teams protect their margins and deliver consistently without the constant fire drills of a slow, crashing model.
From Ad-Hoc Fixes to Standard Operating Procedure
A culture of health starts by codifying your standards into a living document—your BIM Execution Plan (BEP). This can’t be a dusty binder on a shelf. It needs to be the practical playbook that governs every modeling decision, from project kickoff to final archival.
Your BEP has to move beyond theory and lay down firm, actionable rules for the activities that most often lead to file bloat. This includes:
- Family Creation and Vetting: Strict rules on family file size, parameter naming, LOD requirements, and an absolute ban on nested CAD imports.
- Workset Management: Clear guidelines on what goes on each workset and how to manage visibility to reduce the data load when opening the model.
- Modeling Boundaries: Defining clear lines of responsibility between architectural, structural, and MEP models to prevent redundant modeling.
- CAD and Image Linking: Explicit protocols for cleaning DWGs before they are linked and a firm policy to use links instead of imports.
These standards create a shared language and a baseline for quality. They transform model health from an individual’s problem into a team-wide discipline.
Implementing Scheduled Health Checks and Checkpoints
You wouldn’t wait for a building to fail before inspecting its structure. So why do so many teams wait for a model to crash before checking its health? The most mature BIM workflows treat model health checks as a standard QA process, just like drawing reviews or clash detection runs.
This means scheduling regular, recurring health checks. For a fast-moving project, this might be weekly. For others, bi-weekly or at key milestones is enough. These checks are not emergency measures; they are routine maintenance.
We’ve seen teams cut file size dramatically once they fixed a handful of modeling habits instead of running risky cleanups. Proactive checks catch these habits early, preventing small issues from becoming project-killers.
These checks should also be tied to formal decision checkpoints in the project timeline. At the end of Schematic Design, Design Development, and before issuing Construction Documents, the team should formally review:
- Overall File Size: Is it within the expected range for this project type and phase?
- Warning Count: Are warnings being managed, or are they accumulating?
- Sync Times: Are synchronization times creeping up? This is a huge red flag.
- Link Management: Are all links clean, correctly pathed, and necessary?
This process turns model health into a measurable deliverable, ensuring you’re not carrying data debt from one phase into the next. It’s a core principle of maintaining a healthy project and a key strategy to reduce Revit file size for the long haul.
The Power of a Clean Template
Finally, every project should begin from a position of strength. All the cleanup in the world won’t matter if you’re starting every new job from a bloated, corrupted project template. Your template is the single most important tool for enforcing standards.
Take the time to periodically audit and scrub your templates. Purge them, audit them, and remove any legacy junk that has accumulated over the years. A clean template is pre-loaded with your firm’s best practices—your curated families, correct view templates, and optimized settings. It is the foundation of your entire model health strategy.
By focusing on governance and these cultural shifts, you transition from simply trying to fix slow Revit models to preventing them from ever getting sick in the first place. You can discover more about the foundations of a solid model in our discussions on the essentials of 3D models in Revit.
Theory is one thing, but consistent execution is what separates struggling teams from high-performing ones. To really get a handle on Revit model performance, you need a repeatable process—a checklist that builds good habits into your team’s muscle memory.
This isn’t about a one-time cleanup. It’s a strategic framework for keeping your project lean and stable from kickoff to closeout. Think of it as a tangible takeaway from everything we’ve covered, designed to stop file bloat before it even starts. The goal is to make Revit file optimization a standard operating procedure, not an emergency reaction.
Project Setup and Schematic Design
This is your best chance to set the project up for success. A little discipline here prevents massive headaches down the line.
- Start with a Clean Template: Before anything else, audit your firm’s project template. Get rid of any old, unused families, materials, or view templates before a single project is created from it.
- Establish a Workset Strategy: Define a clear and logical workset structure right away. More importantly, communicate this to the entire team so everyone understands exactly where different elements should live.
- Vet Core Families: Before anyone starts loading content, take the time to audit your key system and component families—think walls, doors, and windows. Check their file size, look for parameter bloat, and hunt for any nested CAD.
- Define Linking Protocols: Make it a firm-wide rule: link, don’t import, all external files (DWG, RVT, images). Set up a dedicated, organized folder for all project links from day one.
Design Development
As the model gets more complex, so does the risk of file size creep. This phase is all about vigilant maintenance and holding the line on the standards you set earlier.
- Schedule Weekly Health Checks: Put a recurring 15-minute meeting on the calendar for the BIM lead to review the model. This is non-negotiable. It’s the single most effective habit you can build.
- Monitor the Warning Count: That warnings list isn’t just for show. Review it weekly. Address and resolve critical warnings immediately; don’t let them pile up and become an overwhelming mess later.
- Audit Linked Files: Pop open the Manage Links dialog. Are all those links still necessary? Are any of the CAD files unpurged or ridiculously complex? Unload anything that isn’t actively being used.
- Control LOD Creep: Actively police the Level of Development. Make sure the team isn’t over-modeling details that simply aren’t required for this phase. This is how you fix slow Revit models before they become completely unmanageable.
A model’s health is a leading indicator of a project’s health. Slow sync times and a rising warning count are early signs of future schedule and budget problems.
Construction Documents and Delivery
The pressure is highest here, and so is the temptation to take shortcuts. This is where your disciplined process truly pays off, ensuring a smooth and predictable path to getting drawings out the door.
- Perform a Multi-Pass Purge: Before hitting any major milestones, run the “Purge Unused” command three consecutive times. This is a classic trick that helps clear out stubborn, nested junk data that a single pass might miss.
- Delete Unused Views and Sheets: Do a thorough audit of the Project Browser. Be ruthless. Delete all those temporary sections, test views, and unused sheets. The impact this has on file size is often massive.
- Hunt for Phantom Elements: Create “Not Placed” schedules for Rooms, Areas, and Spaces. You’ll often find phantom elements that were deleted from a view but still exist in the model’s database. Delete them from the schedule to truly clean things up.
- Audit and Compact the Central Model: As a final step, have all users sync and relinquish. Open the central model with the “Audit” checkbox ticked, then immediately perform a “Save As” with the “Compact File” option enabled. This creates a clean, optimized central file and is essential to reduce Revit file size before archival or handoff.
Having a plan is the first step. Below is a simple action plan that breaks these tasks down by project phase, helping you turn these reactive fixes into a proactive maintenance schedule.
Model Health Action Plan by Project Phase
| Project Phase | Key Actions | Primary Goal |
|---|---|---|
| Project Setup | Audit template, define worksets, vet core families, establish linking rules. | Establish a clean, organized foundation to prevent future issues. |
| Design Development | Conduct weekly model health checks, monitor warnings, audit linked files, police LOD. | Maintain model integrity and performance as complexity increases. |
| Construction Docs | Perform multi-pass purges, delete unused views, remove phantom elements. | Clean and streamline the model for optimal performance during peak production. |
| Milestone Delivery | Audit the model, compact the central file, create a clean archive copy. | Ensure a lightweight, stable file for final delivery and archival. |
By building these checks into your project timeline, you move from firefighting to proactive management, which is where every BIM manager wants to be.
Predictable project delivery is built on a foundation of strong BIM governance and disciplined workflows. If your team is struggling with slow models, painful sync times, and inconsistent processes, you don’t have to solve it alone.
Download our free Revit Model Health Checklist to get a head start on implementing these best practices today. It’s a practical resource designed to bring clarity and consistency to your production pipeline, not a sales pitch.