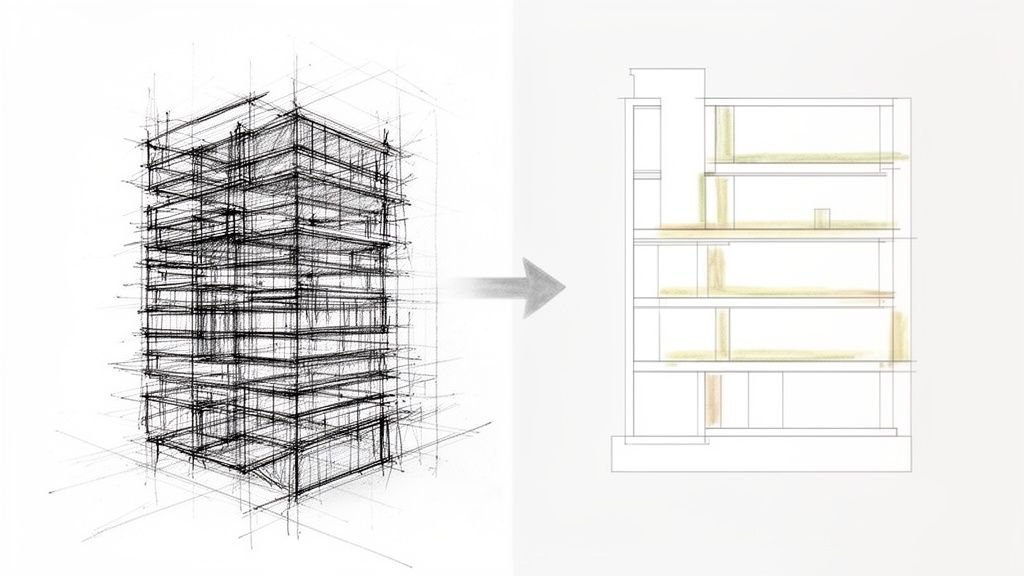
Most Revit errors are symptoms of deeper process gaps, not just isolated user mistakes. They accumulate quietly, project after project, leading to rework, sluggish performance, and coordination breakdowns that silently erode your margins and burn out your production teams.
If you’re an architect, BIM manager, or part of a production team, you get it. The real frustration isn't about not knowing how to use Revit; it’s about fighting the same preventable fires on every project. A misaligned grid, a few thousand warnings, or a consultant's messy link—these feel like minor annoyances in the moment. But these are the exact issues that snowball into late-stage disasters.
This guide isn’t a beginner's manual. We’re conducting a post-mortem on the 10 high-impact Revit modeling errors that consistently cause rework and break coordination. Our focus is prevention through production maturity: disciplined workflows, robust templates, and non-negotiable QA checkpoints. This is about treating the cause, not the symptom.
After reviewing hundreds of unstable models, one lesson is clear: prevention is always cheaper than cleanup. A disciplined approach isn’t academic; it's a direct investment in margin protection, predictability, and operational consistency. It’s how you reduce RFIs, streamline permitting, and build a reputation for reliable delivery.
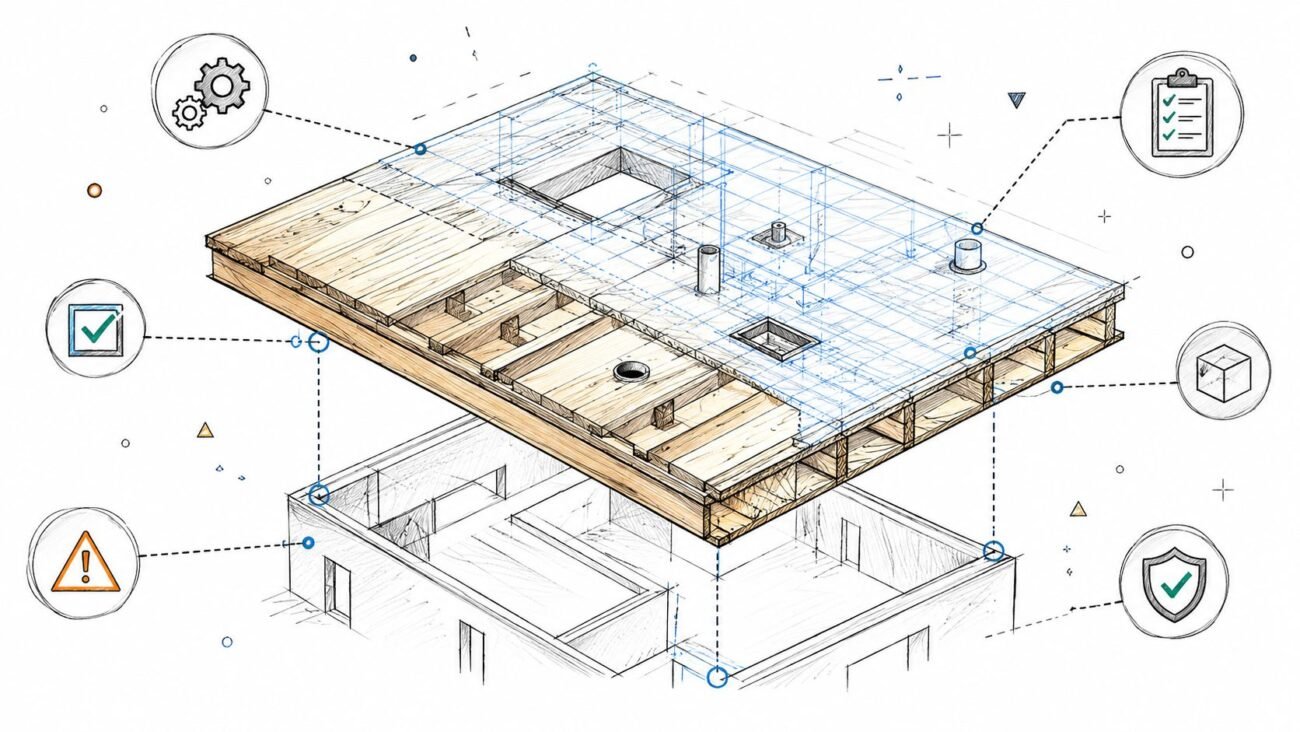
1. Mismanaged Levels and Grids
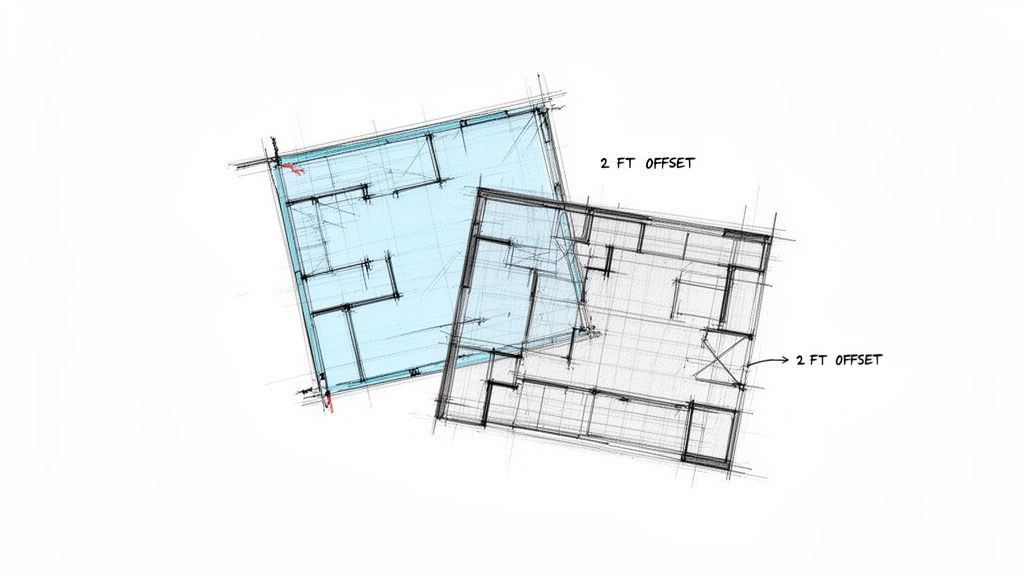
What it looks like: The project starts with inconsistently named levels or unpinned grids. A junior team member accidentally nudges a critical grid line by a fraction of an inch—an error that goes unnoticed for weeks.
Why it’s dangerous: When consultant models are linked, even a slight grid misalignment creates thousands of tiny offsets that require painstaking manual correction. This isn't just a coordination headache; it’s a direct hit to your budget, pulling senior staff into low-value cleanup. It compromises the structural integrity of the entire federated model, leading to costly RFIs during construction.
How to prevent it: This is a system failure, not a user mistake. Prevention requires strict, upfront controls.
- Single Owner: Designate one person to own and manage the master grid and levels file. No exceptions.
- Dedicated Workset: Place all levels and grids on their own locked workset that is not editable by default.
- Pin Everything: Once grids and levels are set and verified, every single element must be pinned. This simple action is your best defense against the accidental moves that derail projects.
2. Incorrect Workset Usage
What it looks like: Teams create dozens of granular worksets like "Doors-First-Floor" or "Windows-Exterior" to control visibility, treating them like CAD layers.
Why it’s dangerous: This fundamentally misunderstands a workset’s purpose: managing ownership. When a user working on a wall inadvertently borrows the "Doors" workset, they lock everyone else out from editing doors anywhere in the model. This triggers frustrating "cannot edit" pop-ups and painfully slow Sync with Central times. At scale, it breaks parallel workflows and turns collaboration into a productivity-killing bottleneck.
How to prevent it: Use worksets for what they were built for—organizing major building systems (e.g., Core, Shell, Interiors) or disciplines for ownership control.
- Discipline-Based Worksets: Define worksets in your project template based on team structure, not visibility needs.
- Rely on Filters: Use View Filters and View Templates for all visibility control. This is their intended function and avoids ownership conflicts.
- Workflow Training: Train your team on proper worksharing etiquette. Dive deeper in our guide to Revit worksharing best practices.

3. Poorly Built Families
What it looks like: A designer downloads a hyper-detailed door family from a manufacturer's website and loads it into the project. It looks great, but it’s stuffed with nested CAD imports, excessive parameters, and overly complex geometry.
Why it’s dangerous: These bloated families are silent killers of model performance. A single heavy family copied hundreds of times will make the model sluggish, prone to crashing, and nearly impossible to navigate as deadlines loom. That lag isn't just an annoyance; it's a direct tax on every billable hour. These are among the most common Revit mistakes that quietly corrupt models.
How to prevent it: Rigorous content control is non-negotiable.
- Curated Library: Build and maintain a firm-wide library of clean, lightweight, and standardized families. This is your single source of truth.
- Strict Standards: Enforce rules for family creation, including naming conventions, LOD requirements, and a ban on importing CAD files directly into families.
- Audit Everything: Any family from an external source must be audited and cleaned by a BIM manager in a container file before it enters a live project.
4. Over-Modeling at the Wrong LOD
What it looks like: A well-intentioned designer models every screw and sealant joint in a curtain wall system during Schematic Design, long before that level of detail is needed.
Why it’s dangerous: A decision made in isolation impacts everyone. Every time a team member opens a view or syncs to central, Revit has to churn through that excessive geometry. This model bloat leads to sluggish performance that only gets worse as the project progresses, directly hitting team morale and productivity. Our guide to reduce Revit file size offers technical fixes.
How to prevent it: Tie your modeling standards directly to the Level of Development (LOD) specifications in your BIM Execution Plan (BEP).
- Define "Don't Model": Your BEP should explicitly define what not to model at each project stage. This gives your team a clear decision checkpoint.
- Use Detail Components: For high-LOD requirements, rely on 2D detail components in specific views rather than over-modeling 3D geometry project-wide.

5. Bad CAD Imports and Exploded Geometry
What it looks like: To meet a deadline, a designer imports a manufacturer's DWG detail directly into a Revit view instead of linking it. To edit a line, they explode it.
Why it’s dangerous: Importing a DWG dumps hundreds of unnecessary layers, text styles, and line patterns into your project, creating a bloated file that is difficult to purge. Exploding the CAD is even worse—it creates thousands of unmanageable native Revit lines that destroy performance and are nearly impossible to clean up. This is a primary cause of model corruption.
How to prevent it: A non-negotiable workflow is your only defense.
- Quarantine First: Never link external CAD directly into your live project. First, link it into a separate, clean Revit container file.
- Audit and Clean: Inside the container file, delete unnecessary layers and purge unused elements.
- Link the Clean RVT: Once sanitized, link the clean Revit container file into your main project model. This firewall protects your central file from contamination.
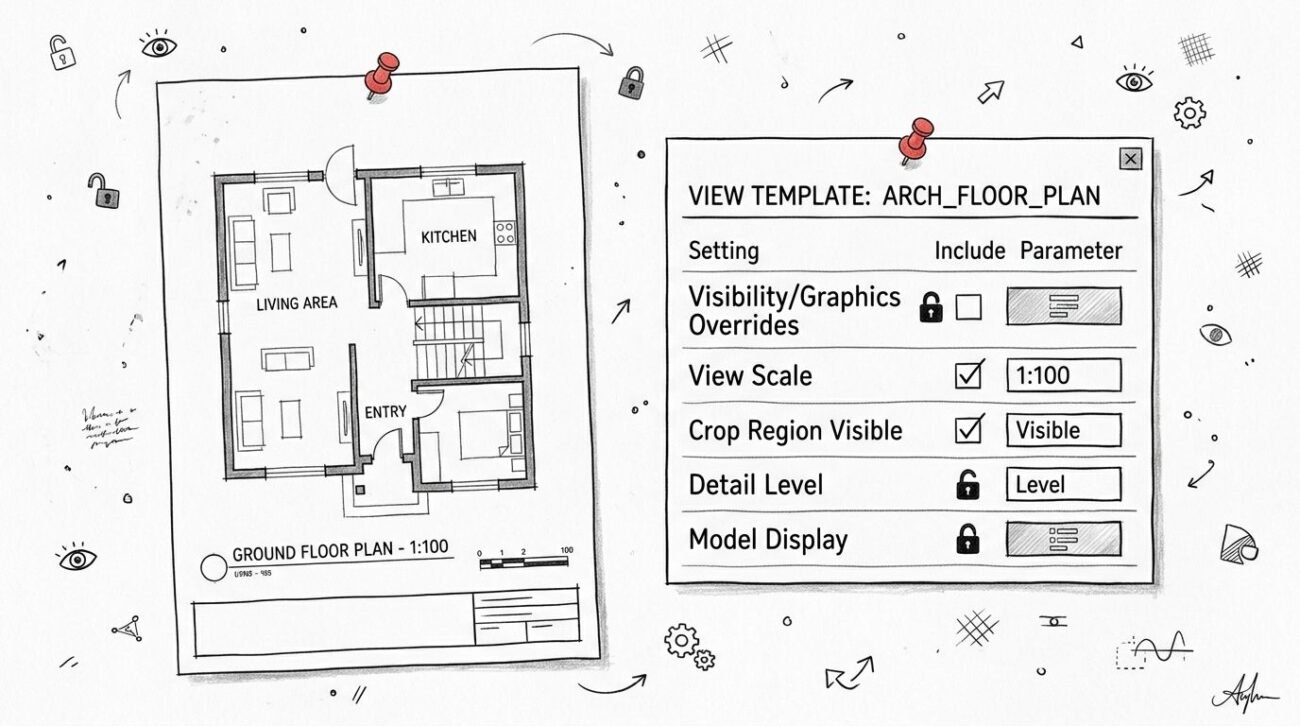
6. Broken View Templates
What it looks like: A team member under pressure manually overrides a view setting—hiding a category or tweaking a line weight—instead of editing the assigned view template.
Why it’s dangerous: This single shortcut creates an instant inconsistency across the drawing set. Multiply that by a dozen team members, and you have documentation chaos. What you see on one floor plan no longer matches the section view. This forces a painful, manual QA process to hunt down discrepancies, and missed errors lead directly to confusion and mistakes on site.
How to prevent it: Discipline is the only answer. Treat view templates as rules, not suggestions.
- Lock Them Down: Manage view templates centrally within your firm's project template.
- Limit Overrides: Restrict the ability of users to apply manual overrides. Any change should be a conscious decision to update the template, making consistency the default.
7. Incorrect Phasing
What it looks like: On a renovation project, a wall scheduled for demolition is accidentally left on the "New Construction" phase. The drawing now tells the contractor to build something that should be torn down.
Why it’s dangerous: This is a recipe for expensive rework, schedule delays, and a loss of trust with the construction team. It’s a classic documentation error that leads to a flurry of RFIs and potential change orders. It signals a system failure—a lack of a clear, project-wide phasing strategy defined in the BEP.
How to prevent it: Establish and document your phasing strategy at project kickoff.
- Standardize Naming: Use clear and consistent phase names in your project template (e.g., "Phase 1 – Existing," "Phase 2 – Demolition," "Phase 3 – New Construction").
- Phase-Specific Views: Create view templates specifically for each phase, with filters and graphic overrides pre-set to ensure elements display correctly.
8. Unbounded Rooms and Inaccurate Areas
What it looks like: A room separation line has a tiny, invisible gap, or a room object isn't fully enclosed by walls. Revit throws a "Room not in a properly enclosed region" warning, which is easily ignored.
Why it’s dangerous: The long-term impact is huge: your area calculations become completely unreliable. This corrupts everything downstream, from code compliance checks and cost estimates to leasing plans. Issuing a drawing set for permitting only to find your gross floor area is off by 5% is the kind of error that forces last-minute redesigns and puts project approvals at risk.
How to prevent it: Make area plan validation a mandatory QA checkpoint.
- QA Views: Create dedicated working views that highlight room separation lines and unbounded rooms, making them easy to spot.
- Regular Audits: Include a "Check Room Bounding" step in your weekly model health audit. Don't let these warnings accumulate.
9. Uncontrolled Links
What it looks like: A team relies on the default "Auto – Origin to Origin" linking method for all consultant models. The project proceeds smoothly until the civil engineer issues a file with a different origin point, and suddenly models are miles apart.
Why it’s dangerous: This creates a false sense of coordination. A structural model that looks aligned but is actually off by half an inch vertically can go undetected until fabrication, leading to expensive field fixes. For a deeper dive, Autodesk University offers great resources on managing linked files effectively.
How to prevent it: A strict, documented process for shared coordinates is non-negotiable.
- Establish at Kickoff: Shared coordinates must be established in the BEP at project kickoff and used for every single link.
- Use a Container File: Link all consultant models into a master container file to verify alignment before linking that container into the main architectural model. You can find more strategies in our Revit guides.
10. Warning Overload Ignored Too Long
What it looks like: A project starts with zero warnings, but by the DD phase, the list has swelled into the thousands. Teams get conditioned to ignore them—"highlighted walls overlap," "duplicate marks"—because most seem harmless.
Why it’s dangerous: This is a dangerous habit. Buried in those thousands of "harmless" notifications are the critical warnings that signal real trouble, like a wall disconnected from its level or an element that is a ticking time bomb for model corruption. Ignoring warnings builds a culture of complacency and directly degrades model performance. This is the death-by-a-thousand-cuts of Revit errors.
How to prevent it: Treat your warning count as a key project health metric. It’s a core discipline of any solid Revit QA best practices.
- "Warning Zero" Policy: Institute a mandatory, weekly QA process where the BIM lead is responsible for reviewing and resolving every single new warning.
- Document Resolutions: Keep a log of common warnings and their approved solutions to build institutional knowledge.
While strong internal practices are your first defense, external issues like data loss can be catastrophic. It’s essential to have robust secure data protection strategies in place to safeguard your work. For additional tools to tackle complex issues, platforms like supportgpt are worth exploring.
Most Revit errors are predictable, which means they are preventable. The key is to shift from a culture of reactive fire-fighting to one of proactive control. By embedding robust templates, checklists, and QA decision checkpoints into your workflow, you protect your margins, improve predictability, and deliver with confidence.
If you’re ready to build a more resilient production system, we offer frameworks to establish reliable delivery. A great place to start is with a clear checklist. Download our Revit Error Prevention Checklist to begin implementing these practices in your next project.
Explore our Architectural and BIM Consulting services to learn how we can help you build a more profitable and predictable production workflow.