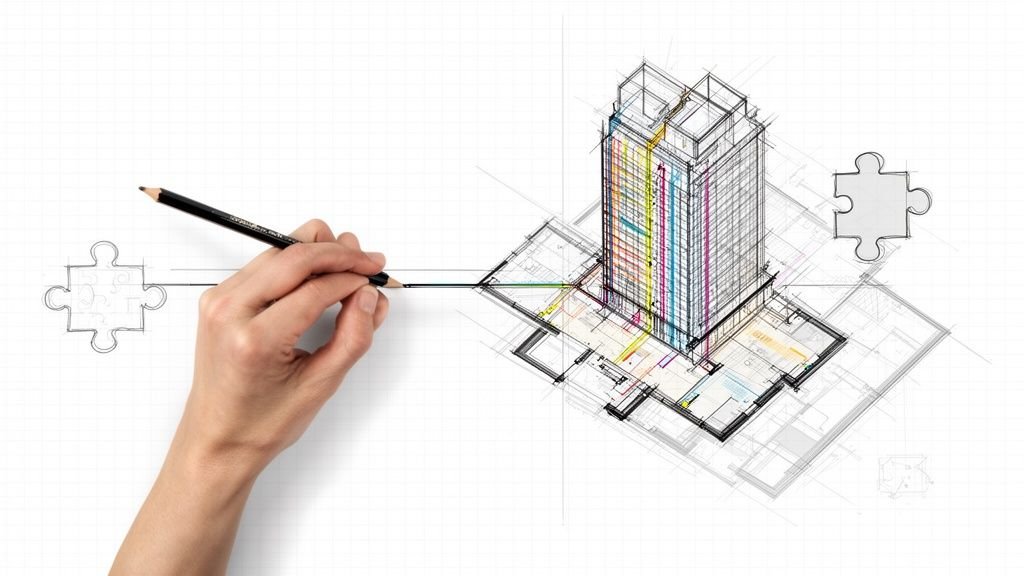
The level of detail in BIM isn't about how much geometry you can cram into a model. It’s a strategic production decision that separates efficient teams from those stuck in endless modeling cycles. The goal isn't geometric perfection; it's providing just enough clarity for the next person in line to make their decision with confidence.
Rethinking Level of Detail: From Modeling Ambition to Production Discipline
For too long, the conversation around the level of detail in BIM has felt like a modeling contest. This approach often sends teams down a rabbit hole of diminishing returns, falling into the "over-modeling" trap. They create beautifully detailed digital assets that are sluggish, a nightmare to manage, and nearly impossible for a contractor to build from directly.
This mindset blurs the line between design intent and construction documentation, creating a false sense of security. A model can look complete, yet the drawings pulled from it can be so ambiguous they trigger a storm of RFIs. You feel the pain in production meetings, where teams debate modeling every screw while neglecting the notes and callouts that actually guide installation.
The Handoff from 3D Coordination to 2D Clarity
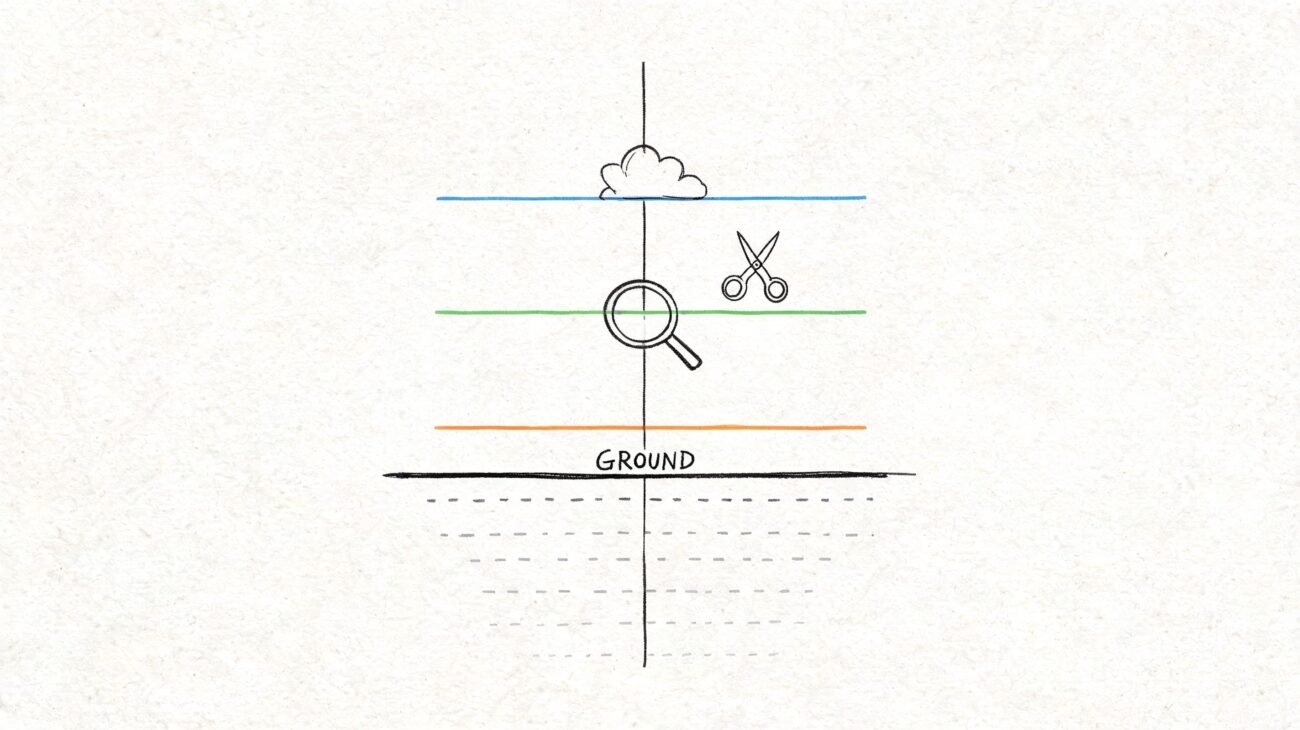
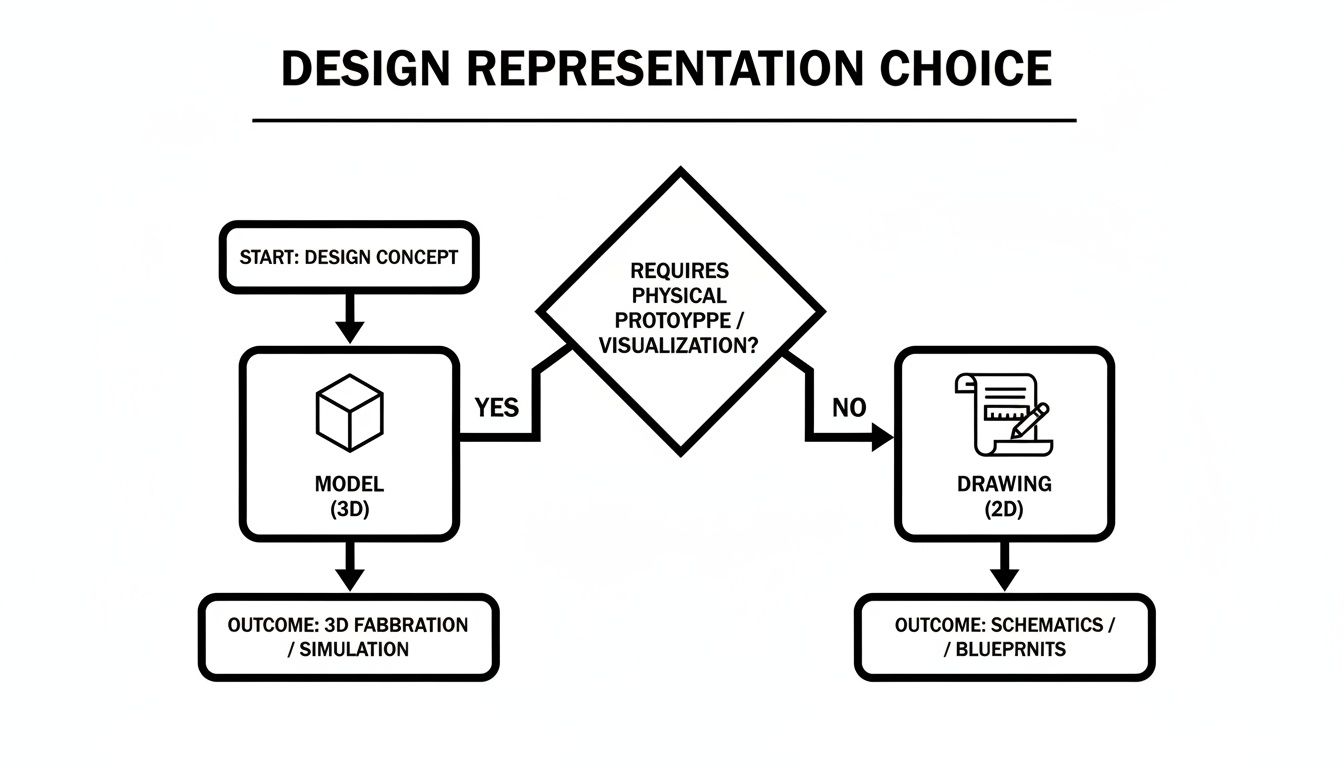
Mature production teams get it: the model’s primary job is to resolve the "what" and the "where." Once spatial coordination is locked in and major systems are integrated, the model has largely served its purpose for that phase. At this decision checkpoint, the focus must shift to the "how"—and that's the domain of documentation.
The most profitable teams aren't the ones with the most detailed models. They're the ones who have mastered the handoff from 3D coordination to 2D clarity, protecting their margins and delivering predictable results.
This disciplined approach requires a defined BIM documentation workflow. Instead of pushing the geometry further, these teams invest their energy into creating clear, concise, and buildable construction documents. They build out robust template libraries and implement rigorous QA processes that check for drawing clarity, not just model accuracy.
Protecting Margins with a Disciplined Framework
This shift in thinking—from modeling everything to modeling only what’s necessary for coordination—is the bedrock of production maturity. It’s how you protect your margins, prevent bloated files, and build the operational consistency that allows delivery pods to scale effectively. You can learn more about how this focused approach creates tangible value by exploring the benefits of BIM modeling in our detailed guide.
The Hidden Costs of Over-Modeling
Pushing geometry too far has real-world consequences that hurt your bottom line and frustrate your team. Many firms unknowingly bleed margin by chasing a level of detail in BIM that offers diminishing returns, mistaking modeling complexity for production maturity.
The most immediate pain is a model that runs like it’s stuck in mud. When teams over-model with overly detailed families, simple tasks like opening a view, syncing to central, or plotting a sheet in Revit become a slow, painful process. Those wasted minutes quickly add up to days of lost productivity.
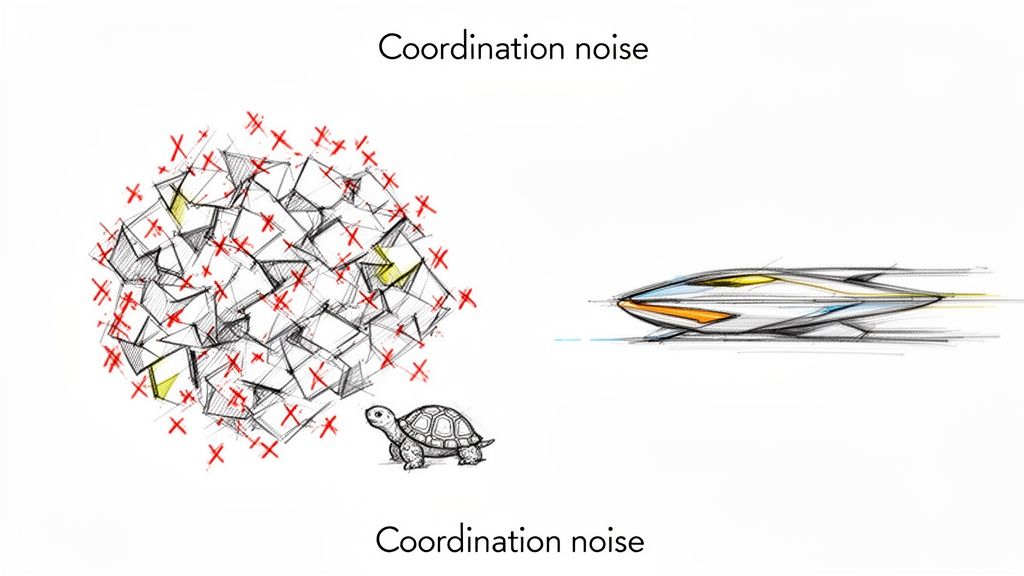
Drowning in Coordination Noise
Beyond performance, over-modeling generates "coordination noise." This is what happens when excessively detailed elements create hundreds of false positives in clash detection. Suddenly, your valuable coordination meetings are spent sorting through meaningless clashes—a pipe hitting an anchor bolt head—instead of focusing on genuine, high-risk spatial conflicts.
This noise creates false confidence. The model looks "complete," but the drawings are unclear, lacking the notes and annotations that contractors actually build from. This is where predictability breaks down and RFIs are born.
The Misalignment of Effort and Value
At its core, the issue is a misalignment between effort and value. Too much time gets spent perfecting geometry that has no bearing on coordinated construction, while the critical task of creating clear, unambiguous LOD in construction documents is rushed.
We’ve seen CD timelines improve dramatically once teams learned to stop modeling past the point of decision clarity and focused on documentation quality. This requires a shift in mindset: the decision on when to stop modeling in Revit isn’t a technical limitation but a strategic production choice.
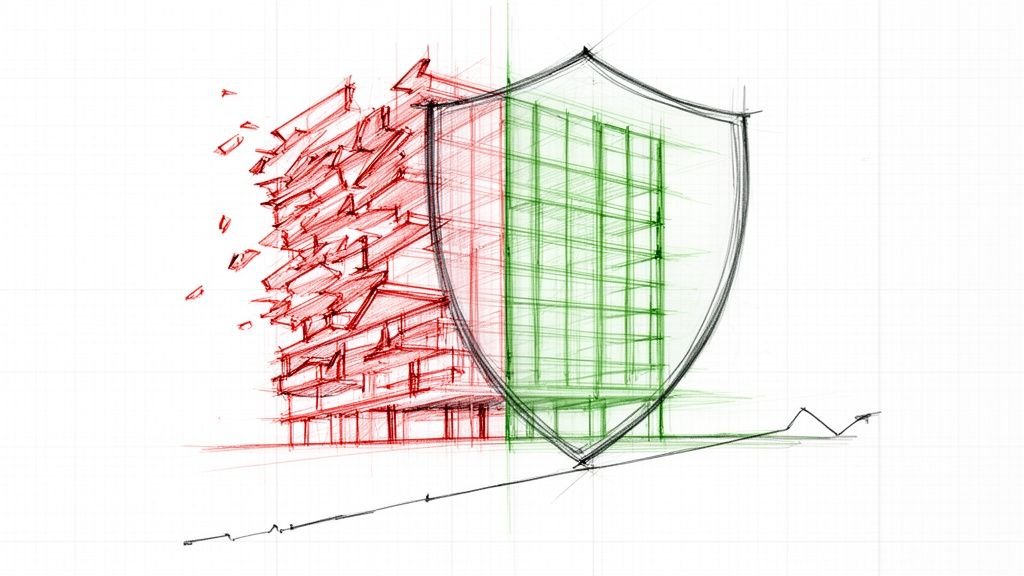
Over-modeling is the enemy of predictability. It trades the clarity needed for construction for a level of geometric detail that serves no practical purpose in the field, creating risk where there should be certainty.
Disciplined constraints, not unlimited detail, drive profitable outcomes. By defining what must be modeled for coordination versus what must be documented for construction, you establish a BIM documentation workflow that protects your team’s time and the project’s budget. You can explore the guidelines that drive these results in the widely adopted BIMForum LOD Specification.
Defining the Handoff: Model vs. Drawing
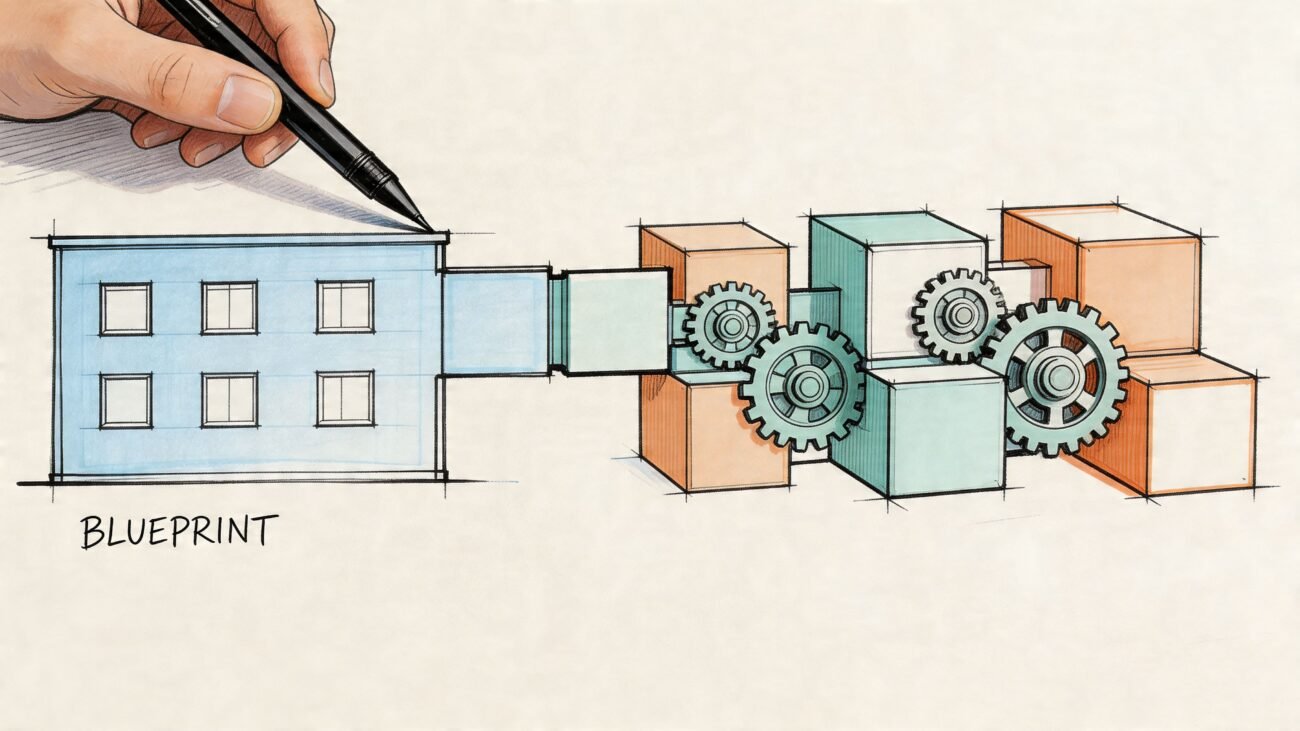
The solution to over-modeling isn't a better graphics card; it's a clear, intentional transition from 3D geometry to 2D documentation. This is where mature production teams build their competitive edge. They treat the level of detail in BIM not as a modeling ambition but as a critical production decision.
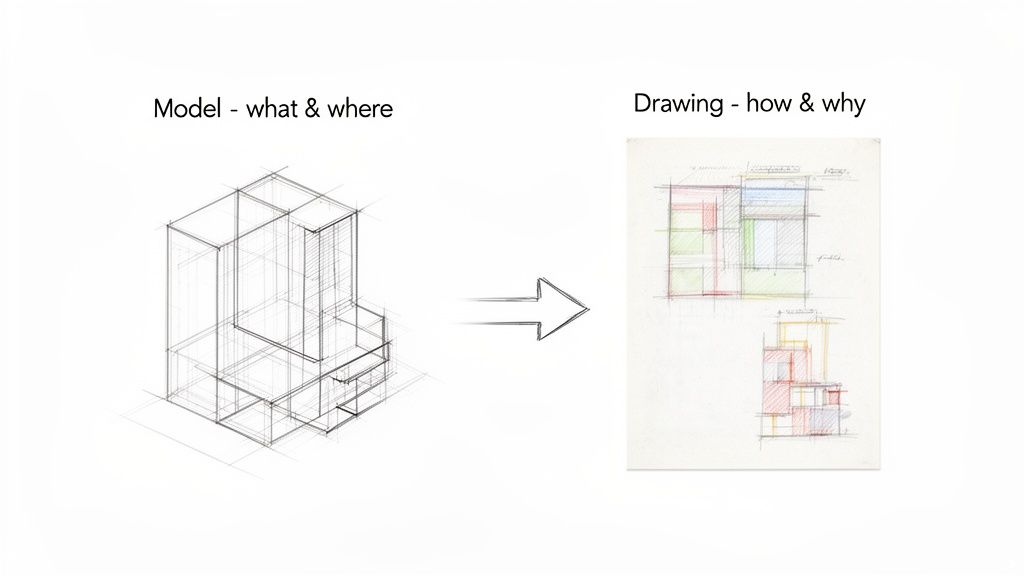
This decision point is the handoff—that moment when the model has answered "what goes where," and the drawings must take over to explain "how it gets built."
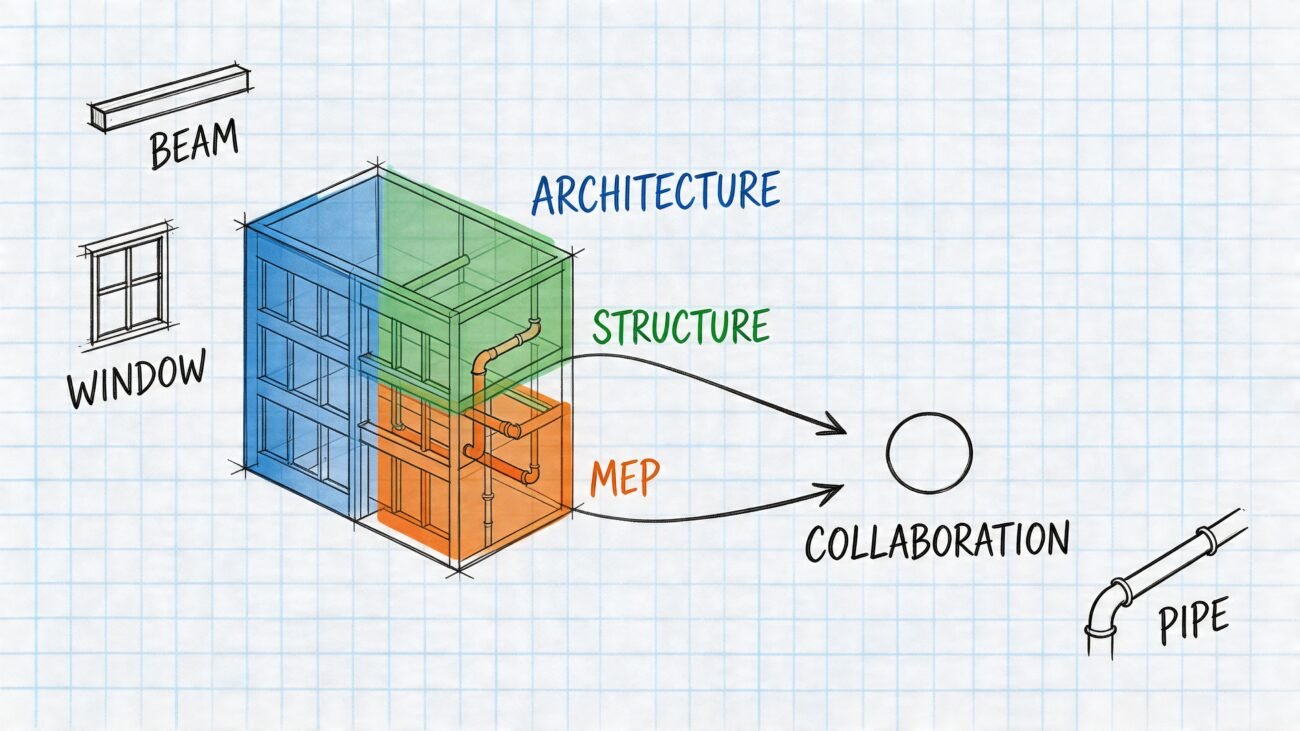
The Model Answers What and Where
During design development, the model's primary role is spatial coordination. Its job is to define and protect volumes, confirm clearances, and ensure major systems can coexist without clashing.
The model should definitively answer questions like:
- Does the primary ductwork fit above the ceiling and below the structure?
- What are the exact dimensions and location of a curtain wall system?
- Have service access zones for major equipment been accounted for?
Once these big-picture issues are resolved in 3D, the model's primary coordination job is done. Pushing the geometry further adds weight but provides little additional value. This is precisely when the handoff should occur.
The Drawings Answer How and Why
While the model shows the assembly, the drawings explain the assembly process. Contractors build from drawings, notes, and details—not by navigating a dense 3D model on-site.
Effective documentation picks up where the model leaves off, answering a different set of questions:
- How is that curtain wall panel attached to the steel structure?
- What are the specific materials, fasteners, and waterproofing details at that connection?
- Why is a certain sequence of installation required?
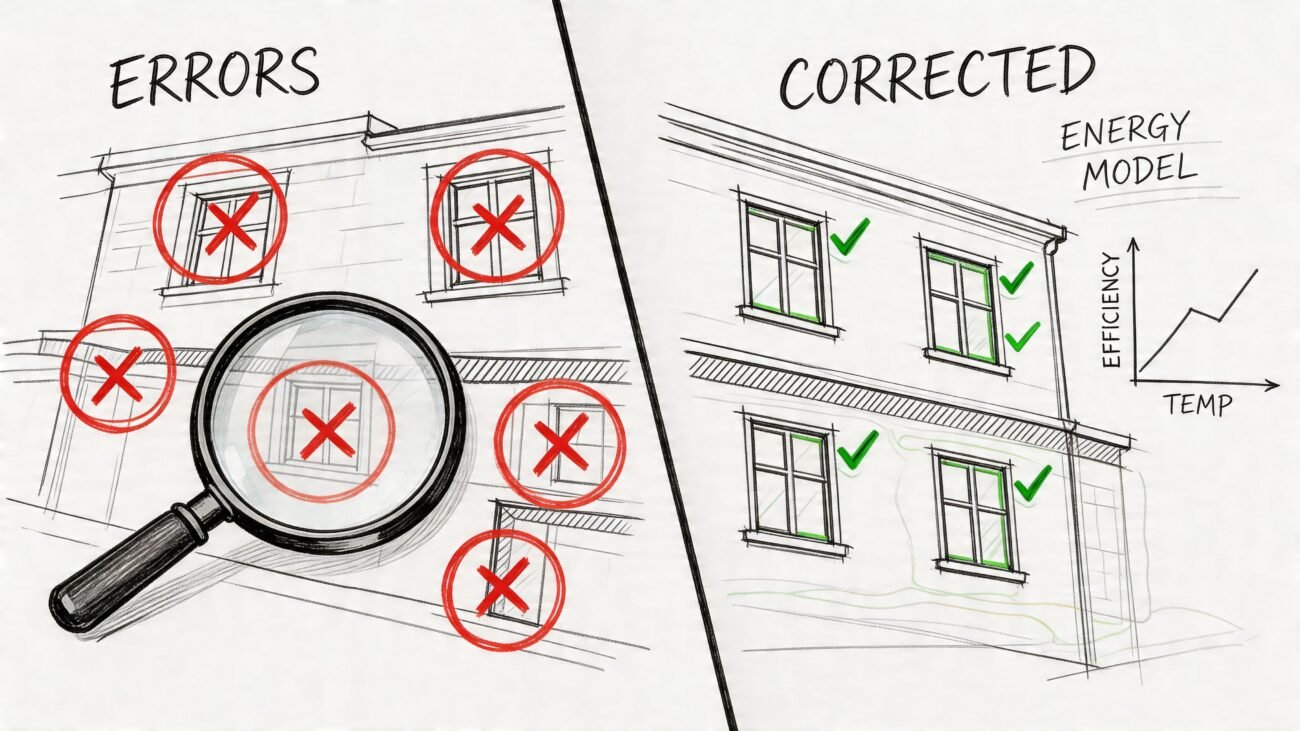
This is the information that prevents RFIs. A beautiful 3D model of a window is useless if the flashing details are ambiguous on the drawings. This shift from geometry to instruction is the core of an effective BIM documentation workflow.
The maturity of a BIM process isn't measured by the complexity of its models, but by the clarity of its construction documents. The goal is to deliver instructions, not just geometry.
Creating Your Rules of Engagement
Establishing this handoff requires internal rules of engagement, reinforced by strong template discipline and rigorous QA processes. Your team must decide—based on project phase and risk—what warrants 3D modeling versus what can be more effectively communicated through 2D details.
This intentional, documented decision transforms your process. Debates about when to stop modeling in Revit are replaced by clear standards. The false confidence of a "complete" model gives way to the real certainty of buildable LOD in construction documents. You can dive deeper into the specifics of this project phasing by understanding when to use each LOD level from 100 to 500 in our comprehensive guide.
Your BIM Documentation Workflow Checklist
Let's move from theory to action. Establishing clear rules for when to model and when to document is the most effective step toward production maturity. A disciplined BIM documentation workflow removes guesswork, aligns teams, and ensures every hour is invested where it creates clarity for the builder.
This isn’t about red tape. It’s about building a delivery system that protects your margins. When you define your handoffs, the abstract concept of level of detail in BIM becomes a practical tool.
The core idea is simple: use 3D for coordination and spatial validation, and use 2D for communicating instructional detail and assembly logic.
When to Model vs. When to Document
| Element / System | Model For (Coordination & Quantity) | Document For (Construction & Assembly) |
|---|---|---|
| Structural Steel | Accurate member sizes, locations, and major connections for clash detection. | Bolt patterns, weld types, base plate details, and erection sequencing. |
| Exterior Wall Assembly | Overall thickness, material layers, and window/door opening locations. | Flashing details, sealant joints, insulation installation, and vapor barrier laps. |
| MEP Mains & Risers | Route, diameter, and clearance zones for coordination with structure. | Hanger types and spacing, valve locations, access panel requirements, and insulation specs. |
| Interior Partitions | Location, thickness, and fire rating for space planning and code review. | Head/base track details, stud spacing, GWB layers, and acoustic sealant specs. |
| Custom Casework | Overall dimensions and clearance zones for coordination with other trades. | Joinery details, hardware specifications, finish application, and installation tolerances. |
This table reinforces the central idea: the model is for what and where, while the documents are for how and why.
Define LOD by Project Phase, Not Just Element
Tie modeling effort to your project milestones and key decision checkpoints.
- Schematic Design (SD): Model for massing, orientation, and major programmatic volumes.
- Design Development (DD): Model major systems and assemblies to confirm everything fits. This is peak 3D coordination.
- Construction Documents (CDs): Freeze coordinated geometry. The primary effort shifts to documentation. Model updates from here should be minimal and targeted.
Prioritize Documentation for Means and Methods
The model is great at showing what and where, but it’s a terrible tool for explaining how. Your workflow must explicitly assign all non-geometric "how-to" information to the documentation layer. This is how you prevent RFIs.
Your CD-phase checklist should confirm that the drawings, not the model, clearly spell out:
- Connection details and fastener specifications.
- Material transitions and waterproofing layers.
- Installation sequencing and required tolerances.
Build a Referenced Standard Detail Library
A mature workflow relies on a library of standard details that are referenced, not remodeled on every project.
Your most valuable asset isn't a collection of complex families; it's a vetted library of 2D details that solve common construction conditions. This is how you achieve scalable delivery.
This approach saves countless hours and ensures a consistent, high-quality output.
Implement QA Checkpoints for Drawing Clarity
Your QA/QC process must evolve beyond clash detection. Implement checkpoints that specifically review how clear your drawings are. Ask the questions a superintendent on-site would ask.
- Are the notes and dimensions clear and unambiguous?
- Do the detail callouts make logical sense?
- Could someone build this component using only this sheet, without opening the model?
This intense focus on the final deliverable—the construction documents—is what ensures your well-coordinated model translates into a well-executed building. And to make sure that documentation is truly useful, consider best practices for writing effective documentation that your teams will appreciate.
Building a Culture of Production Maturity
Adopting a disciplined approach to the level of detail in BIM is a signal of production maturity. It marks the evolution from a CAD-to-BIM mindset to a true BIM workflow focused on reliable information. It’s the difference between a team that argues over modeling every screw and one that operates from a clear standard.
This maturity has a direct line to margin protection, predictability, and operational consistency. Immature teams over-model out of fear or old habits, resulting in sluggish models and ambiguous documents. Mature teams operate proactively, knowing their value is measured in the clarity of the final deliverable.
From CAD Habits to BIM Systems
The jump from a CAD-centric workflow to a mature BIM system is profound. In a modern BIM documentation workflow, more geometry can introduce less clarity. A production-mature culture understands this distinction.
This culture is built on:
- Template Discipline: Project setup begins with robust templates that have predefined views, sheet sets, and annotation standards.
- Intentional Handoffs: Teams clearly define decision checkpoints where the focus shifts from 3D coordination to 2D documentation, preventing last-minute rushes.
- Systematic QA Processes: Quality assurance includes specific reviews for drawing clarity, making sure a contractor can actually build from the sheets.
This systematic approach is the foundation for reliable delivery. It’s how you stop selling hours and start selling clarity.
The Business Case for a Disciplined LOD
A disciplined approach to LOD isn't just good practice; it's good business. To dig deeper into this crucial distinction, you can explore the differences between Level of Detail and Level of Development in this insightful article.
We’ve seen CD timelines improve once teams stopped modeling past the point of decision clarity and focused on documentation quality. This isn’t about working harder; it’s about working smarter by channeling effort where it delivers the most value—preventing RFIs.
Building this culture means investing in shared knowledge and standards. It requires a system where lessons learned on one project are captured and folded into the templates and checklists for the next. Cultivating a robust organizational learning environment is essential. You can explore the best practices of knowledge management to see how systems can reinforce excellence.
Ultimately, a culture of production maturity changes the conversation. Instead of asking, "Can we model this?" the team asks, "Does modeling this add value, or can we communicate it more clearly in our drawings?" That simple question is the key to building a reputation for predictable delivery.
A Practical Tool for Your Next Project
The right level of detail in BIM isn’t about flexing modeling muscles—it’s about knowing when the model has served its purpose. Your goal isn't geometric perfection; it's clarity for the people who have to build the thing. By drawing a clear line between 3D coordination and 2D documentation, you sidestep the costs of over-modeling and get back to a predictable workflow.
This shift moves your team from debating every nut and bolt to operating from a shared playbook. Your BIM documentation workflow becomes a system that protects margins, prevents RFIs, and builds the consistency you need to grow.
True production maturity is when the question changes from “Can we model this?” to “Should we model this, or is it better communicated in our drawings?”
Start Your Next Project with Clarity
We don’t sell hours; we sell clarity, systems, and reliable delivery. To help you put these ideas into practice, we’ve created a practical resource to get your team aligned.
Download our free Model-vs-Document Decision Matrix. Use this simple checklist at your next kickoff meeting to guide the discussion, define your modeling strategy, and start building with more confidence and less ambiguity. It’s a practical resource built from lessons learned in the field, designed to give you a framework for making smarter production decisions.
Frequently Asked Questions
Even with a solid plan, questions pop up when implementing a disciplined level of detail BIM approach. Here are a few common ones we hear from teams making the shift.
At what point does MEP coordination become over-modeling?
The line is crossed the second you model components that don't impact spatial claims. The goal of MEP coordination is to lock down the spatial envelope for equipment, define service clearances, and confirm main routing. Once those volumes are coordinated and clashes are resolved, the model has done its job. Shift all other details—like internal fittings, standard hangers, or specific valve models—to your 2D diagrams, schedules, and specs.
How do we handle client requests for hyper-realistic models?
Set expectations early and frame the conversation around value. Explain that a photorealistic marketing model is a completely different deliverable than a coordinated model built for construction. Help them see that the "detail" they really need is in the clear drawings and precise specs that prevent RFIs and change orders, protecting their budget and schedule.
What is the best way to define LOD in a BIM Execution Plan?
Get specific. Simply writing "LOD 300" is a recipe for confusion. Instead, use actionable language. For each project milestone, spell out what questions the model must answer. For example: At the DD milestone, the model must confirm all major structural penetrations. At CDs, it must provide accurate locations for every coordinated element. Back this up with a visual matrix showing what will be modeled versus what will be handled in 2D. This makes your BIM documentation workflow crystal clear.
At BIM Heroes, we believe that predictable success comes from mature production systems. We don’t just sell modeling hours; we provide the clarity and frameworks that help your teams deliver consistently. If you're ready to move beyond reactive modeling and build a more profitable workflow, we're here to help.
Explore our services at https://www.bimheroes.com.