We’ve all inherited that Revit model. You open it, and your heart sinks. The Project Browser is a lawless wasteland, thousands of warnings hide critical errors, and every simple task turns into a forensic investigation. Hours—or even days—are wasted just trying to make sense of the chaos before any real work can begin. This isn't just an annoyance; it's a direct hit to your margins.
Contrast that with opening a model where everything makes sense. Views are logically named, the file is responsive, and you can find what you need instantly. This isn’t a fantasy; it’s the result of a mature production workflow built on standards that people actually follow.
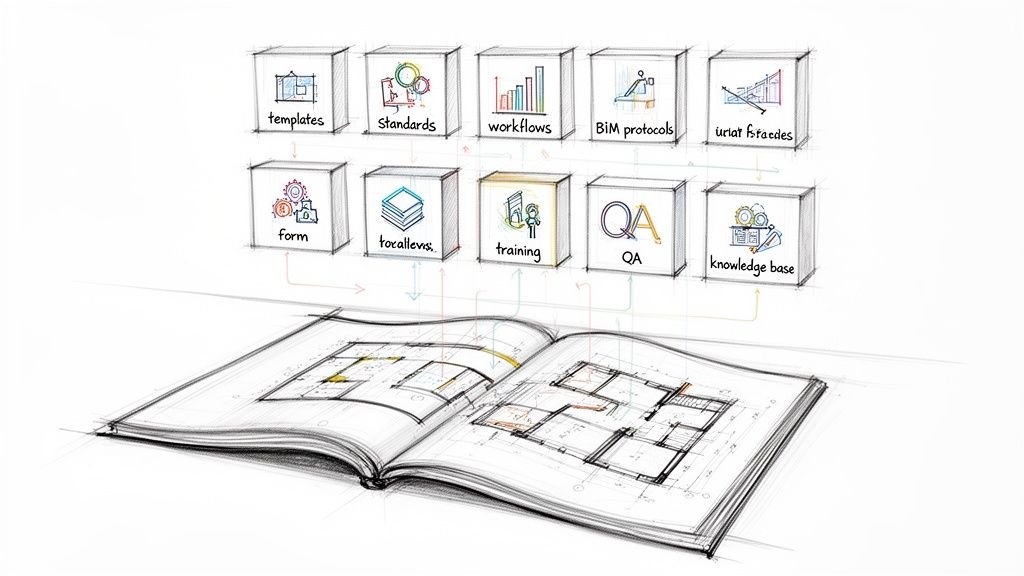
This guide isn't another 500-page BIM manual destined to collect dust. It’s a practical framework for creating minimal, enforceable standards that genuinely improve model health, team productivity, and project predictability. It’s about building models that work, not just models that look perfect.

Why Model Cleanliness Matters Beyond Aesthetics
A messy Revit model isn't a neatness problem—it's a business problem. It erodes profitability, destroys predictability, and creates operational drag.
- Margin Protection: Every minute spent deciphering inconsistent naming or fixing a corrupt model is unbillable time that eats into your margins. Clean models reduce rework and prevent budget overruns.
- Predictability: A well-organized model behaves predictably. It performs well under pressure, coordinates smoothly with consultants, and produces reliable documentation, which is essential for meeting deadlines without chaos.
- Operational Consistency: When every project follows a core set of standards, you create a scalable system. New team members onboard faster, and delivery pods can operate with a shared language, ensuring consistent quality from project to project.
The true cost of a messy model isn't just the time spent cleaning it. It's the cascade of RFIs, busted budgets, and the demoralizing cycle of rework that drains team morale and client confidence. A clean Revit model is the foundation for reliable delivery.
The Philosophy of Standards That Work
Let’s be honest: most BIM standards fail. We've seen 200-page BIM manuals produce messier models than 10-page guides with clear principles—because the short guide was actually read, understood, and enforced. The problem isn't a lack of rules; it's that most standards are created in isolation, without considering the realities of production.
To build standards that stick, you need a different philosophy—one that values compliance over complexity.
Minimal Rules, Maximum Compliance
The fewer rules you have, the more likely your team is to remember and follow them. Focus on the 20% of standards that prevent 80% of problems. Every rule should solve a real, painful issue your team has experienced.
Every Standard Needs a Clear "Why"
If you can't explain why a rule exists in terms of preventing crashes, avoiding coordination errors, or protecting project margins, it shouldn't be a rule. Teams follow standards they understand and believe in. Rules without rationale breed resentment and non-compliance.
If You Can't Enforce It, Don't Require It
A standard without an enforcement mechanism is just a suggestion. Your rules must be tied to practical quality checkpoints, automated through templates, and reviewed consistently. If a standard is unenforceable, it just adds noise.
Permission to Keep It Simple
The goal isn't a "perfect" Revit model; it's a high-performing model that enables efficient workflows. Give your team permission to prioritize function over dogmatic adherence to overly rigid rules. A clean, functional Revit model is the result of a few well-chosen, consistently applied principles—not a mountain of standards nobody follows.
Why Most BIM Standards Fail
Many firms invest heavily in creating comprehensive BIM standards, only to see them ignored. This failure is predictable and usually stems from a few common mistakes:
- Too Complex: Hundreds of pages of rules are impossible to remember, let alone follow during a deadline crunch.
- No Clear Rationale: Standards are presented as commands without explaining the problems they prevent, leading to a lack of buy-in.
- No Enforcement: Without regular audits or milestone checkpoints, standards become optional.
- Created in Isolation: Standards developed by a committee without input from production teams are often impractical and out of touch with real-world workflows.
- One-Size-Fits-All: Applying the same rigid rules to a small tenant improvement and a large-scale hospital project ignores critical project differences.
- No Onboarding: New team members are thrown into projects without being trained on the firm's standards, leading to immediate chaos.
Avoiding these traps is the first step toward creating a culture where clean models are the norm, not the exception. For more on building a framework that works, our guide on implementing effective BIM standards offers a deeper dive.
Category 1: Naming Conventions That Work
Consistent naming isn't about arbitrary rules—it's about making your Revit model findable and intuitive. When a team member can locate a view, sheet, or family without asking, you've saved valuable time. Logical naming is the first line of defense against chaos.
This matters because: It enables findability in the Project Browser, allows for sorting and filtering, and is essential for any automation with tools like Dynamo. Without it, team members waste time hunting for information.
Specific Standards & Rationale:
-
View Naming: Use a Discipline-Level-Type-Scope format.
- Example:
A-L01-PLAN-OVERALLorM-PENT-PLAN-ENLARGED-WORKING - Rationale: Instantly tells you the discipline, level, view type, and purpose (e.g., "WORKING" vs. a final sheet view). This allows for browser sorting that separates draft views from documentation.
- Enforcement: Set up in the project template. Audit via the Project Browser during weekly check-ins.
- Example:
-
Sheet Naming: Use a logical discipline and series number.
- Example:
A101,A102(Architectural Plans),A201(Elevations),S301(Structural Details). - Rationale: Creates a predictable drawing set that is easy for the entire project team, including external consultants and reviewers, to navigate.
- Enforcement: Established in the template and reviewed before every drawing submission.
- Example:
-
Family Naming: Use a Category-Type-Dimensions/Identifier format.
- Example:
Door-SingleFlush-36x84-WoodVeneerorLight-Pendant-Make-Model-24in. - Rationale: Makes finding the right family in the library or Project Browser fast and unambiguous. It prevents the loading of duplicate or incorrect components.
- Enforcement: Enforced at the library level. The BIM Manager should approve all new families before they are added to the official library.
- Example:
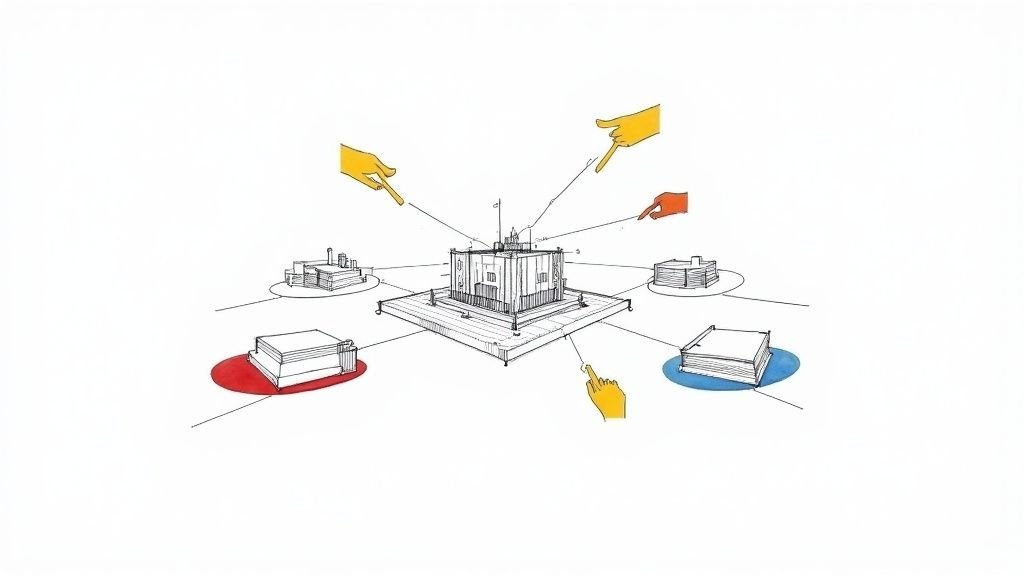
Category 2: A Workset Strategy That Reflects Workflows
Worksets are critical for multi-user performance and collaboration, yet they are frequently misused. A smart workset strategy should reflect how teams actually work, not arbitrary divisions.
This matters because: Proper workset structure allows team members to selectively load only the parts of the model they need, dramatically improving open and sync times. It also prevents ownership conflicts and reduces crashes.
Specific Standards & Rationale:
- Functional Workset Structure: Organize worksets by building system or area of responsibility.
- Example:
01_Shell_and_Core,02_Interiors,03_Site,Shared_Levels_and_Grids,LINK-STRUCTURAL,LINK-MEP. - Rationale: This structure allows an architect working on interior layouts to keep the structural and site models unloaded, making Revit significantly faster. Never create worksets per user or per floor, as this creates ownership conflicts.
- Enforcement: Worksets should be pre-defined in the project template. It should be a firing offense to have model elements on "Workset1" or a user-named workset.
- Example:

Category 3: Warning Management as a Health Metric
A high warning count is the clearest sign of a sick Revit model. Warnings are not just annoyances; they are indicators of geometric conflicts and data issues that degrade performance and can lead to file corruption.
This matters because: Thousands of warnings create "alert fatigue," hiding the handful of critical errors that can cause model instability or incorrect documentation. Managing warnings is a direct measure of Revit model quality.
Specific Standards & Rationale:
-
Warning Count Thresholds: Maintain a target for the number of active warnings.
- Thresholds: Target: Under 50; Concern: Over 200; Crisis: Over 500 (stop and clean immediately).
- Rationale: Provides a clear, measurable indicator of model health that the entire team can understand and work toward.
- Enforcement: The warning count should be reported at weekly team meetings. Assign responsibility for fixing warnings.
-
Zero-Tolerance for Critical Warnings: Some warnings must be fixed immediately.
- Examples: "Duplicate instances in same place," "Room separation lines overlap," elements that are "Slightly off-axis."
- Rationale: These specific warnings are known to cause significant performance issues, calculation errors (for rooms and spaces), and downstream coordination problems.
- Enforcement: Run a warning audit before every milestone submission and ensure these critical issues are resolved.

Category 4: Family and Content Management Discipline
Nothing kills Revit model performance faster than bloated, poorly built families. A single heavy family can add minutes to sync times and destabilize the entire project. This is one of the most common and preventable causes of a sluggish model. For a deeper dive, see our guide on creating Revit families.
This matters because: Inconsistent or bloated families cause slow performance, inaccurate schedules, and messy documentation. Disciplined content management is your first line of defense against file bloat.
Specific Standards & Rationale:
-
Use a Curated Family Library: All content must be loaded from an approved, company-vetted library.
- Rationale: This ensures all families meet quality standards for file size, parameter consistency, and geometry. It prevents team members from loading random, unvetted content from the internet.
- Enforcement: Control library access. Implement a formal process for requesting and vetting new families before they are added.
-
No Imported CAD Geometry in Families: This is a golden rule of Revit best practices.
- Rationale: Imported DWGs within families are notorious performance killers. They pollute the model with unwanted line styles and layers and make the family file size unnecessarily large.
- Enforcement: Use a model checker tool to audit families for imported CAD. Train your team to model geometry natively in the Family Editor.
Category 5: Linked File and Reference Protocols
Linked files are essential for collaboration, but unmanaged links are a primary source of instability. Broken paths, circular references, and messy CAD links can bring a project to a dead stop. Clean Revit file organization for all links is non-negotiable.
This matters because: Broken links halt productivity, incorrect links cause major coordination errors, and unmanaged links create confusion and slow performance.
Specific Standards & Rationale:
-
Link CAD, Never Import into the Project: CAD files should only be linked, not imported.
- Rationale: Importing a DWG explodes it into Revit line styles, text styles, and other data that pollutes your model. Linking keeps the CAD data contained and makes it easy to update or remove.
- Enforcement: Use a model checker to find and remove imported DWG instances. This is a critical item on any model audit checklist. More guidance on project organization is available from Autodesk.
-
Use Relative or Server-Based Paths: Avoid absolute local paths for links.
- Rationale: Using a path like
C:UsersJohnDesktopwill break the link for every other user. Relative or server-based paths ensure the links work for everyone and don't break when the project is archived. - Enforcement: Review the "Manage Links" dialog at project setup and before milestones to ensure all paths are correctly configured.
- Rationale: Using a path like

Implementing Standards Without Bureaucracy
Knowing the right standards is one thing; getting a team to follow them is the real challenge. The secret isn’t a thicker rulebook—it's embedding your Revit standards into the daily workflow so that doing the right thing is the path of least resistance.
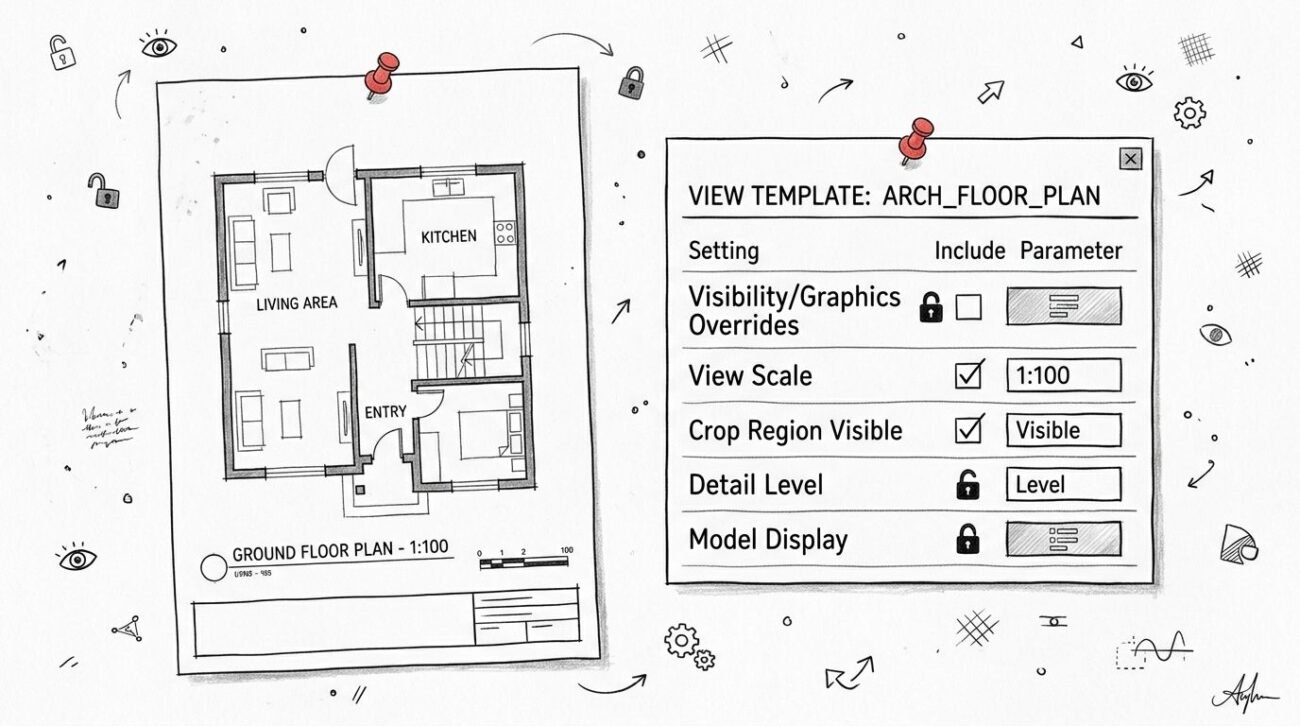
- Start with the Template: Your project template is your most powerful enforcement tool. Pre-configure worksets, browser organization, view templates, and title blocks. A strong template automates compliance.
- Train the "Why," Not Just the "What": Explain that standards exist to prevent rework, crashes, and deadline stress. When the team understands the benefit, they become partners in quality.
- Make Standards Discoverable: Ditch the 200-page manual. Create a one-page quick-reference guide that covers the essential, non-negotiable rules.
- Regular, Lightweight Audits: Don't wait for milestones. Conduct 15-minute model health checks in weekly team meetings. Make metrics like warning counts visible.
- Lead by Example: Project leads and BIM managers must follow the standards themselves. A "do as I say, not as I do" approach guarantees failure.
What NOT to Standardize
Just as important as what to standardize is what not to. Over-regulation creates bureaucracy, stifles creativity, and slows down production without adding value. Give your team permission to be flexible.
- Don't standardize personal preferences that have no impact on model performance or quality.
- Don't standardize techniques that legitimately vary by project type or phase.
- Don't standardize rules that you cannot easily and consistently enforce.
- Don't standardize anything if you can't clearly articulate the problem it prevents.
The Clean Model Culture
Ultimately, clean Revit models are the product of a healthy production culture, not just a set of rules. It’s a culture where quality is a shared responsibility, where teams celebrate clean work, and where problems are treated as learning opportunities, not reasons for blame.
This shift in mindset—from enforcing rules to building shared values—is what separates firms that struggle with BIM from those that master it. It's how you move from simply using Revit to building a scalable, predictable, and profitable delivery system.
Building a culture of clean models takes discipline and a clear framework. If you're ready to move past frustrating standards and establish production systems that stick, BIM Heroes provides the clarity, templates, and scalable delivery pods to make it happen.
Download our Clean Model Standards One-Pager to get a head start on implementing these principles in your firm.
Or, if you’re ready to solve this problem for good:
Get in touch to see how we can help.