For architects and brand managers trying to scale a multi-site rollout, the chaos of inconsistent documentation is a familiar—and costly—headache. When you're managing hundreds of stores, poor as-built drawings aren't just a drafting issue; they're a systemic business problem that quietly erodes margins, pushes back opening dates, and makes portfolio-wide planning a shot in the dark.
True scale requires standards, templates, and repeatable modelling logic. It demands a systemized approach that delivers clarity and operational consistency, every single time.
The Pain: Why Inconsistent As-Builts Derail Rollouts
Picture this: a custom-fabricated fixture arrives on-site for a new QSR, but it doesn't fit. The wall is six inches shorter than the drawings showed. Why? Because the as-built documentation, slapped together by a local contractor using inconsistent measurements, was just plain wrong. Now the project is stalled, change orders are piling up, and the grand opening is in jeopardy.
This isn't a one-off problem. It's a recurring nightmare for brands juggling a portfolio of stores with varied conditions, undocumented modifications, and poor existing documentation from different contractors. When each survey uses its own method, you're left with a messy portfolio of fragmented CAD files you can't trust.

The High Cost of Bad Data
This inconsistency creates friction at every stage, hitting your bottom line and brand standards hard. The pain usually shows up in a few costly ways:
- Endless RFIs: Your design team burns hours on requests for information that a reliable model would have answered instantly. That back-and-forth grinds design development to a halt.
- Failed Permitting: Inaccurate drawings get permit applications rejected, adding weeks of delays while you scramble to fix the paperwork. This is a classic permitting prep failure.
- On-Site Surprises: Nothing destroys a budget like discovering unexpected plumbing or hidden structural beams during construction. These surprises trigger expensive rework and kill any hope of margin protection.
- Compromised Brand Standards: When designs change on the fly to fit unforeseen conditions, your brand consistency takes a hit. The customer experience starts to feel different from one location to the next.
This is a production maturity issue. You can't achieve predictable outcomes when your foundational site data is a mess. Every inconsistent drawing is a ticking time bomb waiting to derail a project.
This ad-hoc approach makes portfolio-wide planning impossible. How can you confidently plan capital expenditures when you don’t have a trustworthy record of your existing assets? As Autodesk notes, accurate as-builts are critical for facility teams, providing a clear legacy of what was actually built.
The path to scalable delivery starts here. You have to move beyond just collecting drawings and start building a systemized multi-site BIM workflow that produces a single source of truth for every location.
Building Your Standardized Modeling Framework
To escape the cycle of rework and RFIs, you have to stop treating each site as a one-off and start building a system. The fix for inconsistency is a disciplined, template-driven approach to as-built modeling. This creates a reliable source of truth for your entire portfolio and moves you from reactive fire-fighting to proactive production management.
The core of this system is a master BIM template. Think of it not as a file, but as a rulebook that governs every model. This isn't about limiting creativity; it's about manufacturing consistency to protect your margins. Every decision, from how a wall is modeled to how a freezer is named, is defined upfront to kill the guesswork.

Defining Your Core Modeling Standards
A rock-solid master template is the cornerstone of any scalable multi-site BIM workflow. It’s what enforces discipline and ensures every model—no matter who builds it—sticks to the same data and quality standards. That's how you get true operational consistency.
Your template needs to meticulously define several key components:
- Predefined Revit Families: Standardized, pre-built components for everything—light fixtures, kitchen equipment, POS systems, furniture. This guarantees every object has the right dimensions and data from the start.
- Strict Naming Conventions: A logical system for naming every view, sheet, and family. It makes the model instantly navigable and stops the chaos of digging through randomly named elements.
- Configured View Templates: Preset graphic standards for floor plans and elevations. This ensures all QSR BIM documentation looks and feels the same, making it easier for everyone to read.
- Clear LOD Specifications: Defining the Level of Development (LOD) required for every element. For instance, MEP systems might be modeled at LOD 300 (precise size and location), while decorative items are only needed at LOD 200 (generic placeholders).
This level of template discipline is non-negotiable for scale. It front-loads decisions so your production teams can focus on executing, not reinventing the wheel. The goal is simple: make quality the path of least resistance.
The Role of a Master Project File
A master project file acts as the "gold-standard" model of a typical store. This file has all template settings baked in and shows how every component should be modeled in practice. It becomes a living guide for your production teams and a clear benchmark for QA processes.
When a new project kicks off, this master file is copied, and the existing conditions are modeled inside this pre-structured environment.
This framework transforms modeling from a creative exercise into a repeatable, assembly-line process. It establishes a system bigger than any single person, ensuring the final deliverable is always predictable and immediately useful.
Ultimately, this systematic approach is about building an asset library for your entire brand. Each model adds to a growing database of accurate site information, empowering you to make faster, data-driven decisions across your portfolio. This is the evolution from CAD to a mature BIM workflow.
Point Cloud Workflows for Precision at Scale
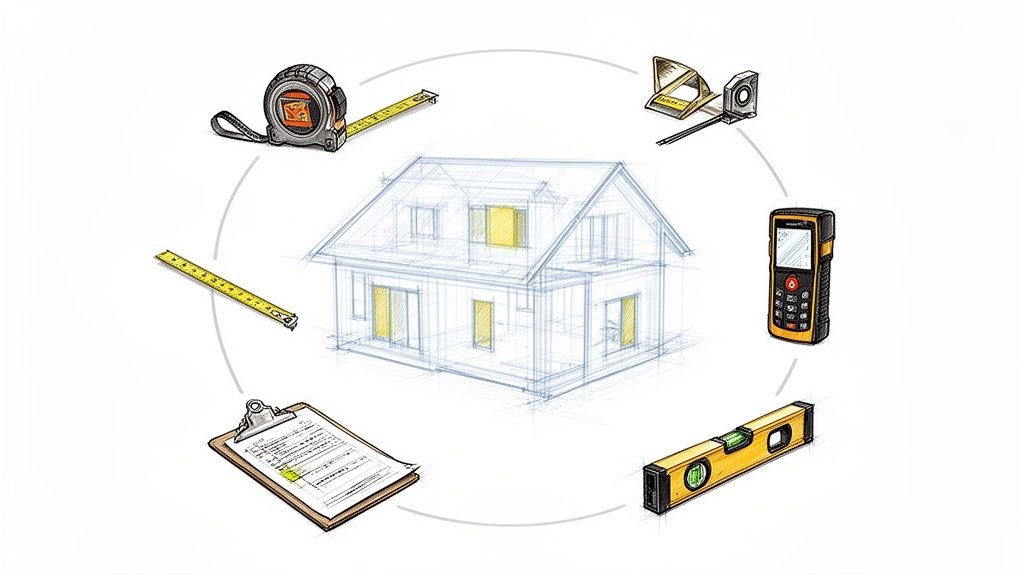
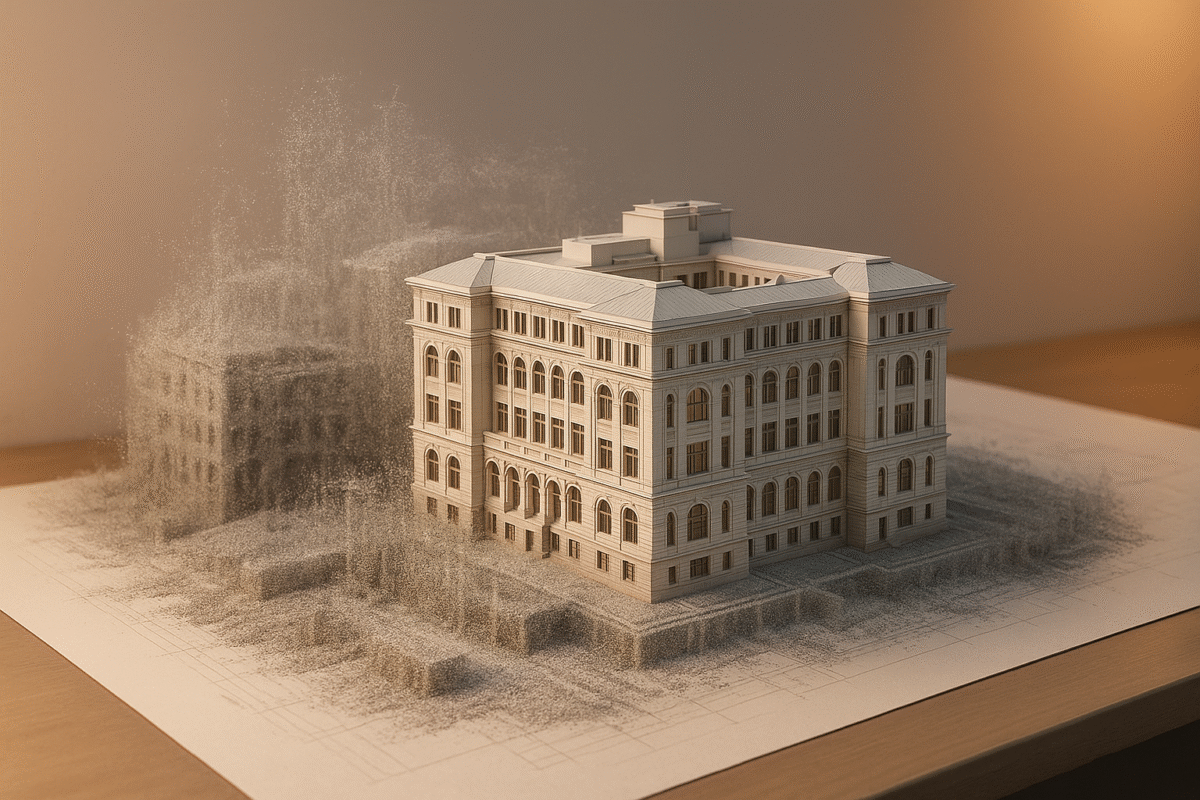
Once your modeling framework is in place, you need to capture what’s actually on-site with undeniable accuracy. This is where the guesswork of old-school surveys gives way to the precision of a Scan-to-BIM workflow. You’re no longer interpreting questionable hand measurements; you're tracing reality.
Think of it as creating a perfect digital clone of your physical store. The technology strips away the ambiguity that causes downstream headaches. You’re not just hoping the drawings are close enough; you’re working with a mathematically precise replica. This is a fundamental shift in as-built modeling for retail and a direct way to protect project margins.
From Laser Scan to Actionable Model
The Scan-to-BIM process is a disciplined, step-by-step evolution that turns raw data into a valuable BIM asset. It’s designed to deliver clarity and prevent the on-site surprises that derail timelines and blow up budgets.
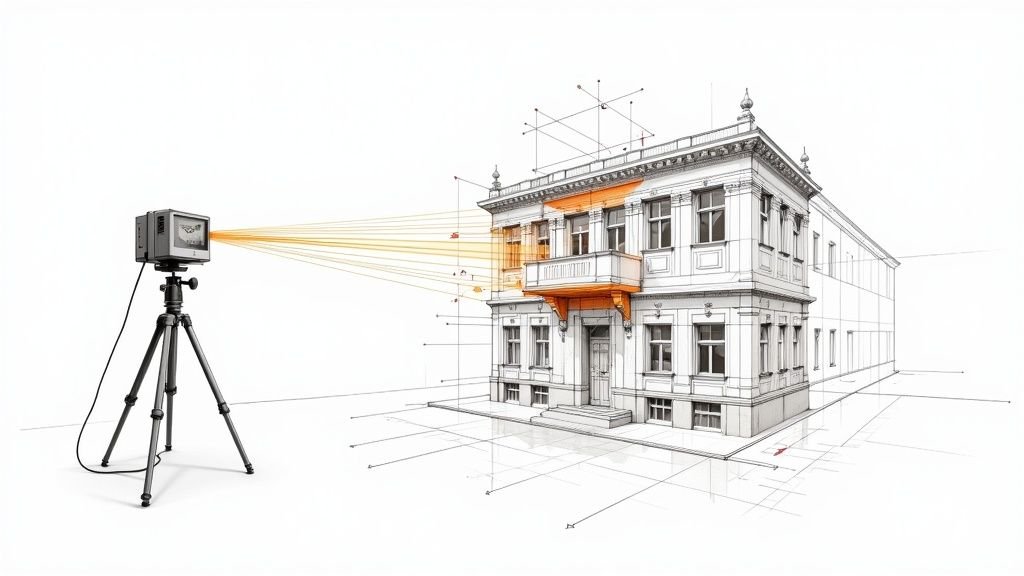
- High-Speed Laser Scanning: A specialized scanner captures millions of data points from multiple locations in the store, measuring everything in its line of sight with millimeter-level accuracy.
- Point Cloud Registration: The individual scans are stitched together, or "registered," into a single, cohesive 3D point cloud. This unified dataset represents the entire store—walls, columns, MEP systems, and fixtures.
- Import into Revit: The registered point cloud is dropped directly into Revit, where it acts as a hyper-accurate tracing layer. Modelers then build their model right on top of this "scaffold" of reality.
This method eliminates the human error of tape measures and field notes. The point cloud doesn’t guess or estimate. It captures everything, providing a complete and verifiable record that becomes the bedrock of your multi-site BIM workflow.
The Value of a Clean Point Cloud
But the raw data from a scanner is full of noise—unwanted data points from people walking through the scan or reflective surfaces. The quality of your final as-built model depends entirely on how well this data is cleaned up first.
A clean, optimized point cloud is the difference between an efficient modeling process and a frustrating one. This initial QA step is a critical decision checkpoint that lets your production team work with confidence.
Properly preparing the scan data means removing redundant points and isolating the core building geometry. This makes the file lighter, easier to navigate, and ensures that modelers are tracing actual building elements, not digital noise.
By building your as-built modeling process on a foundation of precise, verified point cloud data, you are actively de-risking your rollout program. You prevent the costly change orders and RFIs that come from designing based on bad information, ensuring new plans fit existing conditions the first time.
A Repeatable As-Built Production Workflow
With a solid framework and clean point cloud data, it’s time for production. A truly scalable process isn’t about working harder; it’s about a repeatable system that produces consistent quality, protecting your margins and making your rollout predictable.
The real work begins with a rigorous project kickoff to align stakeholders on the scope, deliverables, and the required Level of Development (LOD). This isn't just another meeting—it's the critical decision checkpoint that stops scope creep and ensures the final model serves its purpose.
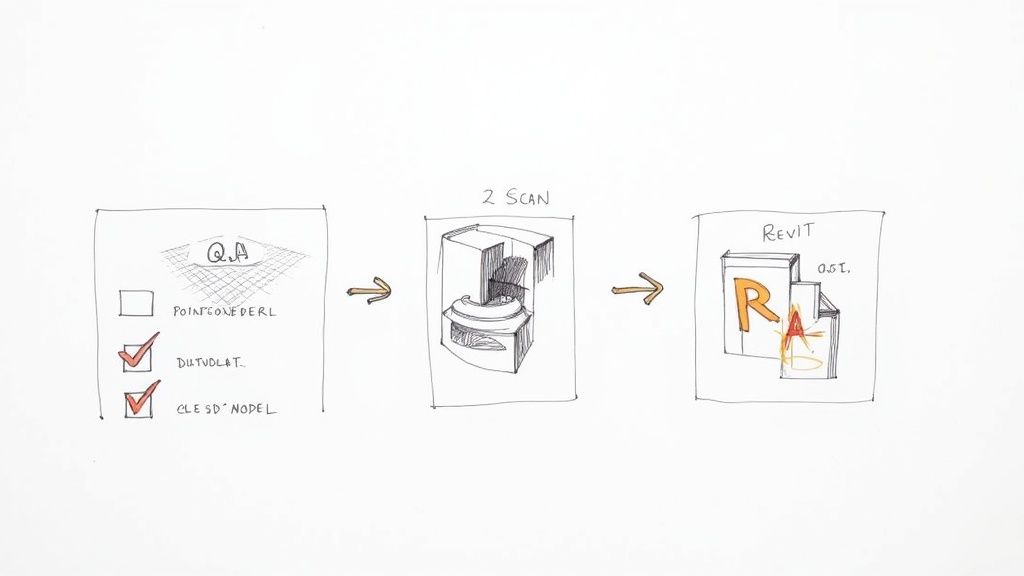
From there, the project moves through structured production phases, each with its own built-in quality checks. This step-by-step approach breaks a complex job into a manageable process that can be executed by scalable delivery pods.
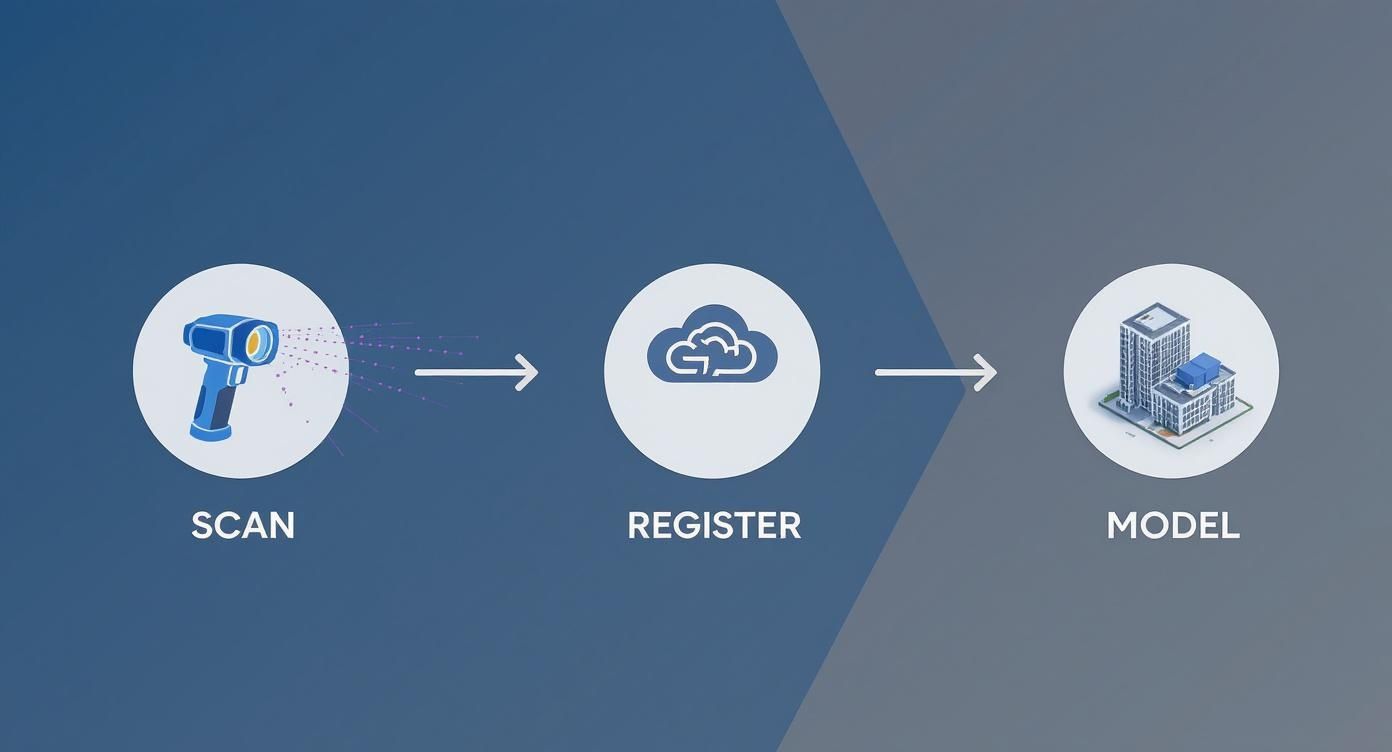
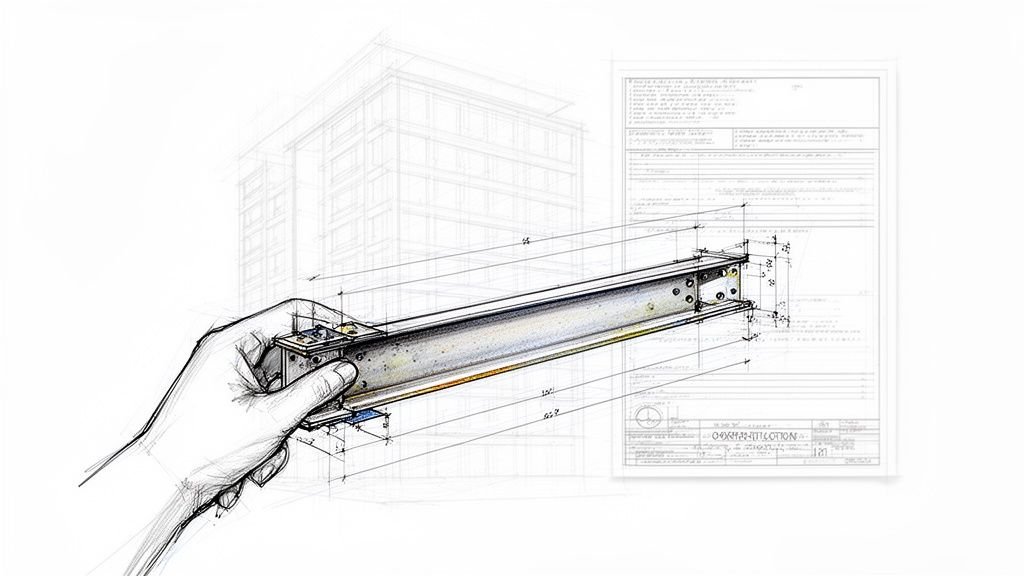
This visual captures the heart of the Scan-to-BIM sequence—turning physical reality into a digital asset. It’s the foundation of any modern workflow for as-built modeling.
Initial Setup and Core Modeling
With the project kicked off, the registered point cloud is cleaned and dropped into your master BIM template. This setup is non-negotiable; it guarantees the project starts inside a pre-configured environment enforcing your brand’s standards from day one.
The modeling itself follows a logical construction sequence:
- Structural and Architectural Shell: Modelers first lay down the core building geometry—walls, floors, roof, columns, and major openings. This creates the foundational box.
- Shell and Core Review: Before adding any interior details, the shell model is checked against the point cloud for accuracy. This is a vital QA checkpoint. It confirms primary dimensions are right, preventing massive rework later.
- MEP Main Lines: Next are the main mechanical, electrical, and plumbing runs. Modeling these large systems early helps spot major coordination problems before the digital space gets cluttered.
This phased approach is a lesson learned in the field: get the bones right before you add the muscle.
Detailed Modeling and System Integration
Once the core and shell are verified, the focus shifts to the interior, where the specific needs of a QSR or retail space come into focus. An efficient multi-site BIM workflow often involves implementing document workflow automation to cut down manual steps and deliver consistent results.
The detailed modeling phase covers:
- Interior Partitions and Ceilings: All interior walls, doors, and ceiling grids are modeled.
- Fixtures, Furniture, and Equipment (FF&E): Using pre-approved families, modelers place kitchen equipment, counters, seating, and retail fixtures.
- Final MEP Connections: The smaller branches and final hookups for plumbing, electrical, and HVAC are tied into the main lines.
Throughout this stage, a lead modeler performs continuous QA checks. It's an ongoing process of verifying the model against the point cloud and ensuring it sticks to the standards.
By breaking production into logical stages with firm decision checkpoints, you build a system that is both scalable and self-correcting. This repeatable workflow doesn’t just produce a model; it manufactures clarity for your entire rollout program.
Implementing QA and Packaging Repeatable Deliverables
An as-built model is only as good as its accuracy. The final steps—Quality Assurance (QA) and packaging deliverables—are where you lock in value. This isn't a final check-up; it's a disciplined process that guarantees the digital asset is a true representation of the physical space.
The goal is to hand over a verified, reliable data package that the project team can use immediately. This is about manufacturing confidence. When a designer opens that model, they need to trust it's a precise reflection of reality.
A Multi-Point Quality Assurance Process
A solid QA process is more than clash detection. It's a multi-layered review of the model's geometry, data, and adherence to your master template. A sloppy QA process lets errors slip through, creating the very RFIs and on-site headaches you were trying to prevent.
Our delivery pods follow a rigorous QA checklist that hits three critical areas:
- Geometric Accuracy Verification: We overlay the final model directly onto the point cloud. This visual check immediately flags deviations, ensuring walls and critical MEP elements are in their exact location.
- Standards Adherence Audit: The model is audited to confirm it follows every rule in your template—naming conventions, correct Revit families, and proper view template application.
- Data Validation: We systematically check the data embedded in model elements, confirming equipment has correct model numbers and required parameters are filled out.
This systematic approach to quality control is the only way to ensure operational consistency across a large portfolio.
Packaging for Stakeholder Usability
Once vetted, the model is packaged for the people who will actually use it. Different stakeholders need different things, and a one-size-fits-all deliverable creates friction. A scalable delivery system anticipates these needs and prepares a clean, organized package tailored to each end-user.
The final handover isn't just a file transfer; it's the transfer of clarity. The package must be intuitive and immediately accessible, whether for an architect or a project manager on-site.
This is becoming more critical as the industry embraces digital workflows. Proper file management is key to maintaining a single source of truth.
Typical repeatable deliverables include:
- A Clean, Federated Revit Model: The core BIM file, purged of all unnecessary views or links, ready for the design team.
- Standardized 2D Drawing Sets: A complete set of plans, elevations, and sections exported from the verified 3D model.
- A Navisworks Coordination File: An NWC file for easy coordination with other trades.
- The Original Registered Point Cloud: The raw data included as a final record.
As your asset library grows, robust version control for BIM projects to ensure best practices are followed becomes critical. This discipline ensures your team is always working from the most current, verified information.
Moving From Cost to Predictability
It’s time to stop talking about the cost of as-builts and start talking about the value of predictability. The old conversation, stuck on a simple price-per-square-foot, misses the point entirely. This isn't about buying drafting hours; it’s about investing in the expertise, technology, and systemized capacity needed to guarantee predictable outcomes.
A proper as-built modeling process is a powerful tool for managing risk in project management. Investing in accurate documentation upfront is what stops costly change orders and permit rejections from eroding your profits later on. We don’t sell hours; we sell clarity, systems, and reliable delivery.
From Commodity Pricing to Value Investment
The price for a high-quality, scan-to-BIM model reflects a complete production system, not just a set of drawings.
Several key factors shape the investment:
- Site Complexity: An empty retail box is one thing. A multi-level QSR with tangled MEP and custom kitchen equipment is another.
- Level of Development (LOD): The detail you need directly impacts modeling time. A basic layout model (LOD 200) is far less intensive than one built for precise fabrication (LOD 350).
- Deliverable Types: A complete package—a clean Revit model, 2D drawings, and a Navisworks file—offers far more value than a simple PDF.
When you invest in a professional BIM provider, you're getting a dedicated production team, proven QA processes, and the operational consistency you need to scale.
This kind of partnership shifts the focus from cost to predictability. The global Building Information Modeling (BIM) market is on track to hit $14.8 billion by 2029, a clear sign that the industry expects documentation to be accurate and data-rich.
Ultimately, budgeting for a professional multi-site BIM workflow is an investment in certainty. It gives you the clarity to make confident decisions, the system to prevent expensive errors, and the reliable delivery engine required to grow your brand at scale. It’s the difference between hoping a rollout stays on budget and ensuring it does.
So, how do you get from a messy pile of field notes to a portfolio of precise digital twins? It’s all about building a mature production process. For any multi-site brand, the lesson is simple: scale requires standards. Moving from ad-hoc drawings to a systemized, BIM-centric workflow isn’t an operational tweak—it’s a strategic move essential for growth.
We’ve seen the journey firsthand: from the chaos of unreliable measurements to the control you gain from a disciplined system. It starts with a master BIM template that enforces consistency. That framework is powered by the accuracy of point cloud data, which eliminates the guesswork that derails projects and erodes margins.
From Ad-Hoc Drawings to a System of Record
A repeatable workflow turns raw data into a reliable asset. By implementing structured modeling phases, tough QA checkpoints, and stakeholder-ready deliverables, you can shift from a reactive process to a predictable production engine. This is how you achieve the operational consistency needed to slash RFIs, breeze through permitting, and protect your brand at every location.
The endgame is a single source of truth for your entire real estate portfolio. Each verified as-built model becomes a permanent asset that helps you make smarter, faster decisions on future renovations and long-term planning.
This isn't just about making better drawings. It's about injecting clarity and predictability into the foundation of your rollout program. It’s the difference between managing projects and truly managing a scalable portfolio. These people understand production better than most firms.
Ready to build a system for predictable, multi-site rollouts? To see how these concepts translate into action, our Rollout Modeling SOP can help you get started.