If you try to apply a new-build BIM process to a building remodeling project, you’re setting yourself up for lost profits and project chaos. Success in renovation isn’t about flashy modeling. It’s about committing to a fundamentally different workflow—one rooted in production maturity and discipline from day one.
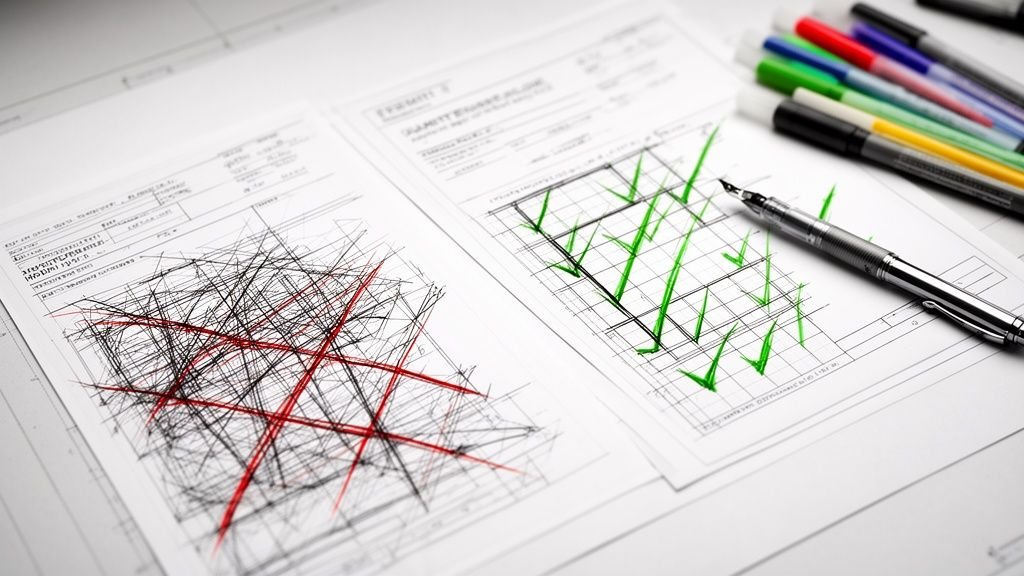
Most firms get it wrong. They treat a renovation like a new build on a clean slate, underestimating the complexity hiding inside existing structures. A new construction project starts in a controlled, predictable digital world. A building remodeling project starts with inherited chaos.
This chaos has a nasty habit of dismantling project margins and timelines. Without a workflow built specifically for renovations, teams are stuck reacting to problems instead of getting ahead of them. This is where systems-driven delivery protects your profitability.
The Unpredictability of Existing Conditions
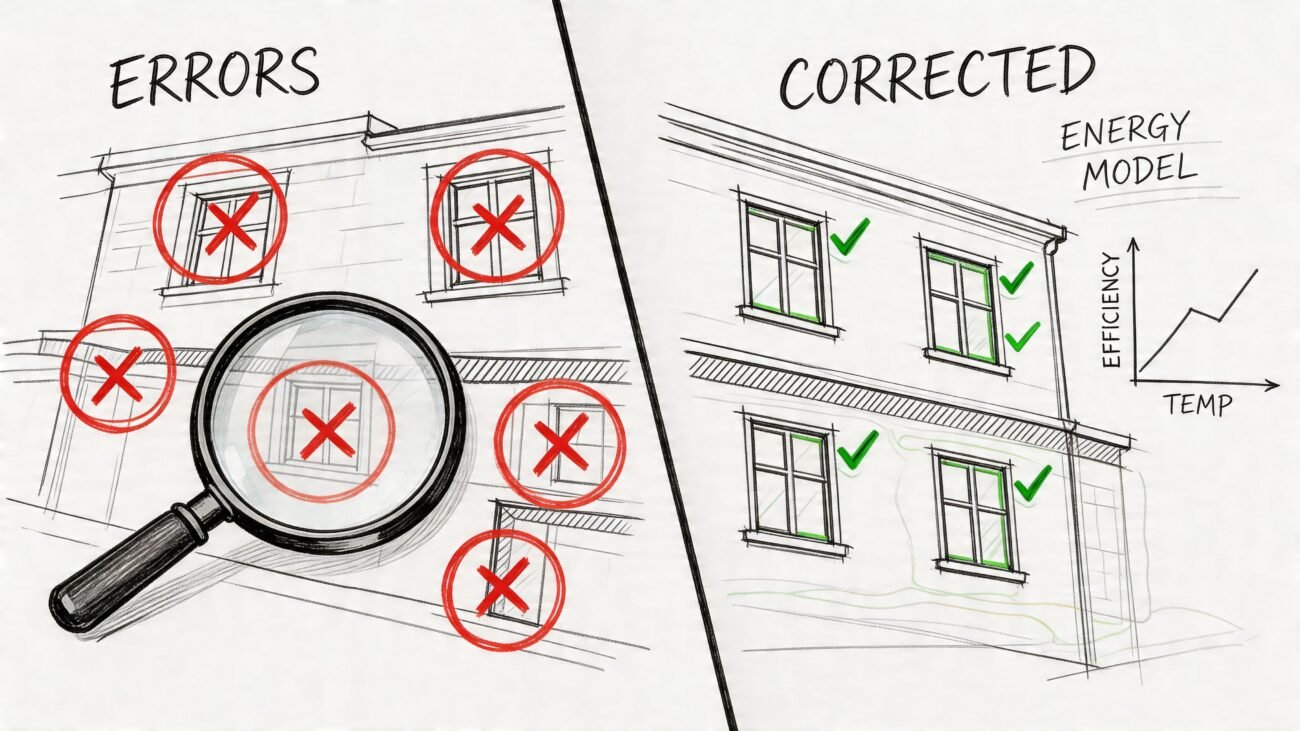
Legacy drawings are notoriously unreliable. They’re often incomplete, outdated, or just plain wrong. If you base a new design on that shaky foundation—the classic CAD-to-BIM evolution mistake—you’re guaranteeing geometry clashes and a mountain of RFIs down the line. It's the unforeseen structural, mechanical, or plumbing issues—discovered only after demolition starts—that force costly redesigns and bring schedules to a grinding halt.
The most expensive problems are the ones you find on-site instead of in the model. A renovation-first BIM approach is your best insurance against these surprises, turning unknown variables into known quantities before permitting prep begins.
Every undocumented pipe, uneven slab, or misaligned beam is a direct threat to your project’s profitability.
The Flaw of Ignoring Phased Clarity
New construction models are typically built as a single, final-state entity. But building remodeling projects demand meticulous management of at least three distinct phases: Existing, Demolition, and New Construction.
When firms fail to model the demolition scope correctly or set up their phases and view templates with strict discipline, they create drawings that are confusing and ambiguous. This inevitably leads to on-site errors, sequencing mistakes, and schedule overruns. This is a failure of the QA process.
To get a feel for how easily things can go wrong, it helps to look at common flooring renovation mistakes and misconceptions. These examples show just how quickly small, overlooked details can derail an entire project.
Operational consistency depends on a clear, systematic approach. The goal isn’t just to create a 3D model; it’s to produce a crystal-clear set of instructions that prevents RFIs. By confronting these challenges with a purpose-built workflow, you can transform the inherent unpredictability of renovations into a predictable, scalable, and profitable process.
Mastering Existing Conditions to Protect Project Margins
Every successful building remodeling project starts with one simple, non-negotiable truth: you can't design for a reality you haven't accurately measured. This is the first, most critical decision checkpoint—the moment you establish clean as-builts. It's where project margins are either protected or destroyed.
The most common, margin-killing mistake is trusting old CAD files. Under pressure, teams trace over decades-old drawings, assuming they’re an accurate representation. This is a fatal assumption. Those files are artifacts, not reality. They don’t show undocumented renovations, structural sag, or the simple inaccuracies of old survey methods.
When you build a new design on flawed data, you’re essentially guaranteeing that new geometry will clash with existing conditions. That forces expensive, last-minute fixes on-site that could have been avoided from the start.
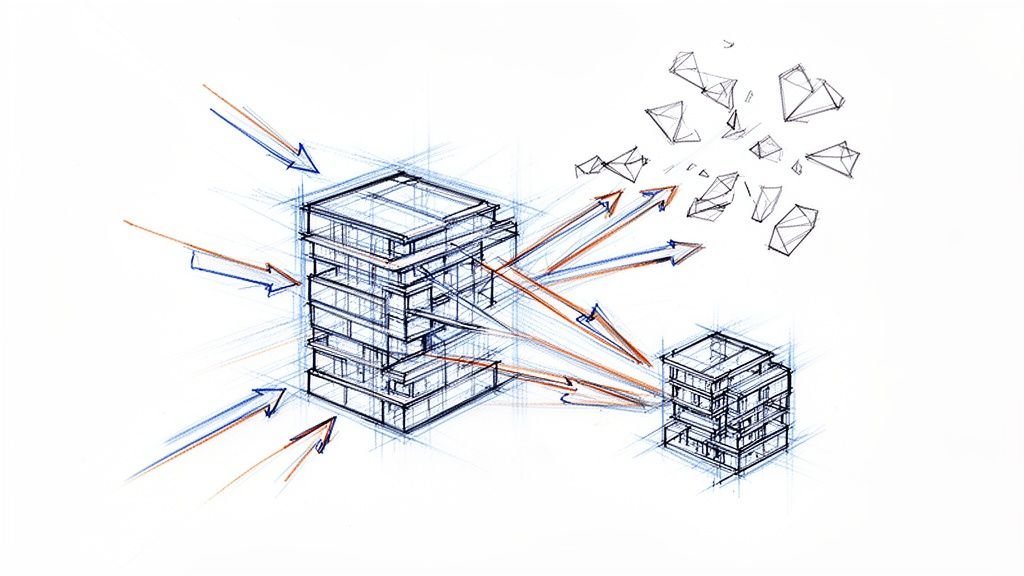
Moving From Assumption to Certainty
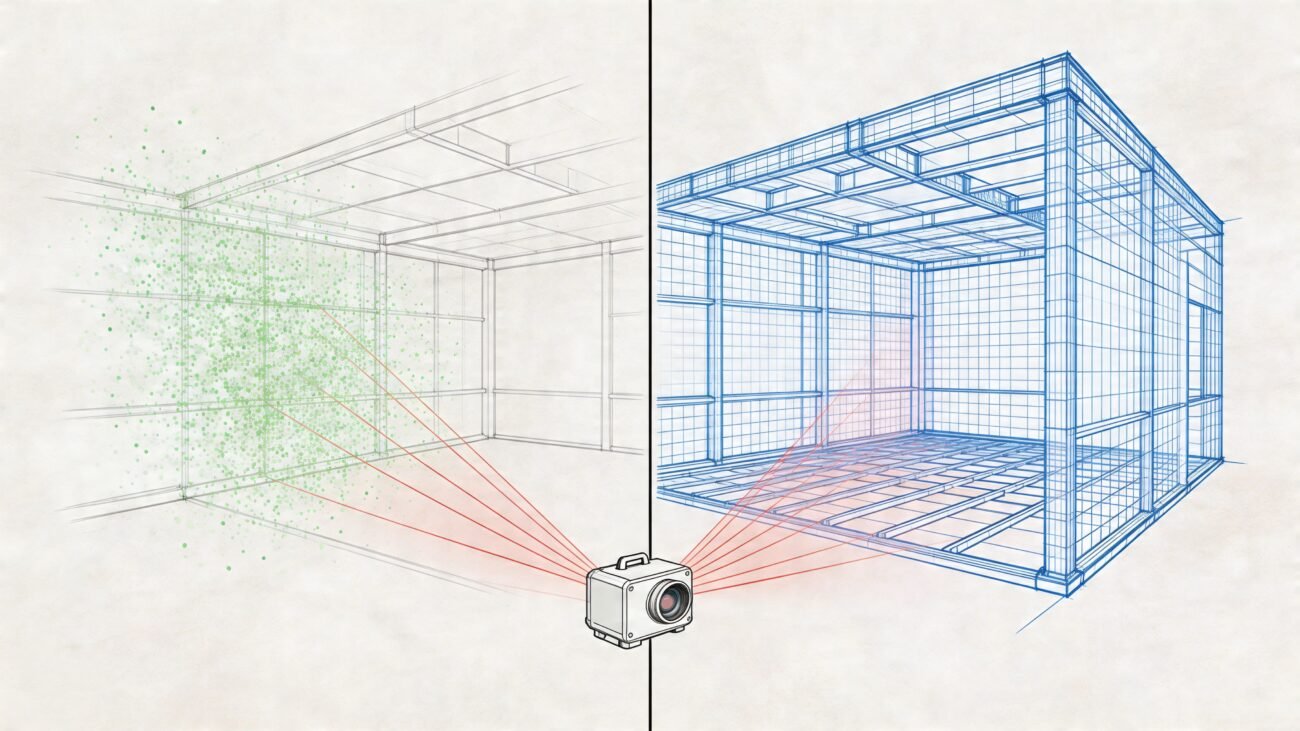
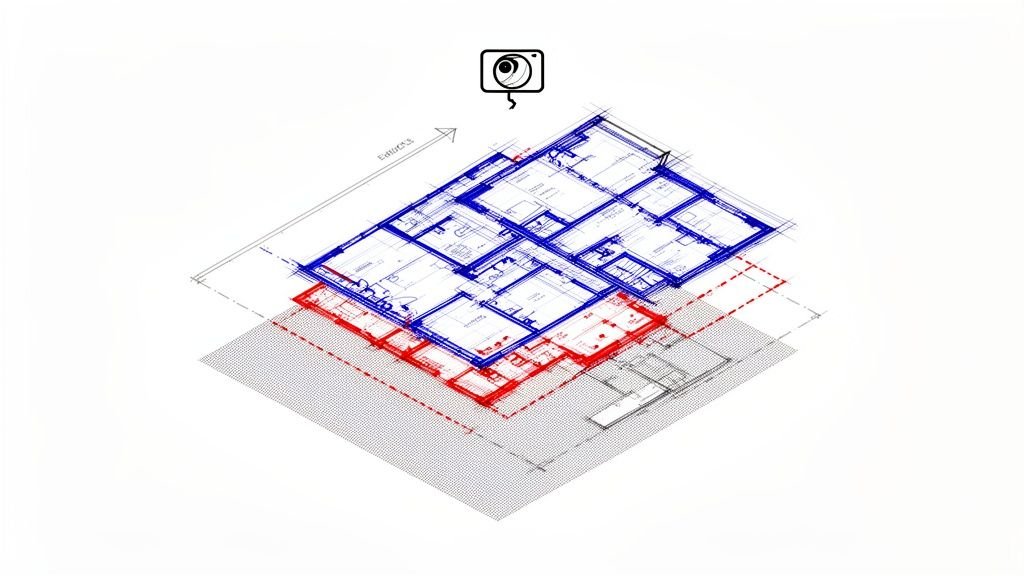
The only way to establish a single source of truth is to capture the building exactly as it stands today. A modern BIM workflow replaces the guesswork of tracing with the precision of reality capture—and that means laser scanning. This isn’t a luxury item; it's a fundamental risk-mitigation strategy.
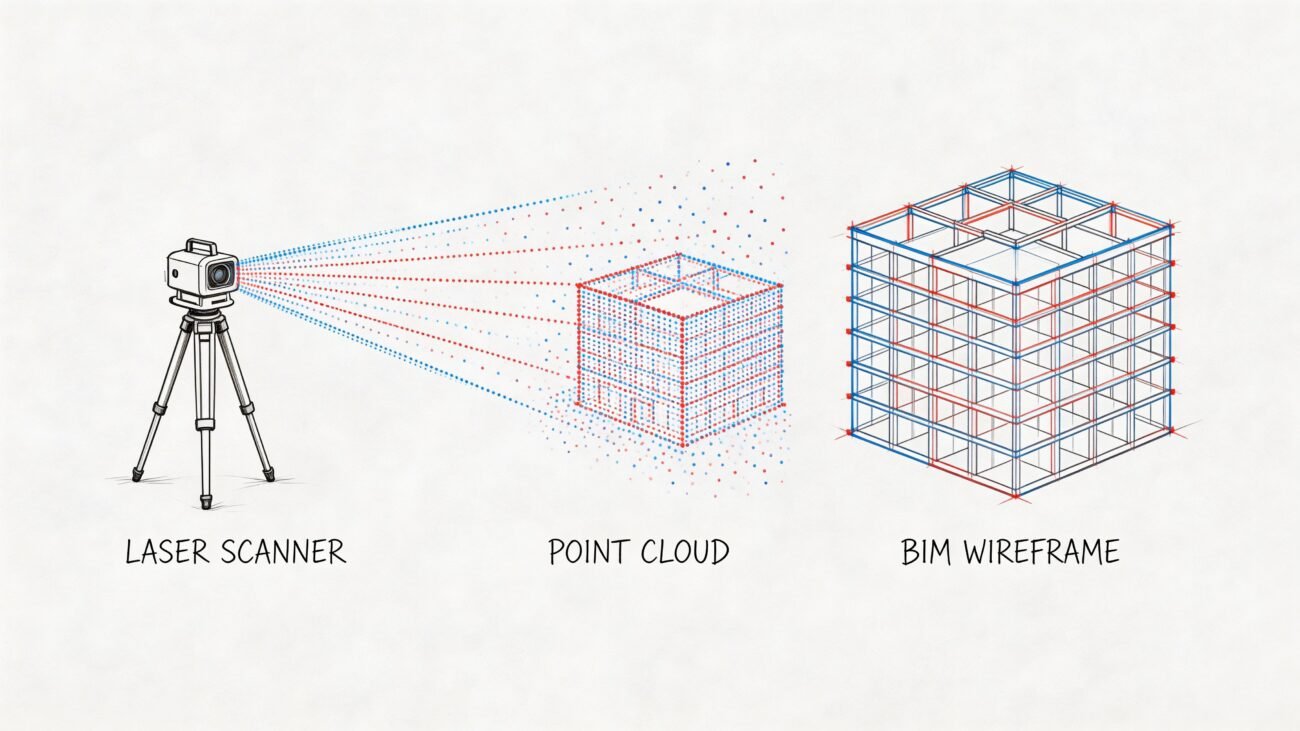
A laser scan produces a point cloud, an incredibly accurate, three-dimensional digital replica of the physical space. From that raw data, you create a clean, precise as-built model. This model becomes the reliable canvas for all new design work, ensuring every new element aligns with actual field conditions. A robust Scan-to-BIM workflow is key for existing structures and is the first real step toward a mature, predictable production process.
This shift from assumption to certainty is what protects profitability.
The Discipline of Smart Modeling
Capturing reality is one thing; modeling it effectively is another. A common trap is over-modeling—spending countless hours on every piece of conduit, furniture, and finish slated for demolition. This is wasted effort that adds zero value.
The key is to define the right Level of Development (LOD) for the as-built model based on project needs.
- LOD 200: Often sufficient for existing conditions. It focuses on major structural and MEP elements: the general massing and location of walls, columns, beams, slabs, and primary ductwork.
- LOD 300: Adds more detail, defining specific assemblies and precise dimensions. Use it only for elements that will remain and directly interact with new construction.
The goal isn't to create a perfect digital twin of the old building. It's to create a model that is just accurate enough to inform new design decisions and prevent coordination clashes. Anything more is a drain on your resources and margins.
This disciplined approach requires clear decision-making from the get-go. Before modeling begins, the team must agree on what information is critical and what is simply noise. This is a core part of a scalable delivery pod's process.
Establishing the Single Source of Truth
By investing in a clean, scan-based as-built model, you establish a single source of truth that the entire project team can build upon with confidence. This one action creates a powerful ripple effect throughout the entire building remodeling process.
It stops the endless cycle of RFIs asking to verify dimensions. It prevents the geometry clashes between new MEP systems and existing beams that lead to costly change orders. Most importantly, it frees up your design team to focus on creative problem-solving instead of constantly putting out fires caused by bad data.
This is what a mature, systems-driven delivery model looks like. It’s not about selling hours; it’s about working smarter, with a workflow built for clarity and predictability.
Getting Demolition and Phasing Right
Once you have a clean as-built model, you’ve reached the next critical checkpoint in any building remodeling project: figuring out what stays, what goes, and what’s new.
This is where most firms stumble. They treat demolition and phasing like simple documentation steps instead of core strategic components. The result? A mess of confusing drawings, costly on-site mistakes, and busted schedules.
Production maturity isn't about how fast you can model; it's about how clearly you can communicate a construction sequence. When you get phasing wrong, you introduce ambiguity—and ambiguity is the enemy of profitability. It leads directly to RFIs, incorrect demolition, and contractors building new elements in the wrong order, all of which eat away at your margins.
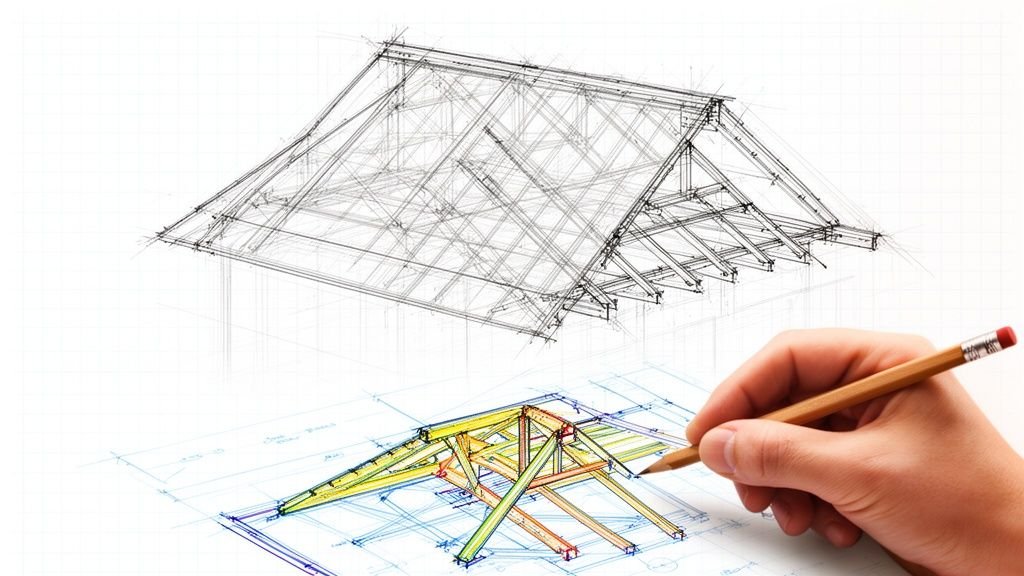
The process below visualizes the foundational steps of as-built capture. This work must happen before you even think about demo modeling.
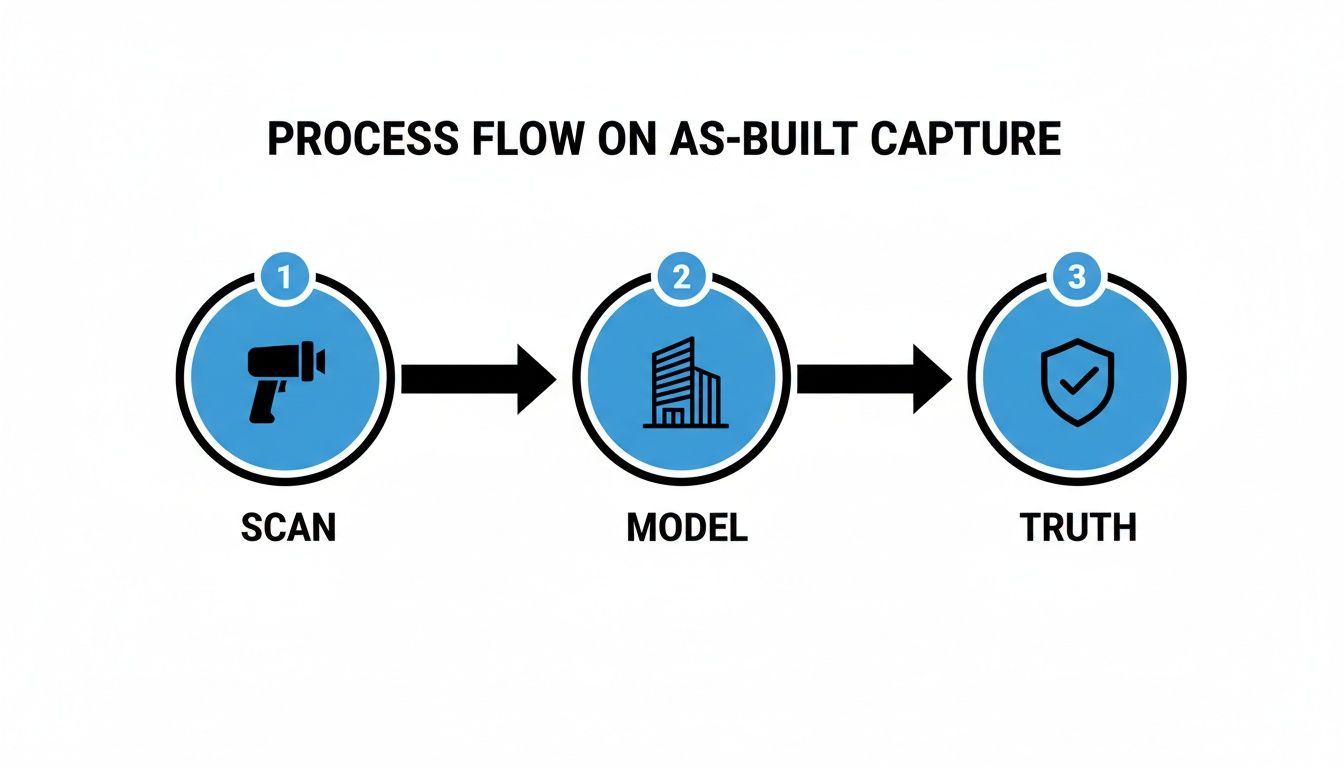
This workflow drives home a crucial point: a reliable phasing plan can only be built on a verified source of truth, not outdated drawings.
The Common Mistakes in Demolition Modeling
The most frequent error is using the wrong demolition method inside BIM software. Teams just "delete" elements instead of properly assigning them to a demolition phase. While this might look correct on one drawing, it breaks the data integrity of the entire model.
When you delete an element, the model loses all information about it. It’s as if it never existed.
The correct approach is to assign elements to a specific "Demolition" phase. This preserves the element's data while giving you full control over its visibility across all drawings. Proper demo modeling means the contractor sees a wall as "existing to be demolished," not as a void.
This small technical distinction has massive downstream consequences for clarity.
Setting Up Phases with Unbreakable Logic
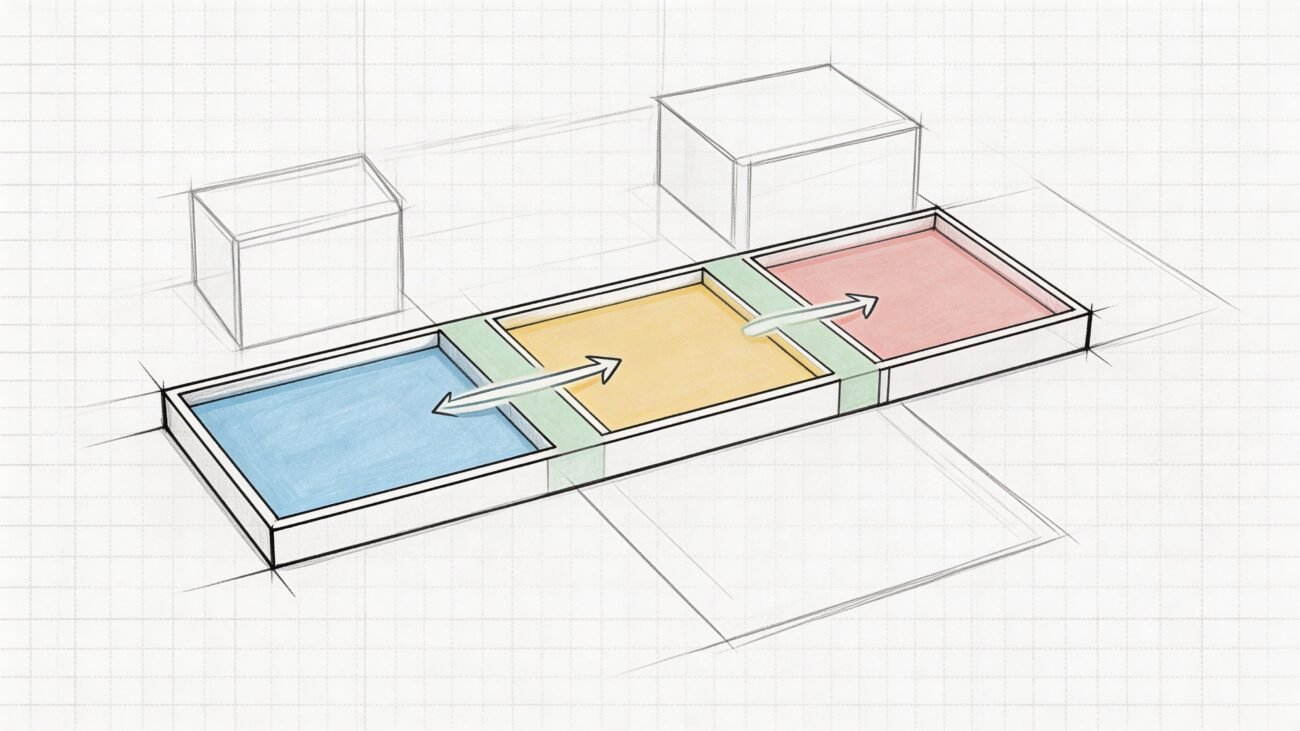
A disciplined building remodeling workflow demands, at a minimum, three core phases set up in a logical sequence. It’s about telling a clear, chronological story.
- Existing: This is your baseline—the clean, verified as-built model. No new or demolished elements should ever touch this phase. It's the untouchable record of what was there.
- Demolition: Elements tagged for removal are assigned here. They were "created" in the Existing phase and are "demolished" in this new phase. This is how you generate specific demolition plans.
- New Construction: This is where you model all new elements—walls, doors, windows, and systems. These elements are "created" in the New Construction phase and didn't exist before.
This strict separation is non-negotiable. Mixing phases is a direct path to confusing drawings. The goal is a model where every single element has a clear "born" and "died" date, ensuring total clarity on the construction sequence.
For firms looking to deepen their technical skills, mastering these fundamentals is crucial. You can find a more detailed breakdown in our complete guide to understanding and using Revit Phasing for renovation projects. This discipline is the absolute foundation of operational consistency.
Common Phasing Errors vs Disciplined Workflow Solutions
Getting phasing right requires a system. Too often, teams fall into bad habits that create confusion and rework. Here’s a look at common errors and how a disciplined workflow solves them.
| Common Error | Impact on Project | Disciplined Workflow Solution |
|---|---|---|
| Deleting elements instead of demolishing them. | The model loses all data about the removed element. Contractors see a blank space, not an instruction to demolish. | Assign elements to a dedicated "Demolition" phase. This preserves the object's history and allows for clear demolition plans. |
| Modeling new and demo work in the "Existing" phase. | The "Existing" conditions are no longer a reliable source of truth. It becomes impossible to create clean existing, demo, and new plans. | The "Existing" phase is treated as an untouchable baseline. All demolition and new work happens in separate, sequential phases. |
| Inconsistent use of phase filters and overrides. | Drawings are visually confusing. A wall might look "new" on one sheet and "existing" on another, leading to RFIs and mistakes. | Create and enforce strict View Templates with standardized phase filters and graphic overrides (e.g., demo is always a red dashed line). |
| Failing to coordinate phasing with MEP and structural. | New walls are built before new ductwork is run, or structural openings are missed. Causes on-site clashes and delays. | Hold regular, phase-specific coordination meetings with all disciplines to align the construction sequence across all models. |
Adopting these disciplined solutions isn't just about better modeling—it's about de-risking your project and delivering clear, buildable documents.
Using Filters and Overrides to Create Clarity
Once your phases are set up correctly, the next step is to create view templates that translate this model logic into crystal-clear construction documents. You do this with phase filters and graphic overrides.
A phase filter is simply a rule that tells a specific drawing view what to show. For example:
- Show Previous + Demo: Perfect for a demolition plan. It displays existing elements that will remain, plus it highlights elements slated for demolition.
- Show Previous + New: Creates your new construction plan. It shows existing conditions that are staying, plus all new elements being added.
Graphic overrides are then applied to make these plans instantly readable. You might set your template to show demolished elements as dashed red lines and new elements with a heavy solid line. This visual language removes all ambiguity.
Without this discipline, you're just handing over a confusing model and hoping for the best.
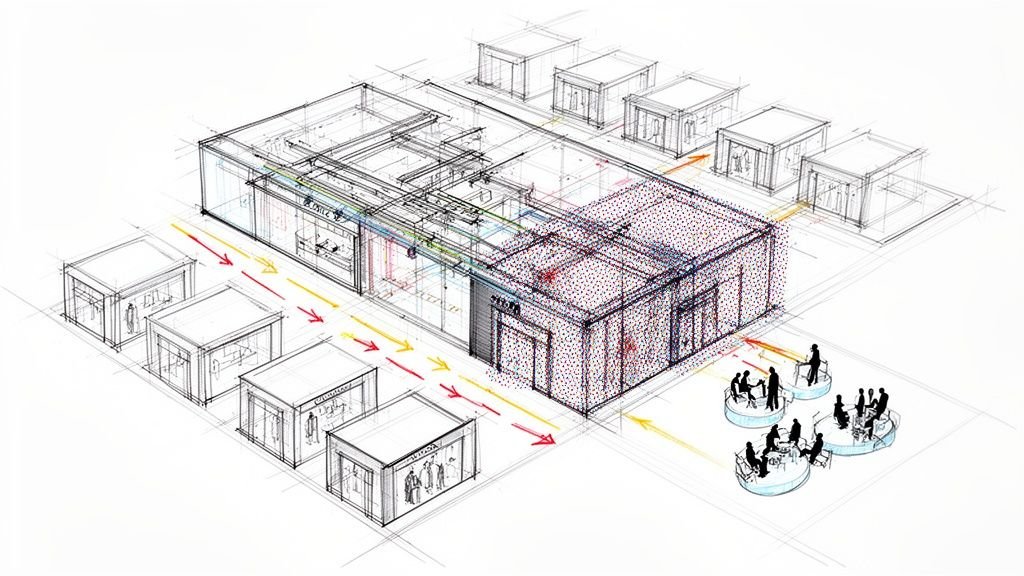
Aligning New Design With Existing Structures
The real test of any building remodeling workflow is seamlessly stitching clean, new geometry into the messy reality of an old structure. This is where a sharp BIM process goes from simple documentation to a powerful problem-solving tool. It’s the moment your team makes tough strategic calls long before anyone swings a hammer.
This isn't just a modeling exercise. It’s a dance of coordination between architects, structural engineers, and MEP specialists. The goal is to hunt down every potential clash in the digital world, shielding your project margins from costly surprises during construction. Nail this alignment phase, and you'll be known as a firm that delivers with predictability.
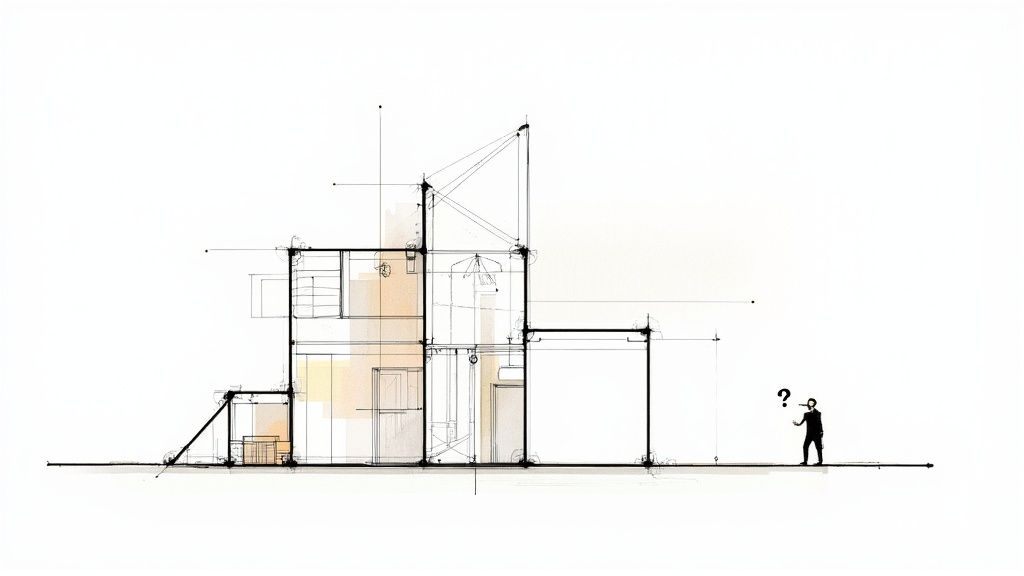
Confronting the Imperfections of Reality
No existing building is perfect. Floors are rarely level, columns don't always line up, and decades of undocumented changes can leave you with a real geometric puzzle. If you just drop a perfect new design into a scan-based as-built model, you're going to see a sea of red flags.
The trick is to treat these issues not as problems, but as known conditions that demand clear decisions.
- Misaligned Floors: How will new flooring meet an existing slab that slopes an inch over twenty feet?
- Irregular Grids: What’s the plan when the new structural grid is slightly off from the old one?
- Challenging Tie-ins: How will a new steel beam connect to an existing concrete column that isn't plumb?
These are the exact questions that, if ignored, turn into a flood of RFIs and change orders. A mature workflow forces these conversations to happen early and bakes the solutions right into the model.
Establishing Rigorous Decision Checkpoints
To wrangle this complexity, your process needs formal decision checkpoints. These aren't casual huddles; they are scheduled, agenda-driven sessions where every discipline gathers to resolve clashes and lock in details. The model is the single source of truth that grounds every discussion.
For example, when routing a new HVAC system, the model might show a proposed duct run crashing into an existing beam. The decision checkpoint is where the team—architect, mechanical engineer, and structural engineer—figures it out. Do we reroute the duct? Can we core the beam?
Solving a clash in the model costs you a few hours of coordination time. Solving that same clash on-site can cost tens of thousands of dollars in delays, rework, and wasted materials. This is the core value of a disciplined BIM workflow in any building remodeling project.
By documenting these decisions directly in the model, you create a clear record of what needs to happen. This becomes the instruction manual for the construction crew, preventing on-the-fly "interpretations" that blow up schedules and budgets. It's all about getting ahead of issues, especially when navigating building codes, a topic experts at the American Institute of Architects (AIA) know all too well.
Precision in Documenting Connection Points
Once a decision is made, it has to be documented with absolute precision. This is where strict templates and a rigorous QA process become your best friends. Your firm’s standards need to dictate exactly how every connection detail is modeled and annotated.
For every major tie-in between new and existing systems, your model must spell out:
- Exact geometry and location: Where, precisely, does the new element meet the old one?
- Materials and assembly: How are they physically fastened together?
- Required clearances: What space is needed around the connection for installation and maintenance?
This level of detail isn't optional. It’s what turns the BIM model from a pretty picture into a precise set of construction instructions. It shows you have solid systems in place to manage complex building remodeling challenges, protecting your margins and delivering predictable results.
Producing Clear Construction Drawings From a Phased Model
A brilliantly executed BIM model is only half the battle. If that model spits out ambiguous, cluttered, or confusing construction drawings, all that careful work goes to waste. The final output—the drawing set—is the ultimate test of your production maturity in any building remodeling project. This is where your systems either deliver clarity or create chaos.
Creating deliverables that contractors can build from without a stream of RFIs isn't a "nice-to-have"; it's non-negotiable. It demands an unyielding commitment to consistency, enforced through disciplined view templates and a rigorous QA process. This is how you protect your margins and build a reputation for reliable delivery.
The Power of Template Discipline
The most common mistake firms make is letting team members create one-off views and custom settings for every drawing. This freestyle approach is a guaranteed recipe for inconsistency.
The solution is template discipline—a system where every view on every sheet is controlled by a pre-configured, locked-down View Template. These templates aren't suggestions; they are the rules of the road for your drawing set. They control every aspect of a view's appearance:
- Phase Filters: Automatically apply the correct filter (e.g., "Show Previous + New") to ensure the right elements are visible.
- Graphic Overrides: Enforce consistent visual styles, like making all demolished walls appear as a red dashed line.
- Visibility/Graphics: Control which model categories are shown or hidden, preventing clutter.
- Scale and Detail Level: Ensure every plan, section, and elevation is presented at the intended level of detail.
By standardizing these settings, you eliminate guesswork and ensure every drawing communicates the design intent with absolute clarity.
Creating Clean, Purpose-Driven Drawing Sets
A successful building remodeling project needs distinct drawings for distinct scopes of work. Trying to cram demolition, existing conditions, and new construction onto a single sheet is a recipe for disaster. Your workflow must produce separate, clean drawing sets for each critical phase.
A contractor should be able to pick up a demolition plan and see only what needs to be demolished. They shouldn’t have to mentally filter out new walls or equipment. Clarity is your best tool for preventing on-site mistakes.
This means creating specific sheets for:
- Demolition Plans: Show existing elements to remain alongside clearly marked elements to be removed.
- New Construction Plans: Detail all new walls, doors, fixtures, and systems in relation to the existing elements that are staying.
- Phasing Plans: For more complex projects, these drawings illustrate the sequence of construction over multiple stages.
This separation prevents ambiguity and ensures every trade understands their scope. This attention to detail is just as critical as the model itself. You can see this same principle in our guide to creating effective shop drawings for construction.
Implementing a Rigorous QA Process
Your templates provide the foundation for consistency, but a human-led QA process is the final backstop against errors. This shouldn't be a rushed, last-minute check. It needs to be a structured, systematic review at key project milestones.
This QA checkpoint is where you confirm every annotation is correct, every dimension is clear, and every drawing aligns with the phased model’s logic. In today's market, this level of precision is critical.
By the mid-2020s, remodeling activity was often constrained by labor shortages and cost inflation. The global construction market was valued at around USD 11.4 trillion in 2024, but rising input costs continue to squeeze project budgets. In this environment, preventing errors that lead to rework and material waste is essential for protecting profitability.
To give clients and stakeholders an even clearer picture, bringing blueprints to life with rendered floor plans can be an invaluable tool for communicating intent.
Your Renovation BIM Workflow Checklist
Theoretical advice is one thing; a field-tested process is another. We've boiled down the concepts in this guide into an actionable checklist you can use to audit your firm’s current approach to building remodeling.
This isn't just a summary—it's a system built on hard-won lessons for protecting margins and delivering projects predictably. If you spot gaps in your process, you've found an opportunity to build a more robust, scalable production system.
As-Built Data Capture
- Do we mandate laser scanning for all renovation projects? Stop wasting time tracing unreliable CAD files. A clean point cloud and verified as-built model should be your non-negotiable starting point.
- Is our Level of Development (LOD) defined before modeling begins? The goal is an accurate model of what’s staying, not a perfect replica of what’s about to be torn out. Avoid over-modeling demolished elements.
Demolition Modeling Discipline
- Are elements correctly assigned to a "Demolition" phase? Just deleting objects from the model is a recipe for disaster. It corrupts your data and creates ambiguous drawings. Every demolished element must be properly phased.
- Do we have a strict rule against mixing existing, demo, and new work in the same phase? The "Existing" phase is sacred. It must remain an untouched record of initial site conditions.
Phasing Setup and View Template Controls
- Are project phases set up with a strict, sequential logic (Existing > Demo > New)? This chronological structure forms the backbone of clear construction sequencing.
- Do we enforce locked View Templates for all drawings? Eliminate freelance view settings. Templates ensure every demolition plan and new construction drawing is 100% consistent.
- Are graphic overrides for phases standardized across all projects? A demolished wall should look the same on every drawing, every time. This removes guesswork for the contractor.
Think of this checklist as a QA process for your production workflow. Each "yes" is a checkpoint confirming your firm is actively mitigating risk, preventing RFIs, and building a foundation for scalable, profitable delivery.
The market for this work isn't slowing down. The global residential remodeling sector is booming, with analysts estimating the market at roughly USD 3.5 trillion in 2024. Projections show it climbing to about USD 5.2 trillion by 2034. As this market expands, systemized workflows are the only way to capture that opportunity profitably. Discover more insights about remodeling market growth.
If this checklist brought weak points in your current process to light, we have resources that can help. Consider downloading our free renovation BIM workflow template to start building a more disciplined system today.
Got Questions About Renovation BIM? We’ve Got Answers.
Even with a perfectly planned workflow, complex building remodeling projects will always throw a few curveballs. Here are straight answers to the questions we hear most often from teams in the field.
What’s the Bare Minimum We Need in an As-Built Model?
Focus on what you need for coordination. A minimum viable model should have the core structural players—columns, beams, and slabs—along with major MEP systems and the building’s exterior skin. Let the project’s needs define the Level of Development (LOD).
A classic mistake is getting bogged down modeling interior finishes slated for demolition. A clean, accurate model of the core and shell is your most critical starting point, not a perfect digital copy of a building you’re about to gut.
How Do You Handle Phasing for a Project with Multiple Construction Stages?
For projects broken into multiple stages, your BIM setup must mirror the construction sequence. In your software, create distinct, sequential phases (e.g., Phase 1 Demo, Phase 1 New, Phase 2 Demo, Phase 2 New). It has to follow real-world logic.
Then, use dedicated view filters and graphic overrides to make each stage crystal clear on your drawings. This simple step heads off a world of confusion, ensuring contractors know the exact scope for each package and preventing RFIs.
Can We Use Old CAD Drawings in Our BIM Workflow?
Yes, but with one huge caveat: use them only as a reference underlay. Never use them as a basis for creating new geometry. You can link old CAD files into your BIM model to see how they stack up against your scan-based as-builts.
But you should never ‘trace’ or ‘snap’ to lines from them. Sticking to this rule ensures your model is grounded in field-verified reality, not on historical documents riddled with inaccuracies.
This discipline isn’t just about good practice; it connects to bigger industry goals. With buildings accounting for 34% of energy-related CO2 emissions, every choice we make in a remodel has a real impact on operational and embodied carbon. Basing your design on solid, accurate data is the first step toward making smarter, more sustainable decisions. You can learn more in the 2024/25 global report on buildings and construction.
If your team is wrestling with messy as-builts or phasing plans that just create more confusion, we can help you install the systems needed for predictable project delivery. A great place to start is with our renovation BIM workflow checklist.