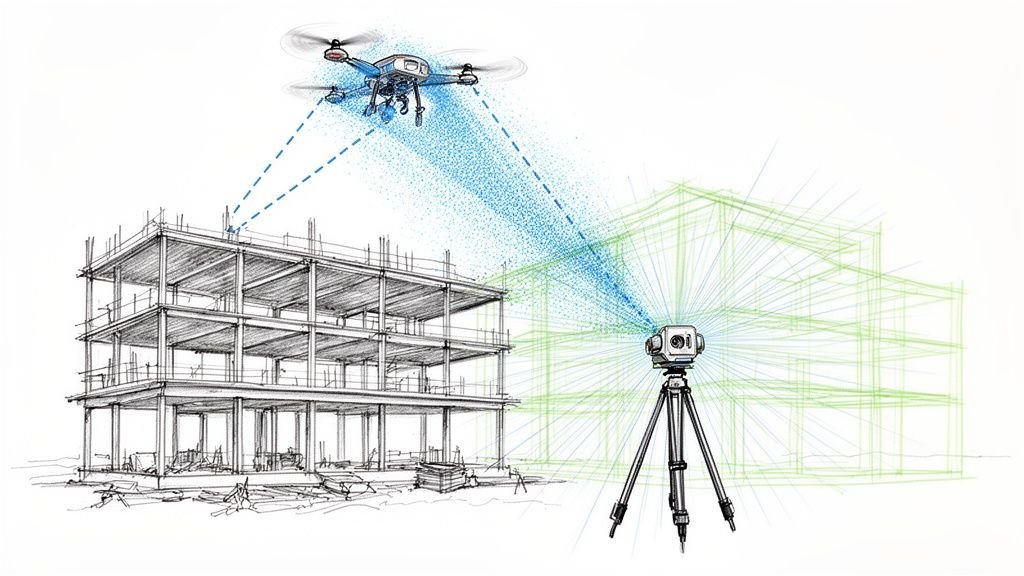
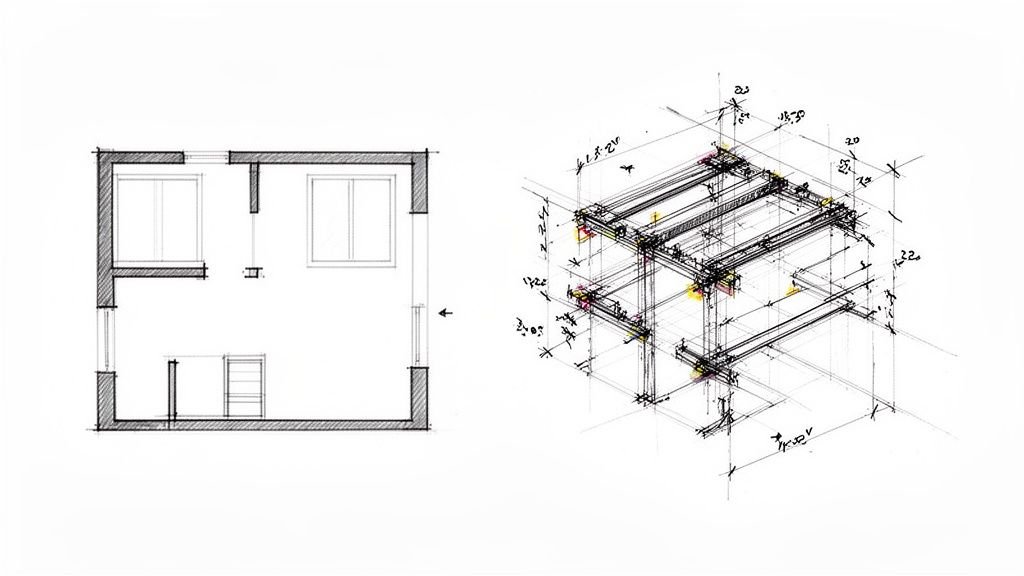
Ever stared at a Revit model where elements have vanished, schedules are a mess, and you can't figure out why? You're not alone. The frustration with Revit's Design Options feature is a common story, often pushing firms to give up and resort to messy workarounds like "Save As" copies. This just opens the door to massive risks with your budget, production maturity, and QA process.
The problem isn't the tool. It's the approach. Most training shows you which buttons to click but never explains the logic, leaving you with unpredictable and infuriating results. The secret isn't memorizing steps—it's understanding the conceptual framework that makes those steps logical.

Why Understanding the Logic Matters Before Learning the Tools
Nearly every headache associated with design options in Revit comes from jumping in without grasping the concept first. Users start clicking away without understanding the system, and then they're left wondering why:
- Elements mysteriously appear or disappear from views.
- Schedules show double-counted quantities or are just plain wrong.
- Views display the wrong content, creating confusion for permit sets and inviting RFIs.
- They can't edit an element that's sitting right there on the screen.
We've trained hundreds of Revit users—the ones who master design options fastest are those who understand the logic first, not those who memorize the steps. Once the "why" clicks, the "how" becomes second nature, and design options become a powerful tool for exploring alternatives without model duplication, file proliferation, or coordination chaos.
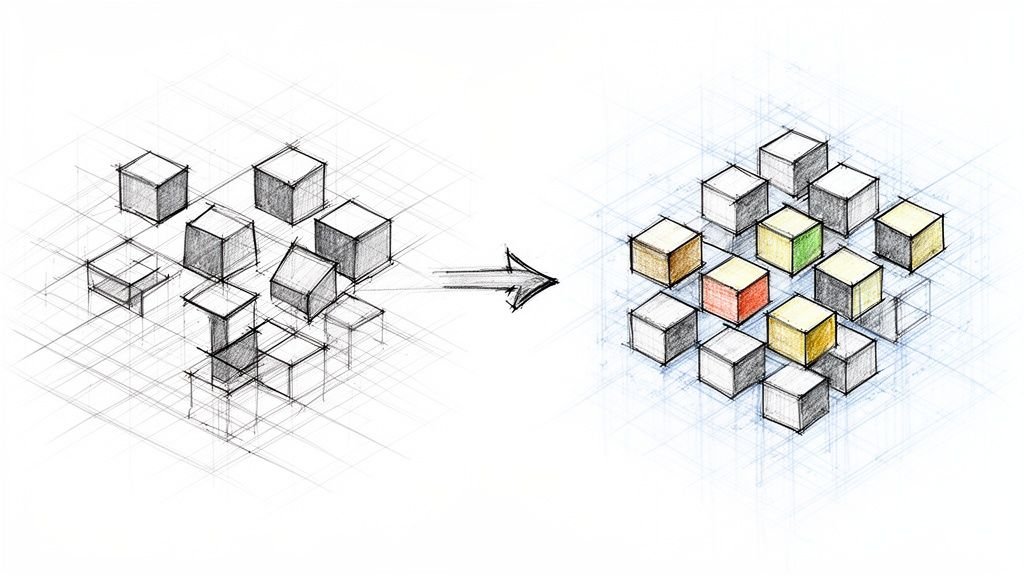
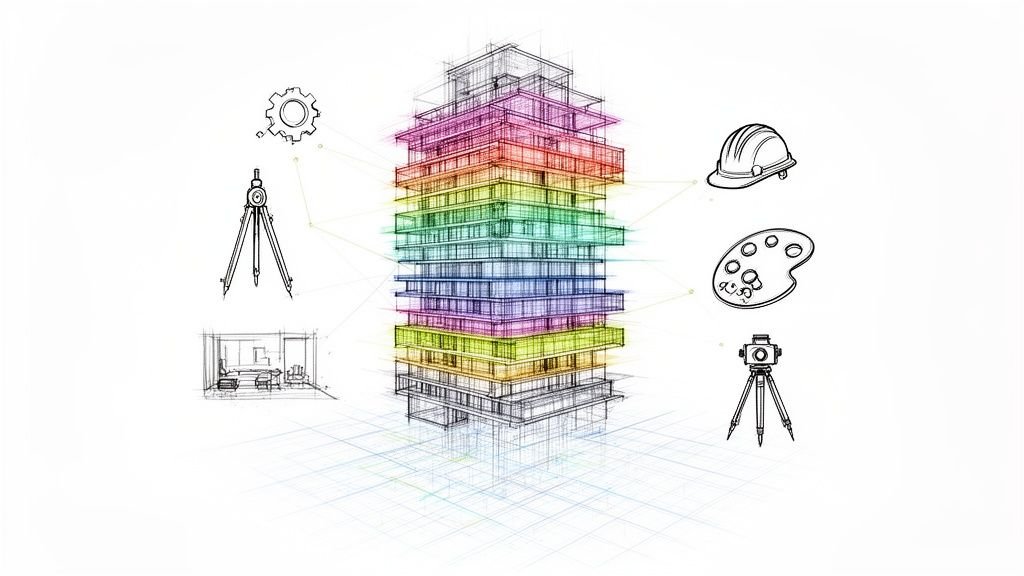
The Core Concept: What Design Options Actually Are
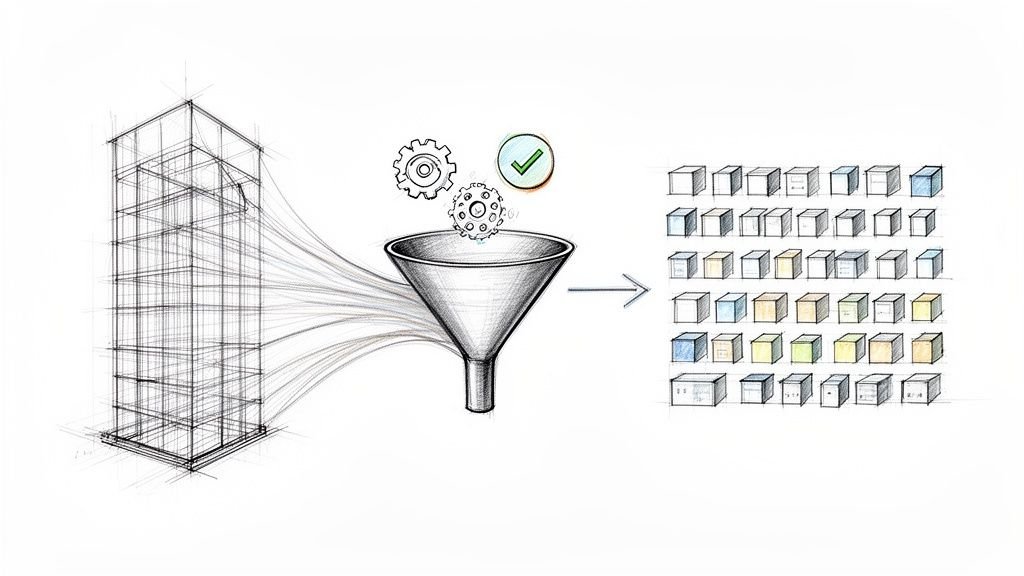
If you want to master multiple design schemes in Revit, don't start by learning clicks. Start by understanding the core concept. The Design Options feature is less of a tool and more of a system for managing decisions within a single, coherent model. It solves a classic architectural headache: how do you explore "either/or" scenarios without making a dozen copies of your file or corrupting the main model?
Analogy #1: Design Options as "Transparent Overlays"
The simplest mental model is to think of your main Revit project as a permanent base drawing. This is where all the elements common to every single design scheme live—things like the site, the structural grid, or the building core.
A Design Option is like a transparent overlay you place on top of that base drawing. You can have a stack of different overlays, each showing a unique idea (like a curtain wall facade vs. a punched window facade). You can flip through these overlays to compare them, but the base drawing underneath never changes. This simple mental model is what keeps your project from descending into file management chaos and protects your margins.
What Design Options Are NOT
Just as important is knowing what Design Options are not. A lot of project errors come from mixing this tool up with other Revit features meant for different jobs.
- Not copies of the model: They are integrated alternatives, not separate files.
- Not separate files: The entire point is to avoid the "Save As…" nightmare and keep everything in one coordinated project.
- Not Phases: Phasing is for managing a timeline (Existing vs. New), while options are for comparing simultaneous alternatives.
The Structure: Option Sets and Options
Revit organizes these "overlays" into a simple hierarchy. Once you get this structure, the whole tool becomes intuitive and predictable.
What an Option Set Represents (A Category of Decision)
An Option Set is the decision you need to make. Think of it as a question you need to answer for the project. For example, you might create an Option Set named "Lobby Entrance Design," "Facade Material Study," or "Roof Profile." It’s the category of decision that requires exploration.
Analogy #2: Option Sets as "Questions," Options as "Possible Answers"
If an Option Set is the question, then an Option is a possible answer to that question. Inside the "Lobby Entrance Design" Option Set, you might have Options named "Revolving Door Scheme" and "Double Swing Door Scheme."

This framework lets your team manage several independent decisions at once. You can have one Option Set for the facade, another for the interior layout, and a third for the roof, all living together in the same model without interfering with each other—a hallmark of a scalable delivery pod.
Primary vs. Secondary Options: The Default Logic
Within every Option Set, one Option has to be the Primary one. This is probably the most misunderstood part of the whole system, but the logic is simple.
The Primary option is just Revit's default assumption. It’s the scheme Revit will show in every view and include in every schedule unless you specifically tell it otherwise. All other Options in that set are considered Secondary—they are the alternatives to the default.
Analogy #3: Primary as "What Shows Unless You Say Otherwise"
Think of the Primary option as the current front-runner or the "path of least resistance." It’s not a vote for the best design; it’s a rule that makes the model predictable. By setting a default, Revit ensures your views and schedules aren't empty or broken right after you create a new Option Set. You can change which option is Primary at any time, instantly updating all non-dedicated views to reflect the new default.
The Main Model: What Lives Outside Options
The secret to a clean, manageable model is discipline. The Main Model is the permanent, unchanging foundation of your project. This is where you place every element that is common to all your design alternatives. This includes your structural grid, levels, building core, and site context. If an element doesn't change between your options, it absolutely belongs in the Main Model.
By keeping these core elements in one place, you establish a single source of truth that all Revit alternatives are built upon. The options then simply add to or modify this base, preventing duplication and ensuring operational consistency.
How Elements Belong to Options
Once you've set up your options, you need to populate them. You can either add new elements directly to an active option or move existing elements from the Main Model into one. However, some elements, like Levels, Grids, and Views, cannot be option-specific. They are foundational and must live in the Main Model. This constraint is by design; it reinforces the logic that options are additions to a stable project framework, not entirely separate worlds.
How Views See Options
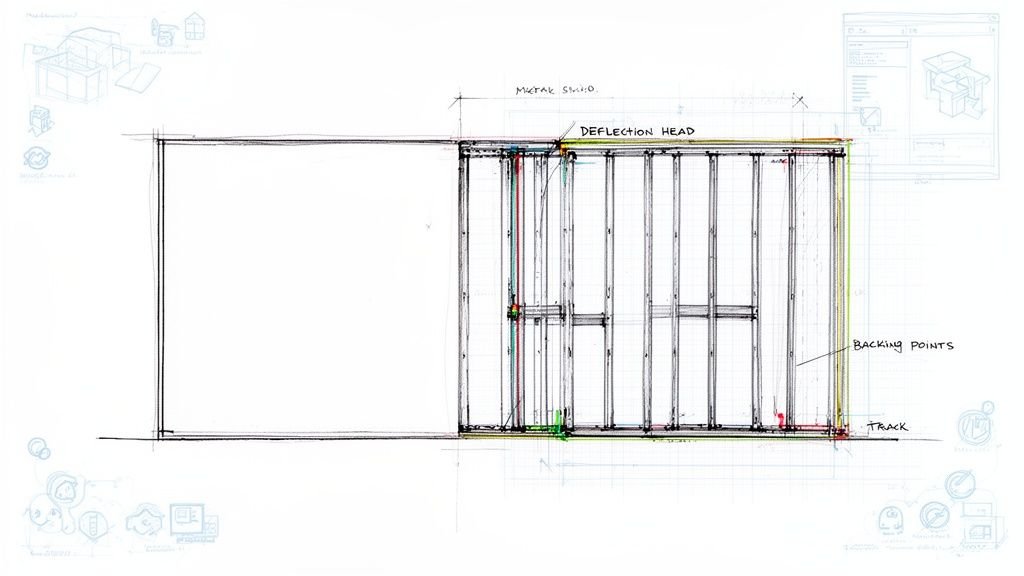
If you’ve ever had model elements mysteriously vanish from a view, it's almost certainly because your view is pointed at the wrong design option. The elements are still there; your "camera" just isn't looking at them.
Analogy #4: Views as "Cameras" Pointed at Different Options
Think of every Revit view as a camera. By default, that camera is aimed at the Primary option of every set. To dedicate a view to a specific alternative, you must tell the camera where to point.
In the Visibility/Graphics Overrides (VG or VV) for any view, you’ll find a Design Options tab. Change the setting from <Automatic> to the specific option you want that view to display. This is the bedrock of creating clear comparison views for client presentations or decision checkpoints, and it prevents confusion in your permit sets. For more on creating powerful and consistent views, check out our guide on how to best use Revit view templates.
How Schedules Interact with Options
An even more costly mistake is sending out schedules with bogus quantities. This happens because, by default, Revit schedules can "see" and count elements from all design options at once. If you have two facade options, your window schedule might show double the actual quantity—a mistake that can wreck cost estimates and threaten margin protection.
The fix is to create option-specific schedules. Just like with views, you need to tell each schedule which design scheme it should be reporting on.
- Duplicate Your Schedule: Create a dedicated copy for each option you need to quantify (e.g., "Door Schedule – Lobby A").
- Add the "Design Option" Parameter: In the schedule’s Fields, add the
Design Optionparameter. - Filter by Design Option: In the Filter tab, create a rule where
Design Option"equals" the name of the specific option you want that schedule to report on.
This forces the schedule to ignore everything except the elements in your chosen design option, guaranteeing accurate quantities for that specific scheme. It’s a simple move that ensures your data for bidding and material takeoffs is spot-on. For more information on using Revit option sets, the Autodesk Knowledge Network offers detailed documentation.

The Logic of Multiple Option Sets
A mature BIM workflow often involves managing multiple, independent decisions simultaneously. You might have one Option Set for the facade, another for the lobby, and a third for the roof system. These sets are completely independent. This means you can show any combination: Facade Option A with Lobby Option B and Roof Option C. This multiplicative nature (2 facade options × 3 lobby options = 6 possible combinations) is incredibly powerful for complex projects.
How Design Options Differ from Other Revit Tools
Choosing the right tool from the start prevents major headaches. Design Options are for exploring possibilities, Phases are for tracking time, and Worksets are for teamwork. A common mistake is using the wrong tool for the job.
| Tool | Primary Purpose | Best Use Case | When Not to Use |
|---|---|---|---|
| Design Options | Alternatives | Exploring "either/or" schemes like facade studies or interior layouts that exist at the same time. | For time-based changes (renovations) or just for team collaboration. |
| Phases | Time | Showing existing, demolition, and new construction over a project timeline. | For comparing design alternatives that are being considered simultaneously. |
| Worksets | Collaboration | Dividing the model so multiple users can work on different parts at once without conflict. | For managing design alternatives; this creates massive confusion and data issues. |
| Separate Files | Isolation | When developing two schemes so radically different they share almost no common elements. | When you need to compare options within the context of the same building. |
The Lifecycle of Design Options
Remember: design options are temporary tools for exploration, not permanent model fixtures. They are meant for the schematic and design development phases and should be resolved long before construction documents. The typical lifecycle is:
- Explore: Create options to study alternatives.
- Present: Use dedicated views to compare schemes for stakeholders.
- Decide: Select the final direction.
- Accept & Delete: Accept the Primary option, which merges its elements into the Main Model, and delete the unused secondary options. This "cleaning up" process is a critical step in maintaining a healthy model.
Common Logical Misunderstandings
- "My elements disappeared!" Your view is looking at the wrong option. Change the view's Visibility/Graphics settings.
- "My schedule shows double quantities!" It's counting elements from multiple options. Filter your schedule by the
Design Optionparameter. - "I can't edit this element!" The element you're trying to edit belongs to a different option than the one that's currently active. Switch your active design option.
- "I created an option set but nothing changed." An option set is just an empty container. You still need to add elements to the options within it.
Mental Checklist Before Using Design Options
Before you click "New Option Set," run through this checklist. This discipline separates mature production teams from those who just react.
- Is this a true "either/or" decision?
- Can I clearly define what is different between the alternatives?
- Will I need to compare these alternatives visually side-by-side?
- Is this a temporary exploration or a permanent model structure?
- Would a different tool (Phases, Worksets, Groups) serve this purpose better?
Applying general decision making frameworks here can also clarify which design path is best.
When Design Options Are the Right Choice
- Client presentations with multiple schemes
- Value engineering alternatives
- Facade or envelope studies
- Interior layout alternatives
- Structural system comparisons
When Design Options Are the Wrong Choice
- Renovation existing vs. new (use Phases)
- Team organization (use Worksets – see our guide on effective Revit worksharing)
- Repeating elements (use Groups)
- Long-term parallel development (consider separate linked files)
The entire Building Information Modeling market, valued at $7.95 billion in 2024, is driven by the efficiency gains from tools just like this one. Mastering them is not optional for competitive firms. You can find more insights on the growing BIM market from this research.
At BIM Heroes, we don't just teach you which buttons to click; we help your team build the production maturity to make these tools work for your bottom line. If you're struggling to get real value from features like Design Options, you might just need a better system. Download our Design Options Planning Checklist and start implementing these concepts with confidence. https://www.bimheroes.com