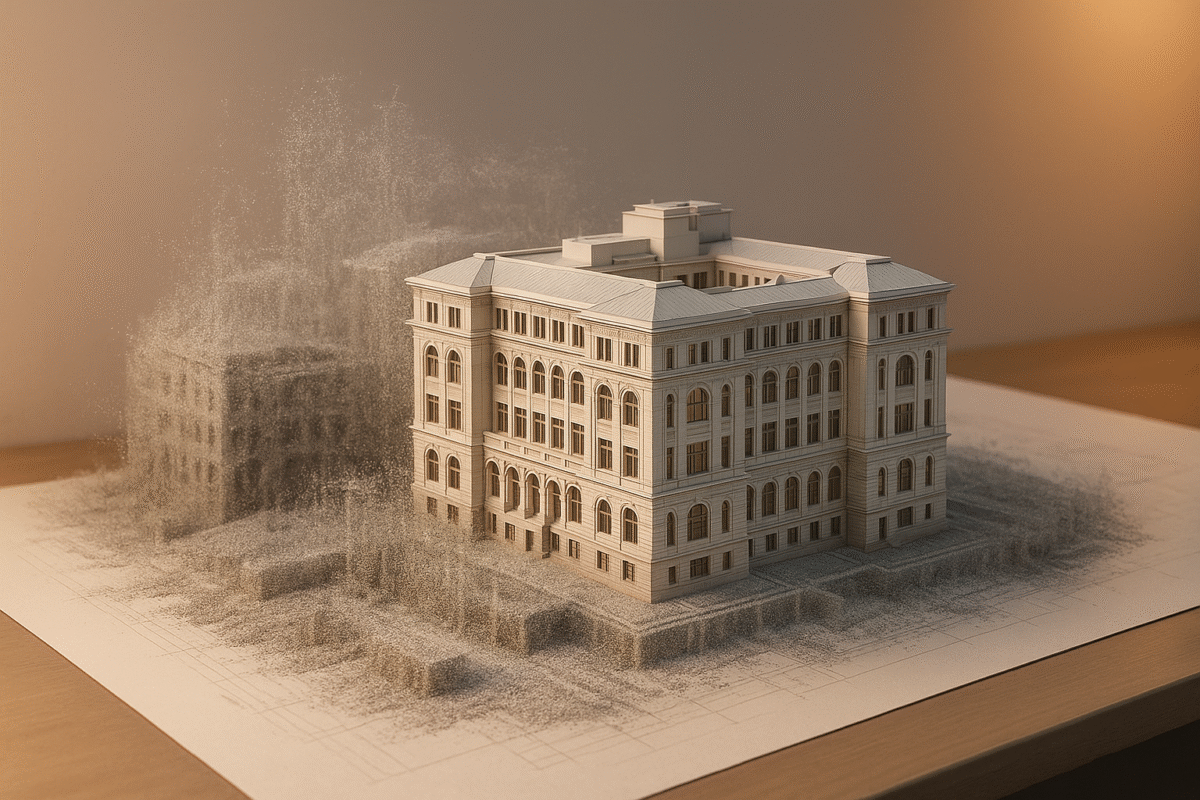
Point Cloud to BIM: The Complete Conversion Workflow for Architects & Engineers
Converting point cloud data to BIM models is essential for accurate 3D building representations. This process involves transforming laser scan data into detailed digital models used in construction and renovation projects. Here’s a quick summary:
- What is Point Cloud Data? Millions of data points captured via laser scanning or photogrammetry that map a structure’s physical layout.
- Why Convert to BIM? BIM models improve project planning, reduce errors, and enhance collaboration with precise 3D representations.
- Steps to Convert:
- Prepare Data: Collect, clean, and align point cloud scans.
- Import Data: Use tools like Autodesk Revit or ArchiCAD.
- Model Structures: Build walls, floors, and custom elements manually or semi-automatically.
- Validate: Ensure accuracy with quality checks and alignments.
| Step | Key Tools | Purpose |
|---|---|---|
| Data Preparation | Autodesk ReCap, Leica Cyclone | Clean and optimize raw scans. |
| Import and Modeling | Autodesk Revit, ArchiCAD | Create 3D models from point cloud data. |
| Validation and Finalizing | Deviation tools | Verify model accuracy and consistency. |
Key Takeaway: With the right tools and workflow, point cloud to BIM conversion streamlines construction projects and ensures precise digital models for better project outcomes.
Step 1: Preparing Point Cloud Data for BIM
Methods for Collecting Point Cloud Data
Point cloud data can be gathered using two main techniques: 3D laser scanning and photogrammetry. 3D laser scanning delivers high precision, making it perfect for detailed building documentation. On the other hand, photogrammetry is a more budget-friendly choice, especially for smaller projects or capturing external features.
Combining and Aligning Scans
Software tools like Autodesk ReCap and Leica Cyclone simplify the process of merging multiple scans into a unified dataset. These tools use advanced algorithms to identify overlapping areas and align scans with precision.
| Software Tool | Primary Functions | Best Used For |
|---|---|---|
| Autodesk ReCap | Point cloud registration, basic cleaning | Large projects, Revit integration |
| Leica Cyclone | Advanced registration, detailed editing | Complex architectural details |
Cleaning and Optimizing Data
Raw point cloud data needs to be cleaned and optimized before it can be effectively used for BIM. Key steps include:
- Removing noise and outliers to focus on relevant building features.
- Reducing point density to manage file size without compromising accuracy.
Quality control is essential throughout the process. This includes:
- Verifying the accuracy of scan overlaps.
- Checking for gaps or inconsistencies in the data.
- Comparing dimensions against known reference points.
- Ensuring proper alignment of scans from different positions.
Preparing clean, optimized point cloud data minimizes errors and reduces rework during modeling. Once the data is ready, it can be imported into BIM tools for accurate modeling.
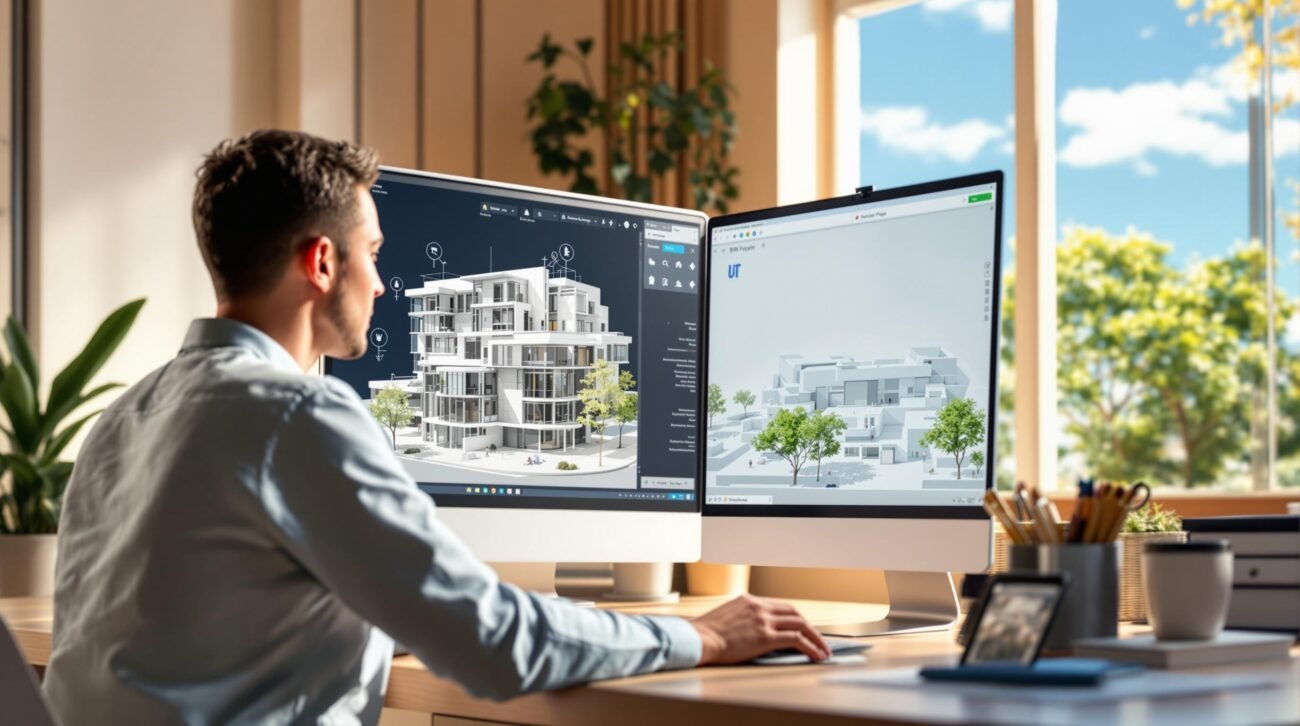
Step 2: Importing Point Cloud Data into BIM Tools
Choosing the Right BIM Software
After preparing your point cloud data, the next move is to bring it into suitable BIM software for modeling. Tools like Autodesk Revit and ArchiCAD are popular choices because they handle point cloud data effectively. These, along with Autodesk ReCap, offer features tailored for processing point clouds and creating BIM models.
| Software | Features | Ideal Use Case |
|---|---|---|
| Autodesk Revit | Supports RCP/RCS files, integrates with ReCap | Large commercial projects |
| ArchiCAD | Strong visualization, parametric modeling | Architectural design projects |
| Autodesk ReCap | Prepares point clouds, converts formats | Preprocessing and data cleanup |
File Formats to Know
Common file formats like RCP (ReCap Project), RCS (individual scans), and E57 ensure your data is compatible with most BIM platforms.
Aligning the Data Correctly
Positioning point cloud data accurately is critical for creating a reliable BIM model. Start by aligning the point cloud to a consistent project coordinate system. This includes defining reference points, verifying coordinate systems, and running quality checks to confirm accuracy.
To avoid errors, keep communication open between the scanning team and BIM modelers. Clear alignment requirements reduce the chance of rework and ensure the final BIM model is precise.
Once the data is properly aligned, you’re ready to start modeling the structure in your chosen BIM software.
Step 3: Creating BIM Models from Point Cloud Data
Manual vs. Automated Modeling Methods
Transforming point cloud data into BIM models can be done through manual, semi-automated, or hybrid methods. Manual modeling delivers high precision but takes more time, while semi-automated methods are quicker but often need adjustments to improve accuracy.
| Modeling Method | Advantages | Ideal For |
|---|---|---|
| Manual Modeling | Highly accurate, suited for complex details | Historic preservation projects |
| Semi-automated | Faster for standard elements | Large-scale projects |
| Hybrid Approach | Combines speed with precision | Projects with mixed levels of complexity |
Modeling Key Building Features
Start with structural elements like walls, floors, and ceilings. Here’s how to approach it:
- Use sections of the point cloud to determine dimensions and alignments.
- Establish level markers and clearly define boundaries for floors and ceilings.
- Build the model from the foundation upward, checking against reference planes.
- Confirm that wall alignments and floor boundaries match the point cloud data.
Building Custom Families in Revit
For unique architectural elements, creating custom Revit families is crucial. Begin by selecting a family template that matches the component type. Then, define adjustable parameters and model the geometry using the point cloud as a reference. To ensure smooth collaboration, use consistent naming conventions and store families in a shared library.
Steps for creating custom families:
- Choose a family template that fits the component category.
- Define parameters to control dimensions and characteristics.
- Model components using point cloud references while keeping file sizes manageable.
After modeling the main building elements, the focus shifts to refining and verifying the BIM model. This ensures that all the effort put into modeling results in a precise and dependable final product.
sbb-itb-0af4724
Converting Point Cloud Data to LOD 200 BIM Models
Step 4: Finalizing and Verifying the BIM Model
This step focuses on ensuring the BIM model is complete and ready for use, building on the structural elements and custom families developed earlier.
Creating Levels and Floor Plans
Use BIM tools to generate levels and floor plans that align with point cloud data. This ensures precise elevations and structural consistency. Establish datum points at critical intersections to maintain proper alignment throughout the model.
| Element Type | Verification Method | Key Considerations |
|---|---|---|
| Floor Plans | Point Cloud Overlay | Structural alignment, wall thickness |
| Levels | Elevation Analysis | Floor-to-floor heights, slab thickness |
| Section Views | Cross-referencing | Vertical alignment, spatial relationships |
Adding Services and Details
When integrating MEP systems, tools like Autodesk ReCap can help extract components from point cloud data. Keep these points in mind:
- Maintain necessary clearances and document any deviations to ensure system integrity.
- Organize service zones and include identification tags for easier facility management.
- Verify routing and connections to ensure all systems are properly modeled.
Checking Model Accuracy
Use deviation tools to compare the model against the point cloud data. Focus on these areas:
Geometric Accuracy
- Confirm that wall alignments are within acceptable tolerance limits.
- Check structural dimensions and elevations for consistency.
- Validate spatial relationships between elements.
Component Verification
- Make sure components are correctly classified and their parameters are accurate.
- Ensure all required elements are fully modeled.
Quality Control Steps
- Compare the model’s geometry with the point cloud.
- Validate spatial relationships across the model.
- Check the accuracy of component parameters.
- Inspect MEP systems for proper integration.
- Generate detailed quality control reports.
- Record and approve any deviations.
Leverage validation software to systematically identify and correct discrepancies before delivering the model. This ensures the BIM model is accurate and ready for project execution, supporting effective planning and collaboration.
Conclusion: Summary and Recommendations
Turning point cloud data into BIM models requires a detailed and methodical process. It combines technical know-how, the right tools, and strict quality checks. Every step – from capturing the data to validating the final model – demands close attention.
Making the Scan-to-BIM Process Better
Using a clear workflow can boost both accuracy and efficiency in Scan-to-BIM projects. Careful data collection, precise processing, and thorough validation help minimize mistakes and keep projects on schedule. To refine the process, focus on:
- Setting up clear quality control measures
- Following structured validation steps
- Applying advanced modeling methods
- Keeping documentation consistent and organized
If your project has tight deadlines or requires specialized skills, working with professionals can make the process smoother.
Collaborating with Specialists
While it’s possible to handle conversions internally, hiring experts can be a smart move, especially for complex designs. Experienced Scan-to-BIM professionals excel at managing intricate architectural features and tough structural challenges.
Achieving success in Scan-to-BIM hinges on accurate workflows, strong quality checks, and the right tools. Whether you tackle it in-house or team up with specialists, sticking to consistent standards at every phase ensures the best outcomes and keeps your project running smoothly.
FAQs
What are the steps for converting point cloud data to BIM models?
Here’s a quick breakdown of the main steps involved in converting point cloud data into BIM models:
- Prepare Point Cloud Data
- Gather data using methods like laser scanning or photogrammetry.
- Clean and align the data (refer to Step 1 for specifics).
- Choose the Right BIM Software
- Pick software such as Revit or ArchiCAD based on your project requirements (see Step 2 for software options).
- Make sure the program supports the point cloud file formats you’re working with.
- Import and Process the Data
- Bring the cleaned point cloud into your selected BIM software.
- Properly position and align the data within the platform.
- Model and Validate BIM Elements
- Build essential building features and follow established modeling standards.
- Cross-check the model against the point cloud to ensure accuracy.
“The precision of point cloud data scans dictates the quality of the resulting 3D BIM models, emphasizing the importance of accurate data capture”.
To achieve the best results, keep these factors in mind:
| Process Stage | Key Requirements | Impact |
|---|---|---|
| Data Collection | High scanner accuracy and coverage | Provides reliable base data |
| Processing | Proper software and data cleanup | Minimizes errors |
| Modeling | Consistent detail and standards | Ensures a precise model |
| Validation | Quality control and clash checks | Delivers dependable output |
While automated tools can help speed things up, manual checks are essential to maintain accuracy. For complex projects, collaborating with seasoned professionals can make a big difference.
Following these steps will help you navigate the Scan-to-BIM process effectively, as detailed throughout this guide.