Impact of Visibility Settings on Revit Family Performance
Visibility settings in Revit families play a critical role in managing how building elements appear across different views and project stages. By controlling what is displayed in floor plans, elevations, and 3D views, these settings improve model efficiency and reduce unnecessary visual clutter.
Key Takeaways:
- Visibility settings act as filters, simplifying navigation and focusing on relevant details for specific tasks.
- They adjust element display based on view types, detail levels, and project phases, ensuring appropriate detail for architects, contractors, and engineers.
- Poorly configured visibility settings can slow performance, increase file size, and disrupt workflows, especially in large projects.
- Using tools like subcategories, detail-level controls, and Yes/No parameters helps optimize visibility, improving project efficiency and collaboration.
Why It Matters: Properly managing visibility settings ensures smoother model performance, faster navigation, and cleaner documentation, especially in complex projects involving multiple disciplines.
Mastering Visibility & Graphics in Revit Families
How Revit Family Visibility Settings Work
To understand how visibility settings work in Revit families, it’s important to grasp the basic mechanics behind them. These settings operate on a system that adapts to different viewing contexts and user needs, making it easier to manage what you see in various views.
At the heart of this system, Revit assigns display rules to individual family components. These rules dictate when specific geometric elements – like 3D solids, lines, or masking regions – should appear or disappear based on certain conditions. This dynamic approach ensures that the displayed content adjusts as users navigate through the model.
The system relies on conditional logic embedded in each family. For instance, when you open a floor plan view, Revit evaluates each family and determines which components should be visible based on the view type, detail level, and any filters in place. This logic is carried out through three main control mechanisms.
Main Parts of Visibility Settings
Revit’s visibility settings revolve around three core controls that determine what’s displayed on screen:
- View-specific visibility: This is the foundation of the system. Each family component can be configured to display differently depending on whether you’re in a plan view, elevation view, or 3D view. This ensures that unnecessary geometry isn’t loaded in views where it’s not needed.
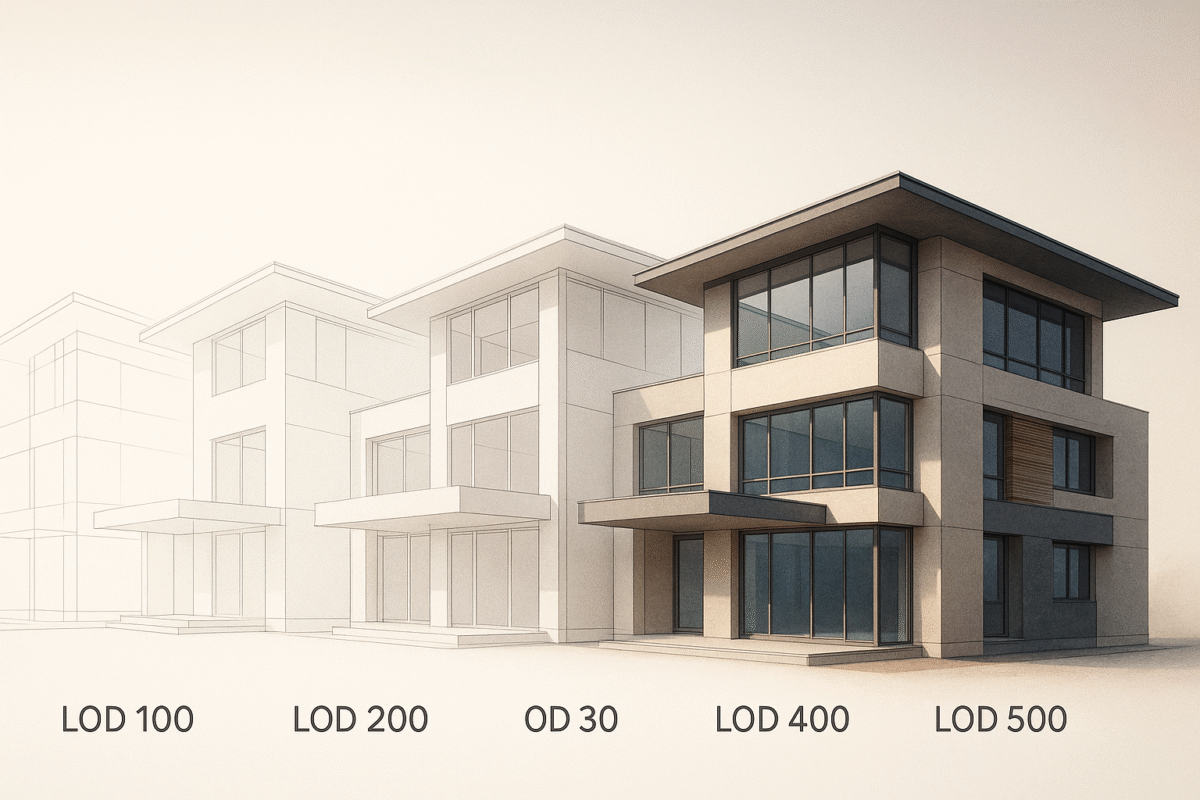
- Detail level controls: These settings adjust the complexity of components based on zoom level and drawing scale. For example, at a coarse detail level, you might see simplified geometry suitable for general layouts, while a fine detail level reveals intricate components needed for construction documentation.
- Subcategory assignments and custom parameters: These offer more granular control over individual elements. Advanced families use these tools to create responsive behaviors. For example, mechanical equipment families might hide internal components during architectural coordination but display them during MEP design work.
Together, these controls create a hierarchy of visibility rules that Revit processes each time the model updates. However, as these rules grow more complex, they can increase the processing demands on the system, especially in larger projects. Beyond just managing what’s visible, these settings also play a key role in optimizing performance.
How Visibility Settings Affect File Size
Visibility settings don’t directly increase file size, but they significantly influence how Revit handles and displays model information, which impacts performance. Two main factors come into play here.
First, geometric complexity is the primary factor driving file size. Every 3D solid, line, and surface within a family contributes to the overall model size, regardless of whether it’s visible. However, visibility settings determine how much of this geometry is actively processed during modeling. Poorly configured settings can force Revit to process unnecessary geometry, leading to performance bottlenecks.
Second, processing overhead can have a major impact. When visibility settings are mismanaged, Revit has to evaluate detailed geometry every time you change views, zoom in, or update the model. For instance, a door family with highly detailed 3D components visible in floor plan views can slow down navigation, even if that level of detail isn’t required.
In large projects, failing to hide complex geometry can lead to higher memory usage and slower responsiveness. This is especially problematic in cloud-based collaboration environments, where performance issues can become even more noticeable.
Research Results: How Visibility Settings Impact Performance
Recent studies shed light on how visibility settings influence model performance, emphasizing their role in both technical efficiency and team collaboration. The way visibility is configured can significantly affect not only how a model performs but also how smoothly teams work together on projects.
Performance Problems from Poor Visibility Setup
Research highlights that many performance issues arise when detailed geometry appears in views meant for simpler representations. For example, displaying mechanical equipment, furniture, or intricate architectural details in basic views can lead to slower view regeneration and higher memory usage.
Another challenge involves nested families. When nested components inherit unsuitable visibility settings from their host families, navigating the model can become cumbersome – especially in projects with complex assemblies. This can create bottlenecks in performance, making it harder for teams to work efficiently.
Effects on Team Collaboration and Model Navigation
Inefficient visibility settings can also disrupt team productivity, particularly in collaborative environments using cloud-based platforms like Revit Server or BIM 360. Long view refresh times can cause delays during model synchronization, throwing off project schedules. Additionally, models that aren’t optimized for simultaneous access can slow down when multiple team members are working on them, reducing overall collaboration efficiency.
Comparing Different Visibility Methods
Fine-tuning visibility settings can prevent these performance hiccups and improve usability. Testing various visibility configurations reveals distinct differences in efficiency:
- Basic view-specific controls: These limit unnecessary geometry and provide modest performance improvements. However, they often fail to address issues tied to detail levels or complex assemblies.
- Detail level optimization: This strategy ensures that geometry is displayed only when relevant to a specific view. It’s particularly effective for architectural families, where different levels of detail are needed for documentation.
- Parameter-driven visibility: While this method offers flexibility and performance benefits, it requires advanced setup and is better suited for teams with strong BIM expertise.
- Hybrid approaches: Combining multiple visibility strategies tends to deliver the best results. Although this approach requires upfront investment in family development, standardization, and training, it often leads to a more efficient and responsive project environment.
sbb-itb-0af4724
Best Methods for Improving Revit Family Visibility
Strategically adjusting visibility settings can make a big difference in how Revit families perform. By refining these controls, you not only improve performance but also make families easier to use and scale over time. Let’s dive into some practical methods for fine-tuning visibility.
Setting Up Visibility Controls for Views and Detail Levels
Default visibility settings are often too basic to handle the complexities of larger projects. For more precise control, relying solely on the standard "Visibility" checkbox isn’t enough – it applies changes globally across a project, limiting flexibility. Instead, creating subcategories within the family editor gives you a more tailored approach.
Subcategories allow you to assign specific components to distinct groups, which can then be toggled independently. For example, when building a family, each part can be linked to its own subcategory. Once the family is added to a project, users can easily manage these components through the Visibility/Graphics Overrides dialog under the family’s main category.
This system works even better when paired with detail levels. Assigning geometry to subcategories and linking them to appropriate detail levels ensures that complex elements only appear when necessary. For instance, simplified views might be ideal for early planning stages, while detailed views are critical for installation. By planning these settings in advance, you can keep views clean and reduce processing demands.
Using Parameters and Subcategories for Better Control
Yes/No parameters are a game-changer when it comes to managing visibility. They let you control elements dynamically, eliminating the need for multiple versions of the same family. With this method, a single family can represent multiple variations, saving time and effort.
"Use parameters to control element visibility in your family, reducing the need for multiple versions. Personally, I hate to have multiple families when I can have only one. It means when we need to update or modify the family, we only need to do it once." – Edwin Prakoso, Sr. Consultant, PT Cipta Satria Informatika
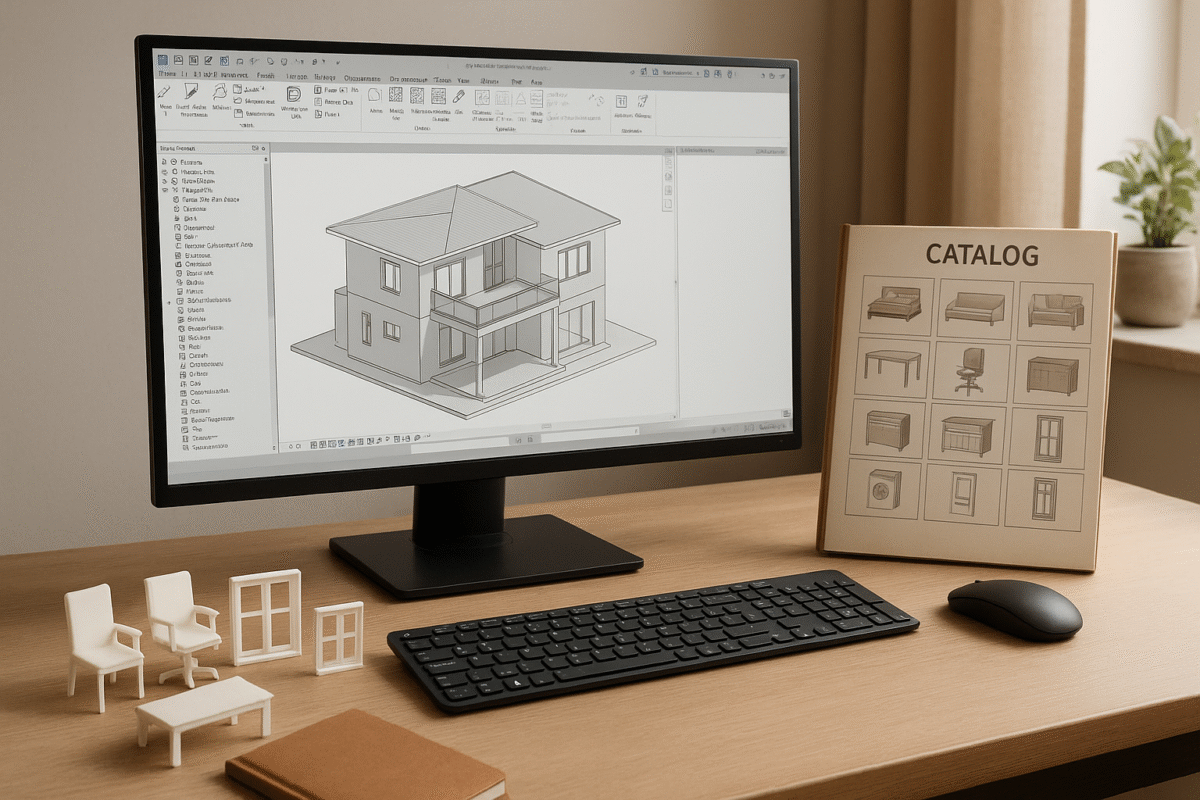
Here’s an example: Imagine a sofa family. By adding a "With Back" Yes/No parameter, you can link the sofa’s back geometry to this setting. This setup allows you to create two types – "Sofa – With Back" and "Sofa – Without Back" – all within a single family file.
Combining parameters with subcategories takes control to the next level. Assigning subcategories to specific parts of a family improves visibility management across different views and detail levels. This is particularly useful in large projects where various disciplines require different levels of detail.
"I strongly encourage you to create new subcategories when creating new family, they provide a very useful control of visibility." – Modelical
Conclusion: Improving Revit Family Performance with Better Visibility
Fine-tuning visibility settings is a game-changer for efficient BIM workflows. By carefully managing visibility, teams can streamline their projects, making models run smoother and scaling workflows to handle even the most complex designs. Research highlights how smart visibility management can shrink file sizes, simplify model navigation, and boost collaboration on large-scale efforts.
Tools like subcategories, yes/no parameters, and detail-level assignments give families the flexibility to adapt to different project phases without overloading the model with unnecessary geometry. This eliminates the hassle of creating multiple family versions while maintaining the adaptability needed for intricate projects.
Using type catalogs allows teams to load only the family types they actually need, keeping models lean without sacrificing design options.
For architecture, engineering, and design teams in the U.S. dealing with intricate projects, these strategies are key to avoiding performance slowdowns. Companies like BIM Heroes integrate these practices into their consulting and family creation services, helping architects, home builders, and engineering firms optimize their Revit families. By focusing on visibility settings and efficient workflows, they ensure smoother collaboration and better project results.
When visibility settings are configured correctly, teams benefit from faster model navigation, cleaner documentation, and stronger collaboration across disciplines throughout the project lifecycle.
FAQs
How do visibility settings affect the performance of Revit families in large projects?
Visibility settings in Revit families are essential for keeping large-scale projects running smoothly. These settings let you control which elements are visible, helping to cut down on visual clutter, streamline navigation, and boost overall responsiveness. When configured thoughtfully, they can lighten the system’s load and reduce lag – especially in complex models packed with numerous families.
But here’s the catch: if visibility settings are overly detailed or poorly managed, they can have the opposite effect. Instead of improving performance, they can slow things down and make large models harder to handle. To keep things efficient, it’s crucial to simplify these controls and align them with the specific needs of your project. Striking the right balance between detail and performance is key to maintaining a smooth workflow.
How can I configure visibility settings in Revit to improve family performance?
To get the most out of Revit families, it’s important to keep things streamlined. Start by simplifying the geometry and setting up visibility options for different levels of detail – coarse, medium, and fine. This way, only the essential elements appear in each view, cutting down on unnecessary complexity.
You can also use tools like parameters, section boxes, and cropping regions to control what’s visible in specific views. Managing visibility this way not only improves usability but also keeps performance steady, especially in large-scale projects. The result? Smoother workflows and more efficient project management.
How do subcategories and Yes/No parameters enhance visibility control in Revit families?
Subcategories and Yes/No parameters are incredibly useful for fine-tuning visibility settings in Revit families. Subcategories allow you to assign visibility controls to specific components within a family. This means you can make precise adjustments to individual elements without affecting the entire model. This level of control is particularly helpful in large, detailed projects where organization and flexibility are key.
On the other hand, Yes/No parameters function as simple on/off switches connected to visibility settings. They’re especially handy for managing the display of elements in complex or nested families, making workflows smoother and cutting down on repetitive tasks. When used together, these tools can streamline processes, improve usability, and save significant time in large-scale Revit projects.