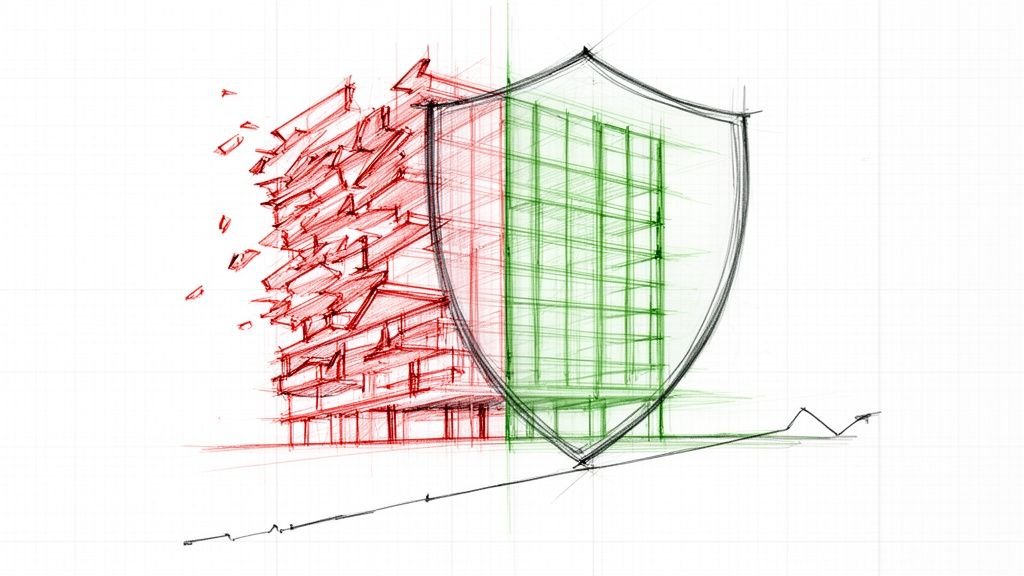
Your firm’s Revit model probably looks fine on the surface. The floor plans are readable, the elevations seem correct, and it spits out a decent set of drawings. But under that acceptable facade, persistent issues like slow performance, inaccurate schedules, and constant coordination chaos are quietly bleeding your project dry. These aren't just annoyances; they are silent margin killers that trace back to a few fundamental, expensive modeling habits.
The Silent Costs of a "Good Enough" Revit Model
"Good enough" might be the most expensive phrase in the AEC industry. It signals a quiet tolerance for small inefficiencies that compound, creating huge budget and timeline risks over the life of a project. A model built without strict template discipline is like a foundation poured on shaky ground.
Many architecture and engineering firms just accept lagging models or minor data errors as the cost of doing business. They don't connect these symptoms to their root cause: preventable modeling mistakes. This isn't about chasing perfection; it's about establishing production maturity and protecting your margins.
Every slow sync, incorrect quantity takeoff, or coordination RFI is a red flag pointing to a deeper problem inside the model. The real cost isn't just the time spent fixing one error; it's the cumulative damage from thousands of tiny compromises that undermine predictability and burn through project fees.
Shifting From Reactive Fixes to Proactive Systems
The typical approach is reactive. A problem pops up—a wall won't tag correctly, a door schedule is off—and a drafter burns an hour fixing it. But this firefighting approach never solves the underlying issue.
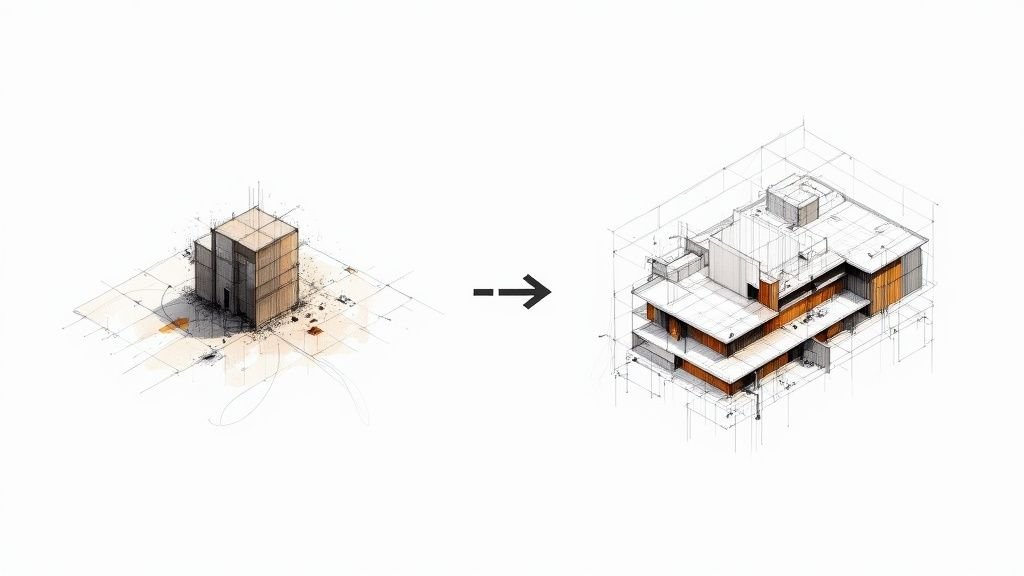
The real path to profitability is building solid BIM workflows and quality assurance (QA processes) that stop these errors from happening in the first place. A systematic approach delivers two things clients and firm leaders care about most: predictability and operational consistency. When your teams work from a foundation of disciplined modeling, you can forecast project timelines and costs with confidence. Taking a proactive stance is a huge factor in learning how to reduce construction costs, as it slashes the risk of expensive on-site rework that starts with bad model data.
A healthy Revit model isn't the end goal; it's the engine that drives a predictable and profitable project. It ensures the data behind every decision, from initial design to final permitting prep, is accurate and reliable.
By zeroing in on the hidden costs of "good enough," we can start to see the real value of a well-built model. It’s the difference between a project constantly teetering on the edge of chaos and one that moves forward with clarity and control, protecting both your firm's reputation and its bottom line.
How Foundational Errors Undermine Your Entire Project
The most expensive mistakes in a Revit model are almost always made before a single wall is even drawn. These are the silent, foundational errors that creep into the project setup and quietly corrupt every single action that follows. They create a ripple effect of chaos that only becomes obvious when you’re deep into coordination or, even worse, when crews are on site.
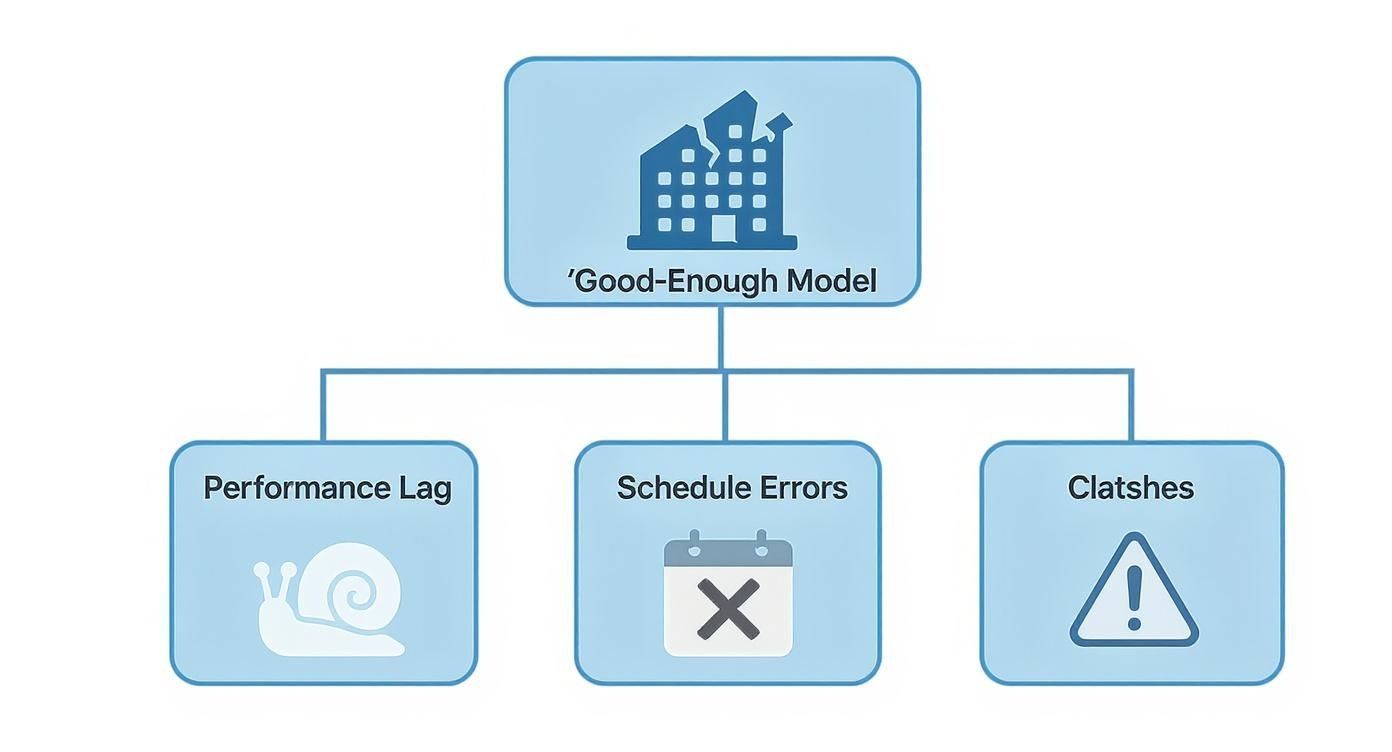
These aren't just minor technicalities; they are critical decision checkpoints that, if you get them wrong, all but guarantee cost overruns and painful rework. Foundational issues are the real reason projects suffer from performance lags, inaccurate schedules, and coordination clashes that drain profitability. The "good enough" model is never actually good enough, and this is where it starts.
The key thing to understand is that these problems aren't isolated incidents. They are interconnected symptoms that stem from a weak model foundation, completely undermining the predictability of your project delivery.
The Critical Mistake of an Incorrect Project Origin
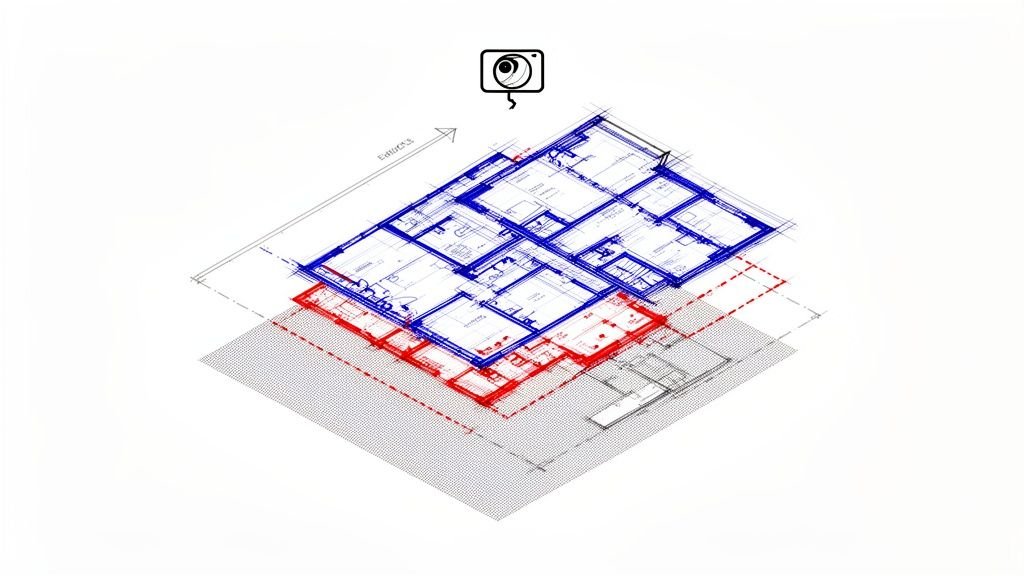
Think of the origin points in Revit—the Project Base Point and the Survey Point—as the building's digital survey monuments. If you don't set them correctly from day one, it's like building on a property without knowing where the boundaries are. Every consultant model linked into yours will be misaligned, triggering a cascade of coordination failures and RFIs prevention efforts down the line.
And no, this isn't something you can just "fix later." Trying to move an entire model after thousands of elements have been placed is a nightmare. You risk corrupting the file, breaking countless constraints, and burning dozens of hours cleaning up the mess. Getting the origin wrong is a classic mistake when teams move from CAD-to-BIM evolution, and it almost always ends in disaster. A disciplined BIM process demands that the origin is established, agreed upon, and locked down as a non-negotiable first step.
Misaligned and Improperly Named Levels
Another foundational error that silently destroys model integrity is the careless creation and naming of levels. When levels are misaligned or named inconsistently (think "Level 1," "First Floor," and "01 – Entry" all existing in the same project), you create a tangled web of vertical inaccuracies.
This seemingly small oversight has massive downstream consequences:
- Corrupted Vertical Relationships: Walls, floors, and other level-hosted elements get modeled at incorrect heights. Your sections and elevations will be wrong.
- Inaccurate Schedules: Door and window schedules that pull level data will report incorrect information, making them useless for procurement and installation.
- Coordination Chaos: When your structural or MEP engineer links your architectural model, their systems won't align with your building, creating clashes that take ages to resolve.
This isn't just a drafting error; it's a data management failure. A well-managed Revit model relies on clean, consistent level data to function as a reliable single source of truth for the entire project team.
The impact of these errors is magnified by Revit's dominance in the industry. One study shows it commands an impressive 41.10% market share among U.S. construction professionals. The platform’s power to detect conflicts is only effective if the foundational data is correct from the start. You can learn more about the findings in this construction software report.
Treating these initial setup steps with rigor isn't optional. It's the first line of defense in protecting your margin protection.
The Hidden Dangers in Your Revit Families and Geometry
Once the project's foundation is solid, the real work shifts to the building blocks themselves—the families and geometry that populate your Revit model. This is where small, almost invisible mistakes can start to corrupt a model from the inside out. A seemingly minor choice, like how a door family is created, can spiral into massive downstream effects on project stability, cost, and schedule.
Many teams fall into the trap of grabbing whatever content they can find quickly, skipping the critical step of vetting its quality or suitability. This reactive approach is a bad habit carried over from less-disciplined CAD days, and it directly undermines the integrity of the BIM process. The result? A model that’s brittle, a nightmare to manage, and prone to breaking during routine design changes.
Hosted vs. Non-Hosted Family Dilemma
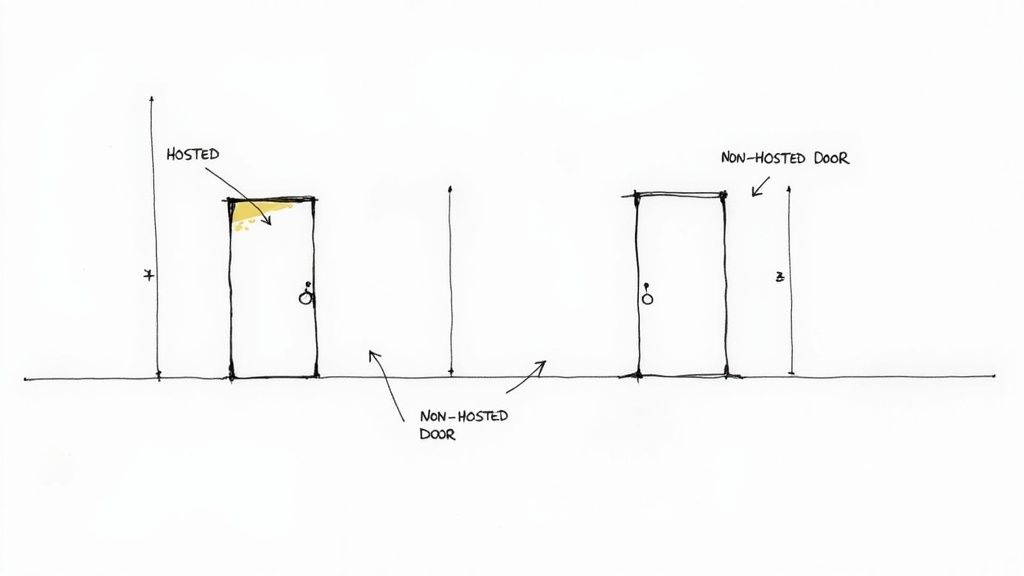
One of the most common—and costly—errors is the improper use of hosted versus non-hosted families. A hosted family, like a standard door or window, needs a host element (like a wall) to exist. A non-hosted family is completely independent and can be placed anywhere. The choice between them isn't trivial; it's a critical decision that dictates how your model behaves.
Here’s where it all goes wrong: a team, usually in a rush, uses non-hosted families for components that should be intrinsically tied to a host. Think of using a non-hosted generic model for a window instead of a proper wall-hosted window family.
The immediate problem is a complete loss of parametric behavior. If the wall moves, the non-hosted window gets left behind, creating a glaring coordination error. Multiply that one mistake across hundreds of components, and every design revision becomes a tedious, manual adjustment. This invites human error and completely destroys any hope of an efficient workflow. Getting the hosting behavior right is a fundamental part of disciplined family creation.
Off-Axis Geometry: The Silent Killer
Even more insidious is the problem of off-axis geometry. This happens when elements like walls are modeled at a slight, almost imperceptible angle—say, 89.98 degrees instead of a perfect 90. It's often invisible to the naked eye but wreaks havoc on your model's data and performance.
This tiny inaccuracy has severe consequences:
- Dimensioning Failures: Snapping dimensions becomes a nightmare. You can't pull clean, accurate measurements, leading to confusing and incorrect construction documents.
- Fabrication Errors: When the model is sent for prefabrication, that tiny skew translates into real-world components that don't fit together on-site. The result is expensive rework and project delays.
- Performance Degradation: Revit’s engine has to work overtime to calculate the relationships between these slightly skewed elements, contributing to a slower, lagging model.
An unconstrained, slightly off-axis model is a breeding ground for RFIs. It guarantees that what is drawn in the office cannot be built efficiently in the field, directly threatening your project margins and predictability.
The quality of your Revit models is crucial for downstream visualization. To truly understand how to achieve high-quality results in project presentations, consider the principles of mastering interior design software 3D rendering. These principles rely on the geometric precision that sloppy modeling destroys.
Furthermore, the complexity within families themselves can impact model health. You can learn more about the impact of visibility settings on Revit family performance in our detailed guide, which explains how overly complex components slow down your entire project. Establishing strict QA processes to catch these geometric and family-based errors is essential for any firm aiming for scalable delivery pods. It’s a core tenet of production maturity.
Impact Analysis of Common Revit Modeling Errors
Small modeling mistakes often seem minor at first, but their cumulative effect can be disastrous for a project's timeline and budget. The table below illustrates how seemingly trivial errors can snowball into significant costs.
| Modeling Mistake | Immediate Symptom | Long-Term Cost |
|---|---|---|
| Incorrect Family Hosting | Elements (e.g., windows) don't move with their host (e.g., walls). | Constant manual rework during design changes, leading to coordination errors and RFIs. |
| Off-Axis Geometry | Dimensions won't snap correctly; annotations look slightly "off." | Inaccurate construction documents, fabrication errors, and costly on-site fixes. |
| Overly Complex Families | Noticeable lag when panning or orbiting views containing the family. | Slow model performance across the entire project, leading to lost productivity and frustration. |
| Improper Constraints | Elements shift unexpectedly when other parts of the model are adjusted. | Unpredictable model behavior that undermines design intent and requires hours of troubleshooting. |
These issues are not just technical glitches; they are business risks. A disciplined approach to modeling isn't about perfection for its own sake—it's about protecting your project's profitability and your firm's reputation for quality.
How Data Errors Create Expensive On-Site Rework
The most dangerous mistakes in a Revit model are the ones that survive the design phase and find their way into the construction documents. These aren't just digital quirks. They are data errors that translate directly into physical rework, frustrating change orders, and budget crises on site. When the model—the single source of truth—is flawed, it manufactures confusion and cost at an alarming scale.
This is where the promise of BIM either shines or completely falls apart. A clean, accurate model ensures a smooth handoff from digital design to physical construction. A corrupted model, on the other hand, guarantees friction at every step, turning predictable work into a chaotic scramble of fixes and finger-pointing. The integrity of your model data isn’t an academic concern; it is the primary defense for your project's profitability.
Improper Use of Phasing
Phasing is one of the most powerful—and most misunderstood—tools in Revit. When used correctly, it creates crystal-clear demolition plans and accurate construction sequencing. When used incorrectly, it generates chaos. The most common mistake is assigning existing elements to the wrong phase or using incorrect graphic overrides.
The result? Demolition drawings that are fundamentally wrong. A contractor might see a wall scheduled for demolition that should remain, or vice versa. This simple data error can lead to a crew tearing down the wrong structure, a mistake that costs thousands in rework and brings the project to a grinding halt. On top of that, incorrect phasing corrupts material takeoffs, leading to inaccurate orders, material shortages on site, and another preventable delay that eats into your margin.
Unbounded Rooms and Incorrect Area Calculations
Rooms in Revit are more than just graphic tags; they are data-rich objects that calculate critical information like area and volume. But a room is only as smart as its boundaries. When a room is unbounded—or its boundaries aren't properly defined by room-bounding elements like walls—its area calculation will be wrong.
This isn't just a minor annoyance. These incorrect areas are often used to order finishes like flooring, paint, and ceiling tiles.
Imagine ordering 1,000 square feet of expensive tile based on a flawed area calculation, only to discover on-site that you actually needed 1,200. The project now faces a costly reorder, potential dye-lot mismatches, and a schedule delay while everyone waits for the new material. It's a classic example of a small modeling oversight silently creating a big financial problem in the field. Establishing rigorous QA processes to check for unbounded rooms is a simple checkpoint that prevents these expensive procurement errors.
Your Revit model is a direct instruction manual for the construction team. If the instructions are filled with typos and bad data, you can't be surprised when the final assembly is a mess. Data integrity is the foundation of buildability.
The global Building Information Modeling software market, which Revit heavily influences, is seeing explosive growth. It's projected to climb from $11.15 billion in 2024 to $51.36 billion by 2035. This growth is driven by the demand for efficiency, but that efficiency depends entirely on accurate model data. You can discover more insights about this market growth to see why data accuracy is so critical.
Detail Lines vs. Model Lines: The 2D Ghost in the 3D Machine
A final, classic error is the misuse of Detail Lines where Model Lines are required. This mistake is a direct holdover from 2D CAD thinking and has no place in a mature BIM process.
Detail Lines are 2D, view-specific elements. They're perfect for annotations that only need to appear in one specific drawing. Model Lines, on the other hand, are 3D elements that exist within the model itself and are visible in all relevant views.
The problem starts when a drafter, working quickly in a plan view, uses Detail Lines to represent a real-world object like a curb or a piece of built-in millwork. In that one plan view, it looks fine. But because it's a 2D element, it's a "ghost" in the model—it simply doesn't exist in sections, elevations, or 3D views. This inevitably leads to an RFI, halting progress while the issue is sorted out. For firms aiming for consistency, a clear grasp of version control for BIM projects and best practices is essential to prevent these kinds of data disconnects.
Building a Framework for Model Health and Consistency
Spotting the silent, expensive mistakes in your Revit model is the first step. The next, and far more critical one, is building a systematic defense against them. One-off fixes and heroic efforts from a single BIM lead won’t scale; you need a framework that ensures operational consistency across every project and every team member.
This isn't about adding bureaucratic overhead. It's about establishing simple, repeatable QA processes that protect your firm from the financial drag of rework. The goal is to shift from a reactive, firefighting culture to one of proactive quality control, where clarity and predictable outcomes are the standard, not the exception.
Establishing a Rhythm for Model Audits
Just like a building needs regular maintenance, a Revit model needs routine check-ups to stay healthy. These shouldn't be dreaded, once-a-year events. Instead, think of them as lightweight, frequent reviews that catch problems before they fester.
A great way to approach this is to treat key project milestones as decision checkpoints. When you hit schematic design completion, the design development handoff, or a pre-permit submission, a dedicated team member should run through a standardized audit. This isn't about assigning blame; it’s about systematically rooting out deviations from your firm's standards.
At a minimum, every audit should cover:
- Warning Reviews: Actively review and resolve every single warning. Ignoring them is a surefire recipe for model corruption and performance hits.
- View Cleanup: Hunt down unnecessary or duplicated views. They bloat file sizes and create confusion for the whole team.
- CAD Import Management: Find and remove any imported DWG files that are no longer needed. Lingering CAD data is a notorious performance killer.
This simple rhythm creates accountability and reinforces the importance of clean modeling habits, stopping small errors from snowballing into project-wide crises.
Leveraging Revit’s Built-in Health Tools
You don't need expensive third-party software to start improving model hygiene. Autodesk Revit has powerful, native functions designed to keep your projects clean. Making these a non-negotiable part of your workflow is an easy win for template discipline.
The two most important tools are Audit and Purge Unused.
- The Audit Function: This is your first line of defense. When opening a central model, always check the "Audit" box. This function scans the file for corrupt elements and tries to repair them on the spot. Yes, it can add a few minutes to your open time, but that's a small price to pay to prevent catastrophic file corruption down the line.
- Purge Unused: Over the course of a project, models accumulate a ton of digital junk—unused families, materials, line styles, you name it. The
Purge Unusedcommand is your decluttering tool. Running it periodically strips out this dead weight, resulting in a smaller, faster, and more manageable file.
A lean model is a fast model. Systematically purging unused content isn't just housekeeping; it's a performance optimization strategy that gives time back to your production teams every single day.
Making these tools a standard part of your process creates a baseline for model health that requires almost no extra effort.
Creating a Culture of Consistency
Ultimately, model health is a cultural issue. The most detailed QA process will fall flat if the team doesn't understand why it matters. The framework you build has to be supported by clear standards, accessible training, and a shared understanding that a clean model is everyone’s responsibility.
It all starts with a well-developed project template. Your template should be the single source of truth for line styles, view settings, annotation families, and key project parameters. When everyone starts from the same disciplined foundation, consistency becomes the path of least resistance. For a deeper dive into best practices, Autodesk's community forums offer great discussions, like this post on the proper use of arrays in Revit families.
Building this framework moves your firm beyond relying on individual heroics. It creates a system for scalable delivery, ensuring that no matter who is on a project, the final output is predictable, reliable, and profitable.
Your Revit Model Health Checklist
Moving from just spotting problems to actually fixing them takes a clear, actionable plan. Don't think of this checklist as a rigid set of rules. Instead, see it as a framework for building a more disciplined and predictable Revit workflow. It's your first step toward creating solid QA processes that protect your firm's bottom line and reputation.
Pull this guide out during key project milestones—like right after schematic design or just before a permit submission—to run a quick model health check. This isn't about pointing fingers; it's about building a culture of operational consistency and catching expensive mistakes before they ever leave the office.
Foundational Integrity Check
The most damaging errors are often the ones made right at the start of a project. Getting these foundational elements right is absolutely non-negotiable if you want a stable and predictable modeling environment.
- Project Origin: Have you properly set up the Project Base Point and Survey Point? More importantly, have they been shared with all consultants and pinned in place? An incorrect origin is a guaranteed recipe for coordination chaos down the road.
- Levels: Are all levels named correctly according to your firm’s standards? Are they properly aligned and locked to ensure precise vertical control throughout the model? Sloppy level management corrupts schedules and creates unnecessary clashes.
Family and Geometry Discipline
The building blocks of your model—the families—have to be clean and reliable. Messy geometry and improper family usage are the silent killers of model performance and accuracy.
- Hosting Behavior: Are hosted families, like doors and windows, actually placed in their hosts, like walls? Using non-hosted families in their place breaks the parametric relationships that make Revit so powerful, creating hours of frustrating rework.
- Axis and Constraints: Is all the geometry on-axis and properly constrained? A quick hunt for fractional angles (like 89.98°) can prevent major dimensioning and fabrication errors later on.
A model built with disciplined geometry is a model you can trust. It ensures that what you draw digitally can be built efficiently and accurately in the real world, cutting down on RFIs and preventing costly rework on site.
Data Accuracy and Model Hygiene
At its heart, a Revit model is a database. The integrity of that data directly impacts everything, from ordering materials to sequencing construction on site. You have to protect it.
- Phasing: Is every element assigned to the correct phase (e.g., Existing, New Construction)? Getting this wrong leads to flawed demolition plans and completely inaccurate quantity takeoffs.
- Room Boundaries: Have you checked for unbounded or redundant rooms? A quick look at a room schedule can reveal gaps that throw off area calculations and lead to big mistakes in material orders.
- Line Types: Are you using Model Lines for 3D elements and Detail Lines only for 2D, view-specific notes? Mixing them up creates "ghost" geometry that causes nothing but confusion for the crew on site.
- Warnings and Purging: Have you reviewed and resolved all critical warnings? Have you run
Purge Unusedto get rid of unnecessary families, materials, and other digital junk? A lean model is a fast, healthy model.
This checklist is just the beginning, a starting point for building true production maturity. It’s a tool to help your team deliver projects with far greater clarity and predictability.
Tired of constantly fighting fires in your Revit models? Download our comprehensive model health checklist to build a more reliable production engine and start protecting your margins today. Find out more at https://www.bimheroes.com.