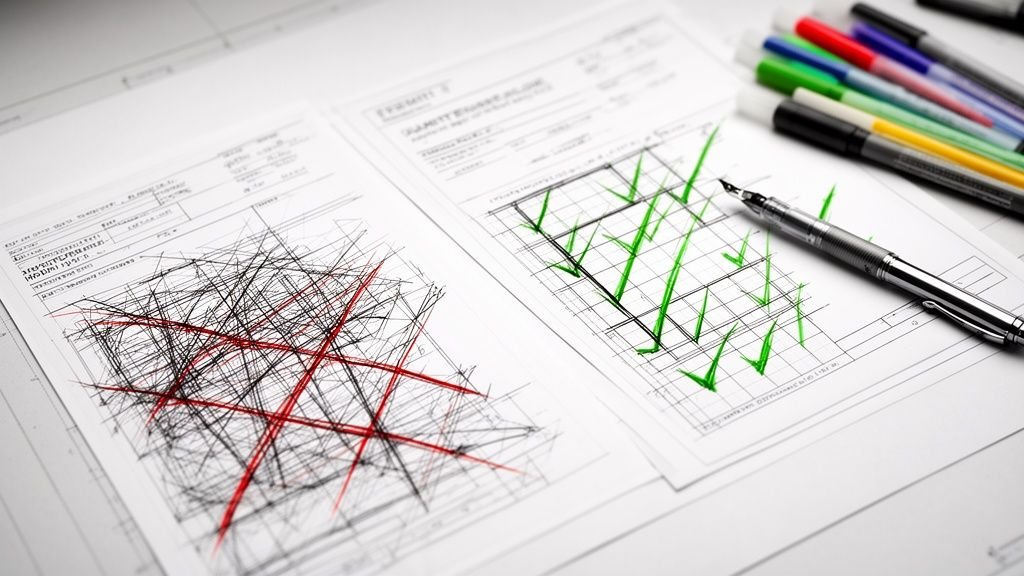
Bad Revit details are a quiet killer of project margins. They’re the source of that last-minute panic before a deadline, when someone finds conflicting notes on different sheets. That scramble isn’t just a moment of frustration; it’s a symptom of a deeper operational issue that creates massive rework, miscommunication, and slows your CD turnaround to a crawl.
A well-maintained library of standardized, parametric, and version-controlled Revit details isn't a luxury. It’s the backbone of production maturity, predictability, and scalable delivery.
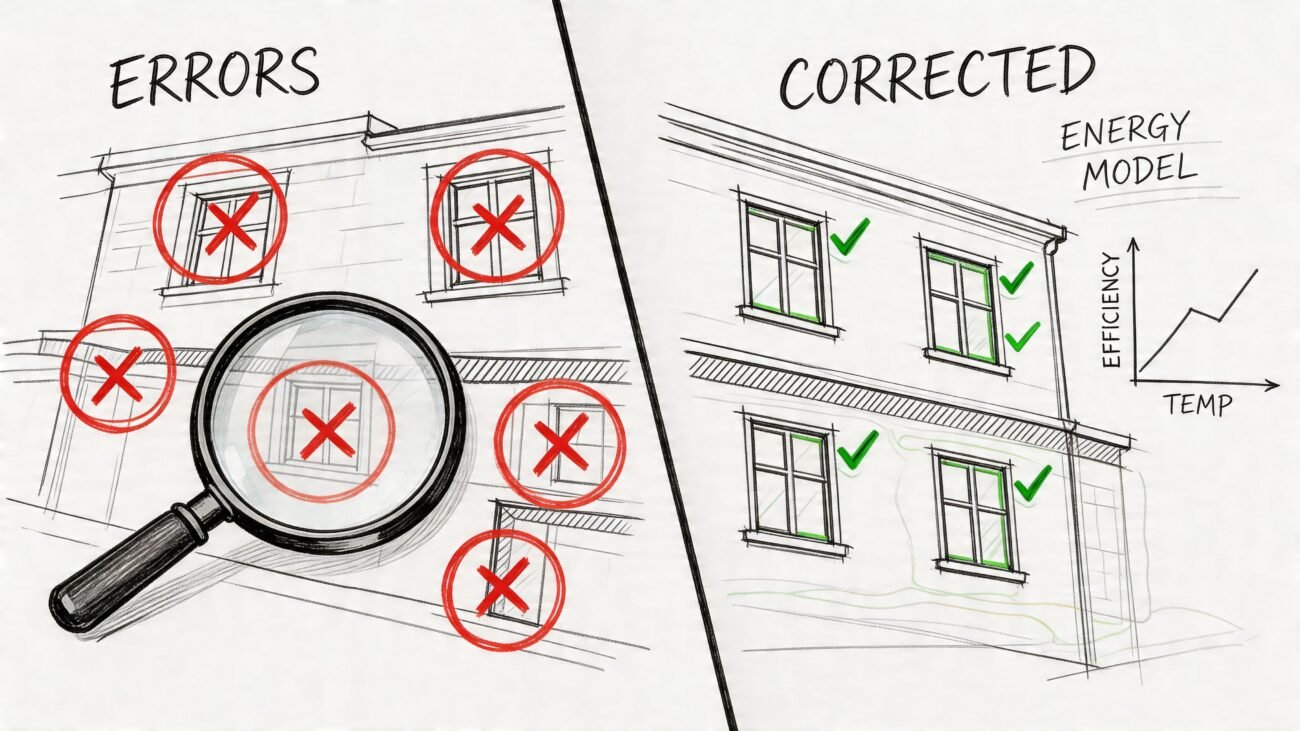
Why Inconsistent Revit Details Sabotage Your Bottom Line
If your production teams are battling inconsistent details, mismatched notes, and outdated graphics, they aren't just dealing with minor annoyances. They are fighting a losing battle against inefficiency that directly threatens your firm's profitability.
Every minute spent hunting for the right component, fixing a dimension that should have been parametric, or updating a note that was wrong from the start is a direct hit to the project budget. This isn't just about sloppy drafting; it’s a systemic failure that makes operational consistency impossible.
The Downstream Damage of a Disorganized Library
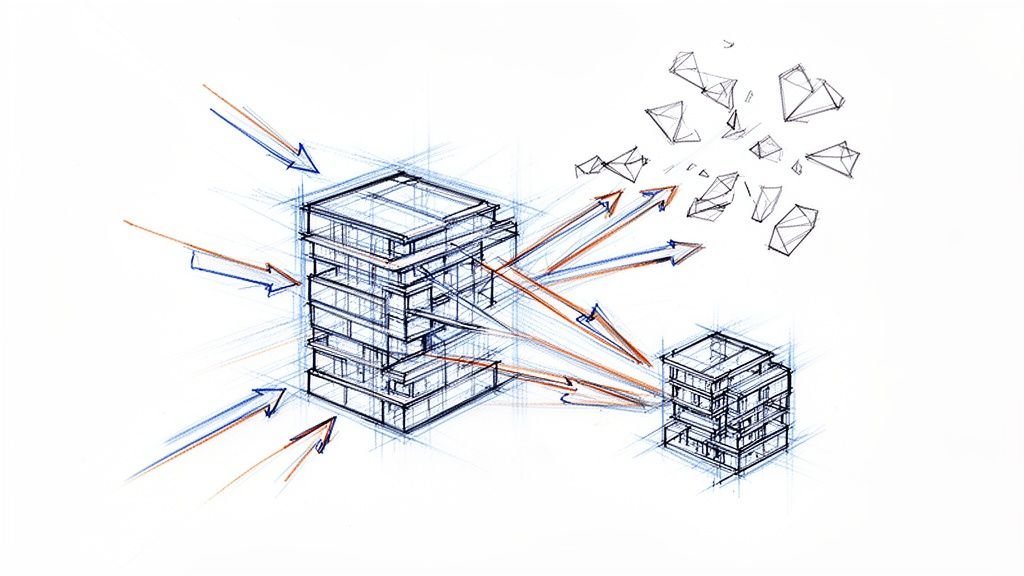
The pain doesn't stop with the production team. When construction documents are littered with inconsistencies, it breeds distrust with contractors and clients. The immediate result? A spike in RFIs. A report from the Project Management Institute confirms that poor documentation is a primary driver of these costly requests, which can bring site progress to a grinding halt.
A chaotic library creates a ripple effect of inefficiency:
- Endless Rework: Teams burn billable hours fixing errors that a disciplined system would have prevented.
- Permitting Delays: Inconsistent drawings invite a storm of comments from permitting authorities, pushing timelines back by weeks.
- Needless RFIs: Ambiguous details force contractors to stop work and ask for clarification, opening the door to delays and change orders that erode your margin.
- Zero Predictability: Every hour wasted on rework directly consumes profit, making it impossible to deliver reliable financial outcomes.
This is a margin protection issue. A poorly maintained library cripples your firm’s ability to scale delivery pods effectively. It makes predictability a fantasy.
From CAD Habits to BIM Discipline
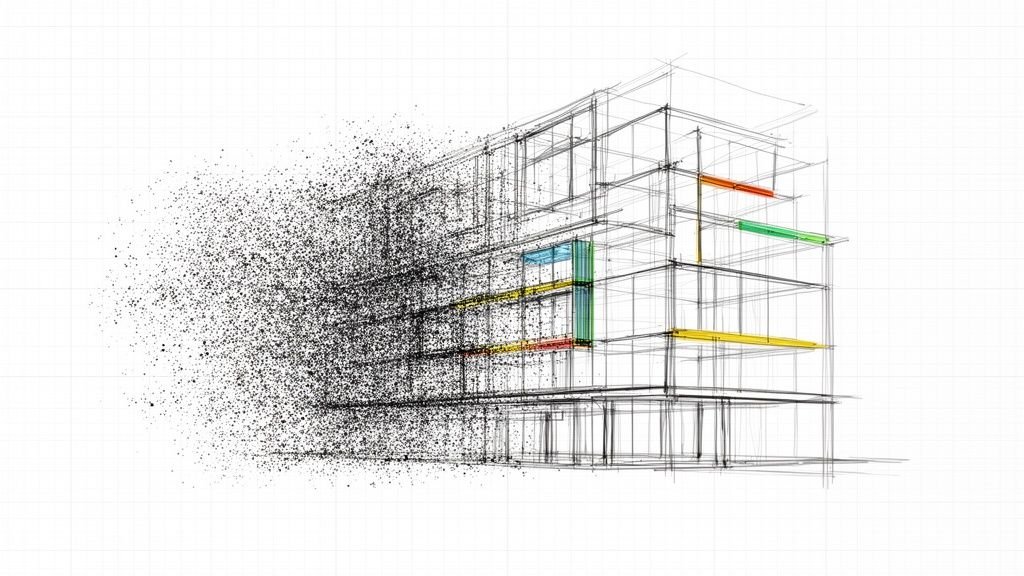
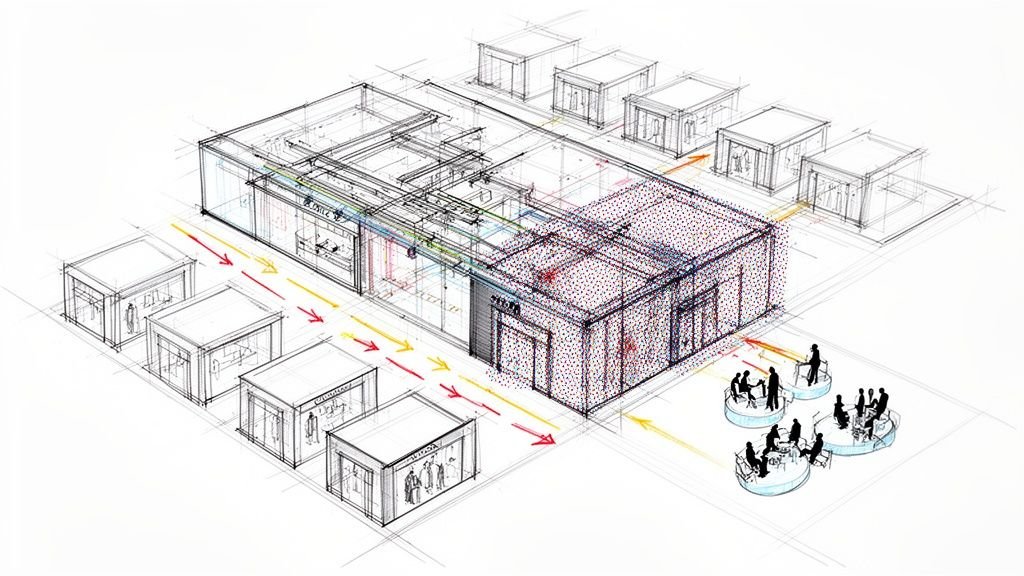
The evolution from CAD to BIM often leaves bad habits behind. Too many firms dump their old CAD details into Revit folders without adapting them for a model-based environment. This "digital junkyard" is where the trouble starts.
The fix requires a fundamental shift. A detail library isn't a dusty archive; it’s a living production asset.
By establishing a version-controlled, clearly tagged, and parametric system, you transform your Revit details from a hidden liability into a competitive advantage. This is the foundation of production maturity and reliable delivery.
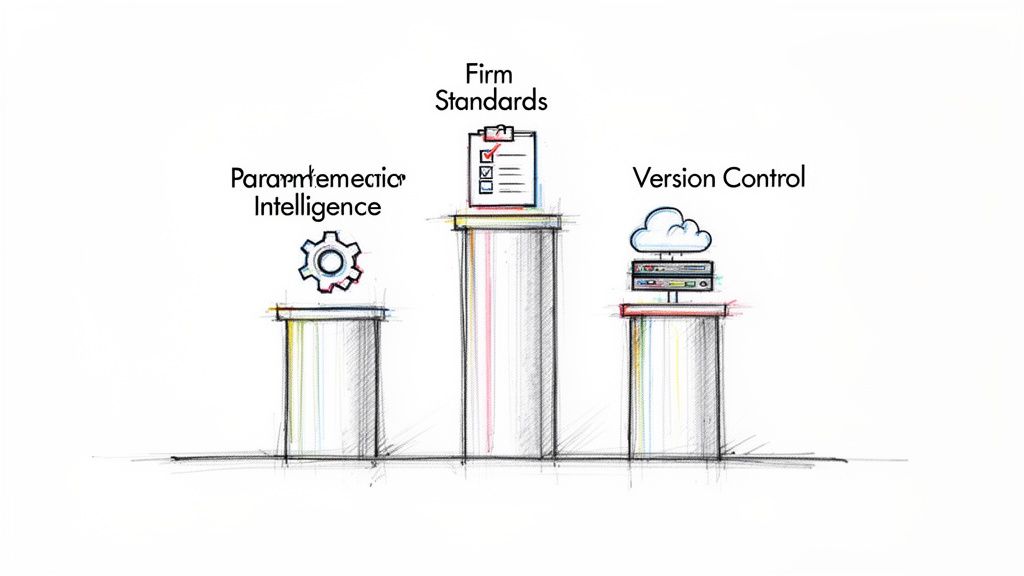
The Three Pillars of a High-Performance Detail System
Transitioning from chaos to a high-performance system is a mindset shift. You're not just organizing drawings; you're building an intelligent asset that actively protects project margins. A truly effective system for Revit details is built on three pillars that drive production maturity and operational consistency.
This approach turns your detail library from a passive archive into an active tool. It's the difference between fighting fires and preventing them from starting.
Pillar 1: Parametric Intelligence
First, stop mimicking old CAD workflows in a BIM environment. Static linework is a liability. Parametric intelligence means building detail components that are adaptive and responsive.
Think of a window sill detail that automatically adjusts its flashing length when the wall thickness changes. That’s the goal.
This isn’t about over-engineering everything. It’s a strategic decision to build flexibility into your most-used Revit details. This slashes manual edits, minimizes human error, and accelerates CD turnaround. The lesson learned in the field is simple: build it once, trust it to adapt, and use it everywhere.
Pillar 2: Firm-Wide Standardization
A library of brilliant parametric components is useless if no one can find them or if they look different on every sheet. Standardization is the non-negotiable bedrock of a scalable delivery system. It’s the discipline that makes your library predictable.
This goes beyond graphics and into the core data.
- Naming Conventions: Implement a logical schema so teams can find what they need without guessing.
- Tagging and Data: Use shared parameters for key information. This ensures a component’s tag pulls the same data, every time, across all projects.
- Graphical Standards: Enforce strict adherence to your firm’s lineweights, text styles, and fill patterns. This is what makes your drawings clear and professional.
Without standardization, you don’t have a system; you have a collection of individual efforts. This discipline is the key to true production maturity and preventing the miscommunication that fuels RFIs.
Pillar 3: Centralized Version Control
The final pillar is the single source of truth. With distributed teams and evolving requirements, multiple versions of the same detail floating around is a recipe for disaster. Centralized version control ensures every team member pulls from the same approved library.
When a detail is improved, the update is pushed to one controlled location. The old version is archived, not left in a project folder where it can be accidentally copied into a permit set.
This disciplined QA process is a critical decision checkpoint. It prevents outdated details from causing rework and protects your firm's reputation for reliable delivery.
Laying the Groundwork: Creating Standardized Revit Detail Components
Theory is one thing; this is where disciplined practice protects profit margins. Building a robust library starts with a critical decision: use a drafting view or pull from live model geometry?
This choice marks the real shift from legacy CAD thinking to a mature BIM workflow. It's not about which is "better," but which is the right tool for the job. You need a clear framework for that decision checkpoint.
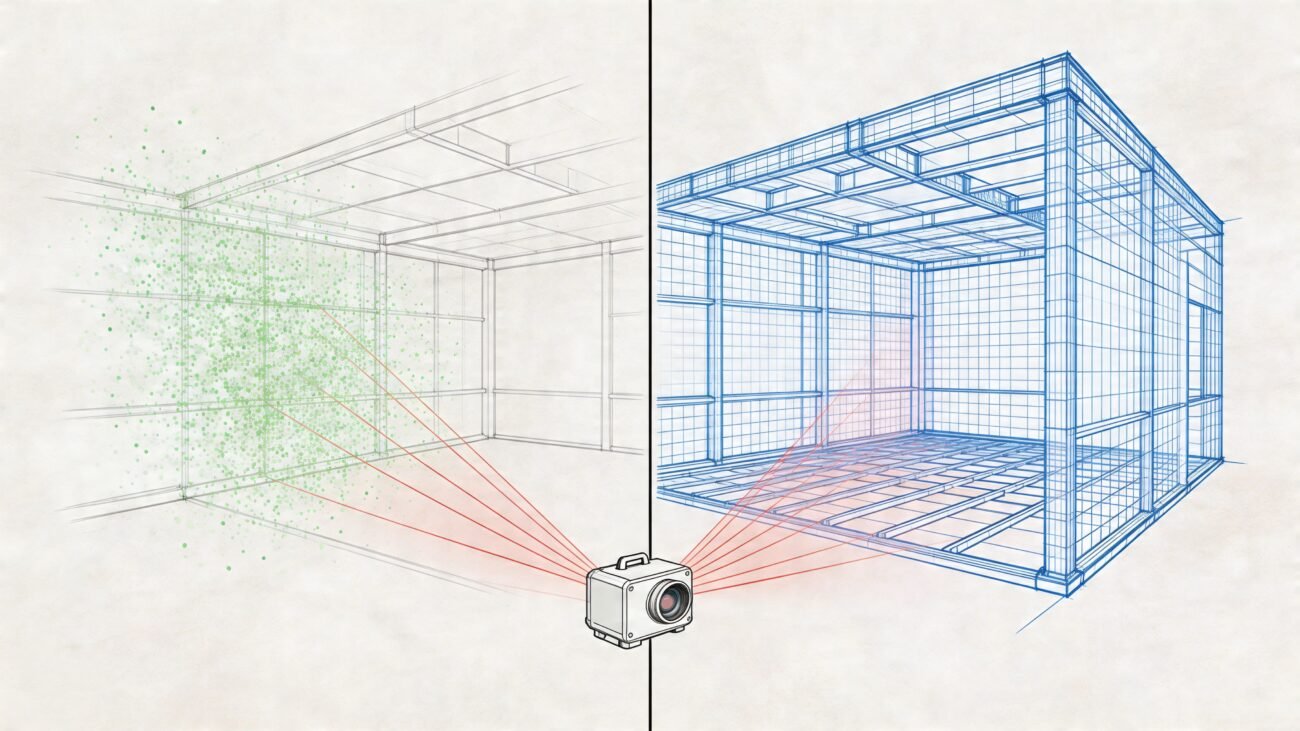
Drafting Views vs. Live Model Details: Making the Call
Drafting views are the direct descendants of old CAD details. They exist in an isolated 2D environment, disconnected from the 3D model. This makes them perfect for typical, non-project-specific conditions where you need absolute graphical control.
Live section or callout details, on the other hand, are tied directly to your 3D model. They are powerful because they reflect actual project geometry, a massive win for coordination. However, they demand a more mature workflow to manage.
Here’s the rule of thumb learned in the field: If a detail is standard and can be reused on 80% of your projects (like a typical flashing condition), build it once in a drafting view. If it must represent a unique, project-specific assembly, cut a live section and enhance it with 2D detail components.
Building Powerful, Parametric Detail Components
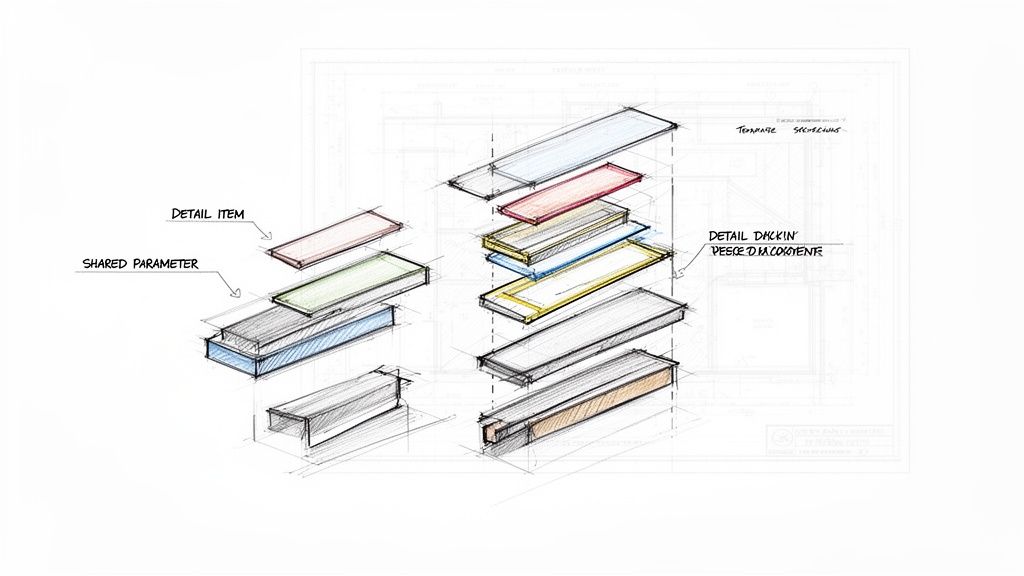
Once you’ve chosen a path, the real work begins. We aren't just drawing lines; we're building efficient digital assets. The goal is to create Detail Item families that are flexible enough for designers yet standardized enough for production.
Effective components share a few key traits:
- Shared Parameters: This is non-negotiable. Embed critical data like manufacturer codes or fire ratings directly into the family. This ensures consistent tagging and scheduling, preventing miscommunication.
- Nested Components: For complex assemblies, nest simpler detail items (sealant, shims) inside a "host" family. This makes the entire assembly a single, easy-to-place unit.
- Type Catalogs: For families with many variations like anchor bolts, a type catalog prevents project bloat by loading only the types you need, keeping performance snappy.
A solid Revit Architecture tutorial can help reinforce the software fundamentals that underpin this workflow.
Embedding Standards into Your Revit Template
Your Revit project template is the ultimate enforcement tool. Template discipline is not optional. Every approved linestyle, text style, filled region, and standard detail component must live inside your template. This makes compliance the path of least resistance.
This is especially critical for firms managing projects across multiple Revit versions. A firm might actively run projects in two or three different versions simultaneously. Maintaining standardized, version-specific templates is the only way to guarantee consistency and slash rework across your entire portfolio.
How To Organize and Manage Your Library for Scalable Delivery
Building great components is only half the battle. A firm's production maturity is tested by how it manages those assets over time. An unmanaged library, no matter how well-crafted its individual Revit details, quickly becomes a liability. Solid management is what unlocks scalable, predictable delivery.
This isn’t about bureaucracy. It's about building an operational backbone so intuitive that it becomes the default workflow for your teams. The goal: find any detail in seconds, not minutes, and trust that it's the correct, approved version.
A Framework for Library Structure and Access
A logical folder structure is your first defense against chaos. Organize by CSI MasterFormat divisions. This is the industry’s language, making navigation instantly familiar. Within each division, create subfolders for specific assemblies.
Beyond folders, a robust tagging system is essential. Use shared parameters within components to embed key metadata:
- Assembly Code: A consistent code tied to your specifications.
- Detail Type: Clearly define if it's a plan, section, or connection.
- Approval Status: A simple parameter for "Approved," "In-Review," or "Do Not Use."
- Version Number: A value to track revisions.
This lets teams filter and search for components inside Revit—a massive time-saver. It also lays the groundwork for advanced QA processes.
The moment someone has to ask, "Is this the latest version of the parapet detail?" your system has failed. The library itself must be the single source of truth.
Version Control for Distributed Teams
For firms with multiple offices or remote teams, version control is everything. You can use a traditional server-based library or a modern cloud platform.
A centralized file server offers speed and control but creates bottlenecks for distributed teams. Cloud platforms like Autodesk Construction Cloud provide a true single source of truth, accessible from anywhere. A poll of Revit professionals showed that while about 69% are open to cloud workflows, concerns about performance and security persist.
Here’s a quick breakdown to help you weigh the options.
Centralized vs Decentralized Detail Library Management
| Attribute | Server-Based Library | Cloud-Based Library (e.g., ACC) |
|---|---|---|
| Accessibility | Limited to office network or VPN, can be slow remotely. | Accessible from anywhere with an internet connection. |
| Performance | Fast access for on-site teams, potential latency for remote users. | Generally good, but can be affected by internet speed. |
| Version Control | Relies on manual check-in/out processes and file naming. | Built-in version history, single source of truth. |
| Collaboration | Can lead to sync issues and accidental overwrites with multiple users. | Real-time collaboration, clear ownership and tracking. |
| Upfront Cost | High initial investment for hardware and IT setup. | Subscription-based model (SaaS), lower initial cost. |
| Ideal Use Case | Single-office firms or those with strict internal security protocols. | Multi-office firms, teams with remote members, and projects requiring external collaboration. |
Whether you choose a server or the cloud, the process matters more than the platform. A dedicated BIM manager or a small committee must be responsible for vetting and publishing all new or updated Revit details. For more on building robust components, see our guide to creating Revit families. This discipline is essential for operational consistency.
Your Action Plan To Fix Your Detail Library
Let's turn theory into action. A disciplined approach to your Revit details is a direct investment in project predictability. It's how you protect margins and deliver reliable results. This roadmap helps your team make tangible improvements, starting now.
Don't try to fix everything at once. That’s a recipe for failure. Start with a targeted audit to find the biggest sources of pain—the few details that cause the most rework and RFIs.
Audit Your Existing Content
Your first move is a surgical strike, not a complete overhaul. The goal is to find the "worst offenders" in your current library.
- Identify High-Frequency Details: Pinpoint the 20% of details that appear in 80% of your projects. These are your highest-leverage targets.
- Track Rework Sources: Talk to your project teams. Which details constantly require manual edits? Which ones generate the most questions during QA checks and permitting prep?
- Review for Inconsistencies: Hunt for mismatched notes, outdated graphics, and conflicting lineweights across your most-used components.
This audit provides the data to prioritize your efforts, ensuring every hour invested pays you back with maximum impact on production efficiency.
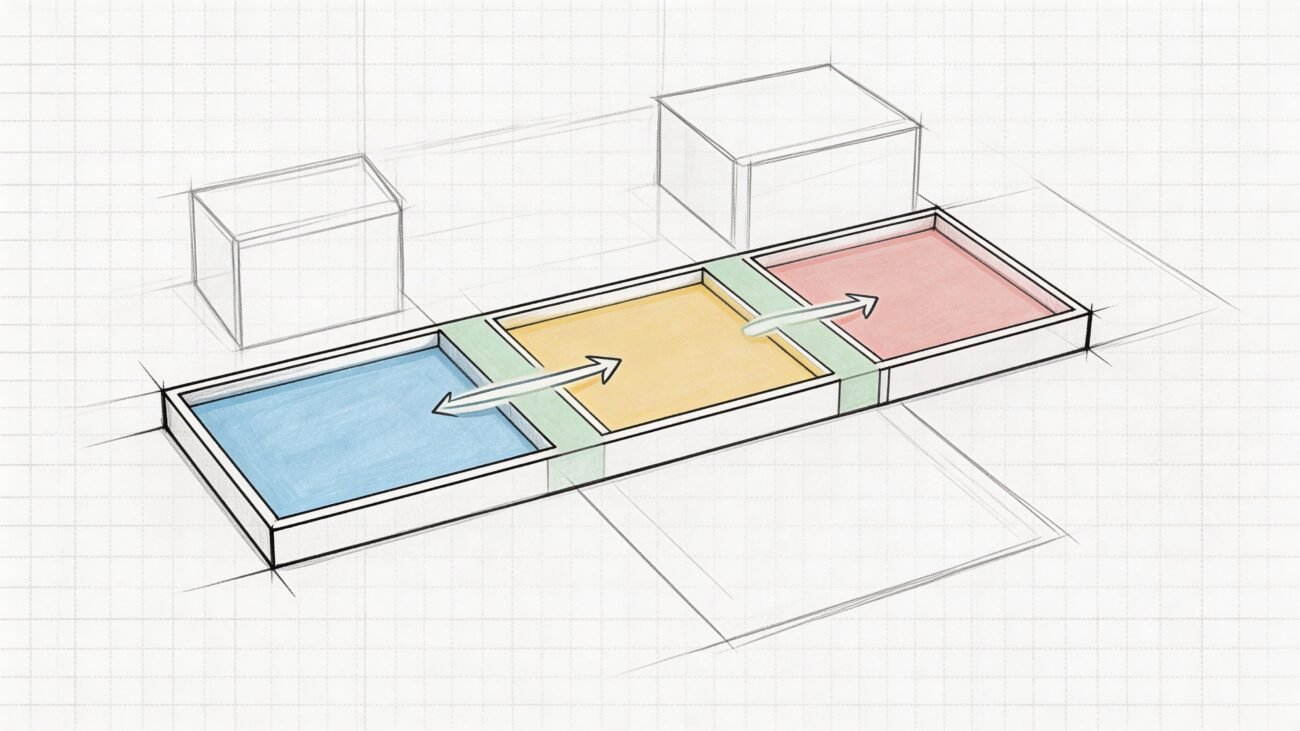
The process flow below lays out the core steps for managing your library right, guiding your team from organization and review through to version control.
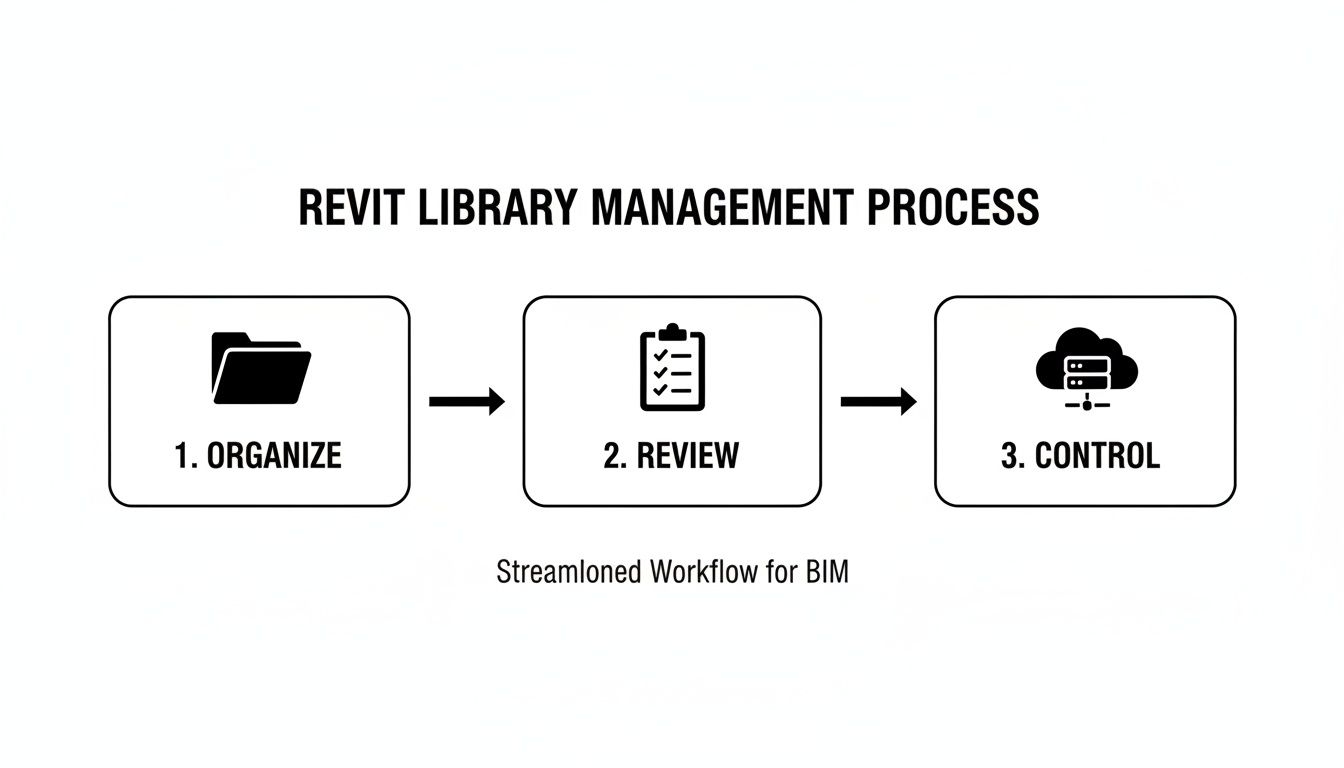
This visual reinforces a key lesson: a systematic workflow is the only way to turn a chaotic library into a reliable asset that supports scalable delivery.
Pilot a New Standard and Build a Culture
Pick one active project to pilot your new, standardized details. This creates a controlled environment to prove the value of the new approach and gather feedback without derailing the entire firm. This is the perfect time to reinforce template discipline and bake in clear QA checkpoints.
The demand for integrated digital workflows isn’t going away. The global BIM market is projected to expand significantly, signaling the industry's relentless push for efficiency. This evolution from CAD to BIM is a fundamental shift, and your detail library is at the heart of it.
Finally, establish a clear system for version control. It's the only way to make your improvements stick. For a deeper look, check out our guide on version control best practices for BIM projects. Follow this plan, and you'll transform your detail library from a source of frustration into a cornerstone of operational consistency.
Common Questions About Revit Detail Libraries
Moving to a standardized Revit detail library always brings up practical questions. Production teams want to know how new rules solve old problems. Let’s tackle the most common hurdles firms face when they get serious about their library.
Should We Convert All Our Old CAD Details into Revit Details?
Definitely not. Resista the urge to bulk-convert your legacy CAD library. It’s a classic mistake that burns non-billable hours creating Revit details that may never be used.
Be surgical. Start by identifying the top 20% of CAD details used in 80% of your projects. Convert those first. For everything else, convert them on-demand as needed for an active project.
This process builds your library with proven, relevant content. But there's a catch: every converted detail must be rebuilt to meet your new Revit standards for lineweights, text, and parameters. No shortcuts.
What Is the Best Way to Handle Manufacturer-Specific Details?
Manufacturer content is a good starting point but is almost always bloated and inconsistent with firm standards. Never load it directly into a live project. This is a non-negotiable rule.
Set up a "quarantine" folder in your library. When you download a family, drop it there first for a thorough audit.
Look for red flags:
- Excessively large file sizes
- Unnecessary parameters and object styles
- Non-standard text or fill patterns
Strip it down to the essentials and align it with your firm's graphical standards. Only then should it be promoted to the main library. This QA checkpoint is crucial for preventing project bloat.
How Do We Enforce Library Standards Across Multiple Teams?
Enforcement is a mix of technology, process, and coaching.
First, your library must be centralized and access-controlled. A cloud-based platform is essential for distributed teams, ensuring everyone pulls from a single source of truth.
Second, embed standards directly into your Revit project template—linestyles, text styles, core detail components. When the right way is the easiest way, teams naturally follow the correct workflow.
Finally, reinforce the standards. This means holding brief, regular training refreshers and building a lightweight peer-review step into your QA process. It’s about reminding everyone why these standards matter: they protect project predictability and, ultimately, your margins.
Ready to stop the endless rework and bring true consistency to your construction documents? The first step is to understand where your library's weaknesses are. A clear system is the path to scalable, predictable delivery.
Download our free Detail Library Audit Checklist to start identifying your biggest opportunities for improvement today.