Let's be honest: few things in Revit cause more production headaches than a phasing setup gone wrong. You’ve seen it before—demolition plans showing brand-new elements, bizarre linework that makes no sense, and views that completely misrepresent the construction sequence. This isn't just a software glitch; it's a breakdown in project clarity that sends ripples of confusion through every drawing set, inviting RFIs and eroding margins.
When your Revit demo plans are a mess, it’s a symptom of a deeper problem. Phasing isn't just another setting to tweak; it's the central nervous system for any renovation project. Get it right, and you establish predictability. Get it wrong, and you're inviting a flood of RFIs from confused contractors, costly rework on-site, and a direct hit to your bottom line.
At its core, Revit phasing is a clarity exercise. When it’s wrong, everything collapses. The whole point of a modern BIM renovation workflow was to solve this exact problem. Revit’s phasing tools were a huge leap forward from old CAD workflows, letting us model existing conditions, demolition, and new construction all within a single, intelligent file.
Moving Beyond Reactive Fixes
Too many architecture firms treat phasing problems as isolated technical fires to put out one by one. But that reactive approach is a recipe for inconsistency and burnout. Real production maturity comes from establishing a proactive workflow, where phasing logic is locked in before a single wall is modeled. This is a decision checkpoint, not a documentation afterthought.
A disciplined system tackles the most common failures head-on:
- Logic Gaps: The digital phasing doesn't actually match the real-world construction sequence.
- Inconsistent Graphics: Demo, existing, and new elements are a free-for-all, with no clear, standardized look.
- Data Inaccuracy: Schedules and takeoffs ignore phasing, leading to huge procurement errors down the line.
These aren't just drafting mistakes; they're operational failures that damage client confidence and create needless friction between your design team and the builders who have to make sense of your drawings. A disciplined scan-to-BIM process is critical, as it ensures your foundational "Existing" phase is rock-solid from day one, preventing problems before they start.
The real cost of poor Revit phasing isn't the time spent fixing a view. It's the cascade of errors—from incorrect permit sets to change orders—that stems from a single source of confusion.
By understanding these common documentation mistakes upfront, you can build systems that drive consistency and operational reliability. This guide is packed with field-tested solutions to help you turn phasing from a recurring nightmare into a genuine competitive advantage.
1. Failing to Establish Phasing Logic Before You Model
The biggest mistake with Revit phasing happens long before anyone opens the software. It’s a logic problem, not a settings problem. When your demolition and new work plans are a chaotic mess, it’s usually because the underlying construction strategy was never defined, forcing your team to guess as they go.
This lack of a clear plan is the root cause of nearly every downstream error, from broken Revit demo plans to wildly inaccurate schedules. A solid phasing strategy is the absolute foundation of a mature BIM renovation workflow. You have to treat it as a critical decision checkpoint during schematic design, not an afterthought during documentation.
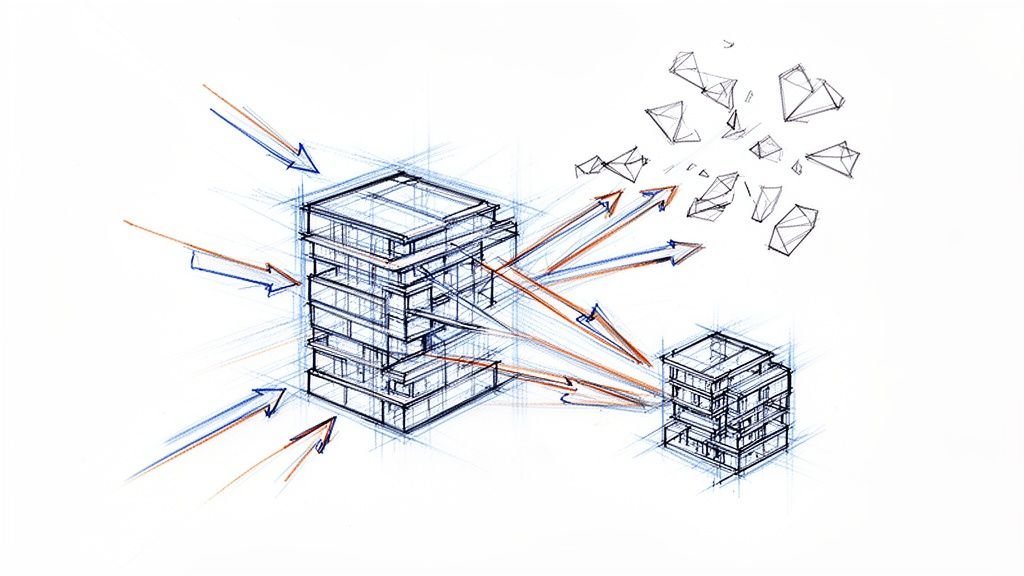
This diagram shows exactly how a fuzzy phasing strategy spirals out of control, creating expensive RFIs and delays that were entirely preventable.
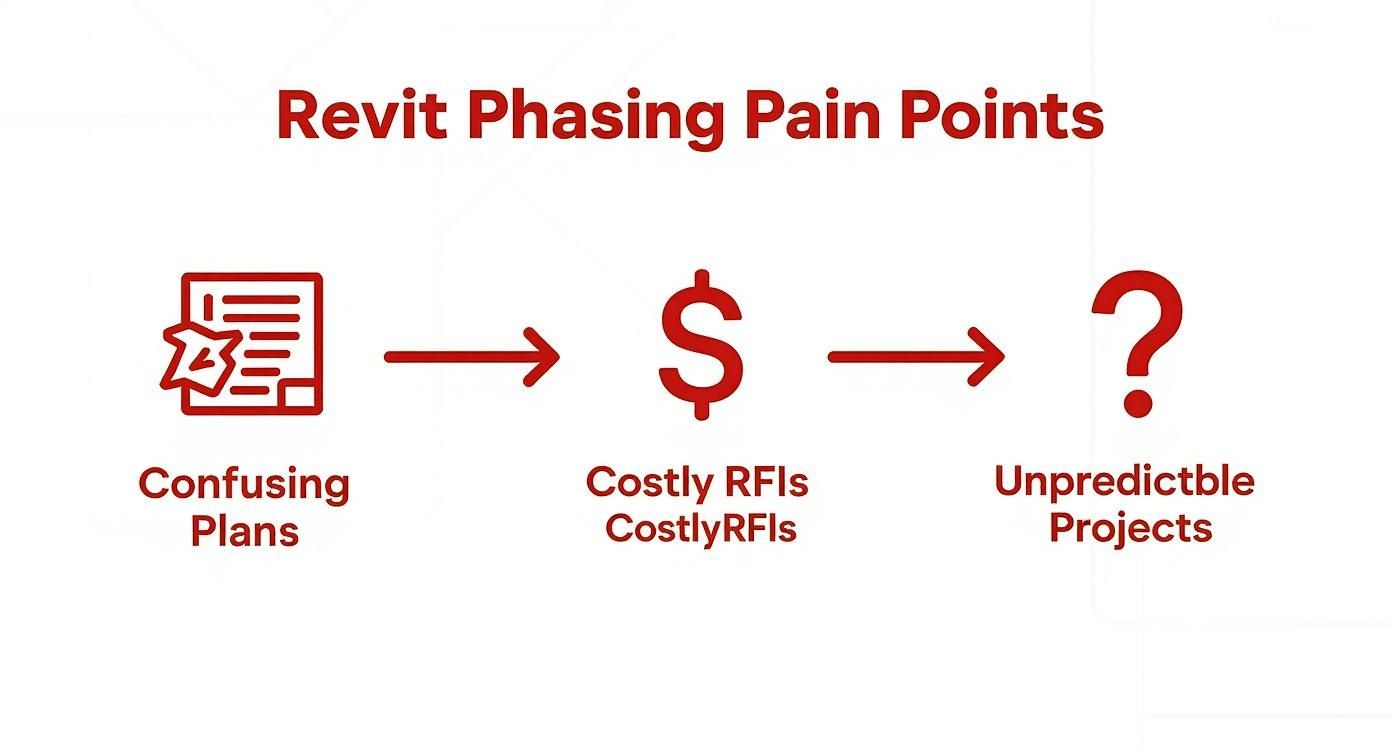
The path from confusing drawings to unpredictable projects is a straight line. A disciplined approach from day one is the only way to break the cycle and protect your margins.
Map the Entire Project Lifecycle First
Before you create a single phase in Revit, map out the entire construction sequence on a whiteboard. This isn't just about labeling things "Existing" and "New Construction." You need to think like the contractor and account for every distinct stage they will actually build.
Your phasing map needs to answer some critical questions:
- How many distinct construction stages are there? Is this a single-shot renovation, or will it be broken into a Phase 1, Phase 2, and so on?
- Is there temporary work involved? Think about shoring, temporary partitions, or site logistics elements that only exist for a short time. These need their own phase.
- What is the exact demolition sequence? Get specific. Clarify what gets demolished in which phase to prepare for the new work.
Get the owner and contractor on a call to validate this sequence. Their input is gold, ensuring your digital plan perfectly mirrors the real-world execution strategy. Once this logic is approved, it becomes the non-negotiable blueprint for your model setup.
Your Revit phases should be a direct reflection of the contractor's construction schedule. If they don't align, your drawings will create confusion, not provide clarity.
Before diving into the Revit setup, formalize this logic. A simple checklist ensures all key decisions are made and agreed upon, forming a solid foundation for your documentation and preventing RFIs.
Core Phasing Logic Checklist for Renovation Projects
| Checkpoint | Key Decision / Action | Impact on Documentation Clarity |
|---|---|---|
| Construction Sequence | Define and get sign-off on the number of construction phases (e.g., Phase 1, Phase 2). | Ensures Revit phases directly match the build sequence, preventing confusing drawings. |
| Demolition Strategy | Clarify what elements are demolished in each specific phase. | Creates accurate and unambiguous demolition plans for each stage of work. |
| Temporary Elements | Identify all temporary works (shoring, temp walls) and assign them to a dedicated phase. | Prevents temporary items from incorrectly appearing in final "New Construction" views. |
| As-Built Conditions | Confirm the "Existing" phase accurately represents the verified as-built conditions. | Provides a reliable baseline, reducing RFIs related to existing structures. |
| Future Work | If applicable, create a phase for "Future" or "Not in Contract" work. | Clearly separates the current scope from potential future additions, avoiding scope creep. |
Walking through this checklist ensures your Revit phasing setup isn't just a technical exercise but a true reflection of the project's real-world execution plan.
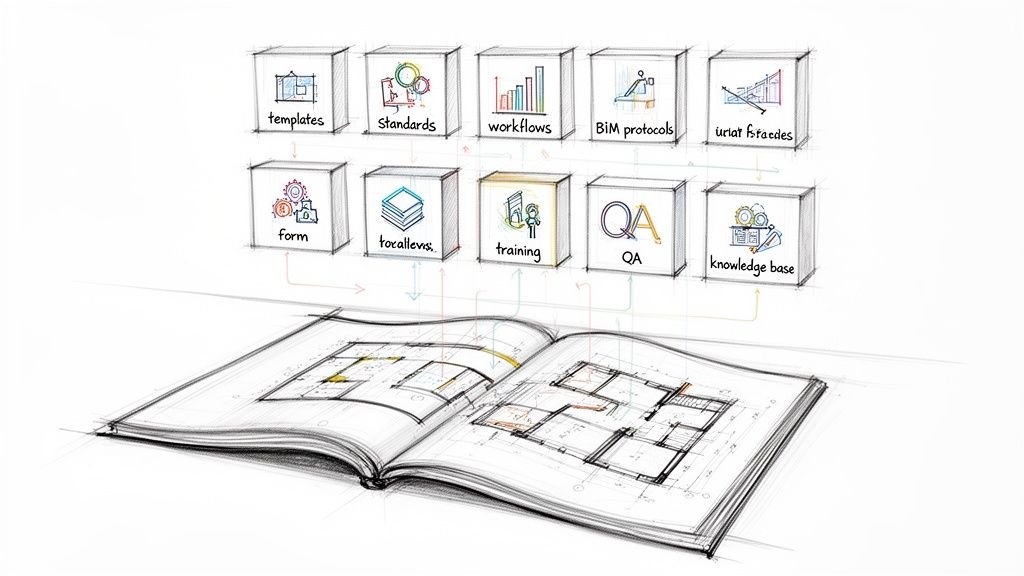
Codify Your Logic in a BIM Execution Plan
This strategic phasing map you’ve created belongs in your project’s official documentation. Codifying it in a BIM Execution Plan (BEP) establishes a single source of truth that the entire project team—including your consultants—must follow.
A well-defined plan prevents the all-too-common headache of linked models having mismatched phases, which causes consultant work to show up incorrectly (or not at all) in your architectural views. You can learn more about how to formalize these standards by exploring best practices for BIM Execution Plans. This document is your primary tool for enforcing template discipline and setting up a QA process from day one.
The widespread adoption of BIM in North America makes this process non-negotiable. According to one 2021 study, roughly 73% of AEC firms in the U.S. use BIM on their projects. Public agencies like the GSA have required BIM on major projects since 2007 because they know it’s essential for managing complex, phased construction. A structured Revit phasing workflow is a core component of this, helping slash errors and improve scheduling accuracy.
By investing time in this upfront strategic work, you transform Revit from a simple modeling tool into a powerful production system. This initial clarity is what prevents the downstream chaos and ensures your team delivers predictable, reliable projects.
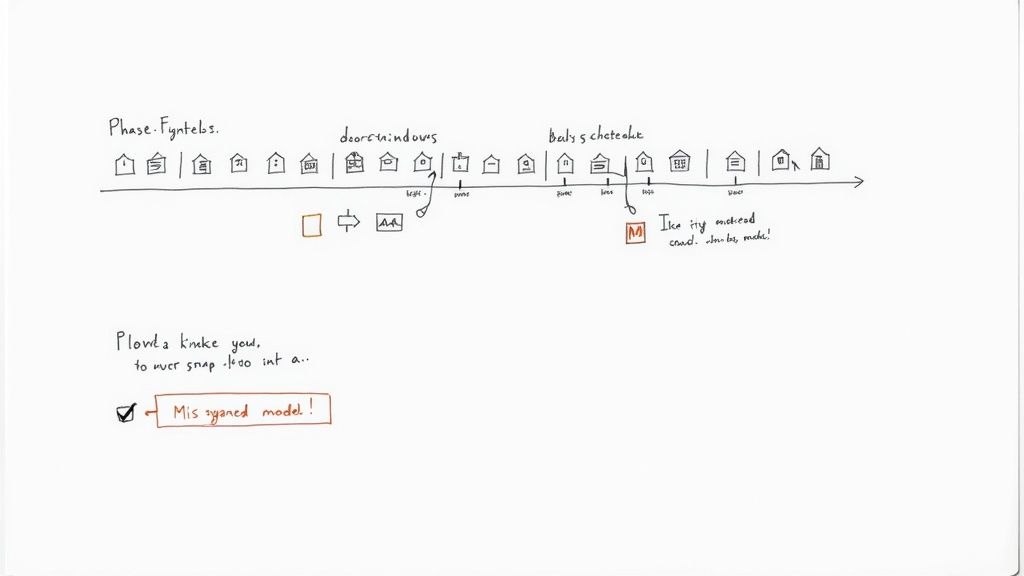
2. Mismanaging Element Phase Properties
Once you have a solid phasing logic, the battle is won or lost in the details. This is where a great plan falls apart due to small mistakes that snowball into documentation disasters. The most common errors in Revit phasing are simple oversights in how elements are set up.
The core problem is a disconnect between an element's properties and the view's settings. When a team member assigns the wrong "Phase Created" or "Phase Demolished" to a wall or window, the model's timeline breaks. A single mistake can make elements vanish from plans where they should be, creating instant confusion.
This isn't just a drafting headache; it has real-world consequences for permitting and construction. When a contractor can’t trust your Revit demo plans, the project’s predictability vanishes.
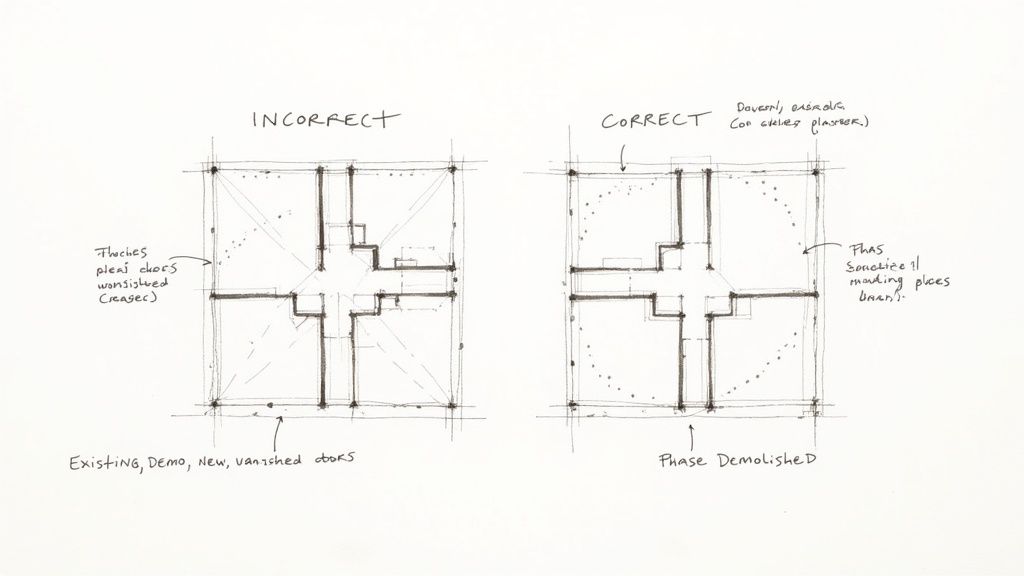
Every single element in your project has two critical phasing parameters: Phase Created and Phase Demolished. These aren’t optional—they are the fundamental instructions that tell Revit how to display that object. The most frequent mistake is simply getting these wrong.
For example, a team member might model a new wall but forget to change its "Phase Created" property from "Existing" to "New Construction." That brand-new wall won't show up on any new work plans. On the flip side, if an existing window to be removed is never assigned a "Phase Demolished," it will haunt your new construction elevations, making them inaccurate.
Lesson learned: A disciplined QA process must include a check for phasing properties on all new and modified elements. Treat "Phase Created" and "Phase Demolished" with the same importance as an element's family and type.
This simple check prevents countless errors and is a non-negotiable part of any mature BIM renovation workflow.
3. Relying on Default Phase Filters
The second major pitfall is misusing or misunderstanding Phase Filters. Revit ships with a few defaults like "Show All," but these are almost never enough for a real-world renovation project. Relying on them is a recipe for messy, unclear drawings.
Phase Filters are the rules that tell a view how to display elements based on their phase status—New, Existing, Demolished, or Temporary. Think of the defaults as a starting point, but a mature production workflow means creating custom filters tailored to your documentation needs.
You absolutely need custom filters for common drawing types:
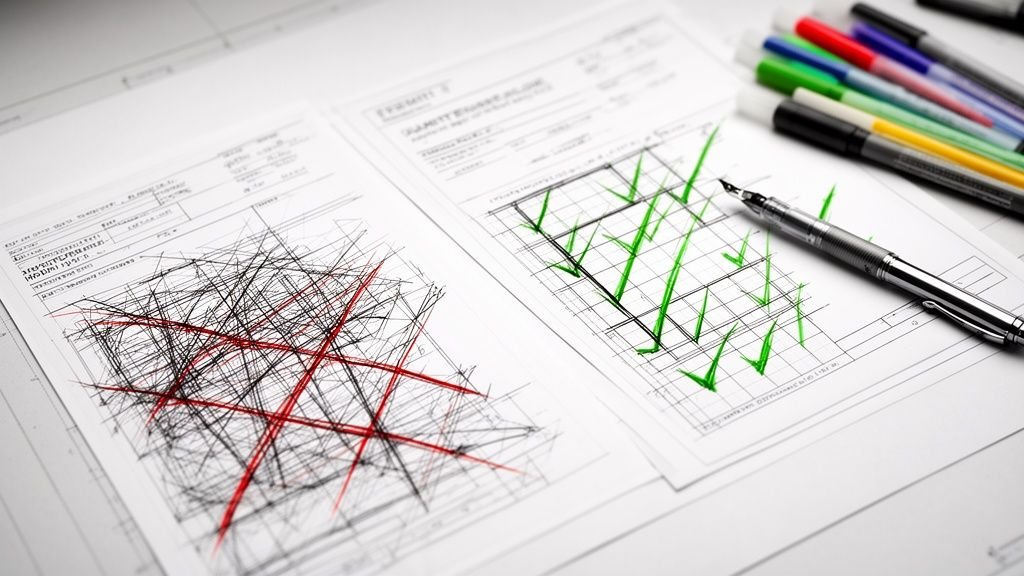
- Demo + New: A filter that clearly shows demolished items (dashed) and new work (solid) on the same plan.
- Existing to Remain: A filter that hides all new and demolished work to create a clean plan showing only what's being kept.
- Site Logistics: A filter that shows only temporary elements, like construction fencing, for a specific phase.
Without these, teams end up using clumsy workarounds like hiding elements by view, which is slow, unreliable, and a nightmare to manage. Building a standardized set of Phase Filters into your project template is one of the best things you can do for operational consistency.
4. Using Inconsistent Graphic Overrides
Working hand-in-hand with Phase Filters are the Graphic Overrides. This is where you define how elements in each phase status should look—their color, line weight, and pattern. The most common mistake here is a total lack of standardization.
When every project, or worse, every team member, uses different overrides, your drawing set loses its professional cohesion. One person might show demolished walls with a light gray dashed line, while another uses a heavy red one. This kind of inconsistency just confuses contractors and can lead to expensive mistakes on site.
A robust BIM renovation workflow demands a firm-wide standard for graphic overrides. This needs to be built right into your BIM template so every project starts with the same clear, consistent graphic language. A good set of standards is the backbone of clear communication. For a deeper dive into standardizing your visual settings, exploring how to properly set up Revit View Templates is an excellent next step, as they work together with phasing to create predictable, scalable documentation.
5. Neglecting Temporary Elements
Finally, a surprisingly common blind spot is how temporary elements are managed. Things like temporary shoring, construction barriers, or interim partitions often get modeled in a hurry without proper phasing. This is a huge risk.
If a temporary wall isn't assigned a "Phase Demolished," it will show up as a permanent element in your final construction documents. This can cause major headaches during a permitting review or trigger RFIs from a contractor who wants to know why a "temporary" wall is still on the final floor plan.
The solution is simple but requires discipline:
- Create a dedicated phase just for temporary work (e.g., "Phase 1 – Temp Work").
- Set the Phase Created for all temporary elements to this new phase.
- Set the Phase Demolished to the next relevant construction phase.
This straightforward process ensures temporary elements only show up on the specific plans where they belong, keeping your final documents clean and accurate. Avoiding these common mistakes isn't just about becoming a better Revit user; it's about protecting your project's integrity and your firm's reputation. And it's not just a Revit thing—understanding and steering clear of common business mistakes in other areas, like marketing, is just as vital. Both require a disciplined, systems-based approach to head off costly errors.
6. Creating Phase-Blind Schedules
The most obvious phasing mistakes show up in 2D and 3D views, but the ones that really cost you money are buried in your data. When phasing discipline falls apart in schedules, it hits your procurement and, ultimately, your bottom line.
A classic mistake is a door or window schedule that ignores phasing altogether. It becomes a procurement order for the wrong number of items—a costly error you won't catch until it's too late.
Schedules are the data backbone of your Revit model. The problem is, by default, a schedule lists every single element in a category, ignoring its phase. This is a huge trap on renovation jobs.
Think about a door schedule for a multi-phase office fit-out. If that schedule isn't filtered by phase, it will show everything: existing doors to remain, doors being demolished, and new doors being installed. Sending that unfiltered list to a supplier is a guaranteed disaster.
You have to apply phasing logic to every critical schedule. It’s a simple process, but it requires discipline:
- Open Schedule Properties: Head to the "Filter" tab.
- Filter by Phase: Add a filter rule for "Phase Created."
- Set the Condition: Change the condition to "equals" and pick the right phase, like "New Construction."
This one step turns a confusing data dump into a precise, actionable tool. For a demolition schedule, you'd just filter by "Phase Demolished" instead.
Lesson learned: Your schedules must be as phase-aware as your floor plans. An unfiltered schedule is not just incomplete; it's actively misleading and creates significant financial risk.
This isn't just a "best practice"—it's a fundamental QA check for any team that's serious about predictable delivery.
7. Not Synchronizing Phases Across Linked Models
Another common headache is the "phantom ductwork" problem. This happens when a consultant's linked model has phasing settings that don't match yours. Your architectural view might be set to "Existing," but the linked MEP model's view is set to "New Construction." Suddenly, all their new ductwork appears incorrectly on your existing plans.
This breaks coordination and unleashes a flood of needless RFIs. The fix is to establish and enforce phasing standards across the entire project team in the BIM Execution Plan.
- Standardize Phase Names: Make sure every firm on the project uses the exact same names for phases (e.g., "Existing," "Phase 1 Demo," "Phase 1 New").
- Control Linked View Settings: When you link a consultant's model, never leave its view settings on "By Linked View." Change this to "Custom" and manually control the Phase and Phase Filter settings inside your host model. This gives you total control.
This level of control is non-negotiable for maintaining clarity. The importance of these digital workflows is now recognized globally. The UK, for example, mandated BIM Level 2 for all public projects back in 2016, a move that pushed Revit phasing to the forefront of lifecycle management. You can get more insights on how different countries are adopting these standards from BIM Services India. This wider adoption highlights just how critical disciplined, phase-aware workflows are in modern construction.
Protecting Phasing with Worksets
Finally, in a collaborative environment, worksets are your last line of defense. Without proper management, one team member can accidentally break the entire phasing structure.
A practical approach is to place critical existing elements that should never be demolished onto a controlled workset, like "A-EXIST-TO-REMAIN-LOCKED." By making this workset not editable by default, you create a deliberate checkpoint. Anyone needing to modify an element on this workset has to consciously take ownership, which forces them to double-check their phasing change. This simple process adds a layer of protection that reinforces template discipline.
Your Phasing Standards Blueprint for Predictable Delivery
Fixing the same problems over and over isn't a strategy; it's a symptom of a broken system. If you want operational consistency, you need a firm-wide standard for Revit phasing—a blueprint that ensures every renovation project kicks off with the same level of maturity and clarity.
This is about building a lightweight, repeatable system. The goal is to standardize the 80% of phasing work that’s identical on every project. That frees up your team to focus their brainpower on the unique 20% of design challenges that actually matter. This blueprint is what lets you sell reliable delivery and protect your margins.
A well-crafted phasing standard is the playbook for your entire team. It removes guesswork, slashes onboarding time, and guarantees your Revit demo plans are crystal clear, no matter who's driving the model. It's the foundation of a scalable delivery pod.
Defining Your Core Phasing Components
Your standards document, whether a section in your BIM manual or a simple "phasing cheat sheet," needs clear, direct guidance.
- Phase Naming Conventions: Mandate the exact names for your default phases. Simpler is better: "Existing," "New Construction." If your projects often have multiple stages, standardize those too: "Phase 01 – Demolition," "Phase 01 – New Work."
- Dedicated Temporary Phase: Every project template needs a pre-made phase for temporary work, like "Temp & Shoring." This simple rule prevents temporary elements from showing up on final documents.
- Standardized View Naming: Your view names need to communicate their purpose instantly. A simple suffix like “_DEMO” for demolition plans or “_NEW” for new work plans makes the project browser infinitely easier to navigate.
These simple rules are the bedrock of good template discipline. They stop the most common setup errors before they happen.
Standardizing Filters and Graphic Overrides
The visual clarity of your drawings lives and dies by the consistent use of Phase Filters and Graphic Overrides. Your standards must eliminate ambiguity here. Don't leave graphic styles up to individual interpretation; codify your firm's visual language.
Lesson learned: The most mature production teams don't reinvent the wheel. They have a pre-configured set of Phase Filters and Graphic Overrides built directly into their Revit template, ready to go from day one.
This pre-configuration is a massive project accelerator. Your cheat sheet should include a table that gives everyone a clear starting point.
Phase Filter & Graphic Override Starting Point
| View Type | Recommended Phase Filter | Key Graphic Overrides (New, Demo, Existing) |
|---|---|---|
| Demolition Plan | Show Previous + Demo |
New: Not Displayed Demo: Dashed Line, Red Existing: Halftone, By Category |
| New Work Plan | Show Previous + New |
New: Solid Line, Black Demo: Not Displayed Existing: Halftone, By Category |
| Existing Plan | Show Complete (Set to Existing phase) |
New: Not Displayed Demo: Not Displayed Existing: Solid Line, By Category |
A simple table like this acts as an actionable guide. It gets rid of the friction of setting up views from scratch and guarantees a consistent look across all your renovation projects. Building out this blueprint is the final step in moving from a reactive, problem-solving mindset to a proactive, systems-driven one.
Mastering the nuances of Revit phasing is really about building a system for clarity and predictability. If your team is struggling to create consistent, reliable documentation for renovation projects, you're not alone.
Download our free Phasing Standards Cheat Sheet to start building a more mature and profitable BIM renovation workflow today. https://www.bimheroes.com