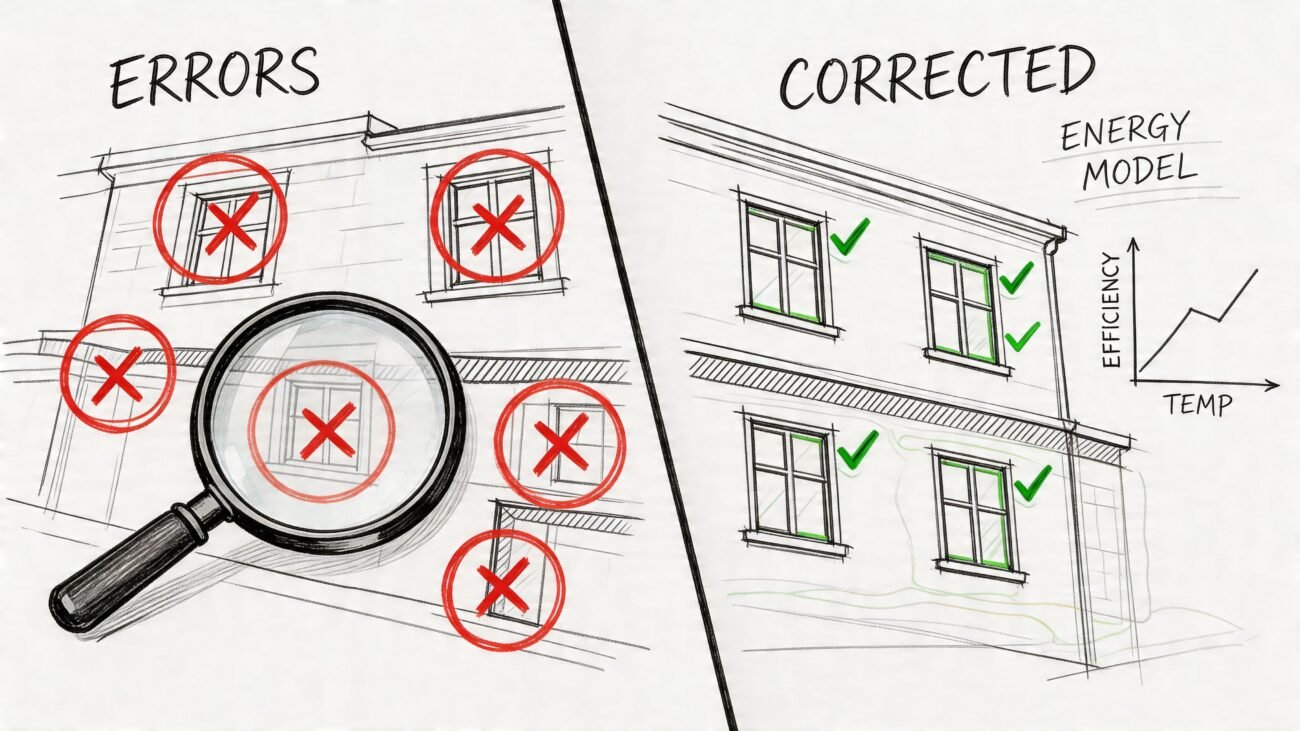
It’s a familiar pain for any production manager. You pull up two recent CD sets side-by-side, and the differences are glaring. Mismatched fonts, rogue annotation styles, and conflicting keynote legends litter the sheets. This isn't one person's mistake; it's the result of Revit template drift—the gradual, almost invisible degradation of your firm's standards. Consistency dies slowly, unless you guard your templates.
The Silent Erosion of Your Production Standards
Template drift happens one project at a time. A well-meaning team member "improves" a detail family for a specific condition. Another imports a consultant's CAD standard, accidentally polluting your line weights. Before you know it, your firm’s carefully crafted visual identity is gone, replaced by a chaotic mix of individual preferences.
This slow decay isn't just an aesthetic problem; it's a direct threat to your bottom line. Each inconsistency is a small crack in your firm's operational foundation. It undermines the very predictability that protects your margins and creates the operational consistency needed for scalable delivery pods. When every project starts from a slightly different baseline, you lose the efficiency that a master Revit template is supposed to provide.
From Small Drifts to Big Problems
The consequences of unchecked drift compound over time, escalating from minor annoyances to major financial risks. What starts as a simple font mismatch can easily snowball into significant issues during permitting or construction.
- Increased RFIs: When contractors see inconsistent details or annotations, they can’t trust the drawings. That uncertainty breeds Requests for Information (RFIs), and each one costs your team time and money to answer.
- Permitting Prep Delays: Imagine a plan checker flagging inconsistent sheet numbering or non-compliant title blocks. That can halt the entire permitting process, creating costly project delays that erode client confidence.
- Costly Rework: Inconsistent keynote references or mismatched schedules can lead directly to errors in the field. This means expensive rework, and worse, it damages your firm's reputation for quality.
Consistency dies a slow death unless you actively guard your templates. A disciplined approach to BIM standards isn't just an IT issue—it's a core business strategy for predictable, scalable delivery.
Guarding Your Single Source of Truth
Think of your master Revit template as the constitution for your entire production process. It’s the single source of truth that defines how your firm communicates graphically. When that core document is allowed to drift, it creates a ripple effect of uncertainty across every project phase.
The evolution from old-school CAD standards to robust BIM workflows requires real discipline, and that discipline starts with treating your templates as the mission-critical assets they are. Protecting this asset is fundamental to achieving reliable delivery. It ensures every project team, regardless of who is on it, starts from the same proven, efficient, and quality-controlled baseline.
This is how you prevent the slow erosion of your standards and build a production system that delivers clarity and protects your profit margins on every single project. Instead of constantly fighting fires caused by inconsistent documentation, your teams can finally focus on what they do best: delivering exceptional work.
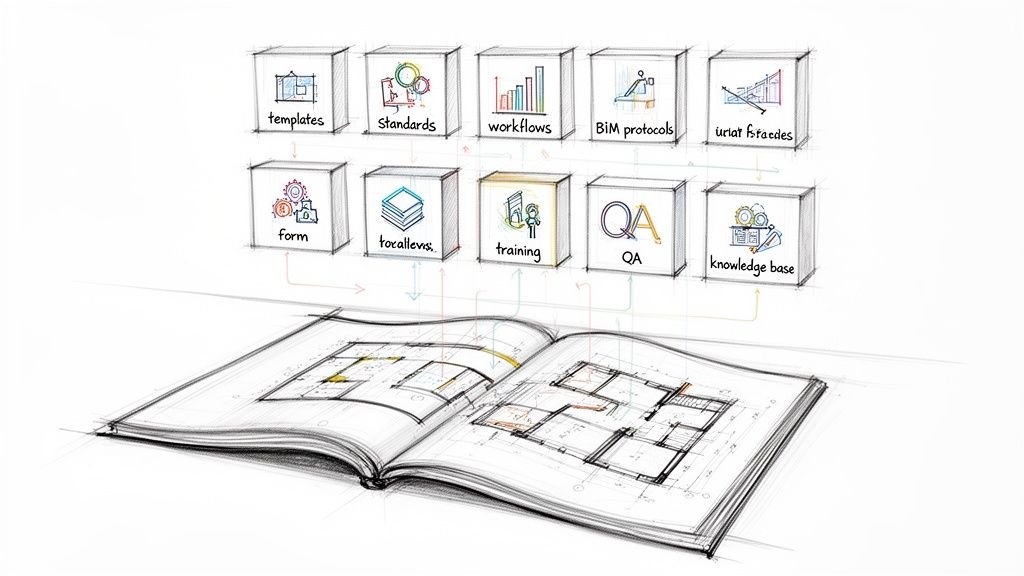
The Anatomy of a Bulletproof Revit Template
To stop template drift, you first have to understand what you’re protecting. A bulletproof Revit template isn’t just a starting point—it's your firm's codified knowledge, a single source of truth that enforces production standards and protects your margins. Think of it as the core system that guarantees your construction document sets look consistent, project after project.
When built with discipline, the template automates consistency, making the right way the easiest way. This isn't just about appearances. It’s about operational maturity, reducing the guesswork that leads to RFIs, permitting delays, and costly rework. A weak template is a blank canvas for chaos; a strong one is the foundation for predictable delivery.
This infographic nails it: a solid Revit template is the foundation supporting production standards, which in turn protects profitability.
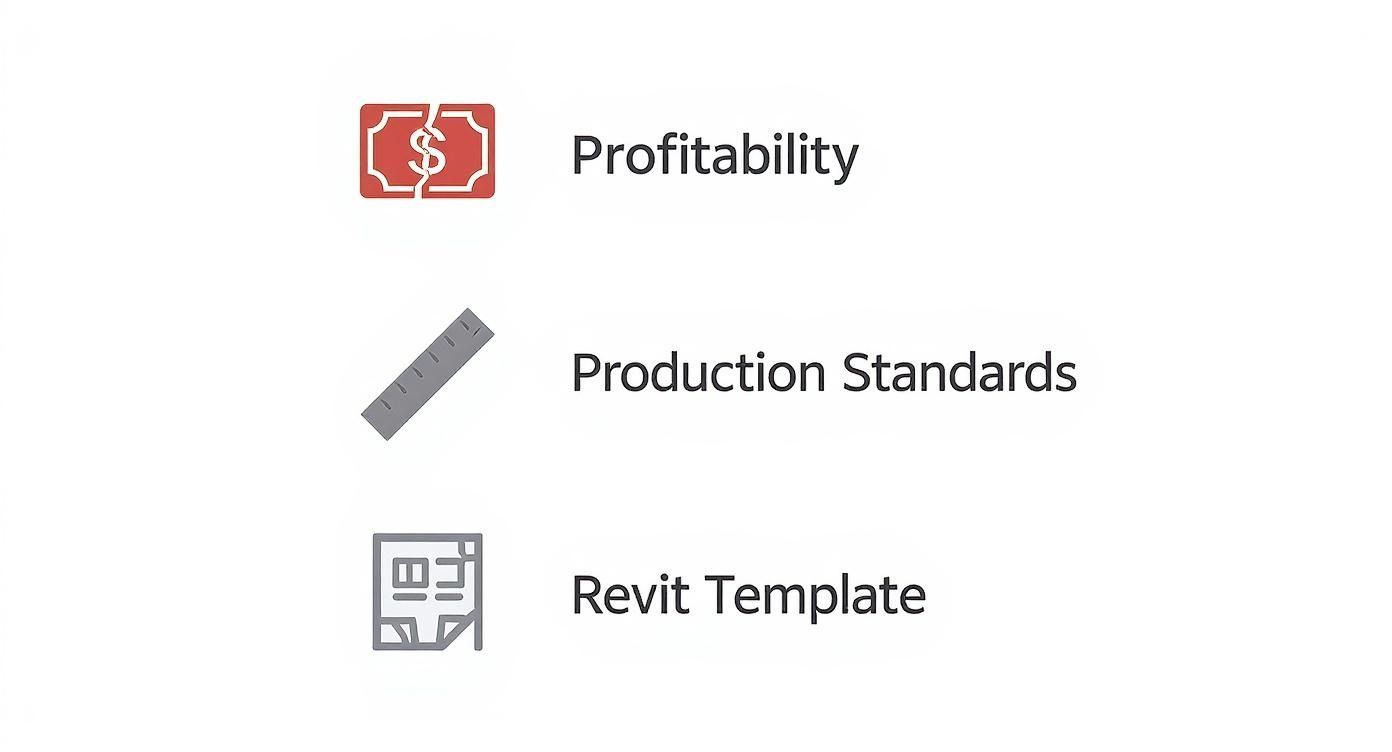
The visualization makes it crystal clear—when your template erodes, your standards and profitability inevitably follow.
The Core Components of Consistency
A robust template is a collection of pre-configured settings and content designed to work together seamlessly. Each component has a specific job in preventing the slow erosion of your standards. Let's break down the most critical elements that guard against Revit template drift.
-
Title Blocks with Synced Parameters: This is ground zero for consistency. Your title blocks should be locked down and populated by shared project parameters. Information like the project name, number, and address should be entered once in the Project Information dialog and automatically populate every single sheet. This simple step eliminates typos and guarantees uniformity, a key checkpoint for permitting prep.
-
Pre-configured View Templates: This is your primary weapon against graphic anarchy. View Templates control nearly every aspect of a view's appearance—from visibility and graphic overrides to scale and detail level. By assigning a view template to every view, you ensure that all floor plans, elevations, and sections adhere to the exact same graphic standards, preventing rogue annotation styles from ever appearing. We cover this in-depth in our complete guide to Revit view templates.
-
A Logical Workset Structure: For collaborative projects, a clear workset structure is non-negotiable. Defining worksets in the template (e.g., Shell, Core, Interiors, Grids & Levels, FF&E) establishes a logical framework for project teams from day one. This structure not only improves model performance but is essential for managing scalable delivery pods working on the same file.
These foundational elements create a framework that guides users toward standard practices from the moment a project begins.
Data Integrity and Quality Control Mechanisms
Beyond the visual elements, a well-built template contains the underlying data structure that ensures accuracy and simplifies QA processes. This is where you elevate from a simple starter file to a true production tool. Neglecting these components is one of the most common causes of inconsistency in documentation.
A great template doesn't just make things look right; it makes it hard to do them wrong. It embeds your QA process directly into the daily workflow, catching errors before they ever make it to a sheet.
This proactive approach is crucial. With Autodesk Revit commanding a huge portion of the design software market, leveraging well-structured Revit templates has become a fundamental requirement for maintaining a competitive edge.
The table below breaks down the key components that are absolutely essential for preventing that dreaded template drift and maintaining data integrity across all your projects.
Key Revit Template Components for Preventing Drift
| Template Component | Primary Function | Impact on Consistency |
|---|---|---|
| Shared Parameters | Establishes a firm-wide data dictionary for families, tags, and schedules. | Ensures data integrity by preventing duplicate or conflicting parameter names. |
| Comprehensive Schedules | Pre-builds schedules for auditing model data (doors, rooms, walls, etc.). | Acts as a built-in QA/QC checklist, enforcing data completeness and standards. |
| Standardized Annotation | Defines a curated library of text styles, dimension styles, and tags. | Guarantees all annotations look uniform, reinforcing the firm's graphic identity. |
| Locked Title Blocks | Uses synced project parameters to auto-populate sheet information. | Eliminates manual entry errors and ensures every sheet has consistent project data. |
| Pre-Set View Templates | Controls all graphic settings for views (visibility, scale, overrides). | Enforces graphic standards across all drawings, preventing visual chaos. |
| Logical Workset Structure | Organizes the model into logical parts for team collaboration. | Improves model performance and provides a clear framework for team responsibilities. |
By building these checks and balances directly into your template, you’re not just providing a starting point—you're providing a production system designed to deliver consistent, high-quality results every time.
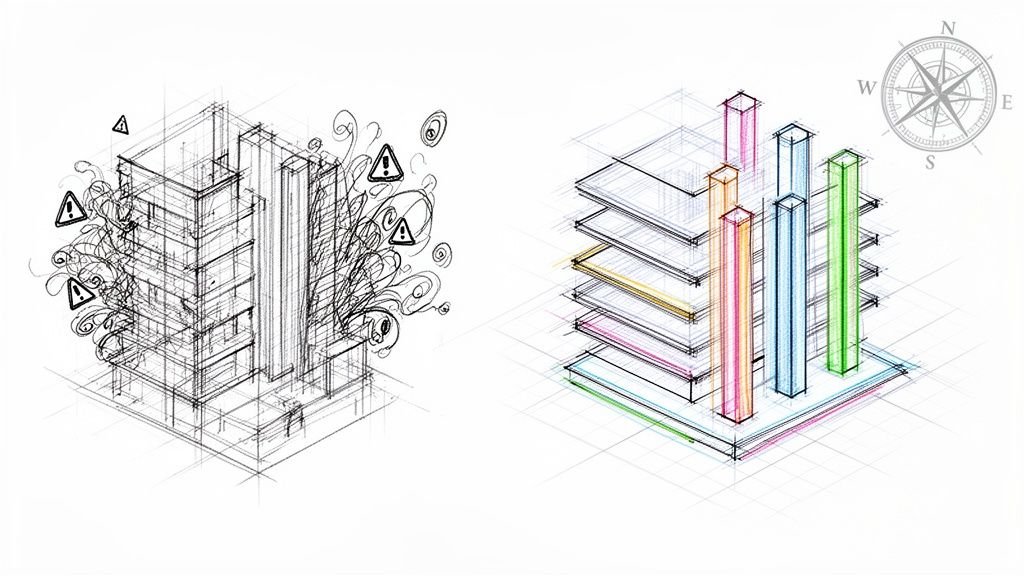
How to Diagnose Template Drift in Your Projects
Template drift is a subtle enemy. It doesn't announce itself with a crash error; it creeps in through tiny, seemingly harmless deviations over time.
For production managers, the first sign is often just a feeling—that nagging sense that the CD sets don't look quite right. They lack the crisp, operational consistency you've worked so hard to build. That feeling is your first clue, and it's time to investigate.
Diagnosing the problem means moving from that vague intuition to a concrete set of observations. It's about performing a health checkup on your live projects to find tangible evidence of standards erosion. By knowing precisely where to look, you can build a data-backed case for BIM standards enforcement and investing in renewed template discipline.
This process is about identifying the gap between your intended standards and what your teams are actually producing. To do this effectively, it's helpful to think of it like a structured gap analysis template. This approach helps turn your scattered observations into a clear, actionable plan.
Uncovering the Telltale Signs
The evidence of drift is hiding in plain sight within your project files. You just need a systematic way to find it. Start by opening a few recent projects from different teams and look for these common red flags that signal a breakdown in Revit documentation consistency.
-
Rogue Families and Types: Hunt for families with numbers tacked onto their names (e.g., "Detail Component 1," "M_Door-Single-Flush 2"). This is a classic sign that users are duplicating and modifying standard families on the fly instead of using the approved library—a direct path to chaos.
-
Inconsistent Annotation Styles: Check the dimensions, text notes, and tags across different sheets. Do they all use the same font, size, and arrowheads? Mismatched annotation is one of the most visible symptoms of drift and a clear sign that View Templates are being ignored or overridden.
-
Bloated and Polluted Files: Head over to the "Manage" tab. Are there imported CAD line styles like "A-WALL-THIN-Import" polluting your object styles? A high number of "purged" items often reveals a file cluttered with unused families, materials, and styles copied in from other sources.
These aren't just minor housekeeping issues. They are indicators of a deeper process failure.
A Practical Diagnostic Framework
To make your audit more systematic, focus on a few key areas that have the biggest impact on production efficiency and quality control. This isn't about blaming individuals; it's about identifying weak points in your workflow and your core Revit templates.
The goal is to catch deviations early, before they become ingrained as "the way we do things." A disciplined audit turns a reactive cleanup effort into a proactive quality assurance process.
This proactive stance is what separates firms that struggle with consistency from those that achieve predictable, scalable delivery. Use this checklist as your starting point for a project health checkup.
-
Sheet Composition Review: Open the sheet index from two different projects. Are the sheet numbering conventions identical? Is the title block information filled out consistently? Variations here often point to a lack of project startup discipline.
-
Keynote File Inspection: Check the keynote legend on a few sheets. Now, locate the source keynote text file on your server. If you find a project using its own local copy of the keynote file, you've found a major source of drift. Centralized resources like shared keynote files are non-negotiable for consistency.
-
View Template Usage Audit: In a plan view, check the View Template assigned in the Properties palette. If it says "", that’s a massive red flag. It means the view is untethered from your firm’s graphic standards, leaving it vulnerable to any manual override.
By finding this kind of observable evidence, you move the conversation from "I feel like our drawings are inconsistent" to "On projects A and B, 40% of our plan views are not governed by a view template." That is the kind of data that justifies investing in real solutions and protects your margins from the silent threat of template drift.
Putting a Governance System in Place for Your Templates
Spotting template drift is one thing; fixing it for good is another. The solution isn't a quick patch—it's building a solid system of control. Without a formal governance framework, even the most carefully built Revit templates will eventually fall apart. This is where you move from talking about production maturity to actually putting it into practice, creating a real defense against the slow decay of your standards.
Think of a governance system as your firm's promise to stay consistent. It’s a clear set of rules, roles, and checkpoints that protect your template like the critical business asset it is. The whole point is to stop well-meaning but unapproved "improvements" from creating chaos down the line, ensuring every single project kicks off from the same reliable, efficient starting point.
Appoint a Template Guardian
The first rule of good governance is simple: someone has to own it. A template without an owner is an orphan, left vulnerable to neglect and random tweaks. To stop this from happening, you need to designate a Template Guardian or a formal BIM Committee.
This person or small group isn't a roadblock; they're the gatekeepers of your firm's production quality. Their job is to:
- Vet all change requests: Any proposed change—whether it’s a new line style or a complicated shared parameter—has to be formally submitted and reviewed.
- Test changes in a sandbox environment: No update should ever go live without being tested for unintended side effects.
- Manage the update and deployment process: They're in charge of communicating changes and making sure every team member knows exactly where to find the latest version.
This centralized control is the only way to stop the fragmented, on-the-fly changes that cause Revit template drift. It takes what is often a chaotic process and turns it into a disciplined workflow.
The Power of Version Control and a Single Source of Truth
Your governance system is only as strong as your ability to control who can access what and how you manage different versions. A master template saved on someone’s local machine is a recipe for disaster. Enforcing BIM standards effectively demands a much more structured setup.
A read-only template stored in a secure, central location isn't a limitation—it's liberation. It liberates your teams from the guesswork and uncertainty that kills efficiency and erodes margins.
Putting this into practice requires a few non-negotiable technical and procedural steps. You can get into the nitty-gritty by reading our guide on best practices for BIM project version control, but for now, just focus on these core principles:
- Centralized, Read-Only Storage: Your master
.rtefile has to live on a central server that everyone can access but nobody can overwrite. This "single source of truth" approach is fundamental. - Clear Naming Conventions: Use a simple and logical naming system for your templates. Something like
COMPANY_Template_RVT2025_v2.1.rteimmediately tells you the software version and update status, getting rid of any confusion during project startup. - A Documented Change Log: Every single modification made to the template must be recorded in a change log. This document should track what was changed, why it was changed, who approved it, and when it was implemented. This creates an invaluable audit trail.
This disciplined infrastructure is more than just good IT hygiene; it’s the foundation for predictable project startups and consistent quality across all your teams. Template discipline is a direct investment in your firm's ability to deliver with clarity, protect your margins, and build a reputation for being reliable.
The Disciplined Project Startup Checklist
A solid governance system is your firm’s last line of defense, but the real battle against Revit template drift is won or lost in the first 30 minutes of a new project. This is where a little discipline pays the highest dividends. An undisciplined startup is a guarantee of future cleanup, wasted hours, and inconsistent CD sets. A disciplined one, however, sets the stage for a smooth project and protects your margins from the very beginning.
Treating the project startup as a mandatory, non-negotiable process is the single most effective way to enforce your BIM standards. This isn't about adding bureaucracy; it's a tactical checklist designed to prevent hundreds of hours of rework by investing just a few minutes of focused effort upfront.
The First Five Steps to a Clean Start
Before anyone even thinks about modeling, the project lead or BIM manager needs to run through this simple but critical sequence. Think of it as the pre-flight check for your project—miss a step now, and you’re asking for turbulence later.
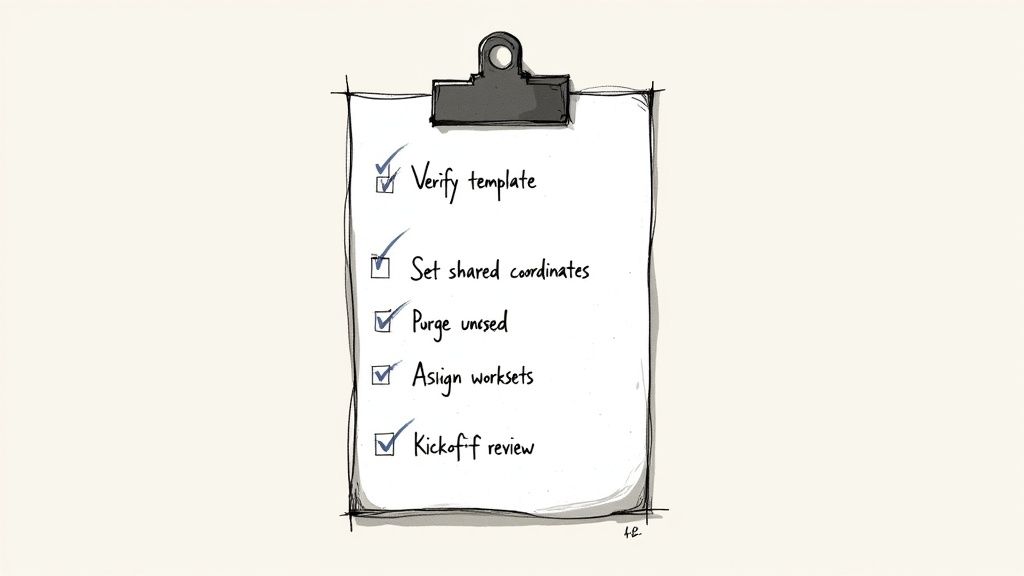
- Verify the Latest Template Version: Always, always start a new project from the master
.rtefile stored in your central, read-only server location. Never start from an old project file. This is the number one cause of standards contamination. - Set Up Project Information Correctly: The very next thing to do is open the "Project Information" dialog and fill out every single field—project name, number, client, and address. This one action feeds data into every title block on every sheet, ensuring Revit documentation consistency from day one.
- Establish Shared Coordinates and Purge Unused: If the project involves shared coordinates, set them up now. Right after, run a "Purge Unused" to strip out any extra elements that might have crept into the template. A clean start means a lighter, faster file.
- Define and Assign Worksets: Before you invite the team into the model, establish the workset protocol. Make sure everyone understands their assignments to stop people from modeling on the wrong workset—a classic mistake that kills file performance and organization.
- Link, Don't Copy, Shared Resources: All shared resources—keynote files, external family libraries, consultant models—must be linked from a central server location. Copying these files into the project folder is a direct path to drift, because they will inevitably become outdated.
This initial 30-minute discipline is a direct investment in margin protection. It's the difference between a project that runs smoothly and one that constantly requires QA fire drills.
The Kickoff Meeting: A Non-Negotiable Checkpoint
Once the file is prepped, hold a quick kickoff meeting with the entire project team. This isn't just a formality; it's a critical alignment session to review project-specific needs and reinforce the firm's standards. A structured process like this has applications far beyond Revit. For example, a well-designed employee onboarding checklist template ensures new hires are properly integrated, just as this startup checklist gets the team aligned on production standards from the start.
A disciplined project startup is your first and best chance to implement these structured workflows. Following these steps helps teams achieve faster workflows and deliver more consistent CD sets. To dive deeper into production speed, check out our guide on the top 7 Revit workflows to speed up your CD sets.
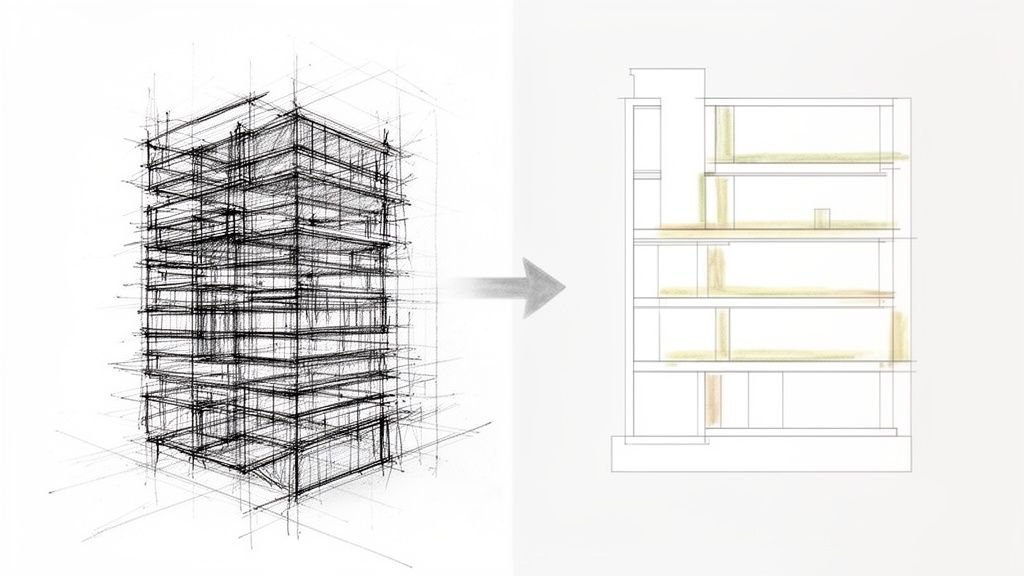
Turning Production Chaos into Predictable Clarity
Let’s be honest: Revit template drift is a quiet killer of profitability. It’s that slow creep of mismatched fonts, inconsistent keynotes, and rogue families that grinds production to a halt. This guide isn't about working harder; it's about putting the right systems in place to solve the problem for good.
Guarding your Revit templates is about more than just maintaining standards—it's about protecting your bottom line.
When you lock down your template management, version control, and project startups, you shift from a reactive, chaotic workflow to one that’s predictable and clear. This is the bedrock of a mature BIM process. It’s what allows you to scale your teams and finally break the exhausting cycle of RFIs and last-minute permitting scrambles that eat away at your margins.
This kind of operational consistency isn't just a nice idea. It's completely achievable.
The real goal here is to build a production engine so reliable that your teams can spend their time on what they do best—design—instead of fighting their software. The outcomes that matter are clarity, solid systems, and dependable delivery.
The first step to fixing template drift is figuring out how deep the problem runs in your own firm.
That’s why we created the Template Drift Audit Checklist. It’s a free, practical tool designed to help you diagnose the inconsistencies across your projects. Use it to build a real business case for implementing the systems we've talked about and start your journey from production chaos to predictable clarity today.
Frequently Asked Questions About Revit Templates
Even with the best systems in place, production managers field the same questions over and over. Getting ahead of these common queries is the best way to maintain discipline and make sure everyone understands the why behind the rules. Here are the answers to some of the questions we hear most often.
How Often Should We Update Our Company Revit Template?
The big template overhaul should happen once a year, timed with your firm's annual software upgrade—for example, when you move from Revit 2024 to Revit 2025. This rhythm keeps everything compatible and lets you roll out new features in a controlled way.
For smaller tweaks, like adding a new shared parameter or updating a keynote file, a quarterly review and release cycle works well. The trick is to have a formal change request process managed by your designated Template Guardian. Avoid making changes on the fly. That’s the number one cause of Revit template drift. Every single update needs to be documented and clearly communicated to the team.
What Is the Best Way to Handle Project-Specific Families?
Never, ever modify the core company template for a single project. This is a hard-and-fast rule, and breaking it is how standards slowly fall apart.
Instead, create any project-specific families you need and save them in that project’s dedicated server folder. If a "project-specific" family turns out to be useful on other jobs, it can be submitted to your BIM committee for review. If it gets the green light, it will be cleaned up, standardized, and added to the central library during the next scheduled template update. This process prevents one-off customizations from polluting your firm-wide Revit templates.
The goal is to keep your central template pure. Project-specific needs should be managed at the project level, only elevating a resource to the master template after a formal vetting process. This protects the integrity of your production system for everyone.
How Do We Get Our Team to Follow Template Standards?
Getting people to stick to BIM standards isn’t about policing them. It’s about making the right way the easiest way, which takes a smart mix of technology, training, and clear processes.
- Make It Easy: The best enforcement is passive. Build your standards directly into the tools your team uses every day. When View Templates automatically apply the right settings and pre-loaded Annotation Styles are the default choice, following the rules becomes the path of least resistance.
- Train at Key Moments: Ditch the long, annual training seminar. Instead, hold short, focused sessions right when they matter most, like during project startups. A 15-minute standards review before anyone starts modeling is far more effective.
- Implement QA Processes: Use tools already in your template, like schedules and filters, to quickly spot anything that deviates from the standards. When teams know there's a simple QA check, they’re much more likely to follow the rules from the start.
Ultimately, it all comes down to leadership. When production managers consistently talk about how Revit documentation consistency protects project margins and ensures predictable delivery, teams will get on board.
At BIM Heroes, we know that building a resilient production system is about more than just software—it's about discipline and process. If you're ready to diagnose and cure template drift in your firm, our free Template Drift Audit Checklist is the perfect place to start.