A solid Revit template is the single most important asset any architectural firm has for protecting margins and ensuring operational consistency. It’s far more than just a starting file; it's the central nervous system of your entire production workflow. Think of it as the place where you bake in your firm's standards, best practices, and hard-won knowledge so that every project kicks off from a reliable foundation. This discipline is what predictable delivery is built on.
Why Revit Templates Are Your Firm's Production Playbook
It's time to stop thinking of Revit templates as simple setup files. A mature, well-developed template is your firm’s production playbook—a master recipe ensuring every drawing set comes out with the same level of quality and clarity, no matter who’s on the team. This is a critical step in moving from old-school CAD thinking to a true BIM mindset, shifting from reactive problem-solving to proactive, system-driven design.
For firms serious about protecting their margins, this isn't just a "nice-to-have." Without a strong template, teams are constantly reinventing the wheel and burning billable hours on repetitive setup tasks. That lack of a standardized starting point always leads to inconsistencies that cause headaches down the line, fueling RFIs prevention and costly rework during construction.
From Chaos to Consistency
The real power of a template shows up when deadlines are tight. When the pressure is on, a well-defined playbook stops those small deviations that snowball into major problems later. It sets the rules of engagement for every project, creating a predictable framework for everything.
- Graphic Standards: It makes sure line weights, text styles, and dimensions are uniform across every single sheet and detail. No more guessing.
- Data Structure: It pre-configures project parameters and schedules, so data is managed consistently from day one.
- Workflow Efficiency: It organizes the project browser logically, so team members can find views and sheets instantly instead of digging around.
- Quality Assurance: It bakes QA right into the process by pre-setting view templates and filters, which cuts down on tedious manual checks.
The upfront time you invest in building and maintaining robust Revit templates pays off directly in operational consistency. It allows firms to scale their teams effectively, get new hires up to speed faster, and ensure project standards don't slip as the team grows.
The Foundation of Predictable Delivery
At the end of the day, it's all about predictability. A great template makes sure your drawings are clear and consistent, which makes coordinating with engineers and consultants that much smoother. This clarity is absolutely essential for execution, in the same way that knowing how to read construction blueprints like a pro ensures a smooth build. Your template sets the stage for a cleaner handoff to the construction team and a much more straightforward permitting phase.
By codifying your best practices into a template, you are building an asset that actively defends your project timelines and profitability. It is the most direct path from chaotic workflows to reliable, scalable project delivery.
Committing to your firm's template is a commitment to production maturity. It’s how you stop selling hours and start selling a system that delivers reliable results, every single time. Really digging in and understanding the core principles of https://bimheroes.com/bim-and-3-d-modeling/ is the first step toward building these powerful systems for your own firm.
The Core Components of a High-Performance Revit Template
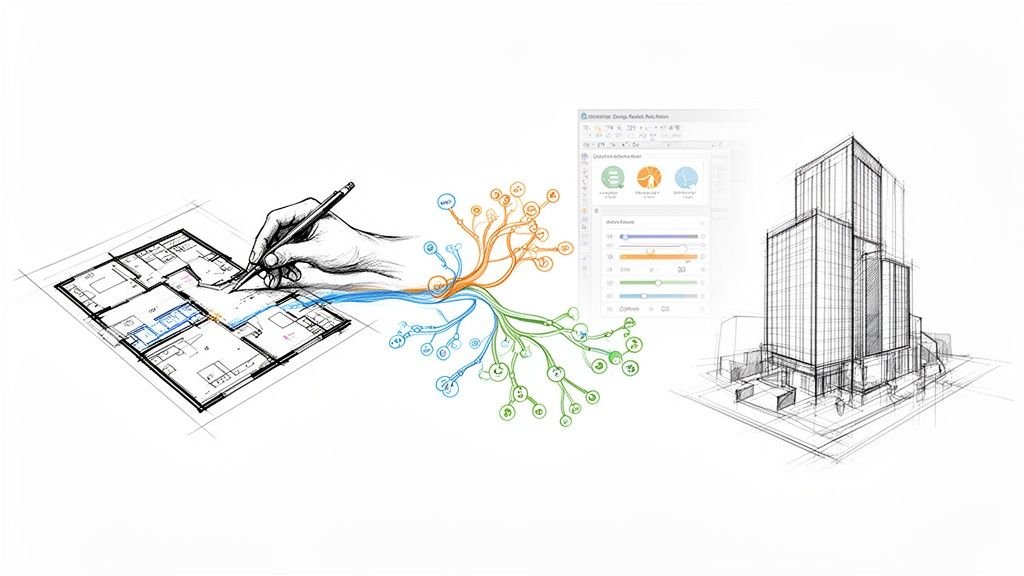
Let's move past the theory. A high-performance Revit template isn't just a file; it's a collection of carefully chosen components, and each one plays a specific role in your production workflow. These aren't just settings—they're the gears that run your project delivery engine. Understanding how they mesh together is the first step to building a template that actually protects your margins and timelines.
A good template is much more than an empty file with a few titleblocks tossed in. It’s an ecosystem where your standards live and breathe. When you get it right, these components eliminate the daily guesswork, enforce consistency across projects, and automate the kind of repetitive tasks that slowly drain billable hours. This is how you mature from a CAD-centric mindset to a true BIM-driven workflow.
Families: The Building Blocks of Your Model
Families are the heart of any Revit project. They represent everything—doors, windows, furniture, even the structural columns holding the building up. A well-managed template doesn't just have a random grab-bag of families; it contains a vetted, standardized library that your team can trust.
- System Families: These are the basics baked right into Revit, like walls, floors, and roofs. Your template should have the most common types your firm uses already configured with the correct materials, thicknesses, and performance data. No more building a "Generic – 8" Wall" from scratch on every project.
- Loadable Families: These are the external RFA files you load into a project, like doors, windows, and casework. A high-performance template includes a curated set of these families. The key is to make sure they're lightweight, quality-controlled, and packed with the right data parameters for scheduling.
For instance, if your firm does specialized work, you might include pre-built elements like Revit Blocks for laboratory casework to keep things consistent. This simple step prevents team members from grabbing the first family they find online—a common source of bloated, corrupted models that kill project performance.
View Templates: Graphic Standards on Autopilot
If there's one silver bullet for enforcing firm-wide standards, it's View Templates. Think of them as saved collections of view properties—scale, detail level, visibility settings, filters, you name it. Instead of a project manager manually tweaking every new plan, section, and elevation, your team applies a pre-made template with a single click.
This isn't just about making drawings look pretty; it's about operational discipline. View Templates guarantee that every Floor Plan looks exactly like a Floor Plan should, and every Reflected Ceiling Plan follows the same graphic rules. This consistency dramatically cuts down the time principals spend marking up drawings and makes the entire QA/QC process run smoother. To really dig into this, check out our detailed guide on creating and managing powerful Revit view templates.
The table below breaks down how these core components directly impact your day-to-day work.
Essential Revit Template Components and Their Production Impact
| Template Component | Primary Function | Impact on Production Workflow |
|---|---|---|
| Families (System & Loadable) | Represent all physical and symbolic building components. | Reduces modeling time by providing ready-to-use, standardized elements. Improves data quality for accurate scheduling and takeoffs. |
| View Templates | Control and standardize the graphic appearance of views. | Ensures graphic consistency across all project documentation. Saves hours by automating view setup and cleanup. |
| Schedules & Filters | Extract, organize, and display model data in tables. | Automates quantity takeoffs and data reporting. Enhances quality control by making it easy to find and fix data errors. |
| Titleblocks | Provide project information and branding on drawing sheets. | Standardizes drawing issuance and maintains professional branding. Reduces setup time on new projects. |
| Annotation Styles | Define the appearance of text, dimensions, tags, and lines. | Creates clear and legible drawings that follow firm standards. Eliminates inconsistencies in notes and dimensions. |
Each element is a piece of a larger puzzle. When they all work together, your template becomes a powerful tool for efficiency and quality.
Schedules and Filters: Turning Data into Intelligence
Schedules are so much more than tables; they are live reports of your model's data. A solid template should come pre-loaded with the essentials—door schedules, window schedules, room finish schedules—all formatted with your firm's branding and configured with the right fields and sorting logic.
Filters work hand-in-hand with schedules and view templates to control what you see based on an element's parameters. For example, a filter can automatically highlight all fire-rated walls in a life safety plan, instantly making the drawing more intelligent.
A strong template pre-builds this intelligence, transforming your Revit model from a simple geometric representation into a rich database. This proactive data management is a key checkpoint for preventing RFIs and ensuring coordination accuracy.
Titleblocks and Annotations: The Professional Finish
Finally, your template absolutely must contain all standard titleblock sizes your firm uses. They should be ready to go with logos, project information fields, and revision schedules. These elements ensure every drawing set that leaves your office looks professional and is consistently branded.
This same logic applies to all your annotation elements:
- Text and Dimension Styles: Pre-defined styles keep all notes and dimensions typographically consistent. No more rogue fonts.
- Tags: Customized tags for rooms, doors, and windows pull information directly from model elements, which drastically reduces manual entry and the inevitable human error that comes with it.
- Line Styles: A curated list of line styles (for property lines, demolition, overhead elements, etc.) makes drawings graphically clear and easy to read.
The global Building Information Modeling (BIM) market, which leans heavily on structured workflows enabled by Revit templates, hit a value of roughly USD 97.86 billion in 2024. Its projected leap to USD 286.59 billion by 2032 shows just how massive the industry's shift toward digital delivery has become, making template discipline an essential competitive advantage.
Together, these components create a cohesive system that standardizes your output, slashes errors, and builds a reliable foundation for every single project your firm takes on.
How to Build a Firm-Standard Revit Template
Creating a firm-standard Revit template isn’t just a technical task—it’s a strategic project. Think of it as bottling your firm's secret sauce: you're codifying your best practices into a reusable asset that protects your margins and makes project delivery smoother. A good template isn't built in a vacuum by one person; it’s a group effort that balances the daily grind of production with your firm's long-term goals. This is your chance to finally leave the old CAD "start-from-scratch" mentality behind and embrace a mature, system-driven BIM workflow.
The process demands discipline and a clear plan. Without a structured approach, you’ll end up with a template that’s either too bloated to run efficiently or too sparse to be of any real use. The goal is a lean, purposeful foundation that gets new hires up to speed quickly and gives your teams a reliable starting point for every single project.
Assemble Your Template Committee
Before you even think about opening Revit, the first step is to get organized. You need to pull together a small "template committee" or task force. This isn't about adding another layer of bureaucracy; it's about getting buy-in from the people who will actually be in the trenches using this thing every day.
Your committee should be a mix of perspectives to keep things balanced:
- A Project Manager: To keep the process grounded in real-world project delivery schedules and requirements.
- A BIM Manager: To handle the technical heavy lifting and make sure standards are actually enforced.
- A Senior Architect/Designer: To champion the firm’s design vision and graphic standards.
- A Production Drafter: To provide crucial, on-the-ground feedback about what works (and what doesn't) when you're deep in a CD crunch.
This group will be your decision-makers and the checkpoint at each stage. Their first job is to define the template’s core purpose and scope. This prevents it from becoming a digital junkyard for every family and setting the firm has ever used.
Start Clean and Build with Intention
You’ve got two main options here: clean up an existing project file or start fresh with a default Revit template. While gutting an old project might seem like a shortcut, you're often inheriting years of hidden problems, bloated families, and inconsistent standards. According to Autodesk experts, this "cleanup" often takes more time and effort than just building from scratch.
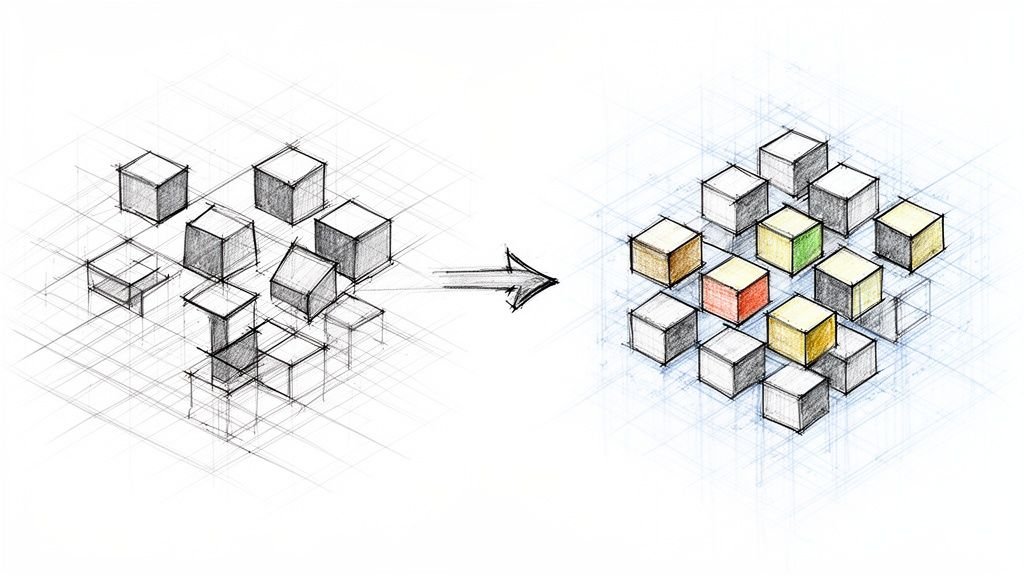
The smarter, more disciplined path is to start with a clean, default Revit template and purge almost everything out of it. This forces you to add every single element with intention. It's like building a custom race car—you don't start with a family sedan and strip it down; you start with a bare chassis and only add the high-performance parts you absolutely need.
A lean template is a fast template. By starting clean, you're not just organizing your standards; you're building an efficient tool that directly impacts model performance and team productivity.
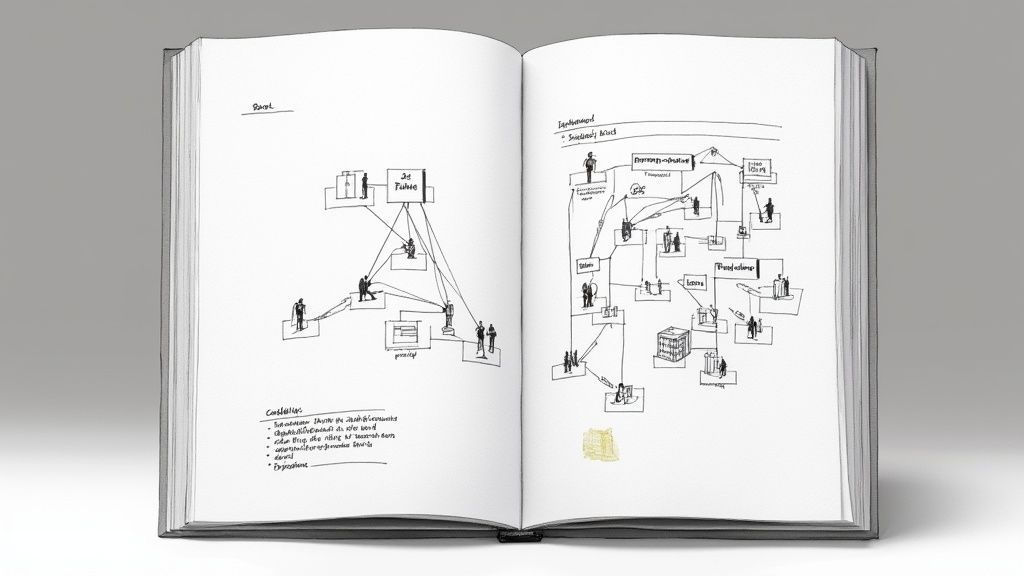
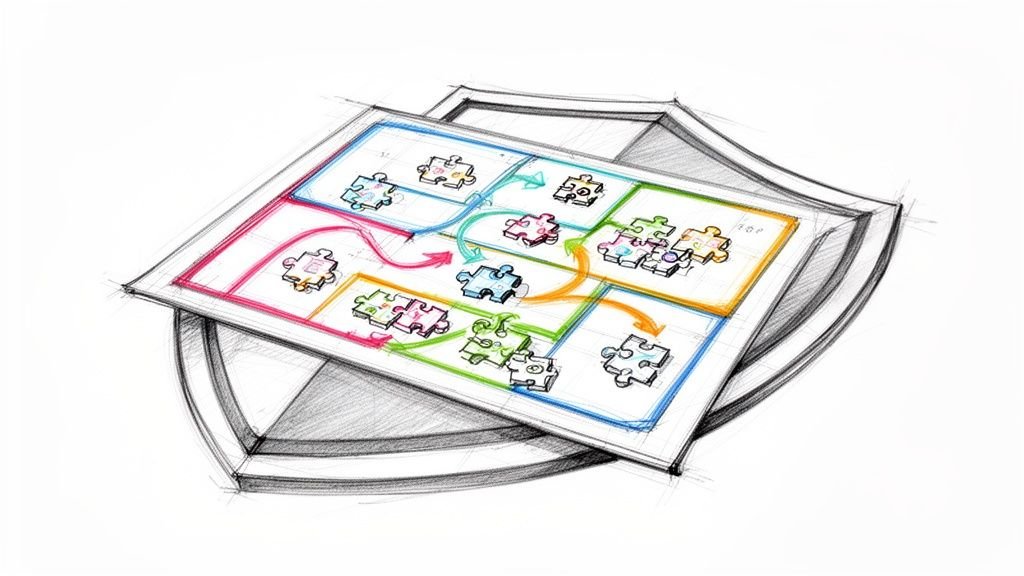
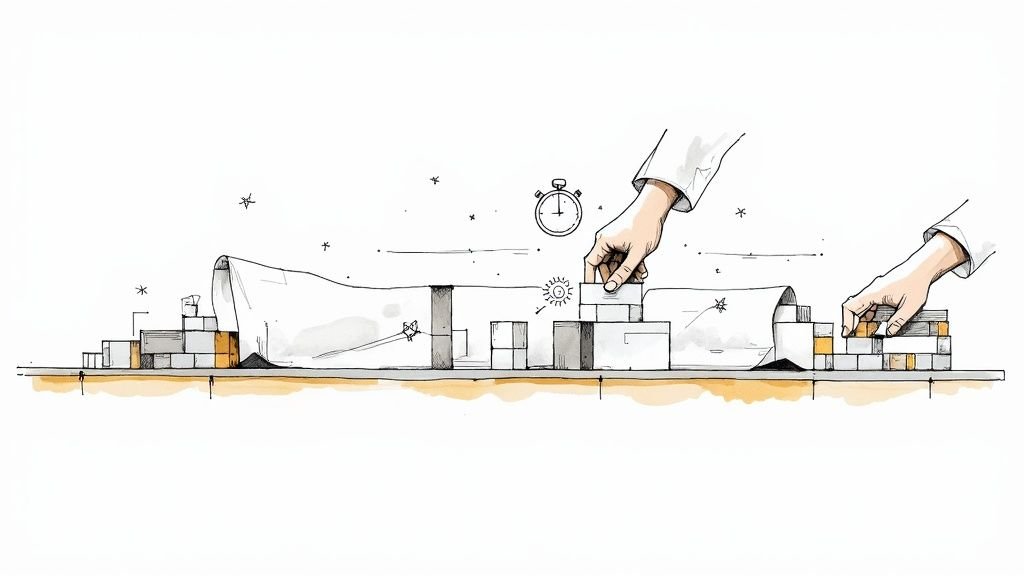
Once you have that clean slate, the build-out follows a logical order. You have to establish your core standards first, before moving on to more complex pieces like families and views. The flow is pretty straightforward.

This process shows the hierarchy of template creation. It all starts with a vetted library of families, which then support the creation of standardized views, which finally get organized onto sheets for delivery.
The Core Build-Out Workflow
With your committee ready and a clean file in hand, follow this strategic workflow. Make sure to get a sign-off from the committee at each step before moving on to the next.
-
Import & Purge Legacy Standards: Use the "Transfer Project Standards" tool to pull in the essentials—Line Styles, Text Styles, and Dimension Styles—from a trusted past project. Right after, run "Purge Unused" several times to get rid of any junk that hitched a ride. This step locks in your graphic identity from the very beginning.
-
Establish Annotation Styles: Nail down every single annotation family. Create and name your standard text styles, dimension styles, tags (for rooms, doors, windows), and symbols. Consistency here is absolutely non-negotiable if you want clear, professional construction documents.
-
Create Core View Templates: This is your biggest lever for enforcing standards across the board. Build out essential View Templates for your primary drawing types: floor plans, reflected ceiling plans, elevations, sections, and details. By pre-setting the scale, detail level, visibility graphics, and filters, you drive consistency and slash the time spent on redlines.
-
Load Vetted Families: This is a big one. Do not just dump your entire family library into the template. It's a classic mistake that leads to massive file sizes and sluggish performance. Load only the most critical, frequently used families—a few common doors, windows, casework pieces, and plumbing fixtures. Everything else can live in a well-organized library, ready to be loaded on an as-needed basis.
-
Define Project Browser Organization: A messy Project Browser is a productivity black hole. Configure your browser to sort and group views logically—maybe by discipline, then by view type, then by phase. This simple setup makes navigation intuitive and saves your team countless clicks every single day.
By following a structured process like this, you create a firm-standard Revit template that’s more than just a file. It’s a production system, designed for clarity, efficiency, and growth.
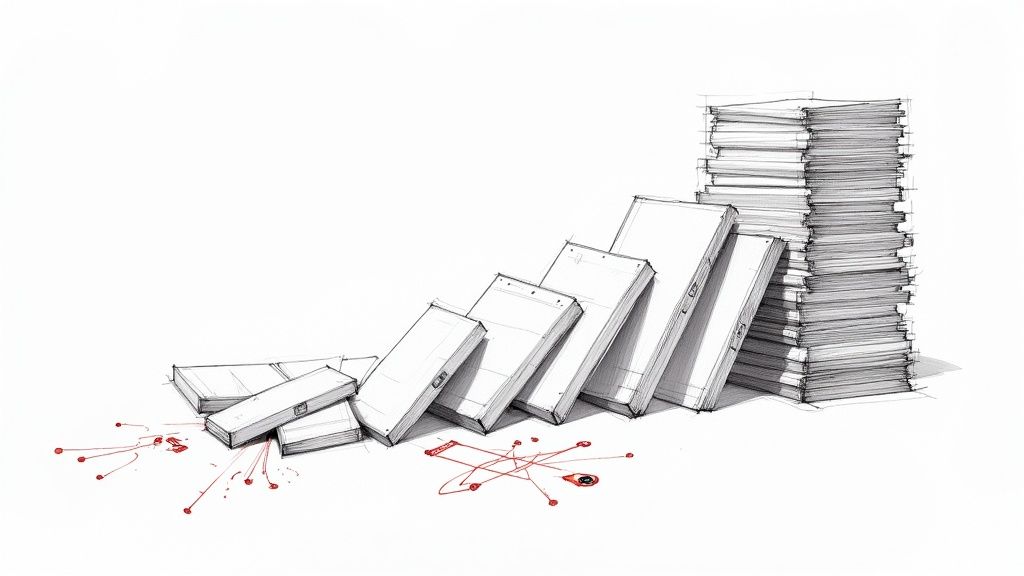
The Real Cost of a Disorganized Drawing Set
We’ve all been there: the CD crunch hits, and the project timeline feels like it’s shrinking by the hour. In that high-pressure chaos, organizing sheets often gets brushed off as simple admin work—something we’ll get to later.
That’s a costly mistake.
Poor sheet organization is not just an administrative headache; it is the backbone of production clarity. It quietly destroys your timeline and inflates your risk profile. The discipline for clear, logical drawing sets doesn't start during the deadline rush; it is forged in your firm's Revit templates. A messy set of drawings isn't just unprofessional—it actively creates the ambiguity that leads directly to RFIs, change orders, and schedule meltdowns.
Common Issues That Erode Predictability
It always starts with small inconsistencies that multiply under pressure. These are the classic symptoms of a weak sheet setup strategy that a robust Revit template is designed to prevent:
- Inconsistent Naming & Numbering: When sheet numbers don't follow a clear sequence (like A101, A102, A201), finding anything becomes a treasure hunt. This slows down everyone, from the principal doing redlines to the structural engineer trying to coordinate.
- Misordered Sheets: Placing a detail sheet before the plan it references makes no logical sense. A logical flow is crucial for anyone trying to grasp the design intent quickly, especially during a permitting review.
- Missing Views & Broken References: A section cut that points to a view that isn’t there, or a callout leading nowhere, shatters trust in the entire document set. These broken links are red flags signaling a poor QA process.
- Duplicated Details: When a team can't find a standard detail, what do they do? They redraw it. Now you have multiple, slightly different versions of the same condition floating around—a perfect recipe for on-site confusion and expensive mistakes.
These issues feed on each other, creating a vicious cycle. The more confusing the set, the more redlines. The more redlines, the more frantic the team gets, leading to even more mistakes. This is how budgets get torched and timelines are obliterated.
How Good Sheet Logic Protects Margins
The fix is to treat sheet organization not as an afterthought, but as a core production discipline baked right into your Revit templates. A well-structured template should come with pre-defined sheet placeholders, logical numbering systems, and standardized browser organization. This builds a clear framework from day one, turning potential chaos into predictable order.
A logical sheet index isn’t just a table of contents; it’s a decision checkpoint. It forces the production team to think through the narrative of the drawing set before the final deadline, preventing gaps and inconsistencies.
This proactive approach makes a massive difference to your firm's margin protection. A clean, easy-to-navigate set of drawings speeds up consultant coordination, cuts down on internal review time, and dramatically improves your odds with the permitting office. Plan reviewers are far less likely to kick back a set that is clear, logical, and professional.
Ultimately, sheet organization isn’t about being neat. It’s about clarity, risk management, and reliable delivery. When it's time to get those drawings out the door, a little organization goes a long way. For those looking to streamline that final step, our guide on how to batch export Revit sheets without losing your mind offers practical steps to manage that crucial last mile.
A Practical Guide to Template Governance and Deployment
Building a high-performance Revit template is a huge accomplishment, but it's only half the battle. The real test of a firm’s production maturity comes down to what happens next. Consistent deployment and disciplined maintenance are where most standards initiatives fall apart, allowing chaos to slowly creep back into the workflow.
Let's be blunt: a great template without a governance plan is just an artifact. It's not a living system for reliable project delivery. This is where you build the operational guardrails that protect your investment. Without them, your shiny new template will slowly decay as project teams add their own "fixes" and one-off families, undoing all your hard work. A practical governance framework ensures your standards stick, project after project.
Establishing Your Versioning and Deployment Strategy
First things first, your template needs a crystal-clear versioning strategy. Ad-hoc updates are a recipe for confusion and lead to teams working from different standards. You need a predictable rhythm for updates to keep everyone on the same page.
- Adopt a Naming Convention: A simple, logical system like
FirmName-Template-2025.1works wonders. This could be year-based, with minor release numbers (.1,.2) for small updates like adding a new family or schedule. - Maintain a Changelog: This is non-negotiable. A simple document that tracks every single change—what was added, why it was added, and who added it—provides total clarity. It’s your communication tool for the rest of the firm, explaining what’s new and how it helps.
- Centralized, Read-Only Location: The master template must live in a central, read-only network location. This single source of truth prevents individuals from overwriting it or, even worse, starting projects from outdated local copies. It’s a simple but powerful checkpoint for quality control.
This structured approach ensures every new project kicks off from the exact same proven foundation, which is the cornerstone of predictable project delivery.
The Golden Rule: Your Template Is Not a Project
One of the most critical—and most violated—rules of template management is this: the template is not a project file. Never, ever start a new project by doing a "Save As" on the template file itself. This corrupts the template's integrity and is a hallmark of an immature BIM workflow.
The proper process is to create a new project from the template. This creates a clean, detached project file that inherits all your standards without linking it back to the master.
When you need to update an active project with new standards from the master template, the correct tool is 'Transfer Project Standards.' This lets you selectively import specific elements—like a new View Template or line style—without polluting your live model with unnecessary junk.
Mastering this one discipline prevents countless downstream problems and ensures your template remains a reliable asset instead of an outdated file that introduces new issues. The market for construction design software, including Revit, is expected to surge from USD 11.1 billion in 2025 to USD 26.3 billion by 2035. This growth highlights the industry's deep shift toward model-based workflows where template discipline is no longer optional—it's a core driver of efficiency and compliance. You can learn more about these market trends and their impact on design technology.
Effective governance transforms your Revit templates from static files into dynamic systems that support scalable teams, protect your margins, and build a culture of production excellence. It’s the final, crucial step in turning your firm's standards into a true competitive advantage.
It's helpful to think about governance in two ways: the reactive approach that most firms fall into, and the proactive approach that high-performing firms adopt.
Template Governance Best Practices
| Area of Governance | Reactive (High-Risk) Approach | Proactive (Low-Risk) Approach |
|---|---|---|
| Versioning | Updates are random; "latest" version is on someone's desktop. | Formal versioning (e.g., 2025.1, 2025.2) with a published schedule. |
| Changelog | Non-existent. Changes are communicated verbally, if at all. | A central, mandatory changelog details every modification. |
| Deployment | Teams "Save As" from an old project or the template file itself. | Projects are created from a read-only template in a central location. |
| Updating Projects | New content is copied-and-pasted from other projects, causing bloat. | "Transfer Project Standards" is used to import approved updates. |
| User Feedback | BIM manager hears about issues in the hallway, maybe fixes them. | A formal feedback loop (e.g., a ticketing system) is in place. |
| Ownership | "Someone" is in charge, but no one is really accountable. | A dedicated BIM manager or committee owns template maintenance. |
Ultimately, a proactive strategy isn't about adding bureaucracy; it's about eliminating risk. By treating your template as a core piece of firm infrastructure—just like your network or your accounting software—you ensure it remains a powerful tool for consistency and quality, not a source of project-level chaos.
Common Questions About Revit Templates
We hear these all the time. Here are some no-nonsense answers to the common hurdles that trip up architects and BIM managers when it comes to Revit templates. This is all about boosting your firm’s consistency and getting your production process running like a well-oiled machine.
Should We Create a Revit Template from Scratch or Modify a Default One?
This is a classic crossroads. While tweaking the default Autodesk template feels like a shortcut, it’s a decision most mature firms come to regret. You end up inheriting a ton of bloated, generic settings and families that have nothing to do with how your firm actually works. The "cleanup" process is a nightmare and, frankly, never really finishes.
The smart money is on starting with a completely blank file. From there, you add only what you need: your line styles, your text and dimension styles, your titleblocks, and your carefully vetted families.
It sounds like more work upfront, and it is. But think of it as a strategic investment. This approach gives you a lean, fast, and predictable template that is perfectly tuned to your workflows. It pays for itself on every single project.
How Often Should Our Firm Update Its Master Revit Template?
Constant, random updates are a recipe for chaos. Don't do it. The best approach is to establish a predictable rhythm for template releases using a major/minor versioning system. This keeps your project teams from feeling like the ground is always shifting beneath them.
Here’s a simple framework:
- Minor Updates: Think small additions, like a new family or a slightly tweaked schedule. These should be reviewed, bundled together, and rolled out quarterly.
- Major Updates: These are the big ones. Tie them to new annual Revit software releases or significant changes to your firm's graphic standards. Plan them, test them thoroughly, and release them once a year.
The absolute key to making this work is putting a dedicated BIM manager or a small template committee in charge of vetting every proposed change. Never, ever allow individuals to modify the master template directly. This simple rule protects project stability and prevents nasty surprises mid-deadline.
This structured process turns template maintenance from a reactive fire drill into a proactive, managed system.
What Is the Biggest Mistake Firms Make with Revit Templates?
Easy. Treating the template as a one-and-done setup task. So many firms put in the initial effort, celebrate the launch, and then let it sit on the server collecting digital dust for years.
Inevitably, as new projects bring new challenges, teams start creating their own "fixes" and workarounds. Suddenly you have dozens of fragmented standards and multiple "versions of the truth" floating around the office.
The template slowly dies. It loses its authority, and the firm loses its grip on predictable outcomes. A successful template needs active governance. It’s a living asset that requires a clear update process, a designated owner, and regular check-ins. It's not just a file; it's the bedrock of your delivery system.
How Can We Enforce the Use of Our Standard Template?
Getting people to actually use the template is a three-legged stool: technology, process, and culture. You need all three, or it will fall over.
First, the tech part is simple. Store the master template in a central, read-only location on your server. This makes it physically impossible for someone to accidentally save over the master file.
Second, your process needs a hard stop. Your project startup checklist must include "Create project from the latest firm-standard template" as a mandatory, non-negotiable step. This becomes a gatekeeper before a single line is drawn.
Finally, and most importantly, is culture. Leadership has to constantly hammer home why the template matters. It’s not about enforcing arbitrary rules; it’s about protecting project margins, preventing RFIs, and slashing rework. When your team understands the template is a tool built to make their lives easier—not harder—adoption becomes a shared goal, not a top-down mandate.
These people understand production. A well-managed template is the foundation of a predictable and profitable workflow. If you're ready to stop the chaos and build a system for reliable delivery, these frameworks can help.
Explore our free CD sheet setup guide to bring more clarity to your production process.
Related Posts
Is Revit Generative Design Practical? A Reality Check for Architects

A Practical Guide to AI in Architecture
No LOD Gates? No Model Stability in Modular Revit.
Why Detailed Scope Definition Matters: Lessons from Real Projects

AI and Automation: The Future of BIM and VDC is a Reality Check
The Upstream Revit Problems No Modular Team Admits Publicly

Digital Twins: A Practical Introduction for Architects and Builders
From Flagship to Franchise: BIM Workflows for High-Volume Retail Builds
Construction Project Management Consulting: Bring Predictability to Complex Builds
The Hidden Cost of Bad Revit Detail Libraries (And How to Fix Yours)
How to Build Production Systems That Survive Deadlines, Staff Turnover, and Scaling
