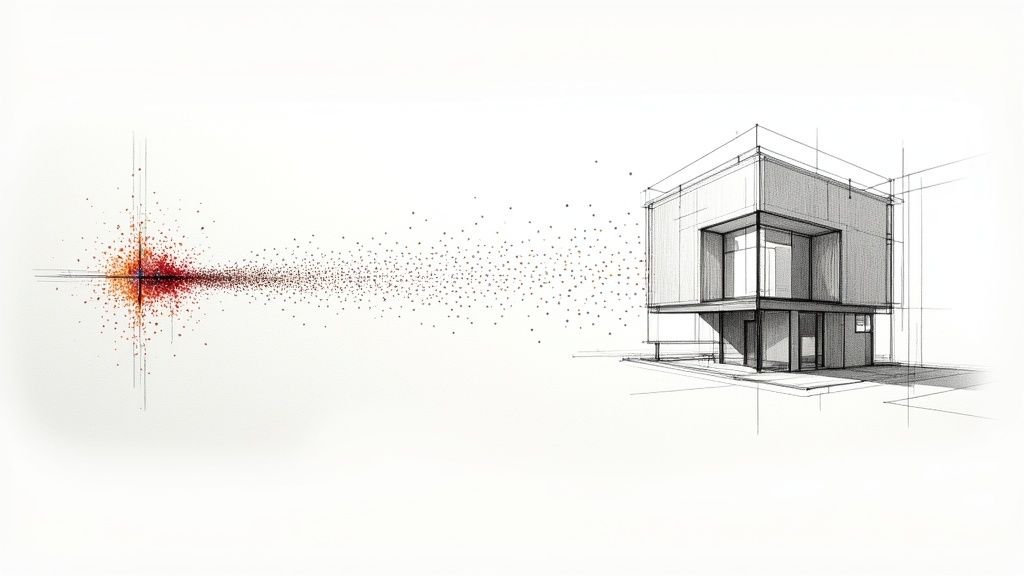
Every renovation project starts with a massive unknown: what’s the true state of the existing building? Architects, builders, and construction managers are often stuck relying on outdated drawings, pure guesswork, or manual field measurements riddled with errors. This information gap is where risk thrives, leading directly to on-site surprises, costly rework, and blown budgets.
Scan to BIM closes that gap for good. It’s not about the flashy laser scanner or the point cloud itself; it's about creating a rock-solid source of truth that connects the chaos of real-world conditions to predictable, digital planning. The real win is the downstream certainty it enables, protecting your margins and establishing operational consistency.
Bridging Reality and Digital Certainty
The core value of a disciplined scan-to-BIM process is its power to show you exactly what you’re dealing with before design even starts. Think about the common headaches that eat up your margin and wreck your schedule:
- Hidden Obstructions: Finding an undocumented structural beam or MEP chase right in the middle of demolition.
- Inaccurate Dimensions: Realizing a critical wall is six inches off from the original plans, forcing an immediate and expensive redesign.
- Undocumented Systems: Discovering the existing plumbing and electrical routes don't match any of the drawings you have.
- Permitting Delays: Submitting plans based on faulty "existing conditions" that get kicked back by the building department.
An as-built BIM model built from a precise point cloud stops these problems before they start. It gives your team a foundation of hard data to build on, not a flimsy set of assumptions. We’ve seen renovation timelines shrink dramatically when teams rely on precise Scan to BIM models rather than old drawings or assumptions. For a deeper look, our beginner's guide offers more on what Scan to BIM is and how it helps builders and architects.
The Foundation for Predictable Outcomes
Ultimately, Scan to BIM is a tool for production maturity. It’s the first step toward establishing the kind of predictable workflows that protect your margins on coordination-heavy jobs. By investing in accuracy at the very beginning, you prevent the expensive RFIs and change orders that bleed profitability later on. To see the broader impact, just look at its extensive use within the dynamic Construction industry.
This demand for precision is driving huge growth in the market. The 3D scanning sector, which is the engine behind Scan to BIM, was valued at around $2.25 billion in 2025. It's projected to shoot past $7 billion by 2034, signaling a massive industry-wide shift toward data-driven construction. The focus is no longer just on creating a model; it's about building a reliable framework for successful project delivery.
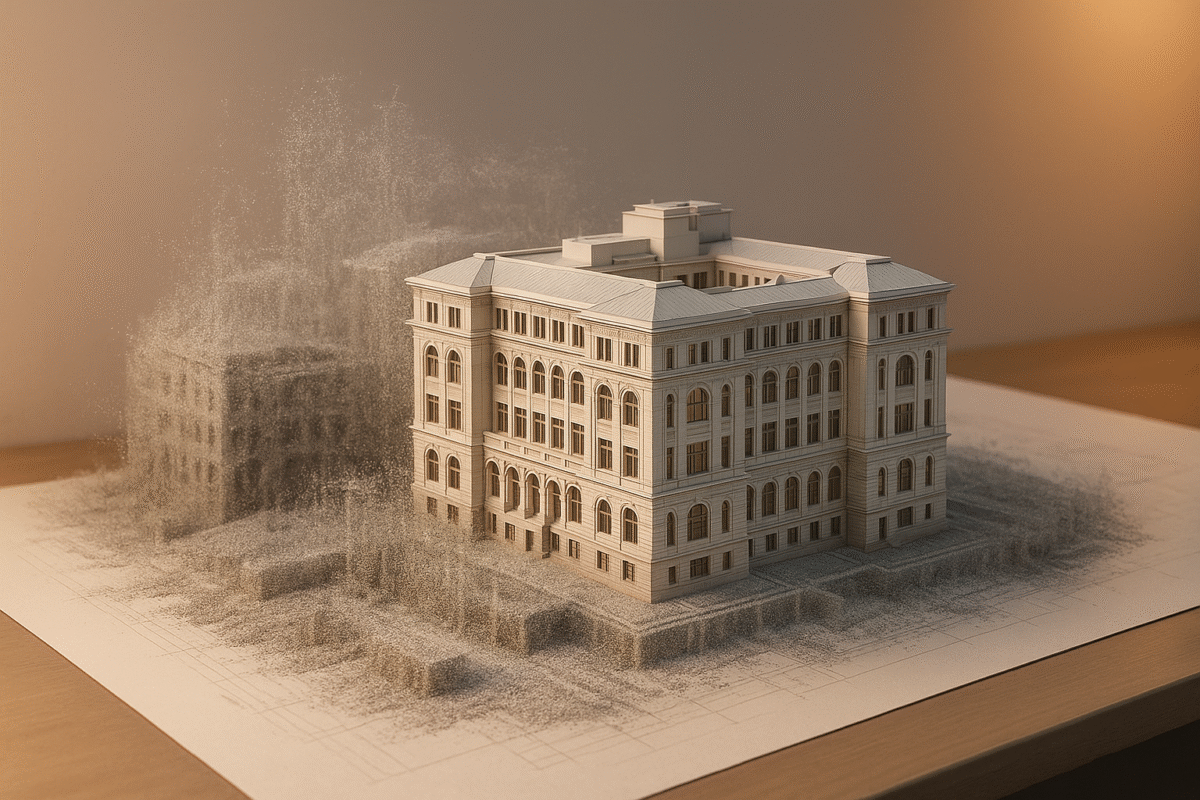
From Point Cloud to Project Certainty
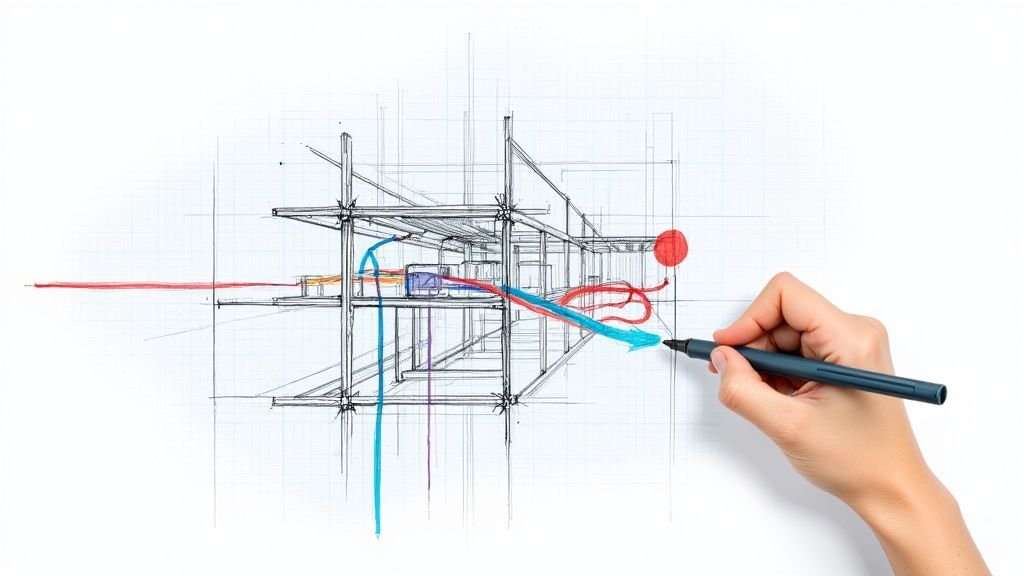
A successful Scan to BIM project isn’t a single action—it’s a disciplined, end-to-end production process. It’s how we systematically transform the chaotic, often undocumented reality of a job site into a digital asset you can actually count on. The real value isn't just in the scan or the model; it’s in the methodical workflow that guarantees the final deliverable is a source of truth, not just a pretty picture.
This process is all about moving a project from chaos to certainty, replacing guesswork with verifiable data.
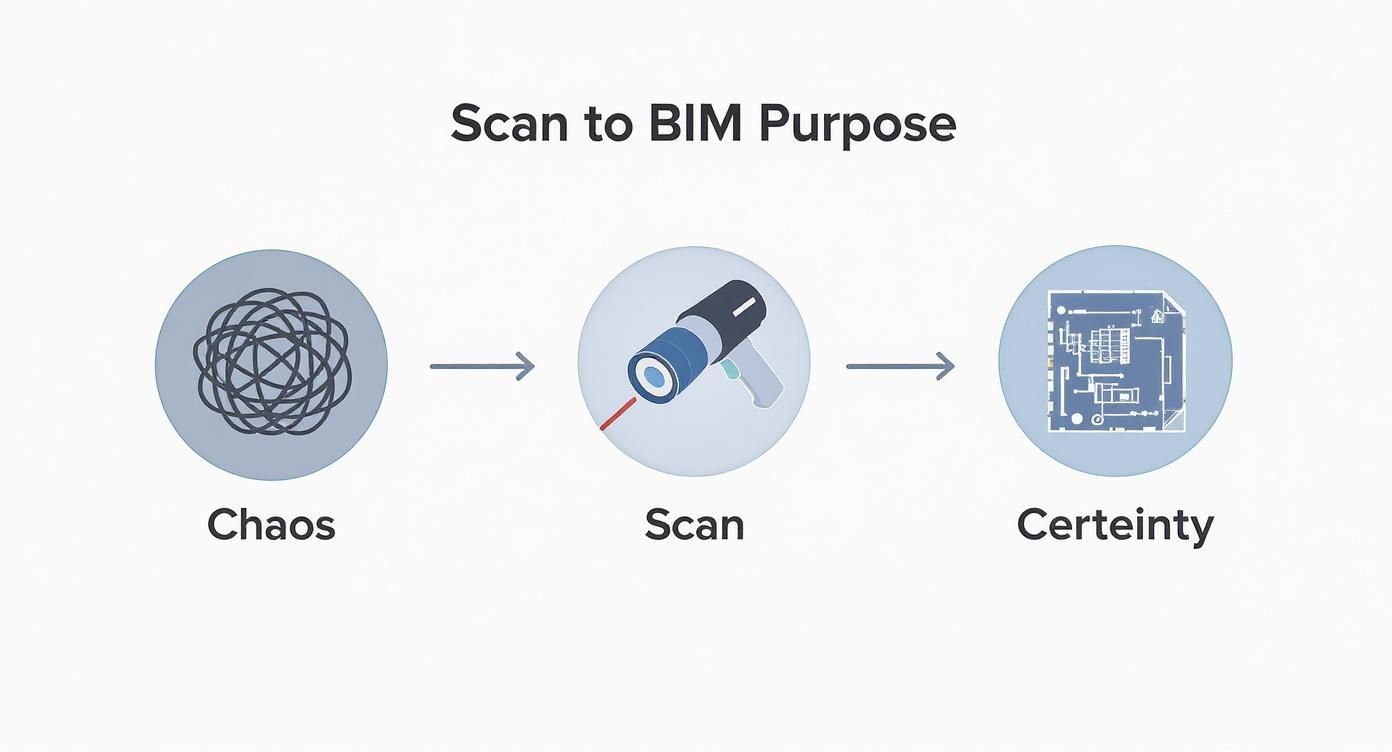
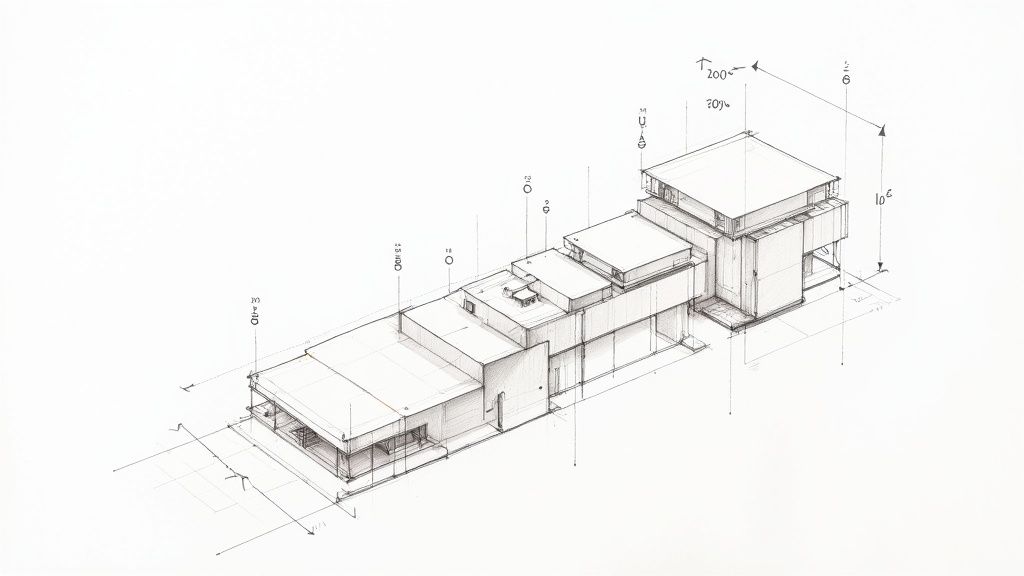
This visual gets to the heart of Scan to BIM: turning the tangled mess of existing conditions into a clear, actionable blueprint for design and construction.
The entire workflow breaks down into three core phases. Each stage builds directly on the last, and cutting corners in one phase will always compromise the final model’s accuracy and usability. Think of it as a chain of custody for your data's integrity.
Let's walk through what a bulletproof Scan to BIM workflow actually looks like, stage by stage.
Key Stages of a Scan to BIM Workflow
| Phase | Objective | Critical Success Factor |
|---|---|---|
| Phase 1: Laser Scanning | Capture a comprehensive and accurate 3D representation of existing conditions on-site. | Strategic scan planning to ensure complete coverage and sufficient data density for the project's end goals. |
| Phase 2: Point Cloud Registration | Align and merge all individual scans into a single, cohesive, and dimensionally accurate point cloud. | Meticulous alignment and quality control to eliminate registration errors that would compromise the model. |
| Phase 3: BIM Modeling & QA | Convert the registered point cloud into an intelligent, data-rich BIM model with parametric elements. | Adherence to strict modeling standards, templates, and a rigorous, multi-step quality assurance process. |
Each of these stages is a critical link in the chain. A failure in one part inevitably weakens the whole process, which is why a disciplined, expert-led approach is non-negotiable for getting results you can trust.
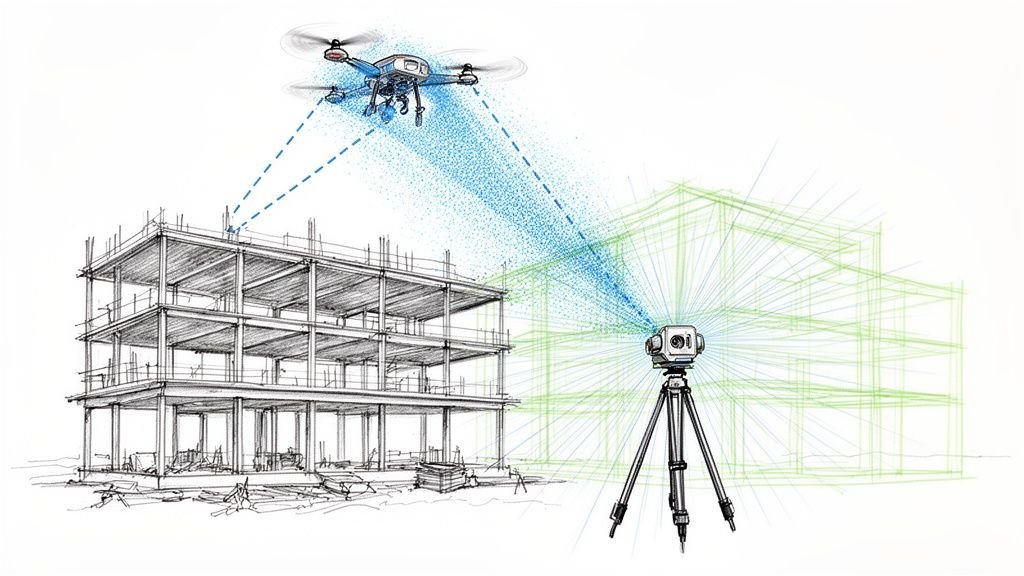
Phase 1: High-Fidelity Laser Scanning
It all starts on-site with laser scanning for architecture. A technician uses a terrestrial laser scanner to capture millions of precise measurement points, creating what’s called a point cloud. This is far from a simple "point and shoot" exercise; it requires a strategic plan before anyone even touches the equipment.
The decisions made here have a direct ripple effect on the final model's quality. Scan density—how many points are captured in a given area—has to be dictated by the project's end goals. A scan for MEP coordination demands much higher density in tight ceiling plenums than one intended only for basic architectural space planning.
Key considerations we always factor in include:
- Scan Locations: Planning enough overlapping scans to capture all the necessary geometry without creating data "shadows" or gaps.
- Target Placement: Using physical targets to help align multiple scans with incredible precision during the next phase.
- Site Conditions: Accounting for environmental factors like vibrations or movement on an active job site that could throw off the scan quality.
Phase 2: Meticulous Point Cloud Registration
Once the raw scan data is back in the office, it needs to be processed. Registration is the absolutely critical step of stitching individual scans together into a single, cohesive, and accurately aligned point cloud. This is where precision becomes paramount.
Improper registration is one of the most common failure points in the whole process. If scans are misaligned by even a few millimeters, that error gets permanently baked into the final as-built BIM model. A model with that kind of flaw is useless for clash detection or prefabrication. A clean, registered point cloud is the non-negotiable foundation for everything that follows.
A common mistake is treating the point cloud as the final product. In reality, it’s just the raw material. The real production value comes from disciplined modeling standards that transform that raw data into an intelligent, usable asset.
This phase takes specialized software and, more importantly, skilled technicians who know how to spot and fix alignment errors. The output is a unified point cloud that accurately represents the entire site as a single, measurable digital space.
Phase 3: Disciplined BIM Modeling and QA
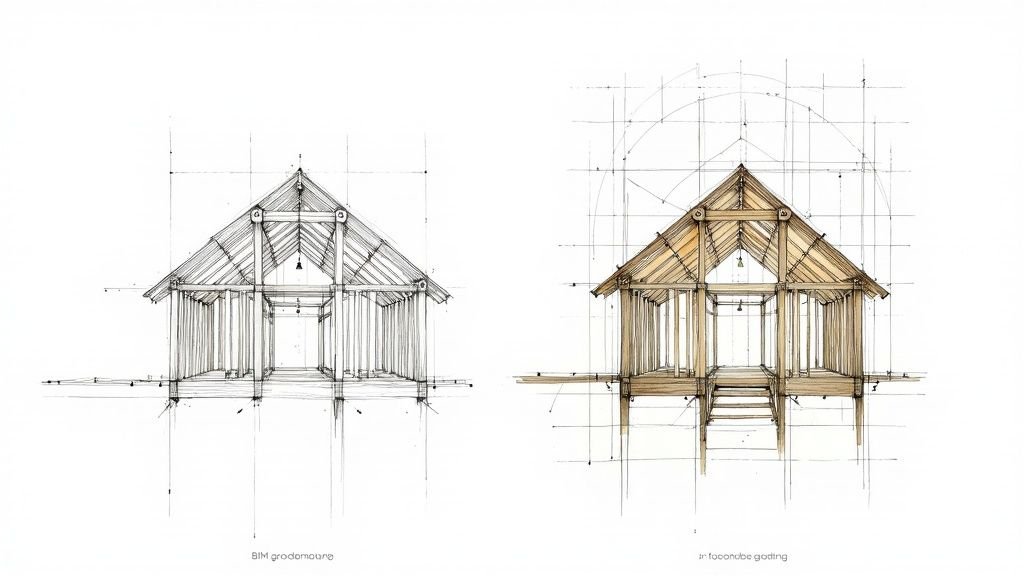
This is the final phase, where the point cloud is converted into an intelligent BIM model. This point cloud to BIM process is so much more than "tracing" over the scan data. It requires interpreting millions of points to create parametric building elements—walls, doors, pipes, and beams—that have real data embedded in them.
This is where production maturity and template discipline make all the difference. Without strict modeling standards, the process is painfully inefficient, and the output is inconsistent at best. We lean heavily on rigorous QA processes and decision checkpoints to ensure every model sticks to predefined standards.
Our process is built around:
- Template Discipline: We start every project from a robust template. This guarantees consistency in element families, naming conventions, and data parameters from the get-go.
- Modeling to Tolerance: We model to agreed-upon accuracy tolerances, making sure that a pipe modeled as 6" in diameter is a true representation of the 6" pipe on site, within millimeters.
- QA Logic: A multi-step quality assurance process checks the model against the point cloud for accuracy, completeness, and adherence to the client's LOD specifications.
This approach transforms a dense collection of points into a structured, data-rich tool that project teams can actually trust for making critical decisions. To get a better sense of how this conversion works, you can learn more about how to convert point cloud data to BIM models in our detailed guide. Ultimately, this disciplined approach ensures the final deliverable protects project margins by stopping the kinds of surprises that lead to rework and delays.
Why Renovation Projects Need Scan to BIM
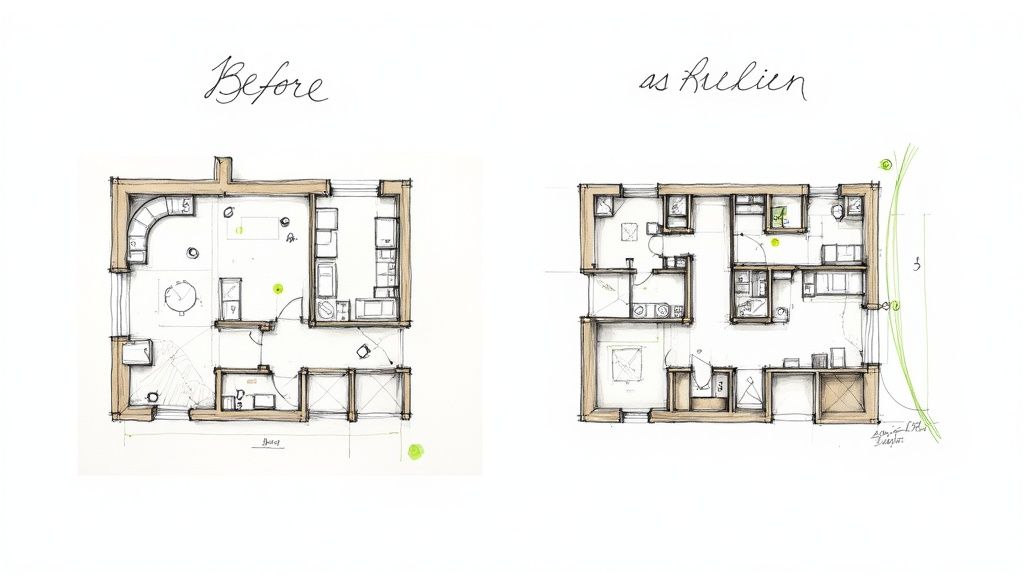
Renovation and retrofit projects are where Scan to BIM really proves its worth. Unlike new construction on a clean slate, these jobs are riddled with unknowns. You’re layering every decision onto an existing structure, complete with hidden surprises, undocumented changes, and the ghosts of old, inaccurate drawings. This is exactly where margins get squeezed and schedules fall apart.
A high-quality as-built BIM model completely changes the game. It’s not just a fancy upgrade from 2D plans; it’s a fundamental shift from planning based on assumptions to executing based on hard data. You get a single source of truth that de-risks the entire project, from the first concept sketch all the way to the final punch list.
Eliminating Costly On-Site Surprises
The most immediate win from a precise scan-to-BIM workflow is dodging those budget-killing surprises in the field. We’ve all been there—demolition reveals a structural column right where the new ductwork was routed. Or you discover an existing slab is inches lower than the original plans showed. These aren't minor hiccups; they set off a chain reaction of problems.
- RFIs and Redesigns: The project screeches to a halt while the design team scrambles to fix a problem that never should have existed in the first place.
- Change Orders: The budget balloons as contractors start submitting change orders for the unplanned work.
- Schedule Delays: The timeline gets stretched, pushing back every subsequent trade and delaying the completion date.
Scan to BIM is your preventative medicine. By capturing the exact geometry and location of every beam, pipe, and conduit before design even starts, you can run clash detection proactively. Your team can coordinate new systems with existing conditions in the model, not with cutting torches on-site.
We’ve seen renovation timelines shrink dramatically when teams rely on precise Scan to BIM models rather than old drawings or assumptions. It’s the difference between navigating with a GPS and navigating with a faded, hand-drawn map.
Enabling Precision and Prefabrication
Beyond just avoiding clashes, an accurate as-built BIM model opens the door to a whole new level of efficiency. With verified site dimensions in hand, teams can confidently move forward with off-site prefabrication for MEP racks, wall panels, and other complex assemblies. This is a game-changer for project speed and quality control.
When fabricators can build components to exact, field-verified measurements, the benefits stack up quickly:
- Reduced On-Site Labor: You spend less time cutting and fitting materials in the field, which is almost always a less controlled and more expensive environment.
- Improved Quality: Components are built in a controlled shop setting, which means higher quality and better consistency.
- Accelerated Schedules: Assemblies show up on-site ready to be installed, compressing the overall construction schedule.
This kind of precision is just not possible when you're working from old plans or taking manual measurements. A Scan to BIM model gives you the dimensional certainty you need to make prefabrication a reliable, margin-saving strategy. Thinking about the complex needs of a renovation, it makes sense to view it with the same level of detailed planning you would when approaching a project like home construction, which really highlights the need for good data from the start.
Creating a Foundation for Project Predictability
Ultimately, the case for Scan to BIM in renovations comes down to one word: predictability. It replaces the unknown with a verifiable digital twin of the job site. This gives architects, builders, and construction managers a reliable foundation for planning, coordination, and sequencing.
This methodical approach is becoming essential as the refurbishment market grows. The Building Information Modeling market is projected to hit $8.8 billion by 2025, largely driven by global urbanization and the rising demand for high-fidelity digital records in renovation work.
By investing in an accurate model upfront, you build in an operational discipline that protects your bottom line. It's about more than technology; it’s a commitment to a process that ensures every stakeholder is working from the same set of facts. You minimize risk and maximize the potential for a profitable outcome.
Choosing the Right Level of Development
Not all Scan to BIM models are created equal—and they shouldn't be. The single most important decision that dictates the scope, cost, and ultimate value of your as-built BIM model is defining the Level of Development (LOD). Getting this wrong is the fastest way to either overpay for detail you don't need or end up with a model that can’t do its job.
Think of LOD as the language of your project's intent. It's not just a technical spec; it's a clear statement about how much geometric detail and non-graphical information each element in the model will have. It's the critical checkpoint that aligns the final deliverable with the real-world decisions you need to make, protecting your budget from scope creep.
Matching LOD to Project Goals
Thinking about LOD isn't an academic exercise; it's a production discipline that prevents waste. You wouldn't pay for a fabrication-level model if all you need is to verify basic clearances for conceptual planning. The key is to match the LOD to the specific task at hand, ensuring every hour of modeling serves a clear purpose.
Here’s how different LODs apply to real-world renovation and retrofit projects:
- LOD 200 (Conceptual Design): At this stage, elements are just generic placeholders. A wall is a simple mass, with no details about its layers or construction. This is perfect for initial space planning, massing studies, and early visualizations where you just need to understand the overall layout.
- LOD 300 (Detailed Design & Coordination): This is the workhorse for most design and construction coordination. Elements are modeled with specific quantities, size, shape, and location. That pipe is no longer a generic cylinder; it's a 4-inch cast iron pipe with its exact route mapped out. This level is essential for clash detection and building out construction documents.
- LOD 350 (Fabrication & Assembly): This level adds the detail contractors need to actually fabricate and install components. It includes specifics like connections, supports, and interface details. An LOD 350 model of a steel beam would show the connection plates and bolt holes, allowing for confident off-site prefabrication.
Specifying the right level from the start is a cornerstone of any mature BIM workflow. For a deeper dive, our guide explains when to use each level from LOD 100 to 500 and how it affects your project.
Why Tolerances and Standards Matter
Beyond just the LOD spec, the conversation has to include modeling tolerances. A tolerance defines the acceptable deviation between the point cloud data and the final modeled element. It’s the practical side of accuracy—a promise that a wall modeled from the scan is within, say, a half-inch of its actual location on site.
Without a clearly defined tolerance, the word "accuracy" is meaningless. It’s a common pitfall to assume a high LOD automatically means high accuracy. You can easily have a very detailed (LOD 350) model that is dimensionally useless because it wasn't modeled to a tight tolerance against the point cloud.
A well-defined BIM Execution Plan (BEP) that specifies both LOD and accuracy tolerances is non-negotiable. It’s the contract that ensures the Scan to BIM deliverable is a reliable tool for decision-making, not just a visually complex file.
This is where template discipline and rigorous QA processes become margin protectors. By setting clear standards upfront, we ensure the final scan-to-BIM deliverable is predictable, consistent, and fit for purpose. It prevents the costly back-and-forth that happens when a model doesn't meet the unspoken expectations of the project team.
This level of upfront clarity is what separates a smooth, efficient project from one plagued by RFIs and redesign cycles. It ensures your investment in laser scanning for architecture yields a tangible return.
Budgeting for Scan to BIM Services
Let's talk about the cost of Scan to BIM. It’s easy to look at the initial price tag and see it as just another expense, but that misses the whole point. A well-executed Scan to BIM process isn't a cost center—it’s a powerful tool for margin protection on tricky renovation and retrofit projects.
The real value pops into focus when you weigh the upfront investment against the massive downstream costs it prevents. Every dollar you put into a precise as-built BIM model is a dollar you don’t have to spend on surprise field changes, rework, endless RFIs, and schedule blowouts. You're not just buying modeling hours; you're buying project predictability.
What Drives Scan to BIM Pricing
The price for any given project isn't a one-size-fits-all number. It’s calculated based on a few key factors that directly impact the time and expertise needed to deliver a model you can actually trust. Getting a handle on these drivers helps you line up your budget with what your project actually demands.
Here are the main things that influence the price tag:
- Square Footage: The bigger the area, the more scanning and processing is needed. This is the baseline driver.
- Site Complexity: A wide-open warehouse is one thing. A hospital wing packed with dense, layered MEP systems in a tight ceiling plenum is a whole different ballgame.
- Required LOD: The Level of Development is huge. An LOD 350 model for MEP fabrication requires way more modeling muscle than an LOD 200 model meant for basic space planning.
- Deliverable Formats: Sometimes, specific file types or client standards require extra steps, which can nudge the final cost.
These variables mean pricing can swing pretty wildly. Here in the U.S., Scan to BIM services can go from a few thousand dollars for a small, simple site to well over six figures for a large, complex facility.
To give you a ballpark, modeling fees can range from $0.50 to over $10 per square foot, all depending on how much detail you need for the architectural, structural, or MEP systems. A comprehensive project, like a 25,000-square-foot facility with tangled MEP at a high LOD, can easily top $100,000. You can find more details on how Scan to BIM costs are structured on this vibimglobal.com post.
Shifting from Price to ROI
The most experienced AEC firms get this cost-benefit trade-off. They’ve felt the sting of relying on outdated drawings and have learned—often the hard way—that the cost of a single major on-site surprise, like a hidden beam or a misaligned slab, can dwarf the entire price of a Scan to BIM survey.
The right question to ask isn't "How much does it cost?" but "What's the cost of not knowing?" Answering that honestly almost always makes the case for creating a single source of truth before design even kicks off.
When you invest in an accurate point cloud to BIM model, you are essentially buying down your project risk. This proactive move gives your teams the solid data they need for better pre-con planning, clash avoidance, and smarter construction sequencing. It’s a strategic decision that pays for itself by stamping out the very problems that eat away at profits and frustrate clients.
Bringing Jobsite Accuracy Within Reach
At the end of the day, the entire Scan to BIM process boils down to one simple thing: making on-site accuracy achievable. When you're dealing with renovations, retrofits, and coordination-heavy work, precision isn’t some optional luxury—it's the bedrock of a predictable, profitable project.
Old drawings, manual measurements, and plain old guesswork inject risk at every stage. We’ve all seen it: those field surprises that systematically blow up schedules and eat away at margins. A disciplined scan-to-BIM workflow replaces that uncertainty with a reliable source of truth you can actually build on.
This move from guesswork to data-driven planning is where real operational maturity starts. It’s not about the fancy laser scanner or the point cloud itself; it’s about the consistency that comes from handing your teams an accurate as-built BIM model. It's how you stop the bleeding from costly RFIs, redesigns, and clashes that pop up when you don't truly know the existing conditions.
From Data to Decisions
The real payoff here is the confidence it builds into your entire project lifecycle.
- Smarter Planning: Architects and engineers can finally design with certainty, knowing their concepts will actually fit the real-world constraints of the site.
- Proactive Clash Detection: Coordination meetings become genuinely productive. You’re identifying and solving problems in the model, not with cutting torches on-site.
- Reliable Sequencing: Construction managers can line up trades with confidence, minimizing downtime and keeping the project humming along.
Accuracy is the bedrock of project predictability. When your team trusts the data, they make faster, better decisions. That’s how you protect margins and deliver projects with operational consistency.
This process gives teams a foundation of verifiable facts, which fosters better communication and cuts down on the blame game when things don't go as planned. For a deeper look into how laser scanning is revolutionizing infrastructure projects, check out the insights from Lidar News on enhancing infrastructure with this technology.
The goal is to move beyond just reacting to problems in the field. A solid point cloud to BIM strategy is a proactive investment in clarity and predictable delivery. It gives you a level of control that allows your teams to execute with precision, project after project.
If you’re ready to bring this kind of certainty to your next job, it all starts with setting clear standards. To help you get there, we’ve put together a Scan to BIM Modeling Checklist based on our own internal QA processes. It’s a practical tool to help you define your requirements and make sure your next model is a true source of project truth.
Your Scan to BIM Questions, Answered
Here are a few of the most common questions we hear from architects, builders, and construction managers who are looking to bring a more disciplined Scan to BIM process into their work. Our answers are all about production value and predictable project outcomes.
How Accurate Is a Scan to BIM Model?
A professionally executed Scan to BIM model is remarkably accurate, usually landing within a tolerance of just a few millimeters. This isn't like sending someone out with a tape measure, where human error is almost a guarantee. Modern laser scanning captures millions of data points to build a precise digital twin of the real-world space.
That level of accuracy isn't just a cool technical detail—it's a production necessity. It’s what gives you the confidence to prefabricate MEP systems offsite or run a clash detection that you can actually trust. This precision is what slashes the risk of those expensive field adjustments and rework that can absolutely destroy a project's margins.
Can Scan to BIM Be Used for Small Projects?
Absolutely. The fundamental benefit of scan-to-BIM—swapping out risky assumptions for hard data—is just as critical on a small tenant fit-out as it is on a massive hospital renovation. For smaller projects, an accurate as-built model is your best defense against the kind of surprises that can completely derail a tight budget and an aggressive schedule.
Think about it: discovering an undocumented drainpipe right where you planned to put a new wall can be a devastating blow on a small project. By giving you certainty early in the design phase, an as-built BIM model protects the project's bottom line, no matter the scale. The trick is to match the Level of Development (LOD) to what the project actually needs to keep costs in check.
What Is the Most Important Factor for Success?
The single most critical factor for success isn't the flashy technology itself, but the discipline of the entire process. A successful outcome starts with a crystal-clear scope defined before a single laser is fired, especially when it comes to the required Level of Development (LOD) and specific accuracy tolerances.
From there, it's all about execution: a well-planned scanning strategy, meticulous point cloud to BIM registration, and modeling built on strict templates and QA logic. Without that production discipline, you can easily end up with a model that looks impressive on screen but is totally unreliable for making critical project decisions. It’s the system, not just the software, that delivers clarity and protects your profit.
Ready to build your next renovation on a foundation of certainty? The team at BIM Heroes can help you establish the production discipline needed for predictable outcomes.
Download our free Scan to BIM Modeling Checklist to start defining clear standards for your projects.