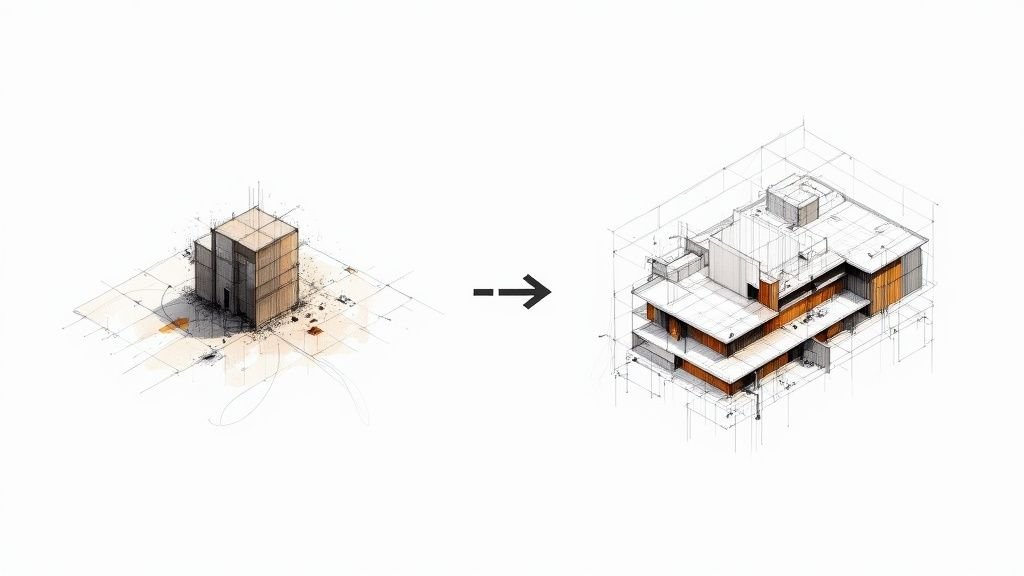
The subtle, hidden geometry errors that break Revit models aren't the obvious mistakes. They’re the tiny inaccuracies that slip through the cracks—walls misaligned by a hair, off-axis lines, or malformed families with invisible voids.
These nearly invisible Revit geometry errors are like digital termites. They quietly chew away at your model's performance, causing unpredictable behavior that standard tools like "Audit" or "Purge Unused" just can't touch. They are the silent killers behind mysterious slowdowns, broken views, and coordination issues that grind production to a halt.
The Silent Model Killers Hiding in Your Project
Your Revit model is sluggish, views keep breaking, and coordination meetings are a mess of phantom clashes that aren't really clashes. You've purged, you've audited, you've managed your worksets to death, but the problems persist. The real culprit is often invisible: tiny, hidden geometry errors buried deep inside the model's database.
We're not talking about glaring mistakes. We’re talking about the subtle stuff that even experienced production teams miss during deadline crunches:
- Walls misaligned by a fraction of a millimeter from a sloppy click.
- Families built on slightly off-axis reference planes.
- Imported CAD junk with far-from-origin geometry polluting your project.
- Microscopic overlaps between elements that should be joined cleanly.
These micro-errors are directly responsible for bloated file sizes, failed element joins, wonky schedules, and hours of wasted time troubleshooting. They force Revit’s engine to perform insanely complex calculations to resolve geometric conflicts it was never meant to handle, grinding performance to a halt.
These issues might seem small, but their ripple effects are enormous. Below is a quick rundown of the most common hidden errors and the project-level headaches they cause.
Common Hidden Geometry Errors and Their Impact
| Hidden Geometry Error | Common Cause | Project Impact |
|---|---|---|
| Tiny Gaps & Overlaps | Inaccurate snapping, off-axis modeling, sloppy clicks. | Failed element joins, broken room boundaries, inaccurate quantity takeoffs, false-positive clashes. |
| Non-Manifold Geometry | Corrupted imports, poorly modeled in-place families. | Unpredictable element behavior, export failures to other software (like IFC or Navisworks). |
| Internal & Overlapping Faces | Duplicated elements, improper family creation. | Graphics card glitches, incorrect surface area calculations, rendering artifacts. |
| Reversed Normals | Imported geometry, complex custom families. | Material rendering issues, incorrect lighting analysis results. |
| Far-From-Origin Geometry | Uncleaned CAD imports, linked files with incorrect coordinates. | Severe performance lag, graphics errors, inability to zoom or pan properly. |
What starts as a tiny modeling oversight quickly snowballs into significant problems that affect everything from documentation to permitting prep and delivery.
From Minor Flaw to Major Failure
This isn't just about slow sync times; it’s about margin protection and predictability. Every hour your team spends troubleshooting a broken view or explaining a false positive in a coordination meeting is unbillable. The frustration builds, deadlines slip, and RFIs start piling up. This is the chaos that comes from a lack of geometric discipline.
We’ve seen teams recover model performance instantly once they cleaned up a few hidden geometry issues instead of trying to fix symptoms.
Firms that maintain operational consistency get this. They don't just model; they validate. They implement strict modeling standards, controlled CAD-to-BIM cleanup processes, and internal clash tests designed specifically to catch these micro-errors. This guide will expose these core geometric integrity issues, moving beyond surface-level fixes to show you how to stabilize your project pipeline for good. Catching these errors early keeps Revit predictable, stable, and fast.
Why Tiny Off-Axis Lines Create Massive Problems
It’s hard to believe that a single line, tilted by a fraction of a degree—say, 89.999 instead of a clean 90—could grind a multi-million dollar project to a halt. Yet, this exact scenario plays out every day. It’s the hidden culprit behind mysterious model slowdowns, broken views, and coordination chaos. These aren't just sloppy mistakes; they’re symptoms of a much deeper issue baked into how Revit handles math.
At its core, Revit operates on a mathematical principle called floating-point precision. You can think of it as the software's internal calculator for numbers with decimal points. While it's incredibly powerful, it isn't perfect. Every calculation, every element placement, every rotation can introduce microscopic deviations—errors so small you'd never see them with the naked eye, but they add up.
And that’s where the real trouble begins. An off-axis line or a slightly askew grid isn't just one error. It’s a seed of corruption that infects every single element connected to it.
The Snowball Effect of Micro-Errors
A single grid line off by a minuscule angle is undetectable on its own. But stretch that grid across a 500-foot building, and that tiny deviation can balloon into a misalignment of several inches. Now, every wall, column, and beam hosted on that grid inherits the error, creating a cascade of tiny conflicts that forces Revit’s geometry engine into overdrive.
The software is constantly trying to solve complex calculations for problems that shouldn't even exist. This computational strain is what directly causes:
- Failed Joins: Walls that stubbornly refuse to clean up because their ends don’t meet at a mathematically pure angle.
- Dimensioning Glitches: Dimensions that won’t snap cleanly because the reference points are microscopically off.
- Performance Degradation: Laggy navigation and painfully slow sync times as Revit struggles to render geometrically "impossible" conditions.
It’s like making a one-degree navigational error on a cross-country road trip. At the start, it’s nothing. A thousand miles later, you’re in a different city entirely.
We’ve seen teams recover model performance by fixing a few of these hidden geometry issues instead of just treating the symptoms. The problem wasn't a lack of hardware power; it was a lack of geometric purity in the model itself.
When Precision Becomes the Problem
The level of precision needed to manage a modern BIM project is staggering. Floating-point precision errors in Revit have been found to cause grid misalignments of up to 0.000001 millimeters per operation. In documented cases, rotation angles have deviated by 0.000001 degrees—imagine a grid set to 59.999999999 instead of a perfect 60. These errors went completely unnoticed until someone ran an advanced dimensional analysis with 8-decimal-place precision.
In large, complex projects with angled wings or sprawling structural systems, these tiny errors can compound into misalignments of 50-100+ millimeters, creating massive constructability nightmares. You can read more about these deep-seated precision issues from user reports.
This is a core challenge in the evolution from CAD to BIM. CAD workflows could tolerate a bit of sloppiness because lines were just lines. In BIM, every line is an intelligent component with relationships and dependencies. An imprecise line doesn't just look wrong—it breaks the logic of the entire system, undermining the very predictability and consistency that BIM promises.
This is exactly why disciplined Revit QA workflows are no longer optional. They are absolutely essential for protecting project margins and delivering reliable outcomes. Fixing hidden Revit errors early isn't just about clean models; it's about ensuring a stable production pipeline from start to finish.
Identifying the 7 Most Common Geometry Errors
Knowing that tiny mistakes create big problems is the first step. The next is actually identifying the specific culprits that consistently break production models. These aren't obscure, once-in-a-lifetime issues; they are common process gaps that sneak into even the most experienced teams, often stemming from deadline pressures or a lack of disciplined Revit QA workflows.
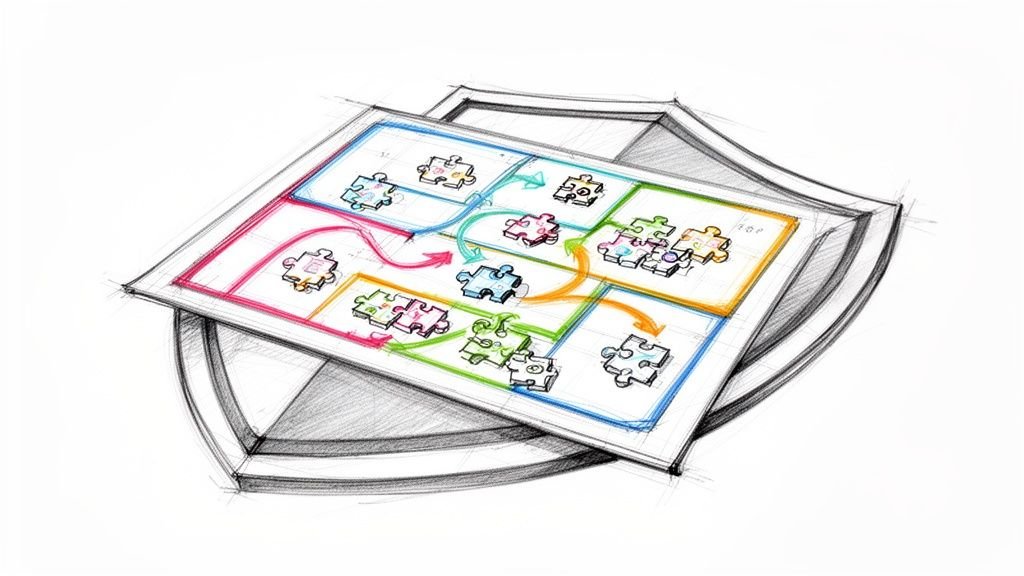
Think of this as your field guide to the silent model killers. We’re about to walk through the 7 most common hidden geometry errors we see wrecking project stability. They’re responsible for everything from view glitches and failed joins to thousands of clashes that shouldn't even exist.
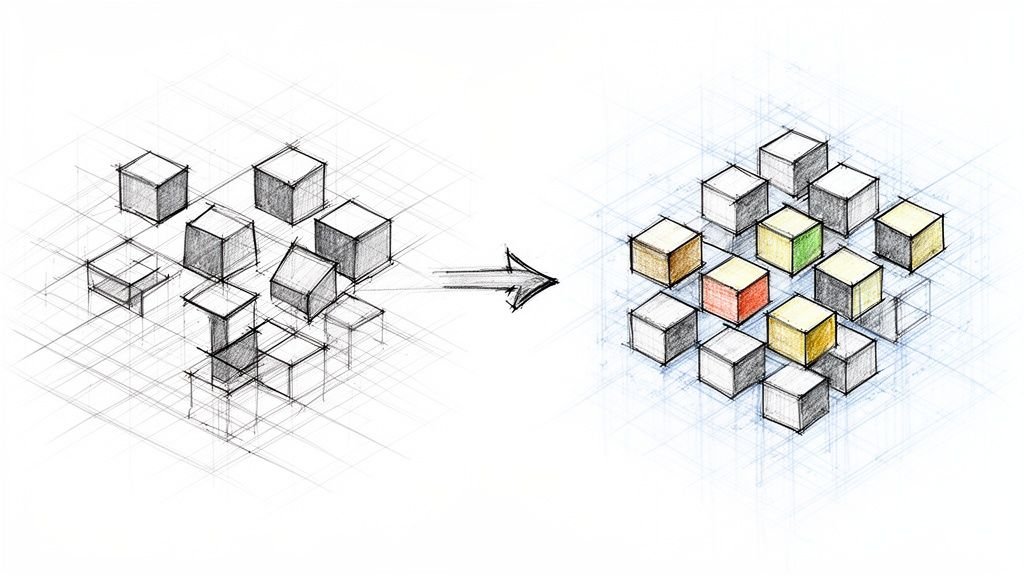
The infographic below really drives home how a single, almost invisible error can snowball into a massive, project-level headache.
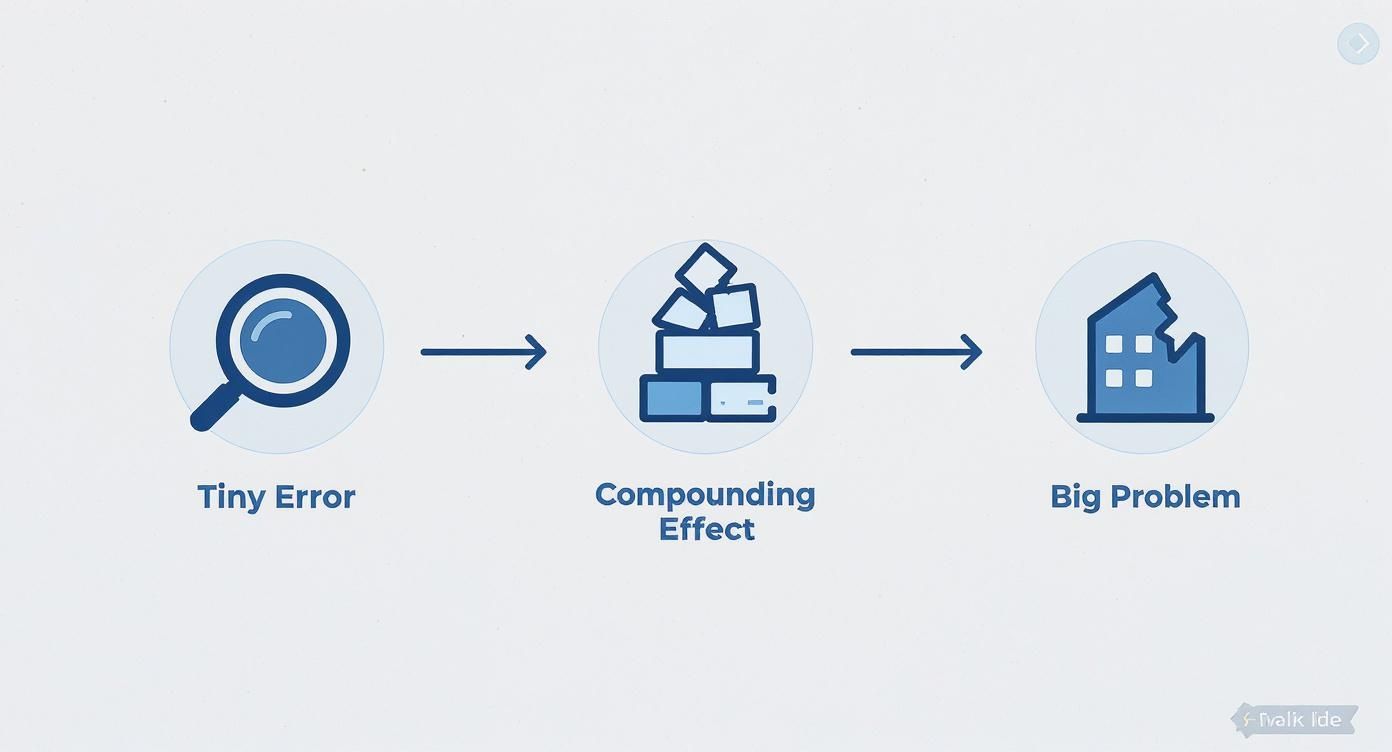
As you can see, small inaccuracies are never isolated incidents. They create a ripple effect that compromises the entire model's integrity.
1. Off-Axis and Non-Orthogonal Lines
This is the classic error, usually born from a sloppy mouse click or a misaligned snap. A line that’s 89.998 degrees instead of a clean 90 is totally imperceptible to the human eye but computationally toxic to Revit. The software’s engine chokes trying to resolve the geometry, leading to walls that won’t clean up, dimensions that refuse to cooperate, and a slow, painful degradation of model performance as these tiny errors stack up.
2. Microscopic Gaps and Overlaps
When two elements that should meet perfectly—like the corner of two walls—have a microscopic gap or overlap, it breaks the model's fundamental logic. These tiny voids stop rooms from enclosing properly, cause schedules to report wildly incorrect areas, and create those maddening "element join" failures. Worse, they are a primary source of false positives in coordination meetings, wasting hours debating clashes that are just symptoms of poor modeling hygiene.
3. Malformed or Overly Complex Families
Let's be clear: not all families are created equal. A poorly built family, especially one riddled with unnecessary internal voids, overlapping solid geometry, or unconstrained parameters, is a ticking time bomb. The moment it's loaded into a project, it introduces instability that can be incredibly difficult to trace. The worst offenders often contain nested families with their own geometric issues, creating layers upon layers of corruption. Our guide on common BIM modeling errors provides more detail on how to avoid these pitfalls.
4. Corrupted CAD Imports
Importing a DWG file directly into a Revit project is one of the fastest ways to absolutely destroy model performance. These files are notorious for carrying digital junk: hatches, proxies, blocks with insane nesting levels, and geometry miles away from the origin. All this imported "dirty" data pollutes the Revit database, creating Revit model issues that are nearly impossible to clean up later. The only safe workflow is to link and clean CAD files in a separate, isolated container project first.
We’ve seen teams recover model performance instantly once they cleaned up a few hidden geometry issues instead of trying to fix symptoms. The problem wasn’t the software; it was the unfiltered data being fed into it.
5. Misaligned Levels and Grids
Levels and grids form the skeleton of your project. If they aren’t perfectly aligned, parallel, and consistent across all linked models, you’re guaranteeing systemic inaccuracies from day one. A single level that is off by a fraction of an inch creates a compounding error for every single element hosted on it. This is a classic coordination nightmare, causing thousands of clashes between architectural, structural, and MEP models that are all rooted in one foundational mistake.
6. Inconsistent Origin Points
Revit has a hard limit on how far geometry can be from its internal origin point. When project teams fail to establish a consistent, shared origin—or when they carelessly link geo-referenced survey files—they can trigger the dreaded "greater than 20 miles" error. In reality, Revit's maximum stable distance is closer to 10 miles (16 kilometers) from its origin. Go beyond that, and you'll see severe graphical glitches and performance degradation. Studies show that in roughly 30-40% of large-scale projects, models have required a complete, painful restructuring due to these geometry extent violations.
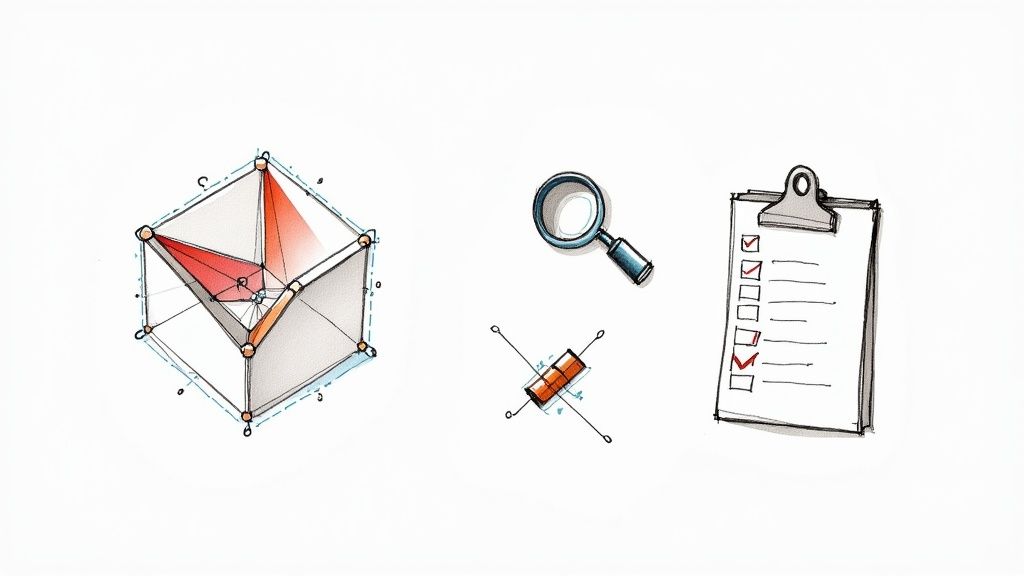
7. Overlapping Faces and Internal Voids
This error happens when two solid forms occupy the same space or when a complex shape has internal, non-manifold geometry. Revit struggles to calculate the surfaces, leading to strange visual artifacts in 3D views, incorrect material takeoffs, and failures when exporting to analysis software. These are often lurking in complex in-place families or imported geometry where the original modeling was sloppy. The only way to catch them is by slicing through the model with section boxes as part of a routine QA check.
The key takeaway is that these issues aren’t fixed with a magic button. They are avoided through disciplined, proactive workflows.
A common approach is to just fix errors as they pop up during coordination meetings. But this reactive method is incredibly inefficient, leading to constant rework, missed deadlines, and blown budgets. A proactive approach, where quality checks are built into the modeling process from the start, catches these silent killers before they can do any real damage.
Proactive vs Reactive Error Handling
| Workflow Stage | Proactive Prevention (Disciplined QA) | Reactive Fixes (Common Practice) |
|---|---|---|
| Initial Modeling | Modelers follow strict standards; regular automated and manual checks are performed. | Modelers work quickly to meet deadlines, often skipping detailed checks. |
| Internal Review | Dedicated QA process identifies and fixes geometry errors before sharing. | Model is shared "as-is," with known issues to be "fixed later." |
| Coordination | Clashes are genuine design conflicts; meetings are productive and focused. | Meetings are bogged down by thousands of false-positive clashes from bad geometry. |
| Project Impact | Smooth workflow, predictable timelines, and higher-quality deliverables. | Constant delays, budget overruns, and a frustrated project team. |
Ultimately, a proactive stance on model quality isn't just about avoiding errors—it's about protecting your project's timeline and profitability. By embedding quality assurance into your daily workflow, you turn a chaotic, reactive process into a predictable and efficient one.
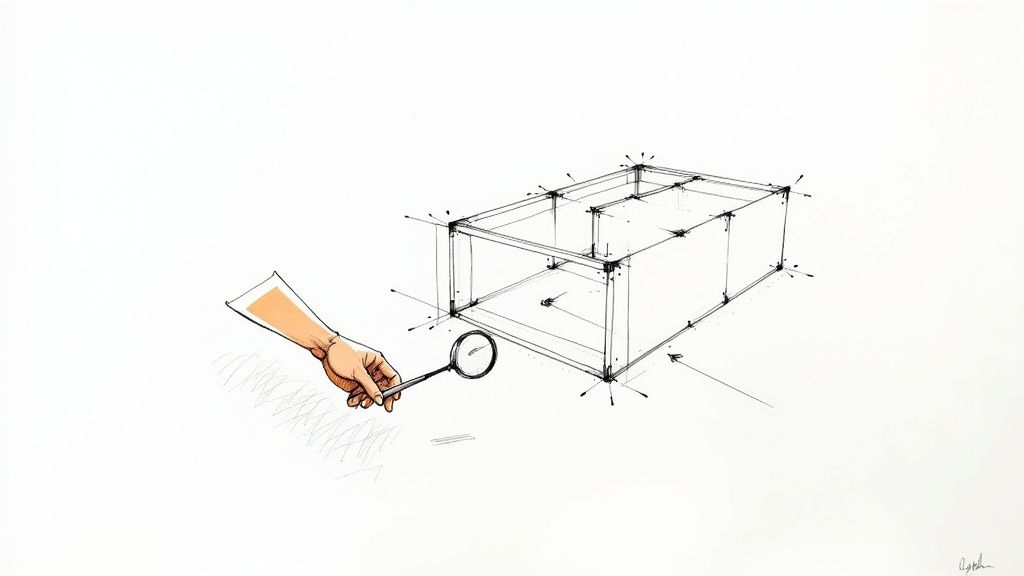
A Practical Toolkit for Finding Hidden Revit Errors
Knowing that hidden geometry errors are lurking in your model is one thing, but actually finding them is a whole different ball game. Generic advice like "just run an audit" won't catch the sneaky, performance-killing issues that drive production teams crazy. To protect your project's stability and your team's sanity, you need a practical, field-tested toolkit for hunting down these silent model killers.
The idea is to stop putting out fires and start preventing them. We're talking about building simple, repeatable checks into your weekly sprints and project milestones, making geometry QA a standard part of how you work. This isn't about adding red tape; it's about making your delivery process predictable.
Set Up Dedicated QA Views
The first move in any smart Revit QA workflow is to create views specifically for finding problems. Your standard documentation views are just too cluttered with annotations and other noise. A dedicated QA view, stripped clean of everything but the geometry, gives you a clear canvas to work on.
From there, you can use powerful view filters to make potential Revit model issues jump right off the screen:
- Filter for Tiny Lines: Create a filter that colors any line shorter than a certain threshold, like 1/16" or 1mm. This trick instantly lights up all those accidental clicks and tiny drawing fragments.
- Highlight Off-Axis Elements: Use filters to flag walls or lines that aren't perfectly straight. While Revit can't do this out of the box, you can set it up with Dynamo or a third-party add-in.
- Isolate Imported Geometry: A simple filter that isolates anything from a CAD import helps you quickly find and scrutinize potentially corrupt data.
These views become your diagnostic dashboard, making the invisible visible.
Master the Section Box for Deep Dives
Don't underestimate the humble section box. It’s one of your most powerful tools for digging out internal voids and overlapping faces. Stop thinking of it as just a way to make 3D views for your sheets and start using it as an investigative tool.
By methodically slicing through your model—layer by layer, section by section—you can spot geometric messes that are completely hidden from the outside. This technique is a must for checking complex families and in-place components. A quick slice-through can reveal hidden solids that are bloating your file size and causing weird graphical glitches. It's a manual process, but it's one of the best ways of fixing hidden Revit errors before they snowball.
Leverage Clash Detection for Internal QA
Most teams see clash detection as a tool for coordinating between different trades. But its real secret weapon is using it for internal model QA. Don't wait for the weekly coordination meeting; run proactive clash tests on your own model.
We’ve seen teams recover model performance instantly once they cleaned up a few hidden geometry issues instead of trying to fix symptoms. Running an internal clash test is one of the fastest ways to find them.
Here are a few high-impact internal clash tests to get you started:
- Walls vs. Walls: Set a super low tolerance (think 1/32" or 0.5mm) and run a clash test between all walls. This will immediately flag any microscopic gaps or overlaps.
- Floors vs. Floors: Do the same for your floor slabs to make sure they meet perfectly without fighting each other.
- Model vs. Grids: Clash your main structural and architectural elements against the grid lines to ensure everything is perfectly aligned.
This turns clash detection from a reactive headache into a proactive discipline. It helps you hand over cleaner, more reliable models to everyone on the project. This focus on data integrity is a core part of any mature BIM workflow, and it's the same logic you'd apply when prepping files for export. In fact, many teams use similar checks when working with open standards, which we cover in our guide on IFC validation tools for BIM projects.
Automate Checks with Dynamo
For tasks you find yourself doing over and over, automation is your best friend. Simple Dynamo scripts can save hundreds of hours by automating checks that are just too tedious to do by hand. And you don't need to be a coding guru to get started.
Even a basic script can check every single wall in your project and flag any that aren't perfectly orthogonal (in other words, not at 0, 90, 180, or 270 degrees). Other scripts can hunt for elements placed miles away from the project origin or pinpoint families with ridiculously large file sizes. By building these automated checks into your process, you create a safety net that catches errors consistently, freeing up your team to focus on design instead of endless manual cleanup.
Building a Culture of Geometric Discipline
Fixing hidden geometry errors is a reactive game. Preventing them is how you win. The most predictable and profitable production teams don't just have skilled modelers; they operate with a deeply ingrained culture of geometric discipline. This isn't about adding red tape—it's about building the systems and habits that protect your margins, slash RFIs, and keep every project running smoothly.
This culture starts long before anyone models the first wall. It begins with intelligent, robust Revit templates that serve as the bedrock of quality. These aren't just empty files with a title block. They're pre-configured environments with smart constraints, well-defined grids, and built-in QA views ready to go from day one. When your template enforces precision, your team is set up for success by default.
From Standards to Instincts
A disciplined culture is what turns abstract standards into daily habits. It’s about moving beyond a dusty BIM manual collecting digital dust on a server and embedding quality checks directly into your production sprints. Every single person, from the junior modeler to the project architect, needs to understand why geometric purity matters.
To really build this environment, consider weaving in modern approaches like competency-based training. This ensures your team develops the exact skills needed to stop errors before they even happen. When a modeler understands the downstream chaos a slightly off-axis line can cause, they become your first and best line of defense. This shift from constantly putting out fires to proactively preventing them is what separates the high-performers from everyone else.
A huge part of this is documenting these standards where people can actually find and use them. Your BIM Execution Plan should spell out your protocols for geometric integrity, creating a single source of truth for the entire team. To see how this fits into the bigger picture, check out our guide on creating effective BIM Execution Plans.
The CAD-to-BIM Firewall
One of the most common ways Revit geometry errors sneak into a project is through polluted data from imported CAD files. A culture of discipline means treating every single DWG as a potential threat. A non-negotiable rule must be put in place: never, ever import CAD directly into a production model.
Instead, every team needs a strict CAD-to-BIM cleanup protocol. This means linking all DWGs into a separate, empty "container" Revit project. This container acts as a firewall. It allows you to isolate, inspect, and scrub the CAD data—purging unused layers, exploding blocks, and checking for far-from-origin geometry—before it gets anywhere near your clean project environment.
We’ve seen teams recover model performance instantly once they cleaned up a few hidden geometry issues. Establishing a firewall for incoming CAD data is one of the most effective ways to stop these problems at the source.
The damage from "dirty" geometry goes way beyond performance. Invalid geometry from bad imports and coordinate system mix-ups can lead to serious analytical errors. In fact, it has been shown to cause inaccurate solar irradiation analysis with deviations hitting 23% in BIM models. You can find more details on how these errors impact energy calculations in studies on BIM analysis.
Mandating Family Quality Control
Finally, geometric discipline has to extend to your Revit families. A poorly built family is a Trojan horse, smuggling instability and hidden errors right into the heart of your projects. A mature Revit QA workflow must include clear, enforceable rules for every family that gets created.
This includes things like:
- Mandatory Geometric Checks: No family gets loaded into the library until it has been checked for internal voids, overlapping solids, and off-axis reference planes. Simple as that.
- Performance Testing: Families need to be tested in a sample project to make sure they don’t drag down performance.
- Parameter and Constraint Audits: All parameters must be clearly named and properly constrained to prevent the family from "breaking" when someone tries to flex it.
Enforcing these standards isn't about killing creativity; it's about guaranteeing reliability. When your team can trust the components they’re using, they can model with speed and confidence. At the end of the day, a culture of geometric discipline is the bedrock of predictable, scalable, and profitable project delivery.
Your Path to a Stable and Predictable Revit Model
The constant chaos of crashing models, broken views, and endless coordination arguments doesn't have to be your team's reality. By shifting your focus from fixing symptoms to eliminating the root cause—the hidden geometry errors that break Revit models—you can finally achieve a stable, predictable, and profitable production environment.
The key takeaway is this: small, consistent QA actions create massive downstream benefits. Every tiny gap closed, every off-axis line corrected, and every dirty import cleaned up is a direct investment in project certainty. This is how you protect margins, boost team morale, and deliver on time without the constant fire drills. Instead of fighting the software, you make it a dependable partner in your delivery process.
The goal is to move from a reactive state of fixing problems to a proactive state of preventing them. This is the core of a mature BIM workflow and the foundation of operational consistency.
Take Control of Your Model Health
This disciplined approach transforms Revit from an unpredictable source of frustration into a reliable system. It prevents the thousands of false-positive clashes that derail coordination and stops the performance lag that kills productivity. It’s about building a process you can trust.
To help you get started, we've developed a Revit Geometry QA Checklist that consolidates the key detection and prevention strategies discussed in this guide. Use it as a framework to build your own internal QA process and take the first step toward eliminating these silent model killers for good.
Ready to build a more predictable workflow? Download our complimentary Revit Geometry QA Checklist and start finding and fixing hidden Revit errors today.
Frequently Asked Questions
Even with a solid game plan, questions always pop up when you're digging into deep-seated Revit model issues. Here are the answers to a few of the most common ones we hear from teams in the trenches.
Can I Just Use the Audit Function to Fix These Errors?
Not really. While Revit's Audit function is a must-have for general model maintenance, it's designed to fix database corruption, not geometric mistakes. Think of it as a file system repair tool—it’s great at fixing a broken element link or a corrupt family, but it’s not built to spot a wall that’s 0.001 degrees off-axis or find a microscopic gap between two floors.
Auditing might fix the element that’s corrupted, but it won’t tell you the element was modeled poorly in the first place. For that, you need the dedicated QA views, clash tests, and disciplined workflows we’ve been talking about.
How Often Should We Perform These Geometry Checks?
Consistency beats intensity every time. For most active projects, a quick geometry check should just be part of your weekly model maintenance routine. It’s the best way to keep small issues from snowballing into project-killers.
We recommend a more thorough, deep-dive audit at key project milestones:
- Before a major design submission (like DD or CD sets).
- Right before you share the model with your engineering consultants.
- Before exporting for fabrication, analysis, or coordination.
The goal is to bake these checks right into your standard workflow so they become a predictable habit, not a last-minute fire drill.
What Is the Best Way to Handle Imported CAD Files?
This is probably one of the most critical parts of maintaining a healthy model. Whatever you do, never import CAD directly into your live Revit project. This is the number one cause of imported corruption, file bloat, and performance nightmares.
The only safe way to do it is to use a "container" file as a firewall.
- Start a fresh, empty Revit project. Link the DWG into this file.
- Inside this container, you can clean everything up: purge unnecessary layers, explode blocks, and check for any geometry that's miles away from the origin point.
- Once the CAD is scrubbed clean, you then link that container Revit file into your main project model.
This approach isolates all the "dirty" data from your pristine production model, preventing the hidden junk that plagues most DWG files from ever touching your project. It’s a non-negotiable step for any serious BIM team focused on predictable, clean delivery.