Top 7 Revit Workflows to Speed Up Your CD Sets
Creating construction document (CD) sets in Revit can be time-consuming, but the right workflows can save hours while improving accuracy. Here’s a quick rundown of seven proven Revit workflows to streamline your process and meet U.S. construction standards:
- Sheet Setup and Management: Use templates with standardized title blocks, text styles, and numbering systems for consistent, error-free sheets.
- Automated Annotation and Tagging: Leverage tools like parameter-driven tags and batch tagging to reduce manual effort and ensure accuracy.
- Model Coordination and Team Collaboration: Central models, worksets, and linked files help teams avoid clashes and work efficiently.
- Family Creation and Management: Organize families with clear naming conventions and use parametric families to simplify design adjustments.
- View and Schedule Automation: Generate views and schedules directly from the model to save time and ensure consistency.
- Quality Control and Documentation Standards: Revit’s built-in review tools and standardized templates help catch errors early and maintain professional standards.
- Outsourcing with BIM Heroes: For tight deadlines, outsourcing CD set development to Revit specialists ensures high-quality results without overloading your team.
These workflows not only save time but also improve accuracy, reduce errors, and ensure compliance with U.S. standards. Whether you’re working on a small residential project or a large commercial build, adopting these strategies can simplify your CD set creation process.
Automatic Construction Documents in Revit (w/ Miguel of EvolveLab)

1. Sheet Setup and Management
Setting up your sheets correctly is the foundation for a smooth Construction Document (CD) creation process. It keeps things organized and avoids last-minute headaches.
Start by using a CSI-aligned numbering system. This means categorizing sheets by discipline – A for architectural, S for structural, and M for mechanical – then adding logical sub-numbers, like A-100 for site plans. This structure makes navigation intuitive and ensures nothing gets misplaced.
Build a master template that includes all the essentials: standard title blocks, revision clouds, and sheet layouts in ANSI D or E formats. Don’t forget to set up consistent text styles, dimension settings, and line weights. This will save you from redoing basic formatting every time.
Time Savings
A well-organized sheet management system can save you hours – if not days – of work. Instead of manually creating sheets and fixing formatting issues one by one, a pre-made template ensures everything is ready from the get-go. Use tools like live sheet indexes and linked view templates to apply updates across multiple sheets at once. This approach cuts down on repetitive tasks and helps you avoid outdated references.
Improved Accuracy
Templates and automated numbering systems aren’t just time savers – they also reduce errors. They eliminate duplicate numbers, ensure consistent revisions, and help you meet documentation standards. No more scrambling to fix mismatched sheet numbers or overlooked changes.
Alignment with U.S. Construction Standards
Your templates should align with U.S. construction documentation norms. Stick to standard sizes like ANSI D or E and include all the required title block elements, such as the project name, address, drawing title, scale, date, and seal areas. Use conventional scales – like 1/4" = 1′-0" for floor plans – and set up auto-updating scale indicators to keep everything accurate.
Up next: see how automated annotation can take your CD process to the next level.
2. Automated Annotation and Tagging
Manually annotating drawings can eat up valuable time that could be better spent on design. Automating this process not only saves time but also sets the stage for more accurate and efficient tagging.
For example, you can automate door and window tags to pull data directly from family parameters. Room tags can be configured to automatically display room names, numbers, and areas based on your room schedule data. Multi-category tags can handle details for elements like columns, beams, and mechanical equipment, adapting to the specific requirements of each.
By enabling tag-on-placement, you can apply tags instantly as you place elements, cutting out the need for extra annotation passes. View filters can also be set up to control tag visibility, allowing flexibility – like showing room numbers on floor plans but hiding them on reflected ceiling plans.
Time Savings
Batch tagging tools let you tag entire categories in one go, replacing the tedious process of manual placement. This ensures consistent formatting and positioning across all your sheets, reducing errors and saving hours of work.
When family parameters are standardized, tag leaders and positions stay consistent. This means any updates made to a door schedule or room program are automatically reflected in the tags, streamlining your workflow.
Improved Accuracy
Parameter-driven tags significantly reduce errors like mismatched numbers or incorrect areas. If a door type changes in the model, the tag updates automatically, ensuring the information stays correct.
Using shared parameters across views and sheets ensures consistency. For instance, door tags will display the same details whether they appear on floor plans, elevations, or detail sheets, minimizing discrepancies and confusion.
Ease of Implementation
Revit’s built-in "Tag All Not Tagged" command is a great starting point for quickly identifying and tagging elements. By setting up tag families with multiple label options, you can easily switch between different types of information displays without having to recreate tags.
Workset-based tagging can also improve team coordination. Assigning annotation worksets to specific team members while keeping model elements on shared worksets helps avoid conflicts, all while leveraging automated tagging features.
Alignment with U.S. Construction Standards
Tags can be configured to align with U.S. standards. For instance, room tags can display areas in square feet, door tags can reference standard hardware, and window tags can meet NFRC requirements. You can also incorporate revision tracking within tag families to ensure annotations reflect the latest updates.
Additionally, ADA compliance indicators can be built into door and room tags. These indicators automatically flag accessibility requirements based on family parameters, helping your construction documents meet federal accessibility standards.
Automating tagging not only saves time but also improves accuracy, enhances collaboration, and ensures compliance with industry standards. It’s a win-win for your entire workflow.
3. Model Coordination and Team Collaboration
Bringing together architectural, structural, and MEP teams under a cohesive workflow can transform what might otherwise be a chaotic process into a well-oiled operation. When these disciplines work in harmony, construction document (CD) sets come together faster, with fewer conflicts and revisions along the way. This kind of coordination not only saves time but also reduces errors, making the entire process smoother.
At the heart of this collaboration is the central model. By establishing a shared central model on a network server, all team members can access the latest version, avoiding confusion over outdated files. Regular synchronization of local copies ensures everyone is working with the most up-to-date changes.
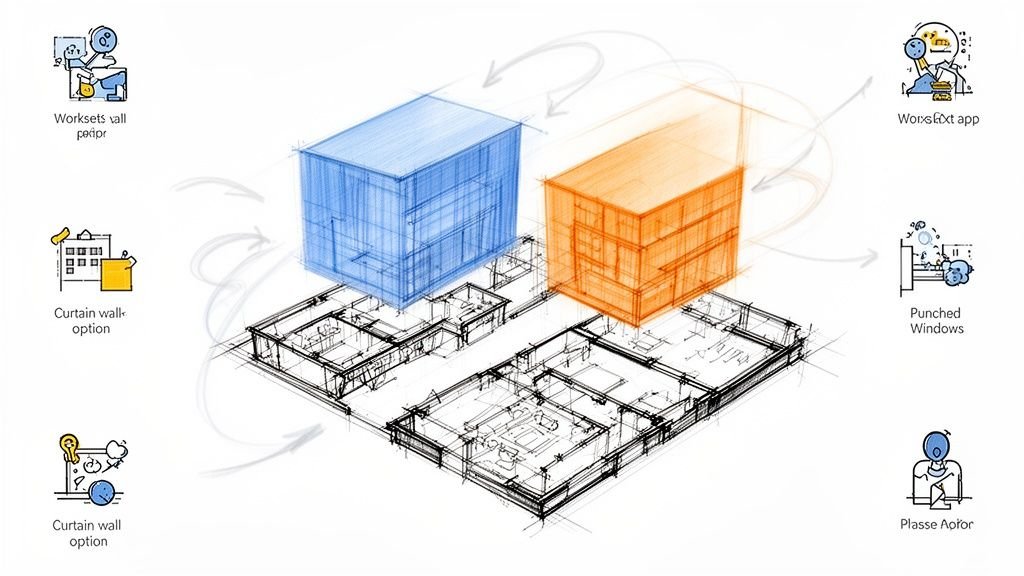
To make the model more manageable, worksets come into play. These divide the model into smaller sections that team members can take ownership of – like assigning one workset to "Structure" and another to "Interiors." This clear division of responsibilities cuts down on overlapping edits and minimizes conflicts.
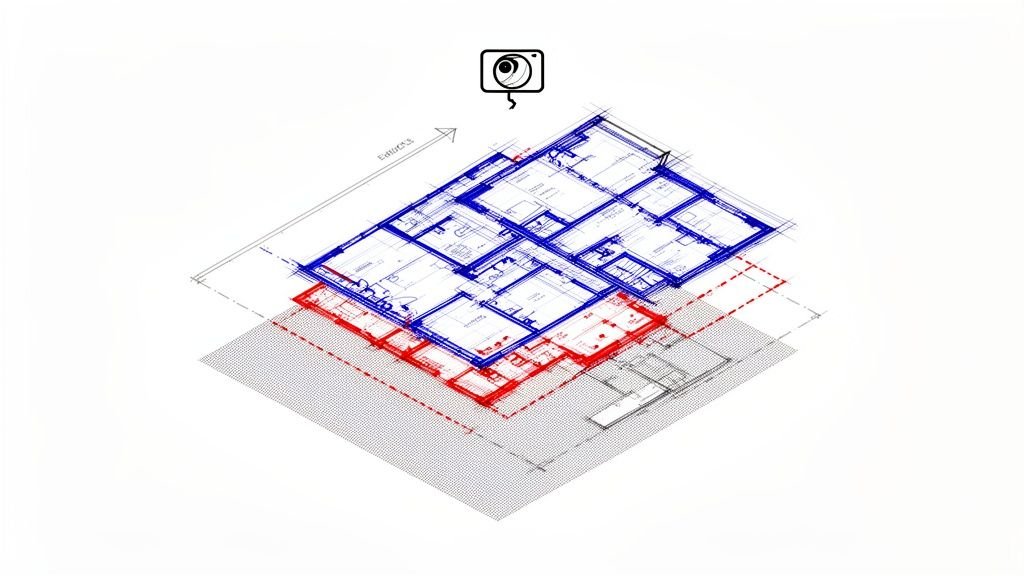
For cross-discipline collaboration, linked models are essential. Rather than merging everything into one massive file, structural and MEP models can link directly to the architect’s base model. These linked models update automatically, helping teams spot potential clashes early on.
Time Savings
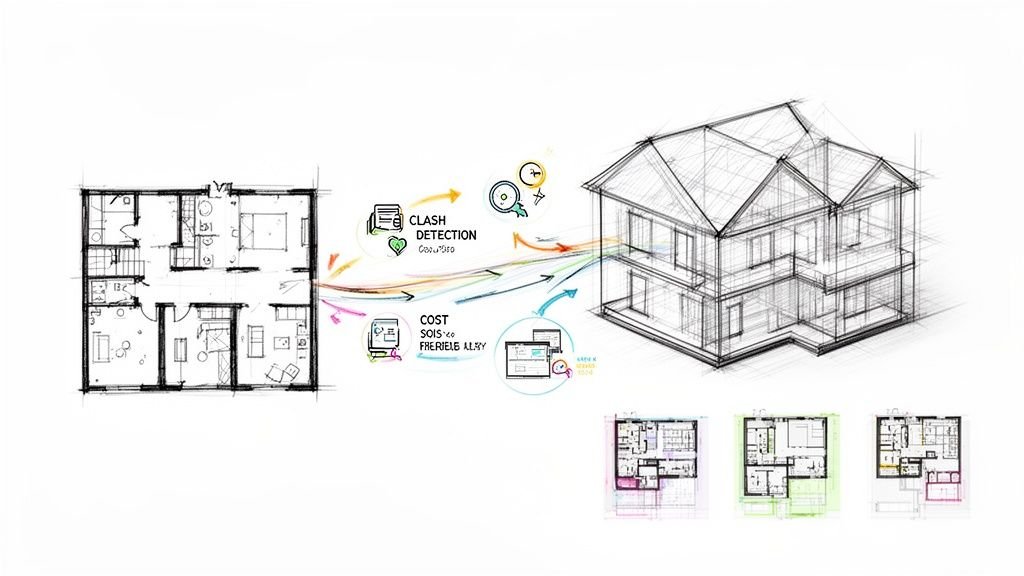
One of the biggest advantages of this approach is how much time it saves. For instance, clash detection tools in Revit can quickly identify issues, like HVAC ductwork running into a structural beam, before construction begins. Features like interference checking and the Copy/Monitor tool make it easier to catch and resolve these problems directly within the model, reducing the need for manual checks.
Additionally, parallel workflows allow teams to work simultaneously instead of waiting for one group to finish before another begins. This approach significantly speeds up the overall process compared to traditional, sequential methods.
Improved Accuracy
Better coordination naturally leads to fewer mistakes. Model-based collaboration ensures all disciplines maintain dimensional accuracy. By using a unified 3D coordinate system, teams can eliminate common issues like elevation mismatches, ensuring consistency in floor heights, equipment clearances, and structural placements. Shared parameters further standardize data exchange, keeping details like room numbers, finish schedules, and equipment specs consistent across the board.
Ease of Implementation
Setting up worksharing and collaboration tools in Revit is straightforward, especially with existing network infrastructure in place. With some basic training on synchronization and editing, team members can quickly get up to speed and start collaborating effectively.
Revit’s built-in communication tools also simplify coordination. Team members can leave notes directly on model elements, creating a visual record of decisions and unresolved issues. These notes stay attached to specific components, making coordination meetings more focused and productive. Instead of flipping through outdated 2D drawings, teams can review the latest 3D model together, making it much easier to identify and address conflicts in real time.
Alignment with U.S. Construction Standards
BIM execution plans align with recognized industry standards, such as those set by the AIA and AGC. Standardized worksharing protocols ensure compatibility with consultant workflows and meet the requirements of many client projects. Additionally, drawing coordination maintains the familiar organization of traditional sheets while incorporating the advantages of 3D modeling. Integrated submittal coordination connects product data, shop drawings, and other documentation directly to the model, reducing errors during the construction phase.
4. Family Creation and Management
Just like managing sheets and automating annotations, organizing and creating families efficiently is a cornerstone of producing construction document (CD) sets. A well-thought-out family management system not only speeds up production but also ensures consistency across your project.
The key to managing families effectively lies in establishing clear naming conventions and organizational structures. A systematic approach – like using CSI-based naming and folder structures – can make a big difference. For example, grouping families by CSI divisions, such as Division 08 for doors and windows or Division 12 for furnishings, allows your team to quickly find the components they need.
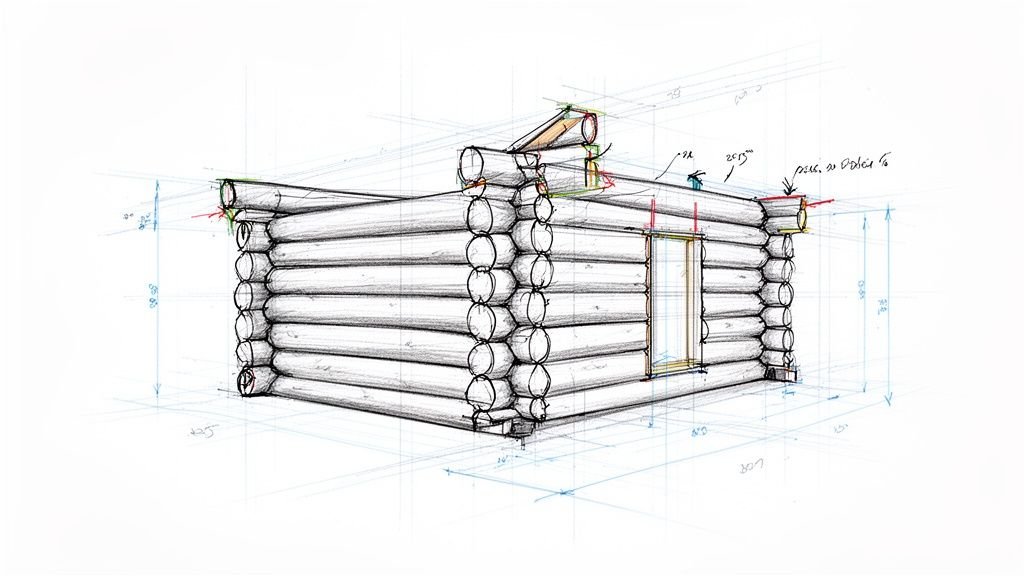
Parametric families are another game-changer for CD production. Instead of creating a separate family for every variation of a door, you can build a single parametric door family with adjustable width and height. This lets you tweak dimensions directly within your project without switching between multiple family files. The same approach works for casework, structural elements, and MEP components.
For more complex designs, nested families can save even more time. Take an office workstation, for instance. Instead of building one massive family, you can nest individual components like the desk, chair, and monitor. If specifications change, you only need to swap out the relevant nested component rather than reconfiguring the entire workstation.
Time Savings
Organizing families efficiently can lead to significant time savings. Pre-built families and standardized templates cut down on repetitive setup tasks, allowing you to focus on design and documentation.
Type catalogs are especially helpful in streamlining your workflow. For example, a window family with a type catalog can include various standard sizes, glazing types, and frame materials. When you load the family into your project, you can pick only the configurations you need, keeping your project file lean while retaining access to all the options.
Improved Accuracy
Standardized, parameter-driven families not only save time but also boost accuracy. They ensure consistent dimensions and scheduling while minimizing errors during modeling.
Built-in constraints within families add another layer of precision. For instance, a cabinet family with proper constraints will maintain its proportions when resized. This ensures that door panels don’t overlap and hardware stays in the correct position, reducing the need for manual adjustments or checks during the CD phase.
Ease of Implementation
Revit’s family editor makes creating and testing custom components straightforward. The Family Category and Parameters dialog plays a crucial role in ensuring that families integrate seamlessly with Revit’s built-in systems. Assigning the correct category enables proper scheduling, tagging, and filtering, while subcategories allow for detailed control over visibility and graphic representation.
Alignment with U.S. Construction Standards
Custom families also align with professional and regulatory requirements. They can include industry-standard information directly in the model, ensuring compliance with building codes and construction practices. For instance, door families can include parameters for ADA compliance, structural families can reference AISC standards, and MEP families can incorporate manufacturer specifications.
Using manufacturer-specific families bridges the gap between design intent and construction. Instead of relying on generic placeholders, these families include exact dimensions, connection details, and performance data. This approach supports the growing industry trend toward model-based specifications and reduces the coordination effort during construction.
Additionally, integrating specification databases ensures that family parameters align with CSI MasterFormat divisions and standard terminology. When your families use the same language as your project specifications, it’s easier to maintain consistency between drawings and written documents, making coordination smoother and more reliable.
sbb-itb-0af4724
5. View and Schedule Automation
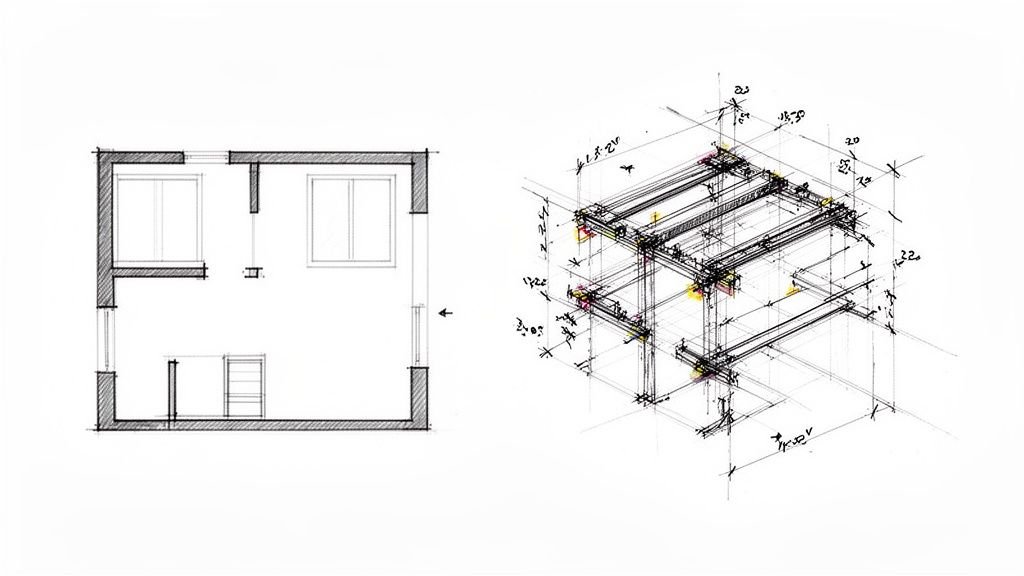
Expanding on earlier automation strategies, automating view creation and schedule management significantly speeds up the production of construction document (CD) sets. What used to be a time-intensive process – manually creating sections, elevations, and detail views – can now be streamlined using Revit’s built-in tools. These tools allow you to generate views directly from your 3D model, with detail levels automatically adjusted to match the scale of each view.
Revit makes it easy to create focused, partial views without overcrowding your main drawings. For instance, you can extract detailed sections that highlight specific building components while keeping floor plans and elevations clear and easy to read. This approach ensures your sheets stay organized and avoids overloading individual drawings with too much information, making your CD sets more efficient and easier to navigate.
Revit’s project phasing tools are particularly helpful when coordinating drawings across different construction stages. Instead of managing separate models or manually tracking what appears in each phase, Revit automatically adjusts visibility and schedules based on your phasing parameters. This keeps demolition plans, new construction drawings, and future phases in sync throughout the design process.
Schedule automation is another game-changer. By linking schedules directly to your 3D model, material quantities and cost estimates update instantly whenever the design changes. This eliminates the disconnect between drawings and specifications, reducing the risk of costly coordination mistakes during construction.
Time Savings
Automated sheet templates cut down the repetitive setup tasks that often eat up hours during CD production. This frees up time for more critical design work.
Improved Accuracy
In addition to saving time, automation enhances the accuracy of your documentation. Linking schedules directly to the model ensures that quantities and specifications stay consistent throughout the project. Automatic updates to door and finish schedules help avoid mismatches, keeping everything aligned.
Revit also adjusts detail levels based on view scale, ensuring clarity in your drawings. For example, a 1/4" = 1′-0" floor plan will display less detail than a 3/4" = 1′-0" enlarged plan. This prevents your drawings from becoming cluttered or difficult to interpret.
Ease of Implementation
Revit’s view generation tools integrate seamlessly with your existing workflows. Creating sections and elevations is as simple as setting the appropriate cut planes and view ranges. From there, Revit generates 2D views from your 3D model with minimal extra effort.
Once you define parameters and filters, Revit automatically updates schedules as your model evolves. While this requires some upfront setup, the time savings and efficiency gained throughout the project lifecycle – especially during iterative design phases – are well worth it.
Alignment with US Construction Standards
Automated scheduling also ensures your documentation aligns with industry standards. Schedules populated with standardized parameters maintain consistent formatting and terminology, making them easier to understand and use across teams.
Additionally, Revit can generate technical documentation and legends based on the parameter values of model elements. This helps ensure consistency with manufacturer specifications and building code requirements, reducing the chances of discrepancies between your model and its documentation. This automation supports the growing shift toward model-based design and construction processes.
6. Quality Control and Documentation Standards
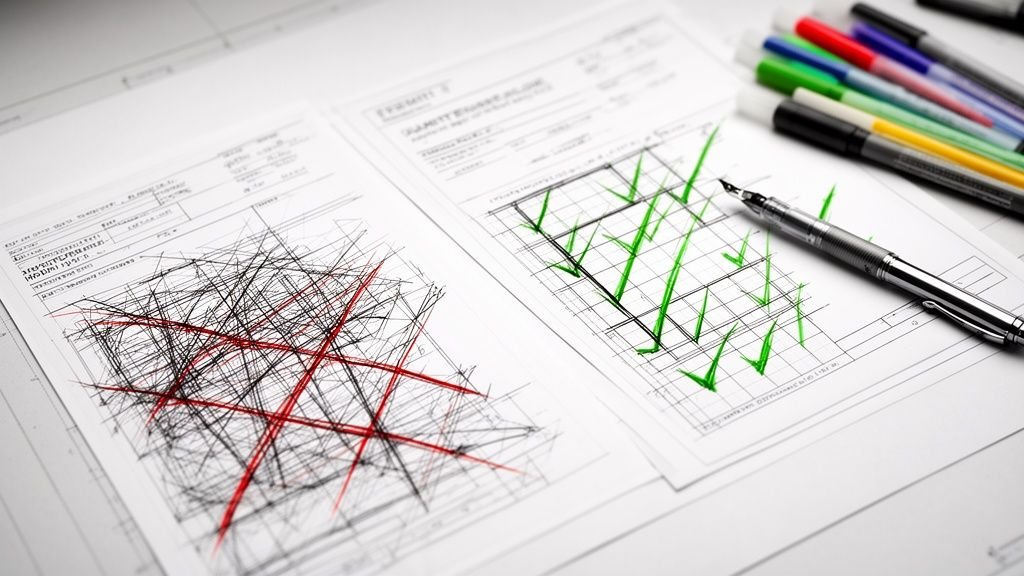
Effective quality control in Revit ensures that construction documents meet high professional standards by systematically checking model accuracy, coordinating drawings, and adhering to project requirements. This attention to detail lays the groundwork for the automated and collaborative processes that follow in later workflows.
Revit includes built-in review tools that help teams identify and resolve coordination issues directly within the model. For instance, the software can flag mismatches between views, like a door schedule that doesn’t align with the actual doors in the model. These real-time alerts help users address potential problems as they arise.
The interference detection feature is another key tool, identifying conflicts between architectural elements, MEP systems, structural components, and more. By catching these issues early, teams can avoid costly on-site adjustments during construction.
Standardized project templates further enhance documentation quality. These templates ensure consistent line weights, text styles, dimensions, and annotations across the entire set of construction documents. When all team members work from the same template, the final product maintains a polished and professional look.
Time Savings
Incorporating quality control into daily Revit workflows reduces the need for time-consuming revisions later. Instead of spending weeks reviewing drawings before submission, teams can handle issues incrementally throughout the design process.
Revit’s warning system is particularly helpful, quickly identifying problems like missing elements, duplicate components, or misplaced objects. This automation replaces the slower, manual review of printed drawings and complements the efficiency gains from earlier automated workflows.
Improved Accuracy
Quality control builds on Revit’s automation features to ensure every detail is consistent. Since all drawings are generated from a single 3D model, elements like wall thicknesses, room dimensions, and building heights remain uniform across the project.
Custom parameters can also be configured to enforce project-specific requirements. For example, Revit can alert users if corridor widths fall below the minimum standard or if ceiling heights don’t meet specifications. These prompts help teams maintain accuracy without constant manual oversight.
Ease of Implementation
Revit’s quality control tools integrate seamlessly into existing workflows. The Warnings dialog automatically highlights issues as they occur, allowing users to address them immediately or defer them while keeping track of unresolved items.
Workset management simplifies collaboration by tracking changes made by multiple contributors and identifying areas that may need extra coordination. This feature ensures that team efforts remain aligned, even in complex projects.
Additionally, project managers can use Revit’s filters and selection tools to set up custom quality checks. For example, saved selections can flag recurring issues like untagged doors, missing room names, or improperly configured wall types. Running these checks periodically ensures ongoing compliance with documentation standards.
Alignment with US Construction Practices
Revit’s quality control features align with common U.S. construction documentation practices. Customizable project templates can be tailored to meet industry standards, ensuring that line weights, text sizes, and layouts adhere to professional guidelines.
Teams can also use custom parameters and formulas to monitor compliance with specific requirements, such as ADA accessibility or egress width calculations. These tools prompt design adjustments as needed, ensuring that projects stay within regulatory guidelines. Standard naming conventions for sheets, views, and families further enhance organization and clarity.
Revit’s detailed 3D views also mirror real-world building assembly, reducing discrepancies during construction. By aligning model-based details with actual construction practices, Revit supports a seamless transition from design to execution, emphasizing efficiency, precision, and consistency throughout the documentation process.
7. Using BIM Heroes Outsourcing for CD Set Development

When internal teams are up against tight deadlines or lack the expertise needed for complex CD set development, outsourcing to seasoned BIM professionals can make a world of difference. BIM Heroes provides dedicated Revit specialists who seamlessly integrate into your workflows and are well-versed in U.S. construction standards.
By streamlining Revit workflows, outsourcing CD set development with BIM Heroes boosts your team’s capacity while maintaining high-quality documentation. This approach is particularly useful for firms facing seasonal workload spikes or tackling projects that require specialized skills. Instead of hiring full-time staff or overloading your existing team, you gain access to professionals who deeply understand Revit workflows and construction documentation requirements.
Let’s break down how outsourcing with BIM Heroes helps with time management, accuracy, team integration, and compliance with U.S. standards.
Time Savings
Outsourcing CD set development offers immediate relief for internal teams while keeping projects on schedule. BIM Heroes professionals operate in U.S. time zones, enabling real-time collaboration and quicker turnaround times. This ensures that deadlines are met without compromising quality.
"Our professionals work in your same time zone, speak fluent English, and have experience working for the US."
This model works particularly well for larger, long-term projects. Instead of pulling architects away from design and client-facing tasks, firms can focus on creative work while BIM Heroes handles the technical documentation. Flexible engagement options, including hourly rates, fixed-price contracts, and dedicated team setups, allow firms to scale resources as needed – without the overhead of hiring permanent staff.
Improved Accuracy
Revit documentation requires precision, and specialists who focus exclusively on this deliver higher-quality results. BIM Heroes professionals excel in model coordination, annotation standards, and quality control, ensuring that deliverables are error-free and meet industry expectations.
Their expertise in U.S. construction practices ensures that every detail – whether it’s specifications or drawing conventions – aligns with local standards, minimizing the risk of coordination issues during construction.
"Absolutely. Our professionals are well-versed in US codes and regulations, which is crucial for ensuring that all work complies with necessary standards. Whether it’s building codes, electrical codes, or other regulatory requirements, our team has the knowledge and experience to deliver work that meets or exceeds US standards. This expertise helps avoid any compliance issues and ensures that your project is up to code."
These accuracy improvements not only enhance deliverables but also streamline the overall implementation process.
Ease of Implementation
BIM Heroes integrates seamlessly into existing workflows without requiring major adjustments or software changes. Their team works directly within your Revit models, using established templates and standards to ensure consistency with your documentation practices. They review existing models, understand project requirements, and set up clear communication protocols, enabling smooth handoffs and uninterrupted project progress.
"Yes, our team is proficient in working with the Imperial measurement system, commonly used in the United States. This proficiency ensures that all measurements, calculations, and specifications are accurate and consistent with your project’s needs."
Alignment with US Construction Standards
BIM Heroes’ outsourcing model ensures that every deliverable aligns with local codes and industry standards. Their deep experience with U.S. projects means they understand the nuances of regional construction methods, material specifications, and documentation conventions. This knowledge ensures that construction documents are prepared and presented to meet local expectations and regulatory requirements.
"Our team has extensive experience working with clients across the United States. We understand the local market dynamics, codes, and regulations, which allows us to deliver solutions that are both effective and compliant. Our experience spans various industries and project types, giving us the versatility to tackle diverse challenges. This deep understanding of the US market ensures that we can provide insights and solutions that are relevant and tailored to your specific context."
Comparison Table
Let’s break down how outsourcing CD set development with BIM Heroes stacks up against relying on an in-house team. The table below highlights key differences, building on the efficiency and error-reduction strategies we’ve touched on earlier:
| Factor | In-House Team | BIM Heroes Outsourcing | Advantage |
|---|---|---|---|
| Setup and Onboarding | Requires recruitment and training efforts. | Quick onboarding using established workflows. | Faster project start |
| Cost Considerations | Includes salaries, benefits, and training costs. | Custom pricing based on project needs. | Better cost management |
| Scalability | Limited by team size and hiring timelines. | Resources can be scaled up or down as needed. | Greater flexibility |
| Expertise | Depends on team experience and training. | Access to specialized professionals immediately. | Consistent expertise |
| Quality Control | Relies on internal processes, which may vary. | Built-in quality checks aligned with U.S. standards. | Improved accuracy |
| Availability | Usually limited to regular business hours. | Extended availability for faster project delivery. | Quicker turnaround |
| Technology and Tools | Requires ongoing investment in software and tools. | Includes the latest technology as part of the service. | Simplified tech management |
BIM Heroes also offers flexible engagement models – Dedicated Team, Fixed Price, and Hourly – to suit various project requirements. By partnering with them, you can avoid the challenges of staffing gaps and training delays, all while ensuring the delivery of high-quality CD sets on time.
This comparison highlights how BIM Heroes reshapes CD set development, aligning perfectly with the streamlined workflows discussed earlier.
Conclusion
The seven Revit workflows detailed in this guide offer a practical way for architects and designers in the United States to improve how they create Construction Documents (CDs). By adopting methods like standardized sheet setup, automated annotation, and cloud-based collaboration, teams can produce CD sets faster and with greater accuracy.
For instance, firms using custom Revit templates report a 30% reduction in sheet setup time and 20% fewer documentation errors. Automated annotation and scheduling tools cut manual drafting time by 25%, while cloud-based model coordination can lower RFIs by 15%. These efficiency gains directly impact budgets and project timelines – key considerations in today’s competitive architectural landscape.
What makes these workflows especially useful for U.S.-based practices is their alignment with professional standards and regulatory requirements. This ensures that your construction documents not only meet expectations but also promote clear communication with contractors and consultants.
The secret to unlocking these benefits? Consistency. Start small by implementing custom templates and view templates to build a strong foundation. From there, gradually introduce tools like automated schedules, cloud collaboration platforms, and standardized family libraries. This step-by-step approach ensures a smoother transition to workflows that raise the bar for documentation quality.
Beyond improving your in-house processes, these workflows can also help you scale with external support. Consider partnering with BIM Heroes, whose expertise in CD set development can help you expand your capabilities while maintaining high standards. Their specialized knowledge ensures that your Revit workflows are optimized to deliver outstanding results for your clients.
FAQs
What are the best ways to automate annotation and tagging in Revit to improve efficiency in construction document workflows?
To make annotation and tagging in Revit more efficient, start with tools like Tag by Category or Tag All Not Tagged. These built-in features allow you to quickly apply tags throughout your model, saving time and maintaining uniformity in your documentation.
For more advanced needs, you can design custom annotation families tailored to specific project requirements. Once created, integrate these families into your templates for easy access in future projects.
Don’t overlook Revit’s alignment tools – they’re great for organizing annotations and tags neatly, giving your sheets a polished and consistent look. By combining these methods, you can simplify your workflows, minimize manual work, and improve the accuracy of your project documentation.
What advantages does outsourcing CD set development to BIM Heroes offer, and how will it fit into my current Revit workflows?
Outsourcing CD set development to BIM Heroes lets you hand off tedious tasks like sheet setup, annotation management, and model coordination to experienced professionals. This not only saves time and cuts costs but also ensures greater precision. Meanwhile, your team can stay focused on what they do best – core design work – leading to a noticeable boost in productivity.
Our services fit right into your existing Revit workflows. By tailoring our approach to match your project needs, we maintain consistent standards and enable smooth collaboration, simplifying the entire CD process and making it far less stressful.
What are the benefits of using parametric families in Revit, and how do they help speed up creating Construction Document (CD) sets?
Parametric families in Revit bring a combination of efficiency, accuracy, and adaptability, making them a go-to resource for speeding up the creation of construction document (CD) sets while reducing errors. These tools allow you to apply updates across multiple components at once, ensuring your project stays consistent from start to finish.
By leveraging pre-built, customizable components, parametric families cut down on repetitive tasks and save valuable time. This streamlined process not only improves coordination but also reduces the likelihood of errors, ensuring precision throughout both the design and documentation stages. With these tools, architects and designers can shift their focus toward creativity, all while increasing overall productivity.