3D BIM Modeling Checklist for Construction Projects
Want to make your construction projects more accurate and efficient? Start with 3D BIM modeling.
Here’s a quick checklist to get you started:
- Define Project Goals and BIM Plan: Set clear objectives, assign roles, and establish quality controls.
- Set Level of Development (LOD) Standards: Use LOD 200 for conceptual designs, LOD 300 for detailed designs, and LOD 400+ for construction and facility management.
- Organize Project Setup: Align coordinates, use consistent naming conventions, and centralize templates.
- Collaborate Effectively: Use worksets, permissions, and clash detection tools to streamline teamwork and avoid errors.
- Validate and Optimize the Model: Perform quality checks, resolve clashes, and ensure compliance with design and building codes.
- Generate Outputs: Create 2D drawings, schedules, and export models in formats like IFC or NWD for easy sharing.
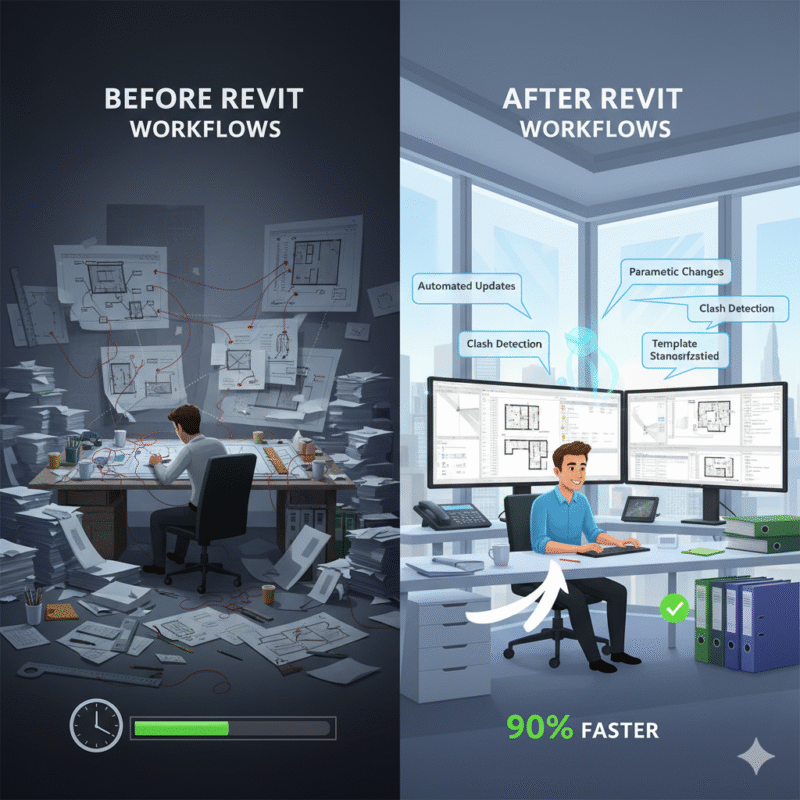
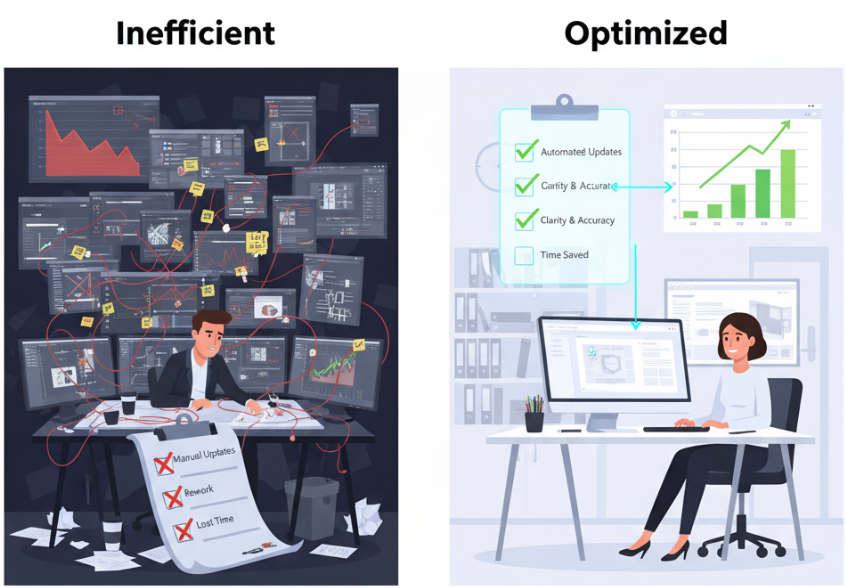
Why it matters: BIM reduces errors, improves collaboration, and saves time by automating workflows and enhancing project visualization. Follow this checklist to ensure your BIM model is accurate, organized, and ready for construction success.
What is BIM? Understand Building Information Modeling
Pre-Modeling Steps
A recent survey reveals that 71% of AEC professionals rely on BIM for most of their projects, showcasing its growing role in the industry.
Define Project Goals and BIM Plan
Start by outlining clear project objectives, key milestones, and assigning roles. Establish communication protocols and quality control measures to ensure the BIM plan aligns with the project’s needs. A detailed plan helps identify potential problems early and keeps all stakeholders on the same page throughout the project.
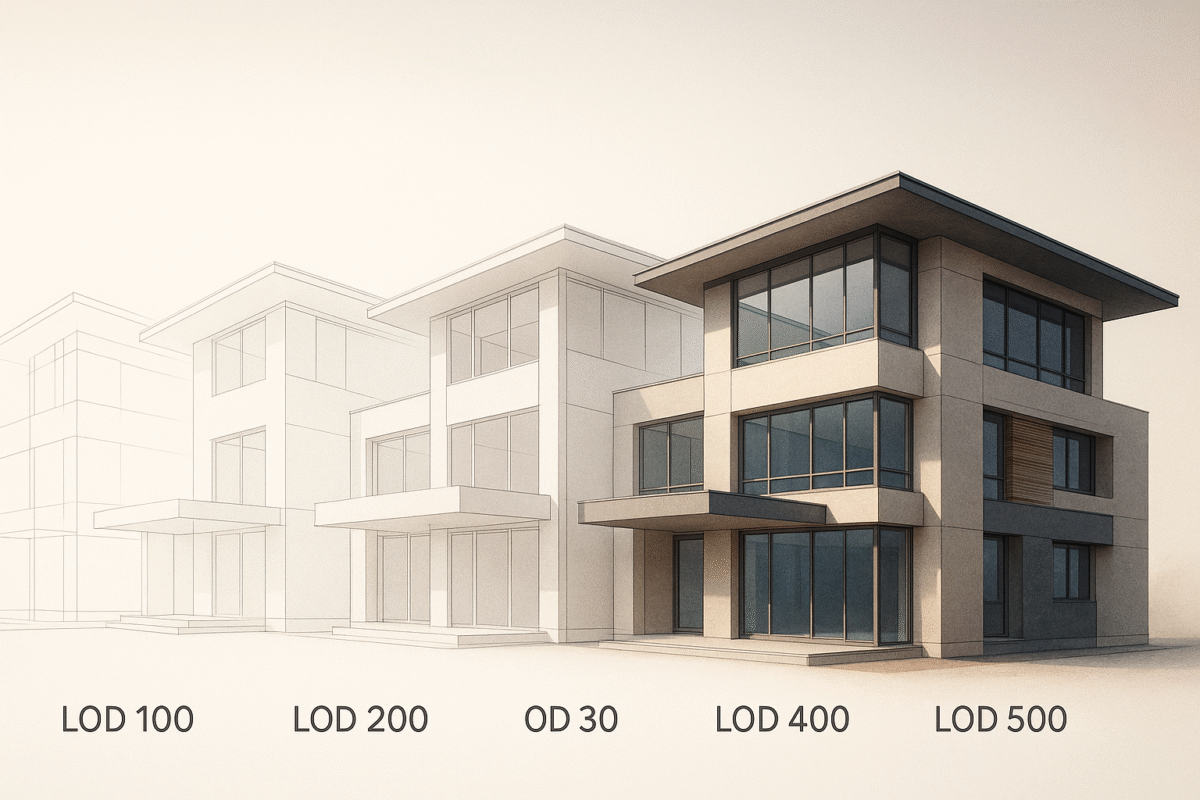
Set Level of Development Standards
Defining Level of Development (LOD) standards ensures the right level of detail and accuracy is applied during each phase of the project:
| LOD Level | Description | Typical Use Case |
|---|---|---|
| LOD 200 | Basic geometry and approximate quantities | Conceptual design phase |
| LOD 300 | Precise geometry and specifications | Design development |
| LOD 400 | Fabrication-level detail | Construction documentation |
| LOD 500 | As-built conditions | Facility management |
These standards help avoid inconsistencies and minimize expensive errors during construction.
Configure Project Coordinates and Units
Set a shared project base point, consistent units, and elevation references. This ensures models from different teams align correctly, avoiding spatial mismatches.
Organize Project Files and Templates
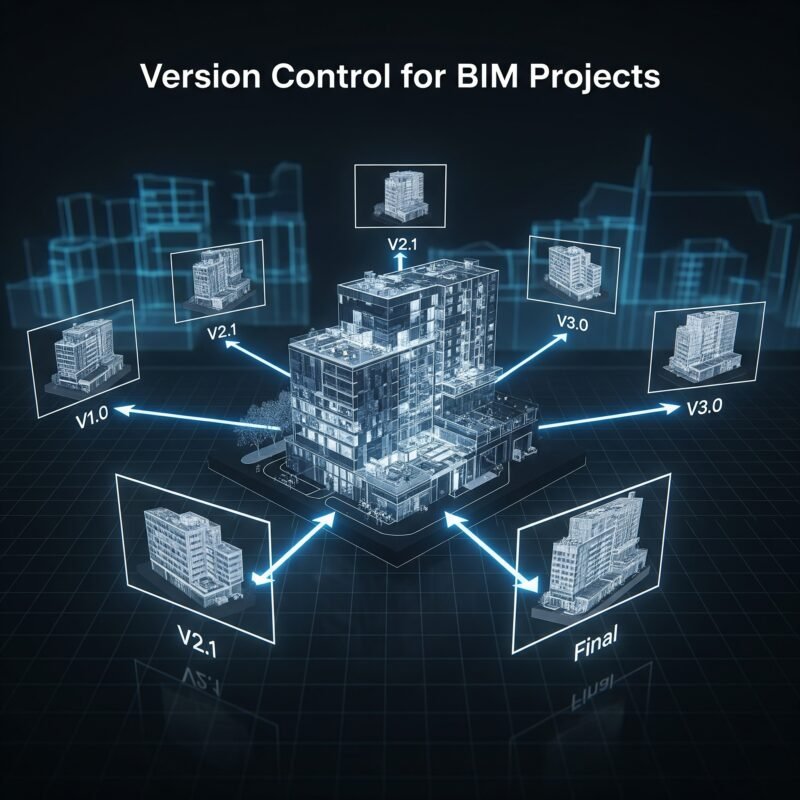
Implement clear naming conventions, centralized templates, and standardized libraries. Use version control to keep workflows smooth and prevent outdated files from being used. This approach saves time and reduces errors caused by disorganized content.
Once these steps are in place, the BIM model can be structured for seamless collaboration across teams.
Setting Up and Organizing the Model
After completing the initial setup steps, organizing the model properly is key to smooth teamwork and reducing errors throughout the project. Industry reports show that well-structured BIM models can cut coordination problems by as much as 40% during construction.
Configure Worksets and Linked Files
Worksets let team members focus on different parts of the model at the same time, streamlining collaboration and minimizing clashes. In Autodesk Revit, for example, you can create worksets for areas like:
- Architectural: Walls, doors, and other architectural elements.
- Structural: Columns, beams, and other structural components.
- MEP Systems: HVAC, plumbing, and electrical systems.
Each team can work on their designated elements without interfering with others.
Set Up Grids, Levels, and Naming
Consistent naming conventions are essential for navigating and coordinating the model. The American Institute of Architects (AIA) suggests using standardized prefixes, such as:
- Levels: Use codes like L01 for the Ground Floor.
- Grids: Use names like GA-01 for Grid Axis 01.
This approach keeps the model organized and easy to understand.
Create Central File and Set Permissions
Establishing a central file with regular backups, clear roles, and a syncing schedule (every 30–60 minutes) helps protect the model’s integrity. Assign specific permission levels to team members:
| Role | Permission Level | Capabilities |
|---|---|---|
| BIM Manager | Full Control | Manage all aspects of the model |
| Discipline Lead | Edit & Create | Edit and create elements for their area |
| Team Member | Limited Edit | Modify only assigned worksets |
| Viewer | Read-only | View and extract data without making changes |
This structured system ensures effective collaboration while safeguarding the model’s data. With the organizational framework complete, the next step is to add detailed geometry and data to bring the design to life.
sbb-itb-0af4724
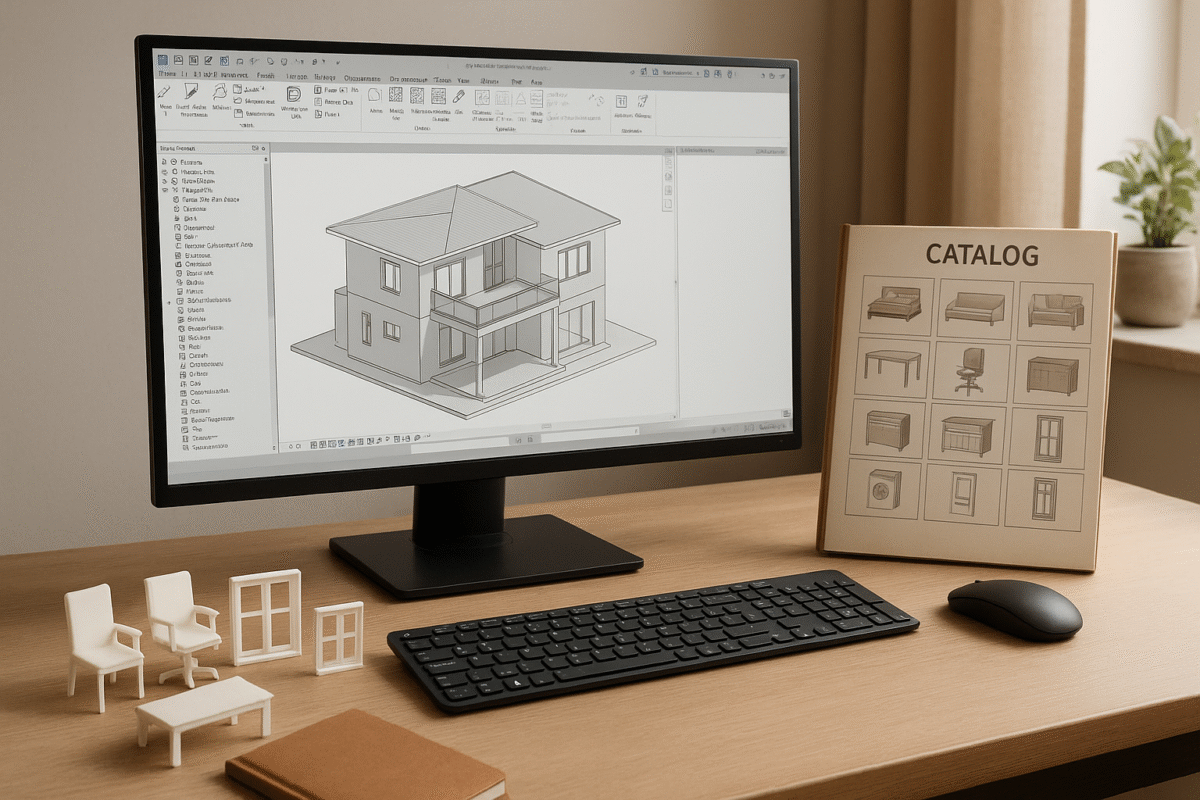
Adding Geometry and Data
Creating detailed geometry and incorporating data demands precision to ensure both accuracy and usability.
Model Architectural, Structural, and MEP Components
Building a functional BIM model starts with a logical sequence:
| Component Type | Modeling Priority | Key Details |
|---|---|---|
| Structural | 1st | Foundations, load-bearing elements, columns |
| Architectural | 2nd | Walls, floors, windows, doors |
| MEP Systems | 3rd | HVAC, electrical, and plumbing systems |
When working on MEP components, maintain clearances to avoid issues later. For instance, HVAC ducts should have at least 6 inches of space from structural elements and 4 inches from other MEP systems. This ensures easier maintenance access.
Add Metadata and Parameters
Enhance the model by embedding critical data for construction and facility management. This includes material details, performance metrics, installation instructions, maintenance schedules, and cost-related information.
For example, when designing a commercial HVAC system, include parameters like airflow rates, energy efficiency ratings, and maintenance schedules. These details are vital for smooth construction coordination and long-term use.
Check Element Connections and Joins
Pay special attention to how elements connect, such as wall-to-floor transitions, structural joints, MEP system interfaces, and the building envelope.
Tools like Navisworks can help identify clashes, such as intersections between structural beams and MEP systems. Resolving these issues in the design phase prevents costly fixes during construction.
Once the geometry and data are complete, the next step is ensuring the model’s quality and accuracy through thorough validation.
Quality Checks and Validation
Ensuring your BIM model aligns with project requirements and industry standards is crucial. A structured approach to quality checks helps catch errors early, saving time and money during construction.
Perform Clash Detection and Checks
Tools like Navisworks are key for identifying and resolving conflicts between building elements.
| Clash Type | Description | Priority Level |
|---|---|---|
| Hard Clashes | Physical overlap between components | Critical |
| Clearance Clashes | Insufficient spacing between elements | High |
| Workflow Clashes | Scheduling or sequencing issues | Medium |
| Critical Areas | Problem-prone zones like mechanical rooms | High |
"Clash detection ensures conflicts are resolved before construction begins, preventing costly delays." – GPRS
Pay close attention to intersections involving structural and MEP systems, such as:
- Ductwork interfering with piping or electrical systems
- Equipment zones requiring maintenance access
Verify Model Accuracy
Use BIM tools to systematically check the model and log any corrections. Focus on:
- Dimensional accuracy and proper placement of systems as per architectural drawings
- Matching component specifications to design intent
- Ensuring compliance with building codes
- Correctly incorporating design updates
Keep a detailed record of all discrepancies and their resolutions throughout the process.
Review and Optimize Model Performance
Improve your model’s performance by:
- Organizing files and references – remove unused elements and maintain a clear structure
- Structuring worksets logically to enhance efficiency
Regularly check file size and use audit tools to address potential performance issues. For large or complex models, consider segmenting them to maintain smooth coordination.
Once validated and optimized, your model will be ready to produce accurate documentation and outputs for the next phase of the project.
Documentation and Outputs
Once the model meets quality standards, the next step is to produce outputs that can be directly used for construction and management tasks.
Generate 2D Drawings, Schedules, and Takeoffs
BIM tools like Revit make it easy to create precise documentation directly from the validated model.
| Output Type | Key Components | Purpose |
|---|---|---|
| 2D Drawings | Plans, Sections, Elevations | Construction documentation |
| Schedules | Component Lists, Material Quantities | Resource planning |
| Takeoffs | Material Quantities, Cost Estimates | Budget management |
Group drawings by discipline, and link schedules to model parameters, ensuring updates happen automatically when changes are made.
Export Model to Required Formats
Export your model in formats that align with the needs of different stakeholders. Common options include:
- IFC Format: Ensures compatibility across various software platforms with standardized documentation.
- NWD Format: Ideal for construction coordination and clash detection.
- Native Format: Maintains the original file structure for future updates or modifications.
"Using IFC as a standard export format has improved our collaboration efficiency by 40% across different software platforms, especially when working with international teams." – BIM Manager at Turner Construction
Prepare BIM Report and Handover Package
Create a detailed handover package that provides clear instructions and essential project data. This package should include:
- Navigation instructions for the model
- Parameter definitions and naming conventions
- Documentation of the file structure
- Quality assurance reports
- Results of clash detection
- Project coordinates and setup details
For more complex projects, consider adding interactive guides through Autodesk BIM 360. This approach supports remote collaboration and streamlines facility management processes.
With these outputs and documentation in place, your BIM model is well-prepared to drive efficient construction and ongoing project success.
Key Points for 3D BIM Modeling
Construction projects that adopt detailed BIM modeling practices often see fewer instances of rework and better project results. Setting clear objectives, defining LOD standards, and organizing files properly during the preparation phase act as a guide, keeping all stakeholders aligned.
Starting with solid pre-modeling planning is crucial. Proper preparation saves setup time, consistent validation helps avoid rework, and standardized workflows boost overall efficiency.
Team collaboration plays a major role in BIM’s effectiveness. Bringing together various disciplines early in the design phase allows teams to spot and address conflicts before they escalate into construction issues. This proactive clash detection method has been shown to significantly cut down on delays.
Consistent validation ensures that deliverables align with both project and industry requirements. Emphasizing quality control throughout the modeling process preserves data accuracy and aids in making informed decisions during construction. Following these practices helps teams get the most out of BIM and achieve project goals.
Adhering to strict modeling standards and leveraging BIM fully not only supports immediate construction needs but also creates digital assets that can be used for long-term facility management.