SketchUp Documentation for Construction Projects
SketchUp is a popular tool for construction professionals, combining 3D modeling with 2D documentation at an affordable price point. It simplifies the design process, helps identify issues early, and supports collaborative workflows. However, proper model organization is essential for efficiency, and the software has some limitations in precision and handling complex documentation needs.
Key Takeaways:
- Pricing: SketchUp Pro costs around $300/year; SketchUp Studio is $700/year.
- Core Features: Combines 3D modeling and 2D drafting; supports plugins like Skalp for added functionality.
- Model Organization: Use tags, groups, and components for clarity and efficiency.
- LayOut Integration: Converts 3D models into professional 2D construction drawings.
- Export Options: Supports PDF, DWG, and DXF formats for sharing and collaboration.
- Limitations: Struggles with large models, lacks built-in BIM support, and has limited 2D drafting tools.
For complex projects or enhanced workflows, services like BIM Heroes provide expert support for CAD documentation, BIM conversion, and compliance with U.S. construction standards.
SketchUp for Construction Documentation: Details in SketchUp

Setting Up SketchUp Models for Documentation
Once you’ve got the basics of model organization down, the next step is prepping your SketchUp models for clear and effective documentation. By using tags, groups, and components, you can create clean, well-organized 2D drawings. Below, we’ll break down how to use these tools to produce precise construction documents.
Using Tags to Organize Model Elements
Tags are your go-to tool for controlling what appears in your construction drawings. When you export your SketchUp model to LayOut, tags let you manage the visibility of specific elements. Start by defining essential tags like Walls, Floor, and Lighting to keep things organized. You can also create additional tags for categories such as "non-structural work", "helpers", or "dimensions" to handle different parts of the documentation process.
Here’s a key tip: keep raw geometry untagged – only groups and components should get tags. As francisquitof from Learned One puts it:
"The only strict rule I follow is to keep geometry untagged, only groups and components must be tagged."
This approach ensures that your model remains flexible and easy to edit. For 2D elements like door swings or lighting symbols, assign tags so you can toggle them on or off as needed. Following a consistent tagging system – like those based on AIA or ISO standards – can make your documentation process even smoother.
Working with Groups and Components
Groups and components are essential for keeping your model organized and easy to work with. Here’s how to use them effectively:
- Groups: Best for one-off collections of objects, groups prevent geometry from merging and make editing simpler. They’re perfect for keeping related elements together, like a set of furniture or a single wall section.
- Components: These are ideal for objects you’ll reuse, such as doors, windows, or beams. The beauty of components is that editing one instance updates all other instances in the model, saving you time and effort. If you need to make a unique version of a component, you can always create a custom copy while maintaining the original.
Always assign tags to your groups and components to maintain a clear hierarchy in your model. And don’t forget to name your groups and components – this small step makes finding and managing elements much easier.
Planning Tags and Scenes for Better Workflow
A little planning goes a long way. Start by organizing your tags and scenes early in the process. Use the Outliner to manage your objects and create scene-specific tag combinations for different parts of the model, like structural elements, MEP systems, or finishes.
Keep your model lean by reducing unnecessary geometry and purging unused components or materials. A clean model not only runs faster but also makes it easier to create accurate documentation. For example, you might set up one scene to show only the structural framework, another for MEP systems, and a third for finish materials. This kind of forethought ensures you can quickly generate the exact drawings you need.
For more complex setups, consider nesting groups and assigning layers to improve visibility control. While this upfront effort takes time, it pays off by producing professional, easy-to-read construction drawings that clearly communicate your design to builders and contractors.
Using LayOut to Create Construction Drawings
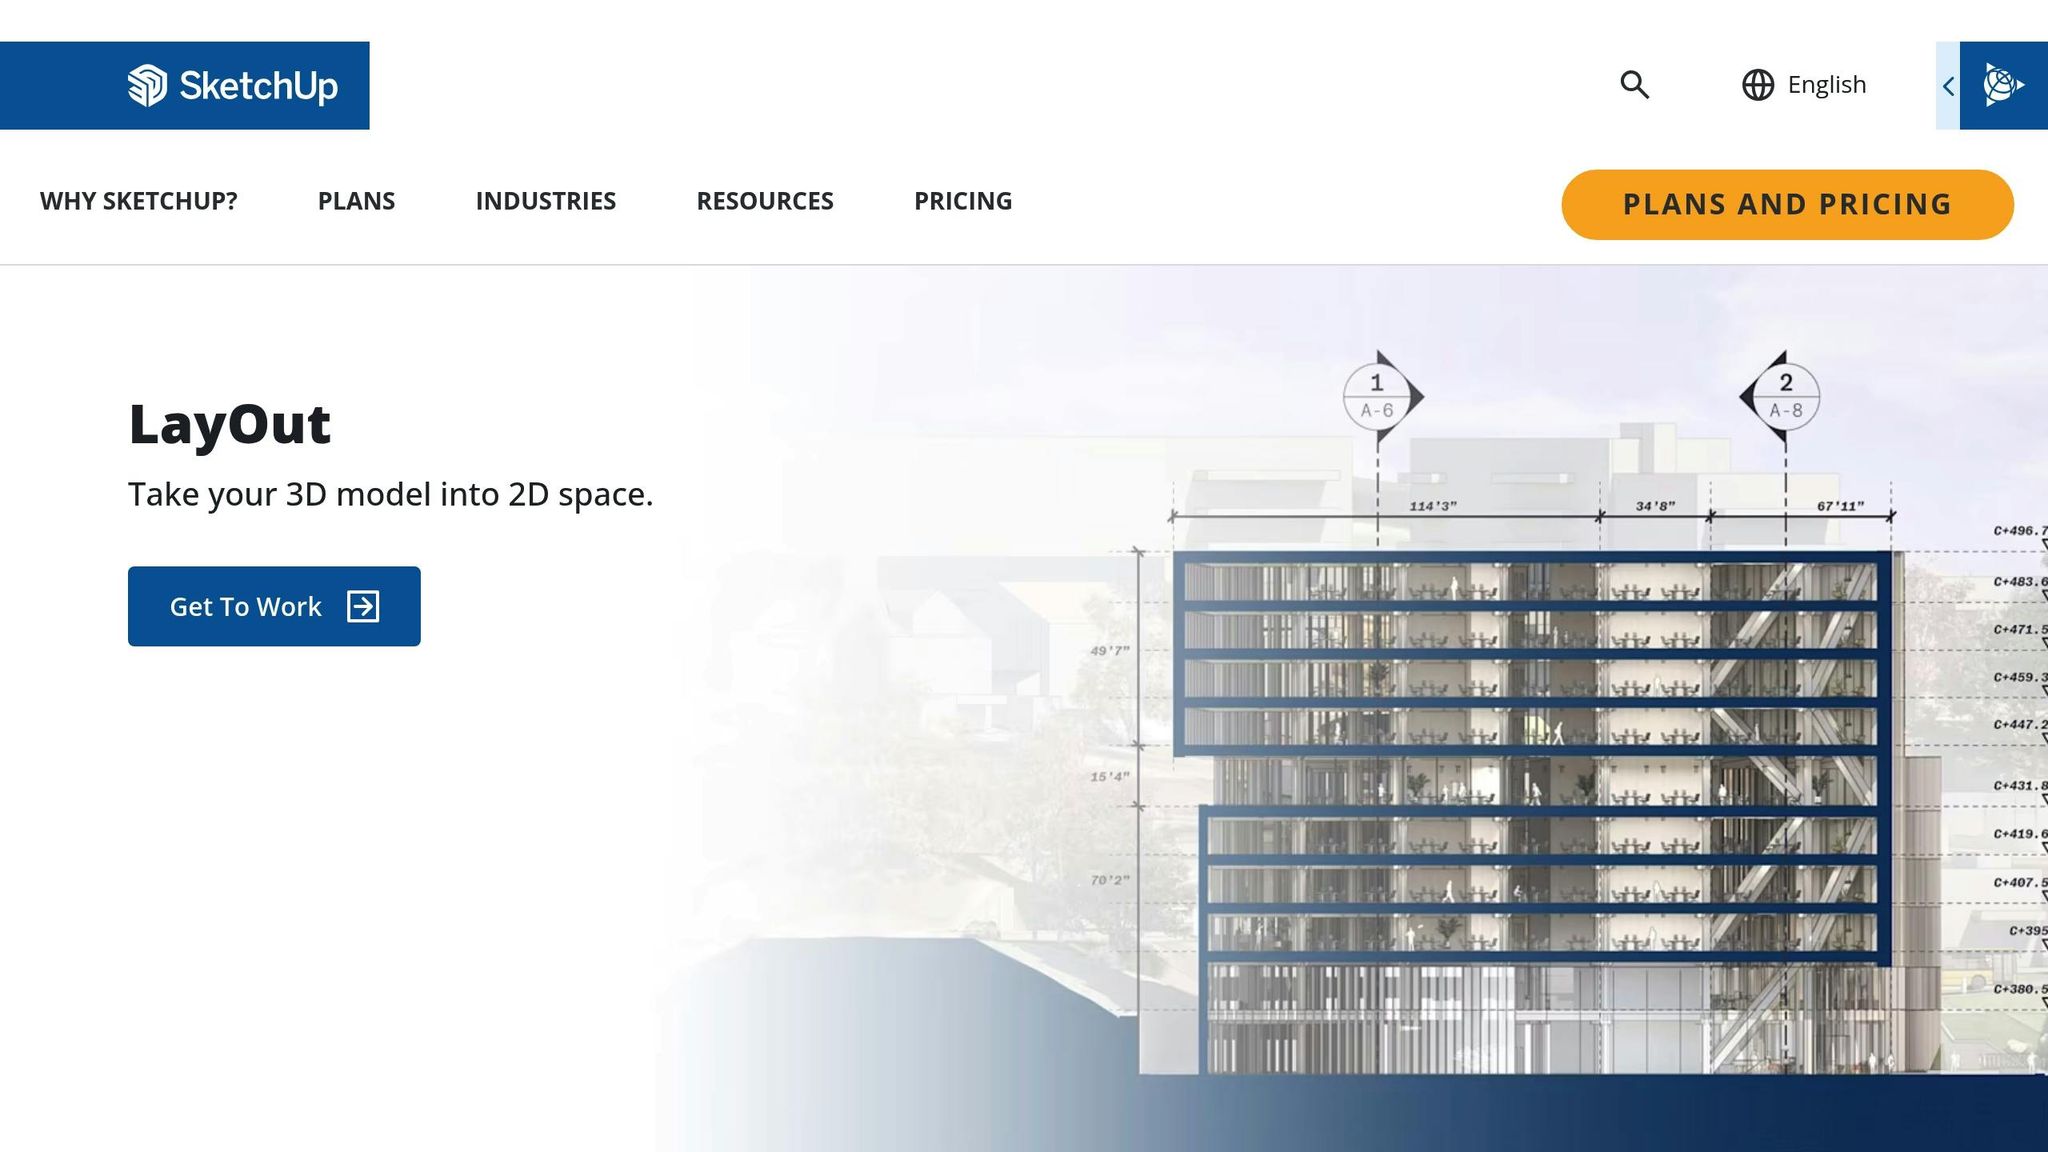
If your SketchUp model is well-organized, you can easily turn it into detailed 2D construction drawings using LayOut. This tool is specifically designed for converting SketchUp models into professional construction documents.
Moving SketchUp Models to LayOut
To bring your SketchUp model into LayOut, you have two options: use the Insert command (File > Insert) or the Send to LayOut feature directly from SketchUp. Once imported, the model becomes a SketchUp entity within LayOut. This entity can be moved, resized, rotated, or copied to create various views like plans, elevations, and sections.
To generate multiple views, simply copy and paste the SketchUp model entity within LayOut, then adjust the view settings for each copy.
After setting up these views, refine your drawings by managing layers and tag visibility.
Controlling Layers and Tag Visibility
Organizing layers effectively in LayOut is key to producing clear and structured construction documents. Before importing your model, configure tags in SketchUp to control line weights and visibility. Once in LayOut, use the SketchUp Model palette to adjust viewport settings and enable the Preserve Scale on Resize option. This ensures that dimensions and annotations stay accurate, no matter how the drawing is positioned on the sheet.
To maintain consistency and precision, create specific views (or scenes) in SketchUp for plans, sections, elevations, and details. In LayOut, you can further organize these elements by assigning them to designated layers, which simplifies navigation and controls visibility.
For complex models where performance is a concern, exporting 2D views as DWG files can be a practical alternative.
Once your visibility settings are in place, you’re ready to set up templates that align with US construction standards.
Setting Up Templates for US Standards
Using your organized SketchUp model and refined layer settings, you can create a LayOut template that adheres to US construction documentation standards. Start by configuring your document with US-standard sheet sizes, such as Arch D (24" × 36") or Arch E, and include title blocks with project details and consistent annotation styles. Make sure to set up your printer or plotter with the correct paper size, plot style, and plot area to match these standards.
The title block should feature essential project details like the firm name, client and project name, date, and sheet title. For a professional look, position these elements consistently across all sheets. You might also include sections for revision tracking, project numbers, and drawing scales.
Once your document framework is ready – with proper sheet sizes, title blocks, and annotation styles – save it as a template by selecting File > Save As Template. To customize the folders that appear in the Save As Template dialog, go to Edit > Preferences (Windows) or LayOut > Preferences (Mac) and select the Folders pane.
For inspiration, firms can look to resources like the 30X40 Design Workshop, which provides AutoCAD templates formatted for Arch D sheets (24" × 36"). These templates showcase excellent examples of US construction documentation formatting and can be adapted for use in LayOut.
sbb-itb-0af4724
Exporting Construction Documentation Files
Once you’ve set up your organized models and US-standard templates, the next step is exporting your construction documentation correctly. This ensures your files are compatible with industry norms and easy to use. Exporting involves careful attention to file formats, scale accuracy, and clarity, all of which are essential for producing professional construction documents.
Available Export File Formats
LayOut offers several export options to suit different needs in construction workflows. The most commonly used formats are PDF, DWG, and DXF. Each serves a specific purpose in streamlining documentation.
- PDF exports are perfect for sharing files online, attaching them to emails, or printing. This format preserves the visual quality of your drawings and can be viewed universally. To reduce file size without losing much quality, you can use JPEG compression during the export process.
- DWG and DXF formats are widely used in the construction industry for their compatibility with popular CAD software. These formats are essential when collaborating with teams that rely on different programs or when integrating your documentation into existing CAD workflows. In LayOut, non-perspective SketchUp model entities export to model space, while LayOut entities export to paper space.
Configuring Scales and Title Blocks
Getting the scale and title block setup right is crucial for meeting US construction documentation standards. Before exporting, check your paper settings, including background, margins, and rendering quality. These elements directly affect the professional look of your final output.
Title blocks are a key component of construction drawings in the US. They provide essential details like project name, designer information, and drawing specifications. Standards for title blocks are often aligned with ANSI and AIA guidelines, and the National CAD Standard (NCS) ensures consistency across public and private projects.
To comply with ANSI and AIA standards, title blocks must include specific details such as the project name, drawing ID, designer name, scale, date, and revision number. Standard drawing sizes are defined by ANSI Y14.1 and include:
- A (8.5″ × 11″)
- B (11″ × 17″)
- C (17″ × 22″)
- D (22″ × 34″)
- E (34″ × 44″)
Scale accuracy is another critical factor. Drawings should always indicate the scale in the title block. If certain details are drawn larger than their actual size, include an undimensioned view showing them at full size. For drawings that are not to scale, mark "NTS" (Not to Scale) in the appropriate space on the title block.
Position the title block in the bottom right or left corner of the sheet, ensuring it is compact but easy to read. Use legible fonts and maintain a clean, structured layout. Double-check that essential details – like the project name, drawing title, scale, and revision number – are present and correctly formatted.
Creating Clear and Accurate Documentation
Producing clear documentation requires both technical precision and visual consistency. Using pre-designed title block templates can help maintain uniformity across all drawings, making it easier for contractors and regulatory bodies to review your documents efficiently.
Following AIA guidelines for organizing architectural drawings ensures your documentation meets industry standards. These guidelines emphasize clear labeling for construction phases and require inclusion of key details such as the project name, scale, and revision number in every file.
For projects requiring licensed approval, make sure to include the necessary professional stamps according to local regulations. These requirements vary by state and project type, so confirm what’s needed for your specific situation.
If your project includes complex models, take advantage of features like Dashed Lines in LayOut. This tool can help differentiate between construction elements such as existing structures, new additions, or materials, making your documentation clearer and more organized.
Lastly, adopt a clear naming convention for your exported files. Include the project name, drawing type, and revision number in the file name. This practice helps teams quickly locate the right documents and ensures everyone is working with the latest version.
For more extensive documentation needs or specialized formatting, BIM Heroes offers CAD documentation services tailored to US construction standards. Their expertise can help ensure your SketchUp files meet all regulatory requirements while maintaining a professional finish.
SketchUp Benefits and Drawbacks for Construction Documentation
Knowing what SketchUp does well – and where it falls short – can help you decide when it’s the right tool for construction documentation. While it shines in some areas, it has limitations that might require additional tools or adjustments, especially for complex projects.
Benefits of Using SketchUp
One of SketchUp’s standout features is its user-friendly interface. It’s designed to be intuitive, making it easy to dive into creating and adjusting designs without a steep learning curve. In fact, the software boasts a 92% ease-of-use rating, which is above the industry average for architectural tools. This simplicity means teams can start producing documentation quickly, even without extensive training.
"What sets SketchUp apart is its incredible intuitiveness. As someone who struggles with visualizing concepts mentally, SketchUp allows me to explore ideas freely." – Brad Holley, Design Director
SketchUp works like a digital sketchpad, enabling quick exploration of ideas and real-time adjustments. Its visualization tools make it easier to identify potential issues early, ensuring contractors and clients have a clear understanding of the project’s scope.
Another major plus is its affordable pricing. With options ranging from a free web version to paid tiers, SketchUp makes professional-grade modeling accessible to students, hobbyists, and smaller firms without requiring a hefty investment.
The software’s extension library is another strong point. If a task feels tedious or time-consuming, there’s likely an extension to streamline it. Plus, its collaboration tools allow architects, contractors, and clients to share and view models seamlessly across devices.
SketchUp Limitations to Consider
While SketchUp has many strengths, it does have notable limitations when it comes to detailed construction documentation. For starters, it often lacks the precision and accuracy needed for complex CAD tasks, which can be a hurdle when producing drawings that require strict dimensional tolerances.
Its limited 2D drafting capabilities are another drawback. While the LayOut feature helps address this, it doesn’t quite measure up to industry-standard CAD tools like AutoCAD, which excel in precision and compliance with ANSI and ISO standards.
Performance can also be an issue with large or highly detailed models. When working on complex projects, the software may slow down significantly, forcing users to break models into smaller sections or reduce detail to maintain efficiency.
Another shortfall is the lack of built-in BIM (Building Information Modeling) support, which has become increasingly important for modern construction projects. SketchUp doesn’t include integrated features for documentation, scheduling, or quantity takeoffs, often requiring additional software for full project management.
Even LayOut’s annotation tools have some frustrating limitations. For example, it lacks a find-and-replace function for text, doesn’t allow drawing shapes with holes, and restricts table operations to right-click menu functions. These constraints can slow down workflows and limit formatting options.
When to Work with BIM Heroes

To address SketchUp’s limitations, especially for large or complex projects, turning to professional services can make a big difference. BIM Heroes offers comprehensive support to complement SketchUp workflows, particularly in areas like 2D drafting and handling performance challenges.
Their CAD documentation services are ideal for projects where SketchUp’s drafting tools fall short. The team is well-versed in the latest technologies and U.S. building standards, ensuring compliance with ANSI, AIA, and National CAD Standard requirements.
For large-scale projects that push SketchUp’s performance limits, BIM Heroes provides dedicated support teams. These experts, available under a minimum 6-month contract, ensure consistent documentation assistance throughout the project.
BIM Heroes also specializes in Point Cloud to BIM conversion, a service that updates or creates building documentation based on existing conditions. This helps bridge the gap between on-site realities and SketchUp models.
For projects where SketchUp cannot meet all needs, BIM Heroes offers flexible services – whether fixed-price or hourly. Their expertise with tools like Revit, BIM 360, and AGACAD ensures that you get advanced BIM capabilities while still leveraging SketchUp’s strengths in design and visualization.
Conclusion
SketchUp provides a versatile and user-friendly way to handle construction documentation, especially when its features are used thoughtfully and professional expertise is brought in for more demanding tasks.
Key Takeaways
Successful documentation in SketchUp starts with a well-organized model. Using tags to manage visibility, grouping elements logically, and planning scenes from the outset sets the stage for efficient workflows. Clear and detailed documentation transforms your 3D models into actionable construction drawings, bridging the gap between vision and execution.
LayOut integration enhances this process by combining desktop publishing and CAD-like features. It’s perfect for creating presentations, printing drawing sets, and sharing ideas at different stages of a project. Saving specific views as scenes in SketchUp before moving to LayOut ensures a smoother workflow.
When exporting, it’s important to use the correct scales, title blocks, and file formats. Custom templates in LayOut not only save time but also maintain consistency across projects. By condensing key information into 2D drawings, you make it easier for all stakeholders to stay aligned.
Streamlined workflows minimize unnecessary software transitions, keeping your documentation precise and clear. And for projects that push beyond the native capabilities of SketchUp, professional services can fill in the gaps.
Why Professional Documentation Services Matter
Given the strengths and limitations of SketchUp, services like those offered by BIM Heroes can be a game-changer. With construction costs up nearly 40% since early 2020, having accurate and efficient documentation is more important than ever.
BIM Heroes specializes in CAD documentation that complies with U.S. standards, ensuring your work aligns with ANSI, AIA, and National CAD Standard guidelines. Their expertise is especially valuable for complex projects or when tackling renovations and retrofits. For instance, their Point Cloud to BIM conversion services help create models that reflect real-world conditions, reducing errors and avoiding costly mistakes during construction.
Whether you need fixed-price support for specific tasks or ongoing hourly assistance, professional services can extend SketchUp’s capabilities. This allows you to concentrate on design and visualization, knowing your construction documentation will meet the highest standards.
FAQs
How can I overcome SketchUp’s precision and documentation challenges for large construction projects?
When working on large construction projects in SketchUp, precision can sometimes be a challenge. To improve accuracy, start by adjusting your model settings. Head to the model info menu to set the measurement units and increase the display precision – this ensures your designs are as exact as possible. Another helpful approach is breaking your project into smaller, more manageable parts. This not only simplifies your workflow but also minimizes performance issues when handling complex models.
For creating polished and detailed documentation, take advantage of SketchUp’s LayOut extension. Use it to organize your model with well-defined layers and annotations. Techniques like raster rendering can speed up processing while maintaining clarity. By combining these methods, you can overcome SketchUp’s limitations and produce accurate, professional construction documentation.
How can I organize my SketchUp models for better construction documentation?
To keep your SketchUp models organized for construction documentation, start with a clear layer or tag system. This helps you group and categorize different elements, making it easier to control visibility and focus on specific parts of the model during the documentation process.
Another key step is structuring your model with logical components and groups. For instance, you can group related elements like walls, furniture, or fixtures. Use components for repetitive items – this not only saves time but also ensures consistency across your model. This setup makes updates simpler and keeps your drawings accurate, whether you’re working directly in SketchUp or exporting to LayOut.
Good organization doesn’t just streamline your workflow – it also improves the clarity and accuracy of your construction documents. This makes it easier to collaborate effectively with other professionals involved in the project.
How does LayOut make it easier to turn SketchUp models into professional construction drawings?
LayOut makes it easier than ever to turn your SketchUp 3D models into sharp, professional 2D construction drawings. Working hand-in-hand with SketchUp, it lets you generate detailed plans, elevations, and sections straight from your models.
With features like annotations, dimensions, and precise scaling, LayOut ensures your drawings are both clear and accurate – perfect for sharing with project stakeholders. It’s a go-to tool for creating construction documents that align with building codes and project specs.