Meta description: CAD to Revit conversion best practices for AEC firms. Learn the production workflow that protects model quality, file performance, coordination, and downstream documentation.
Most AEC firms still have years of usable project knowledge sitting in DWG files. The problem isn't whether that information matters. It does. The problem is that many teams try to move it into Revit with a file operation instead of a production method.
That shortcut is where margins start leaking.
A model can look correct in plan and still be wrong in every way that matters. Walls aren't true walls. Doors don't schedule. Imported linework hides under native elements. File size climbs. Coordination suffers. Then the team finds out during permitting, consultant exchange, or RFIs that the “conversion” never became a real BIM model.
The industry has already made the larger shift. Revit entered the market in 2000, and by 2010 over 70% of the largest 100 U.S. architecture firms had adopted it, helped by mandates such as the GSA BIM requirement for federal work in 2003, as noted by ArchSmarter's review of the CAD-to-Revit transition. That adoption history matters because it explains the current reality. Most firms are no longer deciding whether BIM matters. They're deciding how to handle legacy CAD without damaging delivery quality.
CAD to Revit conversion best practices aren't about getting a DWG visible inside a Revit file. They're about rebuilding project information so the model behaves properly in production.
Practical rule: If the model can't schedule, coordinate, and document reliably, the conversion isn't finished.
Introduction What AEC Firms Get Wrong and How to Fix It
The most common mistake is simple. Teams confuse access with conversion.
If a DWG is visible in Revit, people assume progress has been made. In practice, they've often created a reference container, not a usable building model. That difference affects every downstream task in architectural production Revit workflows, from view generation to quantity checks to consultant coordination.
A proper cad to revit process starts with one hard decision. You have to separate legacy information worth rebuilding from legacy drafting worth only referencing. When teams skip that decision, they model too much, trust the wrong source sheets, and carry 2D drafting habits into a parametric environment.
Three failures show up again and again:
- Wrong success metric: The file opens, but the data doesn't behave.
- No production standards: Modeling starts before template, coordinates, and view logic are set.
- No QC gate: Handoff happens when tracing ends, not when the model proves it can support documentation.
The fix is less glamorous than most firms want. It requires discipline before speed. Audit the DWGs. Resolve xrefs. define target LOD. Set up the Revit template. Rebuild only what the project needs natively. Then test the model like a live production asset, not a visual replica.
That approach protects schedules, coordination, and documentation quality. It also protects the team from spending design hours cleaning up preventable BIM debt.
Beyond Import The True Meaning of CAD to BIM
A linked DWG, an imported DWG, and a native Revit model are three different things. Treating them as interchangeable is what breaks CAD to BIM conversion efforts.
What each method actually does
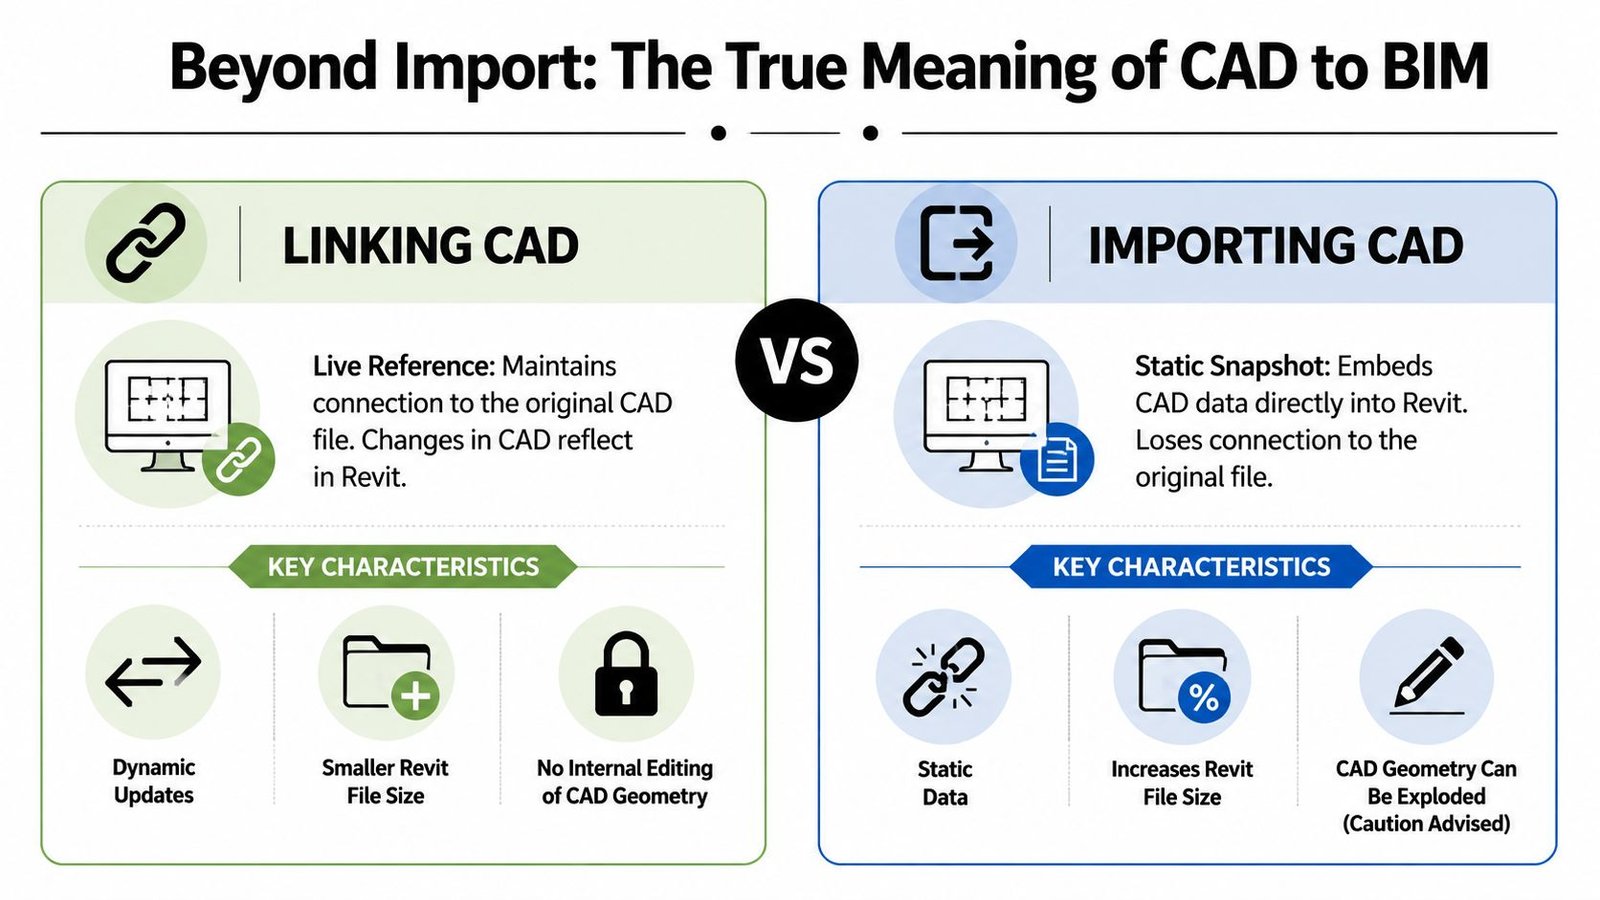
Link CAD keeps the DWG external. Revit references it. That's useful when the source may change, when survey or civil backgrounds need to stay separate, or when a detail library is being rebuilt in stages.
Import CAD embeds the DWG into the Revit file. That's a snapshot. It can be tempting because it feels self-contained, but it's where many performance and control problems begin.
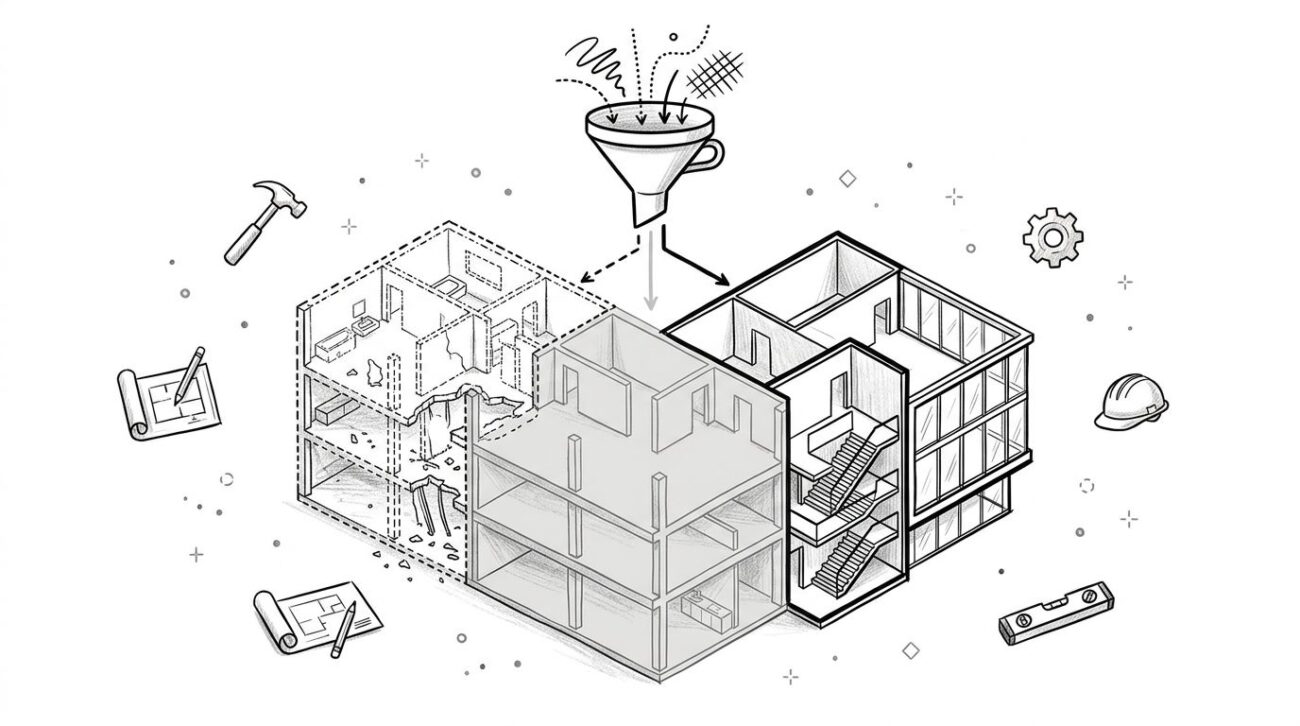
Native model conversion means rebuilding geometry as actual Revit categories and families. Walls become walls. Doors become doors. Floors, roofs, ceilings, rooms, tags, and schedules all behave as expected because they are native objects.
A good analogy is this: a linked or imported DWG is like a picture of a spreadsheet. A native Revit model is the spreadsheet itself.
Why link usually beats import
The risk isn't theoretical. A 2016 Autodesk survey found that 62% of North American firms encountered import failures, and 45% preferred linking CAD files because linking allowed updates without re-importing and helped manage Revit's 20-mile origin limit. The same source notes that linked CAD reduced file corruption by 90% compared to direct imports, discussed in this Revit Forum summary of DWG origin and import issues.
Linked CAD is a controlled reference. Imported CAD is baggage unless there's a very specific reason to embed it.
That doesn't mean linking is the finish line. It means linking is usually the correct starting condition for a controlled Revit import CAD workflow.
Where each option fits
| Method | Description | Best For | Risk |
|---|---|---|---|
| Link CAD | External DWG reference inside Revit | Surveys, site backgrounds, phased detail rebuilding, files that may update | Teams may mistake the link for a finished conversion |
| Import CAD | Embedded DWG snapshot | Limited one-off references in isolated conditions | File bloat, unmanaged geometry, harder updates |
| Native Model | Rebuilt Revit elements and families | Production models, schedules, coordination, documentation | Requires standards, time, and disciplined modeling |
The test is simple. If the model needs to support schedules, clash detection, room data, takeoffs, permitting, or repeatable detailing, native modeling is the actual conversion.
For teams comparing Autodesk guidance on these decisions, Autodesk's Revit help documentation on linking and importing CAD files is a useful reference point.
Pre-Conversion Discipline That Protects Your Project
Most bad conversions are already failing before anyone opens Revit. The source DWGs are bloated, layered inconsistently, or carrying xref dependencies nobody mapped. Then the team starts tracing on top of unreliable inputs and calls the resulting rework a Revit problem.
It usually isn't a Revit problem.
Clean the CAD before you touch the model
Rigorous CAD cleanup can reduce file bloat by 40-60%, and using Link CAD with Current View Only selected can produce viewport updates that are twice as fast as direct imports, according to this CAD to Revit conversion workflow guide.
That matters because every bad layer, duplicate line, exploded hatch, and unresolved xref gets translated into wasted modeler time.
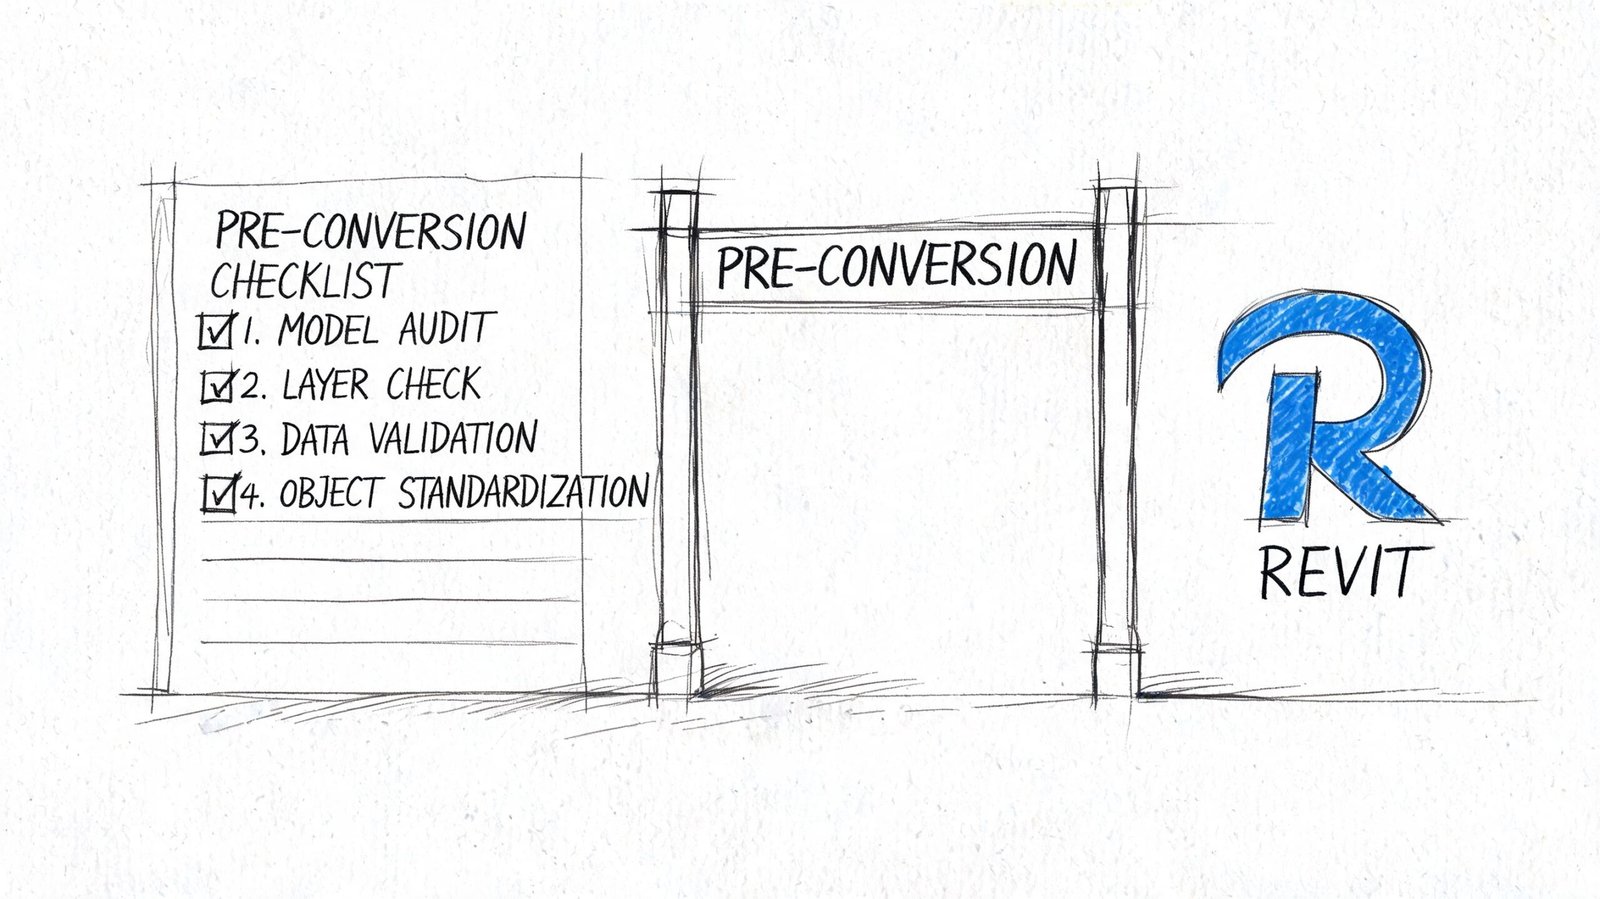
Use a pre-conversion checklist that forces the team to answer the following:
- Layer logic: Are layer names usable enough to map confidently to modeling categories and visibility standards?
- Xref status: Have all external references been found, attached correctly, and reviewed for relevance?
- Line quality: Are duplicate lines, zero-length segments, and exploded blocks cleaned up?
- Units and scale: Does model space reflect real project dimensions, and has unit consistency been verified?
- Sheet trustworthiness: Which drawings reflect construction intent, and which are only reference history?
For firms building a repeatable intake process, a dedicated CAD to BIM conversion checklist helps standardize that review before production starts.
Set the Revit template before production begins
A blank Revit file is not neutral. It's a trap if your team starts modeling before standards are loaded.
The template should already define browser structure, view naming, sheet logic, title blocks, annotation behavior, line styles, view templates, and default families. On multi-discipline work, shared coordinates and level strategy should be established before the first wall is created.
The expensive mistake isn't using the wrong family. It's building half the project before standards exist.
The setup items that shouldn't be skipped
- Browser organization: Keep views and sheets sortable by discipline, phase, and package.
- Level and grid alignment: Match approved project references, not whatever shows up first in a legacy file.
- Shared coordinates: Set them deliberately for consultant exchange, site integration, and permit consistency.
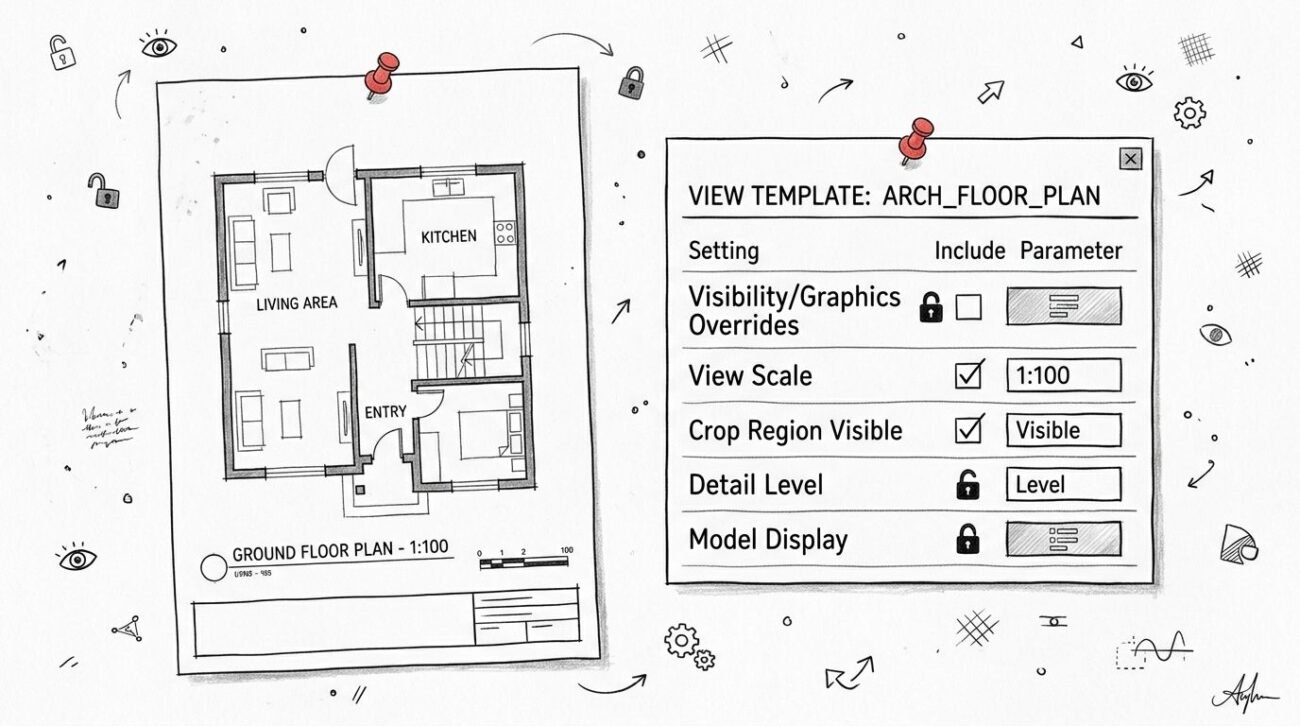
- View templates: Lock graphics early so converted content doesn't create random office standards by accident.
Teams that skip this work don't save time. They just move the cleanup into CD production, where the labor is more expensive and the errors are harder to find.
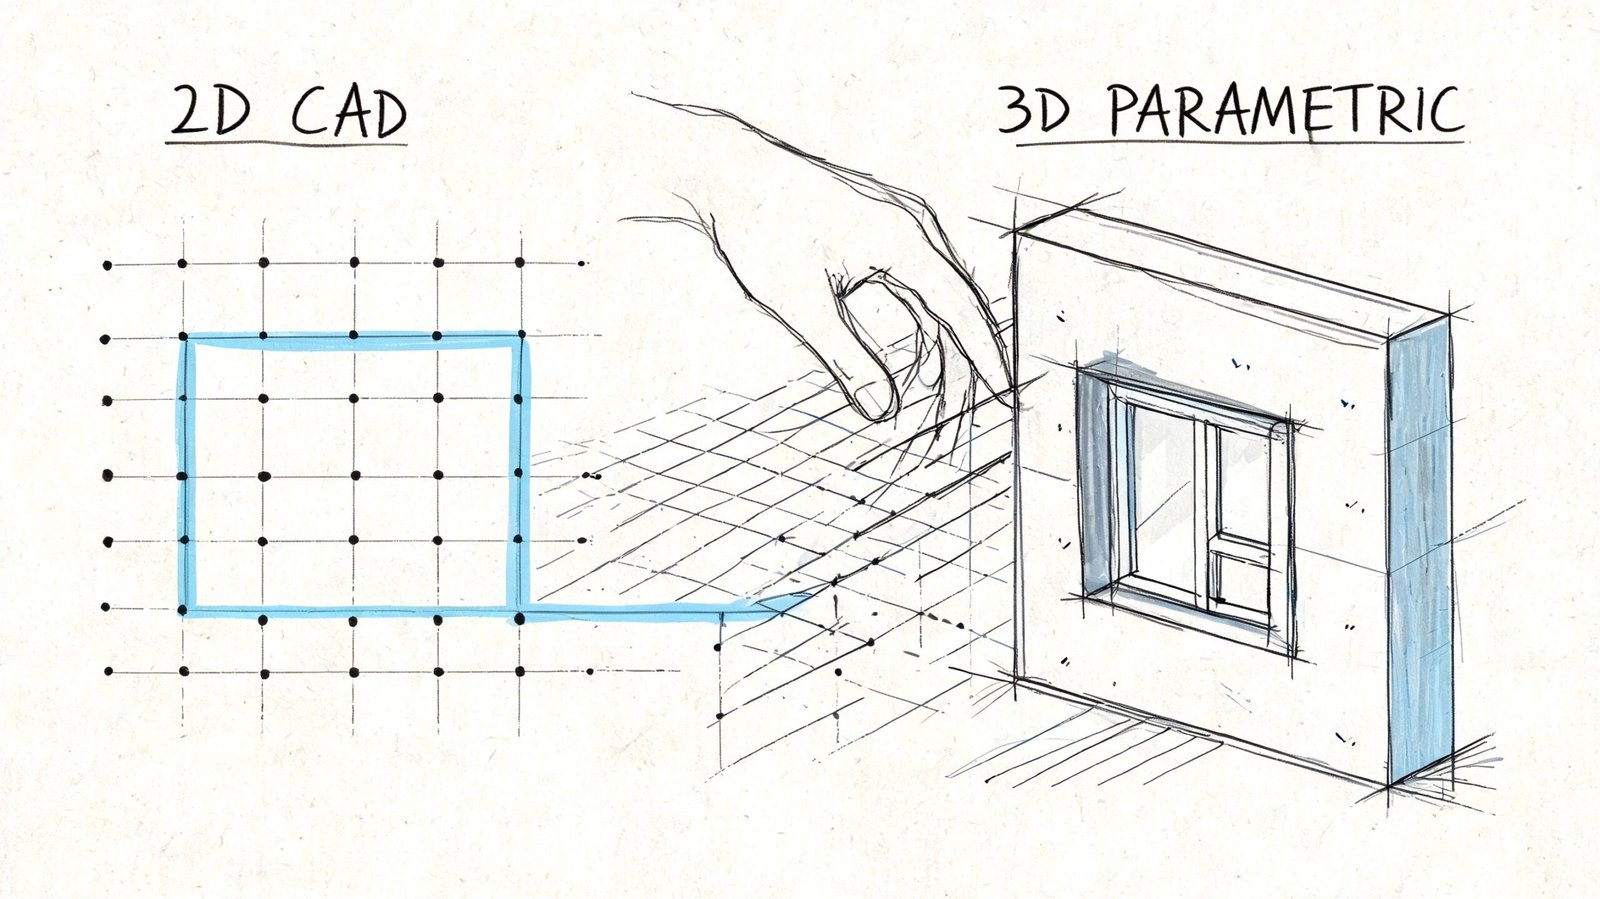
From 2D Lines to Parametric Revit Elements
The core question in cad to revit isn't “Can this be traced?” It's “Should this become a native element, a parametric detail component, or a linked reference?”
That decision starts with LOD. If the project only needs schematic or design development intelligence, don't build fabrication-grade geometry. Over-modeling creates as much waste as under-modeling. The target should match the phase, the contract deliverable, and the uses of the model.
Set modeling depth before tracing starts
For most projects, the cleanest way to avoid rework is to define category-level expectations up front.
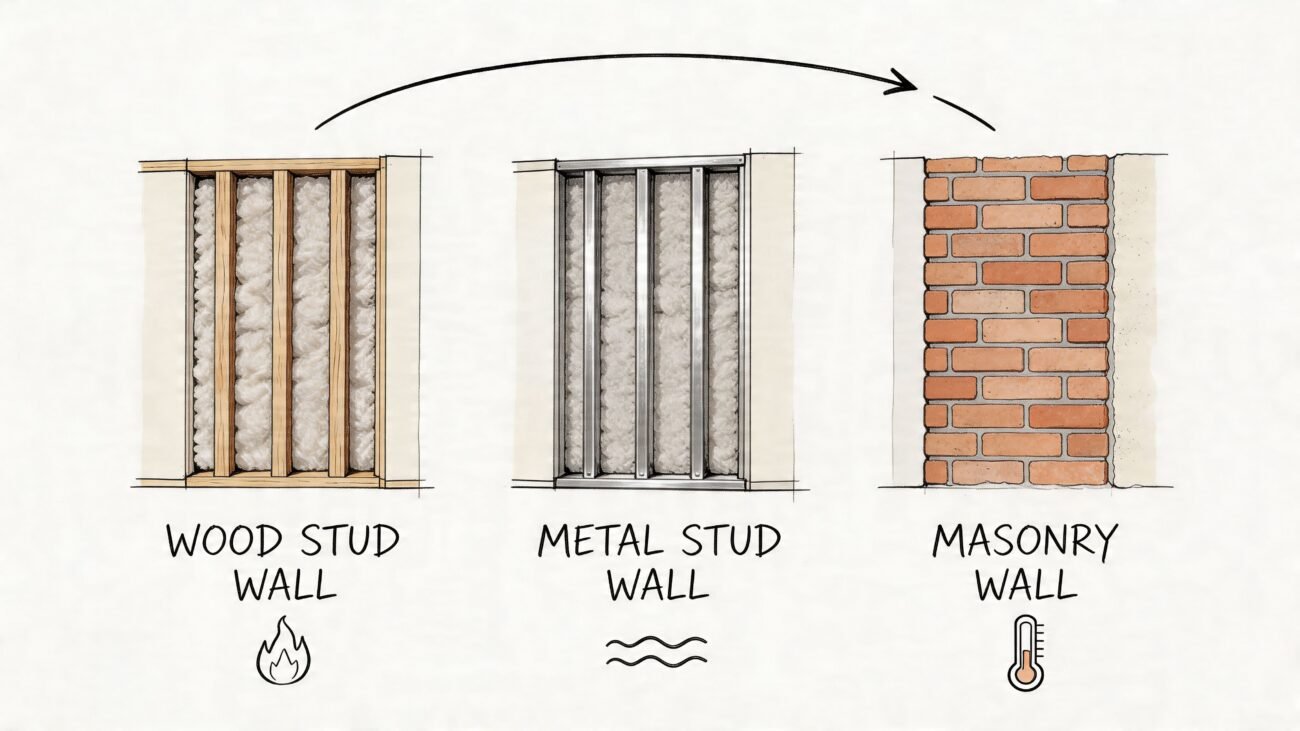
- Walls and core shell: Native and typed correctly.
- Floors, roofs, ceilings: Sketched as Revit systems, not imported outlines.
- Openings: Hosted families whenever possible.
- Details: Parametric where repeatability matters, 2D drafting only where a one-off detail is justified.
- MEP in architecture-led conversions: Enough to support space allocation, equipment location, major risers, and coordination intent, not unnecessary routing detail.
If the BIM execution plan is vague here, the team will fill the gap with assumptions. That's where file complexity and inconsistent output begin. Firms managing this formally should align conversion rules to their internal BIM execution standards and can benchmark against AIA BIM resources.
What to model natively
Walls should be traced using the correct Revit wall types, with proper location lines and constraints. Generic walls are a temporary crutch and often survive far longer than they should.
Floors, roofs, and ceilings should be rebuilt by sketching boundaries from trusted references. Imported flat linework is not a substitute for system elements.
Doors and windows should come from approved project families, manufacturer content, or controlled office standards. Placeholder geometry creates schedule and hosting problems later.
Stairs and railings should be native. Shortcuts here almost always return as documentation pain.
What to reference or defer
Civil backgrounds, survey information, and some site geometry are often better linked than converted, especially when another authoring platform controls the source. The same logic applies to legacy details that don't justify immediate rebuild.
But there's an important distinction. Referencing isn't the same as exploding.
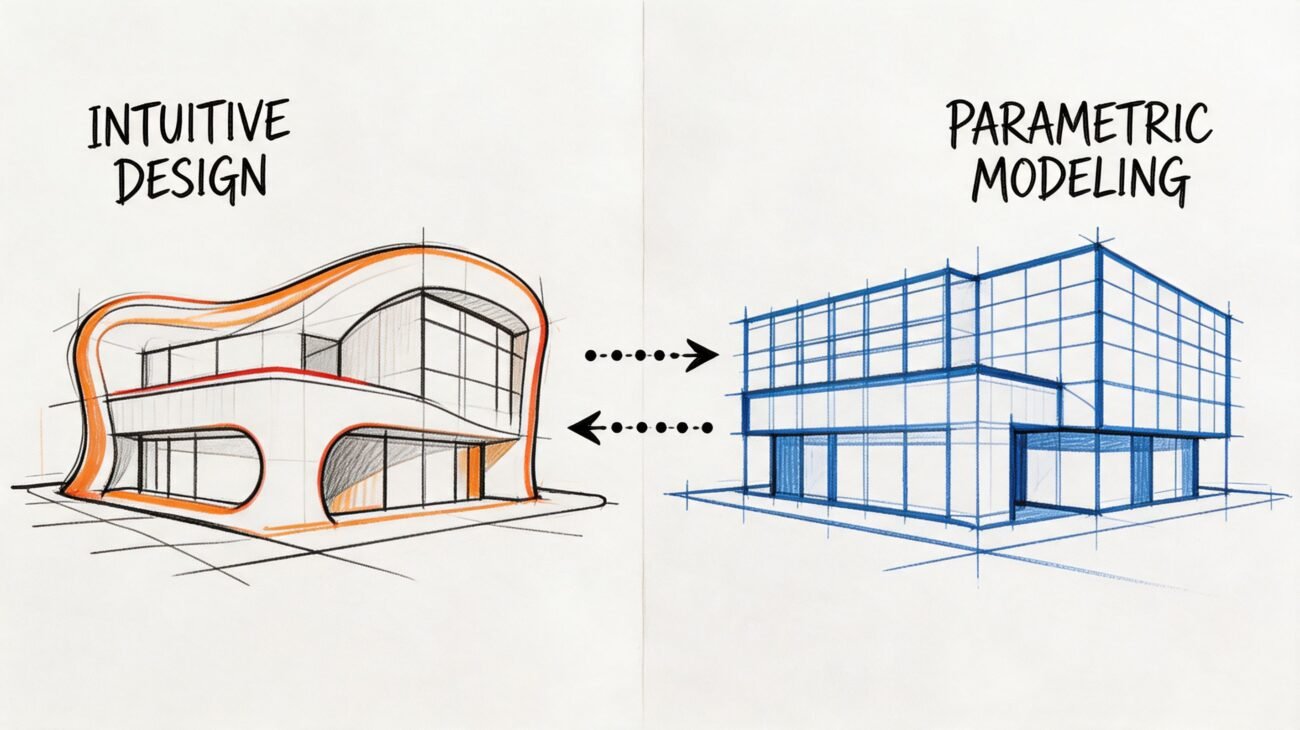
A lot of tutorials still recommend exploding CAD for speed. That approach creates non-parametric geometry and a long maintenance burden. The better practice for repetitive detail libraries is to build parametric Detail Components so future edits happen through controlled parameters, not manual redrawing, as discussed in this video on parametric versus exploded CAD detail workflows. For a broader explanation of why that matters long term, this guide on parametric modeling in BIM workflows is a useful companion.
If a detail will change more than once, rebuilding it parametrically is usually cheaper than fixing exploded drafting over and over.
What usually fails in production
The shortcuts that create the most damage are predictable:
- Imported CAD used as building geometry: It looks aligned until schedules, joins, and sections expose the problem.
- In-place families everywhere: They solve a local issue and create a library governance issue.
- Nested DWGs inside families: These are hard to spot, hard to control, and brutal for file hygiene.
- Unhosted content: Doors, windows, fixtures, and equipment lose behavior that production teams depend on.
A good AutoCAD to Revit migration isn't about maximum speed on day one. It's about producing a model that still behaves correctly when sheeting, coordination, revisions, and future phases begin.
Protecting Model Health and Performance
Model health is not a cleanup phase at the end. It starts during conversion and has to stay visible throughout production. Most slow Revit files aren't slow by accident. Teams build that problem through embedded CAD, unmanaged families, duplicated views, and weak worksharing structure.
The habits that keep converted models usable
Start with the obvious. Run Purge Unused after major conversion milestones. Imported CAD often leaves behind linestyles, fill patterns, text styles, and other debris that serve no production purpose. Use the Audit tool when opening a model that has passed through multiple hands or questionable imports.
Then look at structure.
- Worksets: Use them where project scale and team size justify them. They should support team access and model control, not become a storage closet for random content.
- Linked files: Keep disciplines, buildings, or phases linked where separation improves manageability.
- View control: Delete test views, temporary drafting views, and abandoned conversion views before handoff.
- Family discipline: Replace one-off content with approved library components where possible.
Split models when management benefits outweigh convenience
Some teams hold onto a single-file ideal long after the project outgrows it. If the building, discipline structure, or phasing logic supports separation, splitting models can make coordination cleaner and reduce performance drag.
A fast model is easier to trust. A slow model makes teams hesitate, work around the platform, and reintroduce CAD habits.
Healthy files support predictable sync behavior, cleaner Navisworks exports, and more reliable documentation. In a conversion context, that isn't a technical luxury. It's part of delivery quality.
Quality Control That Prevents Downstream Rework
Conversion is complete only when the model proves it can support production. That means QC has to test behavior, not appearance.
The handoff checklist BIM teams should use
A practical QC review should confirm the following:
- Category correctness: Walls are walls, doors are doors, ceilings are ceilings, and generic models haven't become a hiding place for unresolved conversion work.
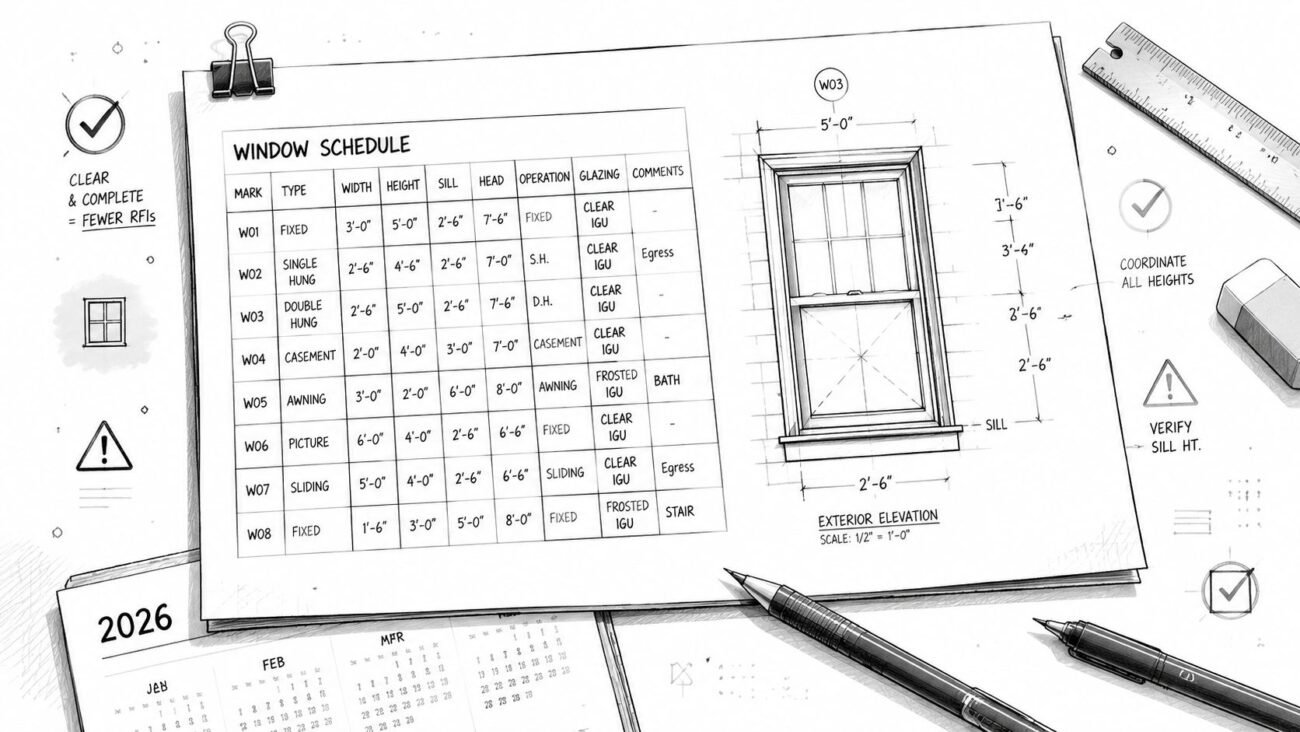
- Schedule behavior: Door, window, room, and equipment schedules populate as expected.
- Datum control: Levels and grids are established correctly and used consistently.
- Residual CAD review: No hidden imported geometry remains in active production areas unless intentionally linked for reference.
- Performance check: The file opens cleanly, syncs reliably, and key views regenerate without obvious strain.
- Coordination setup: Coordination views, view templates, and visibility states are ready for clash review and consultant exchange.
Check what will fail later, not what looks fine today
A lot of rework starts because teams review geometry in plan and stop there. The better test is to open sections, elevations, schedules, sheets, and 3D coordination views. If the model breaks when used the way the project will use it, the conversion isn't stable yet.
This is also the point to verify hosting, room bounding conditions, key family parameters, and annotation consistency. Small misses here become RFIs later, especially when permit sets and consultant packages begin moving quickly.
Good QC catches the invisible problems. Bad QC signs off on a model because the floor plan resembles the DWG.
The payoff is operational consistency. A reliable converted model supports documentation, coordination, and future revisions without forcing the team back into drafting workarounds.
The Strategic Decision When to Outsource Conversions
In-house conversion makes sense when a firm has three things at the same time. Strong Revit standards, trained internal capacity, and enough schedule room to rebuild legacy content carefully.
A lot of firms don't have all three when the work arrives.
Outsourcing becomes a strategic move when multiple legacy projects need conversion at once, when the DWGs are inconsistent, when project deadlines are already active, or when the internal team should stay focused on design, client coordination, and permitting. For high-volume work, AI-augmented conversion workflows can automate 70-80% of the tracing process, and firms using these methods report up to 50% faster project delivery, according to this guide to AI for CAD and Revit workflows. That doesn't remove the need for BIM judgment. It reinforces the value of a controlled production system around the automation.
For firms evaluating support models, it helps to compare conversion work with broader architectural production services so the handoff standards, documentation needs, and downstream package expectations stay aligned.
A well-converted Revit model becomes an asset. A rushed conversion becomes hidden liability.
If your team is mid-transition and needs a cleaner path, BIM Heroes helps AEC firms turn legacy CAD into production-ready Revit models with disciplined workflows, QA checks, and reliable handoff standards. If useful, reach out for support on conversion planning, template alignment, or a scalable workflow for larger legacy backlogs.
Suggested WordPress category: BIM Technology & Workflows