Meta description: A practical guide to energy code compliance documentation for commercial permit sets. Learn what drawings must show beyond COMcheck, Title 24, and energy models to avoid plan check corrections.
A passing COMcheck or Title 24 report lands in the permit submission. The reviewer still marks up the set.
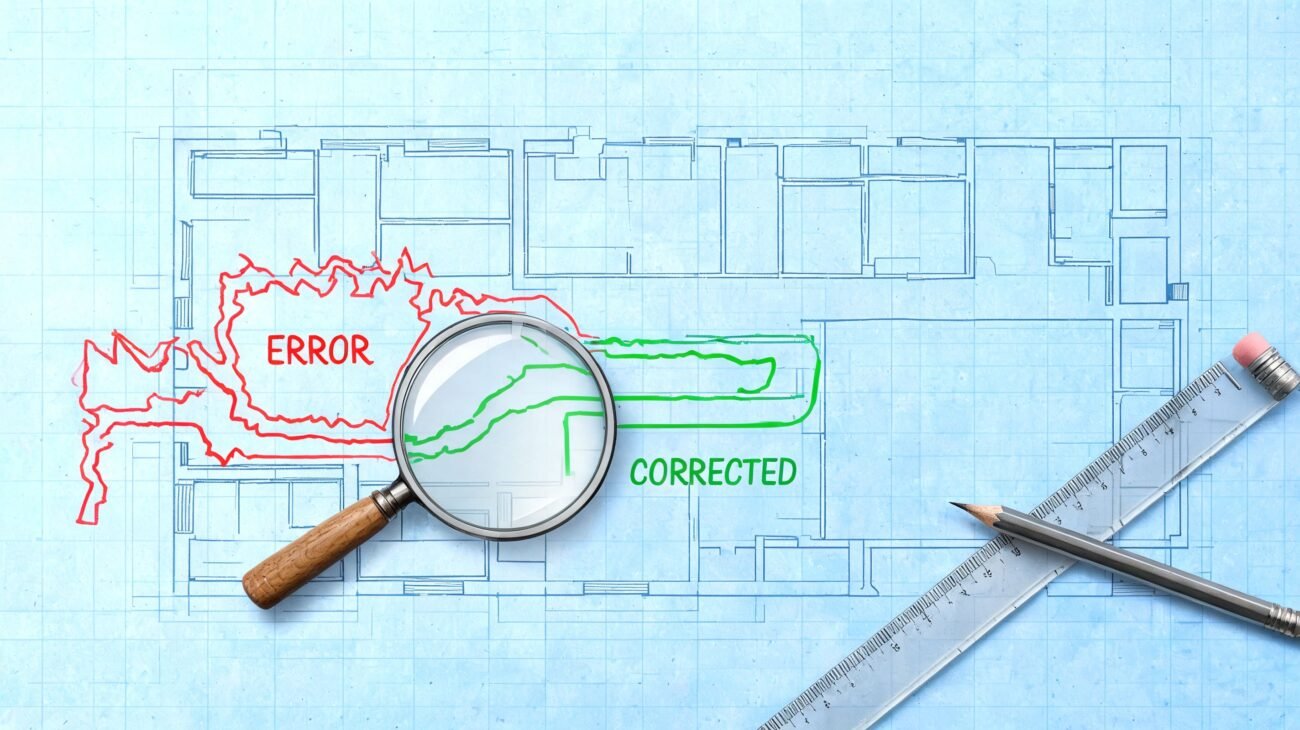
The correction is usually the same in different words. The report says one thing, and the drawings say another. The wall R-value in COMcheck doesn't match the wall assembly on A5 sheets. The roof insulation in the report doesn't match the roof detail. The glazing U-factor is blank in the schedule, or buried in a spec note that no plan reviewer is going to chase. The report passes. The drawing set doesn't support it.
That gap is where permits stall, RFIs start, and margins get eaten up by rework. Teams that already use building performance reviews, commissioning input, or even outside operational checks such as Solar Energy Management business audits usually understand the same basic truth. A calculation only matters if the constructed building can be verified against it. In a permit set, verification starts with the drawings.
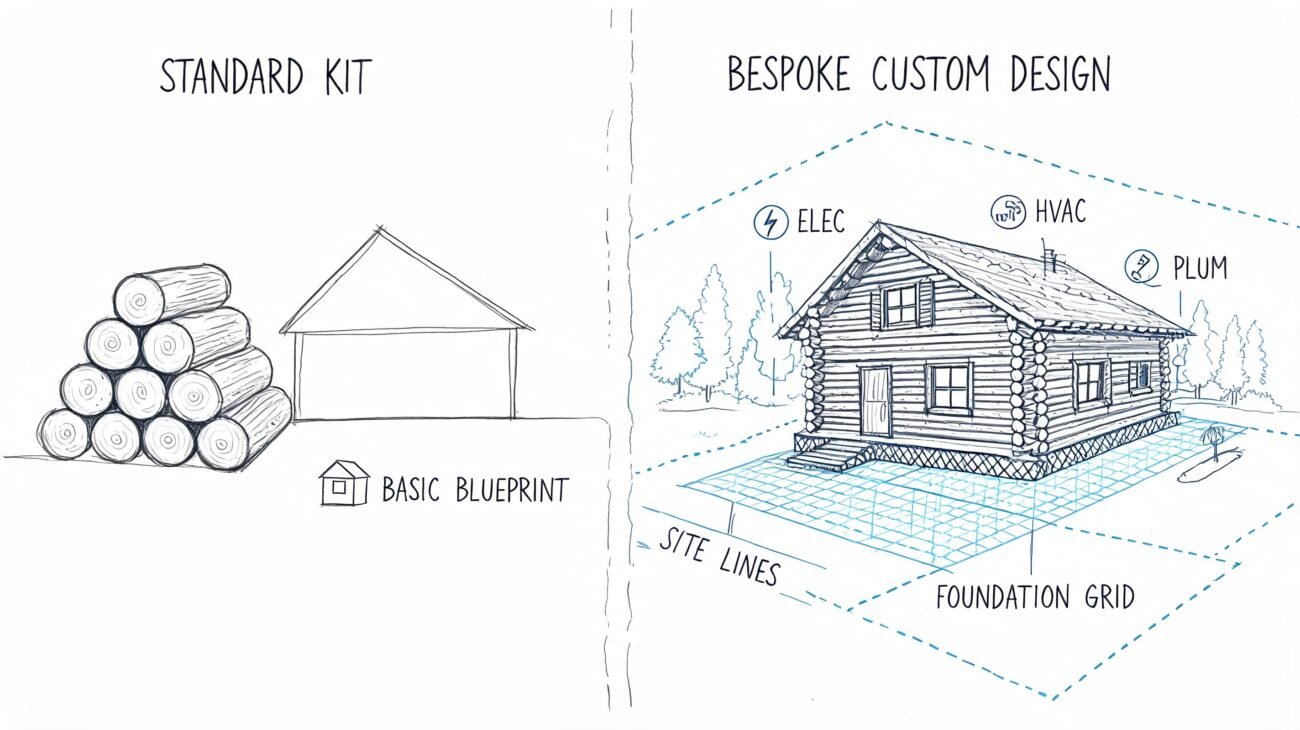
Introduction
For commercial work, energy code compliance isn't just a software output. It's a documentation problem.
COMcheck, eQUEST, EnergyPlus, and Title 24 forms each serve a purpose. They show that the building, as entered, can comply under the selected path. But the permit reviewer and field inspector still need to find those assumptions in the architectural, mechanical, and electrical sheets. If they can't trace the model inputs to actual notes, details, schedules, and sequences, the report won't carry the set.
Production teams that handle this well make one simple move early. They treat the compliance report as a coordination document, not a stand-alone deliverable. Every envelope value, glazing value, equipment efficiency, and control strategy in the report has to show up in a place the reviewer can verify quickly.
Why the Calculation Alone Is Not Enough
A passing report is necessary. It isn't sufficient.
The compliance report proves that a modeled building meets the code path that was selected. The plan reviewer uses it to check whether the building type is classified correctly and whether the entered inputs are plausible. That's important, but it only gets the project to the first checkpoint.
The construction documents do the heavier job. They are the record the contractor prices from, the inspector verifies from, and the owner ultimately relies on when systems are installed and tested. If the report assumes R-30 roof insulation and the details only show “insulation per spec,” the set is weak. If the model assumes a specific glazing U-factor and SHGC, but the window schedule leaves those fields blank, the reviewer has every reason to reject the submission.
What the reviewer checks versus what the inspector checks
A lot of internal confusion comes from treating permit review and field verification like the same task. They aren't.
| Role | Primary concern | What they need to see |
|---|---|---|
| Plan reviewer | Are the compliance inputs believable and supported? | Explicit values on drawings, schedules, notes, and details |
| Field inspector | Was the approved design actually built? | Assemblies, labels, equipment schedules, installed controls, and verifiable documentation |
The inspector can't verify compliance from a COMcheck printout alone. They verify from wall sections, roof details, glazing schedules, HVAC schedules, control diagrams, and sequences of operation.
Practical rule: If a value appears in the compliance report, it should be easy to locate on the permit drawings without opening another document.
That's why mature teams build a reconciliation pass before submittal. They don't ask whether the report passed. They ask whether the drawings prove what passed.
That distinction matters in practice because field reality still lags code adoption. Empirical research found that approximately 79% of newly constructed commercial buildings comply with mandatory energy efficiency standards after adjustment for data limitations according to the Commercial Building Market Characterization Field Study. That is the fundamental warning. Adoption on paper doesn't save energy. Verifiable documentation and field execution do.
What works in production
Three habits consistently reduce corrections:
- Tie report inputs to sheet locations so the reviewer can match values fast.
- Use disciplined template fields for envelope, glazing, HVAC, and lighting data.
- Run one final cross-discipline audit with architecture, mechanical, and electrical looking at the same compliance assumptions.
What doesn't work is treating the energy consultant's report as separate from the CD team's drawing package.
Documenting the Building Envelope for Compliance
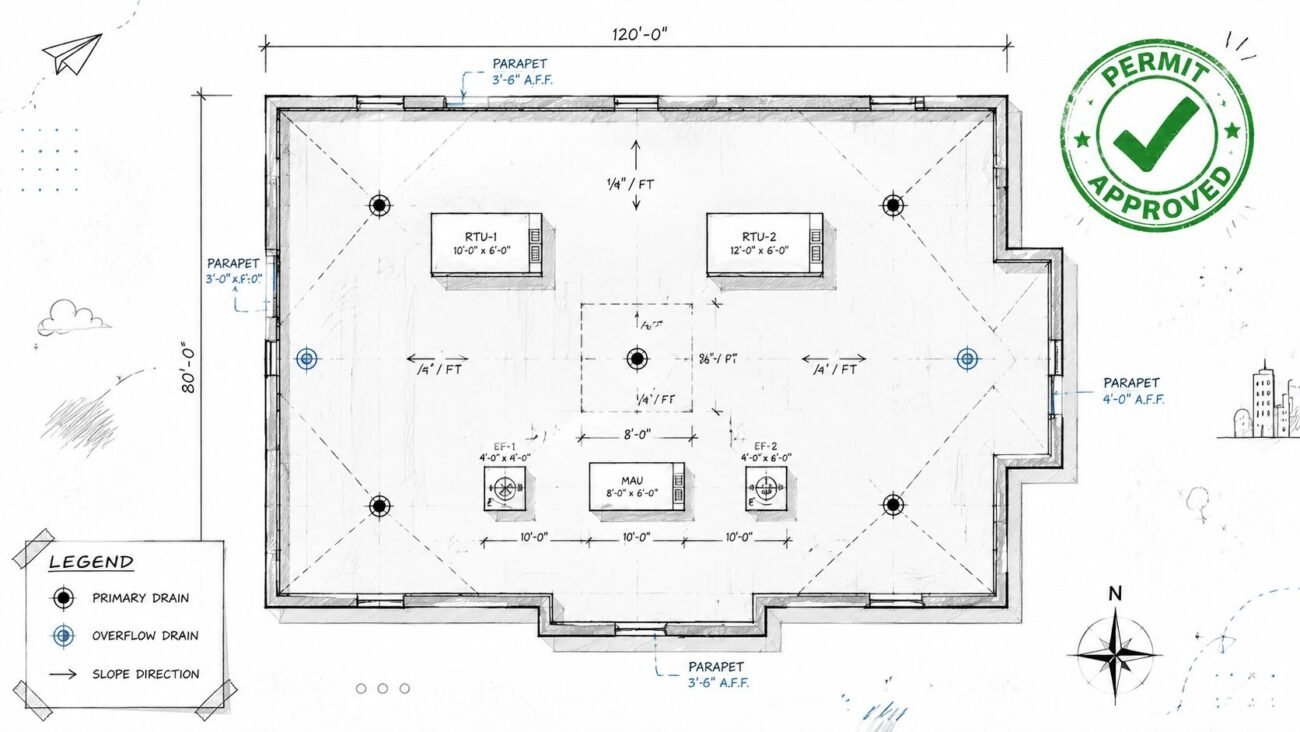
Most plan check comments start at the exterior envelope because that's where mismatches are easiest to spot.
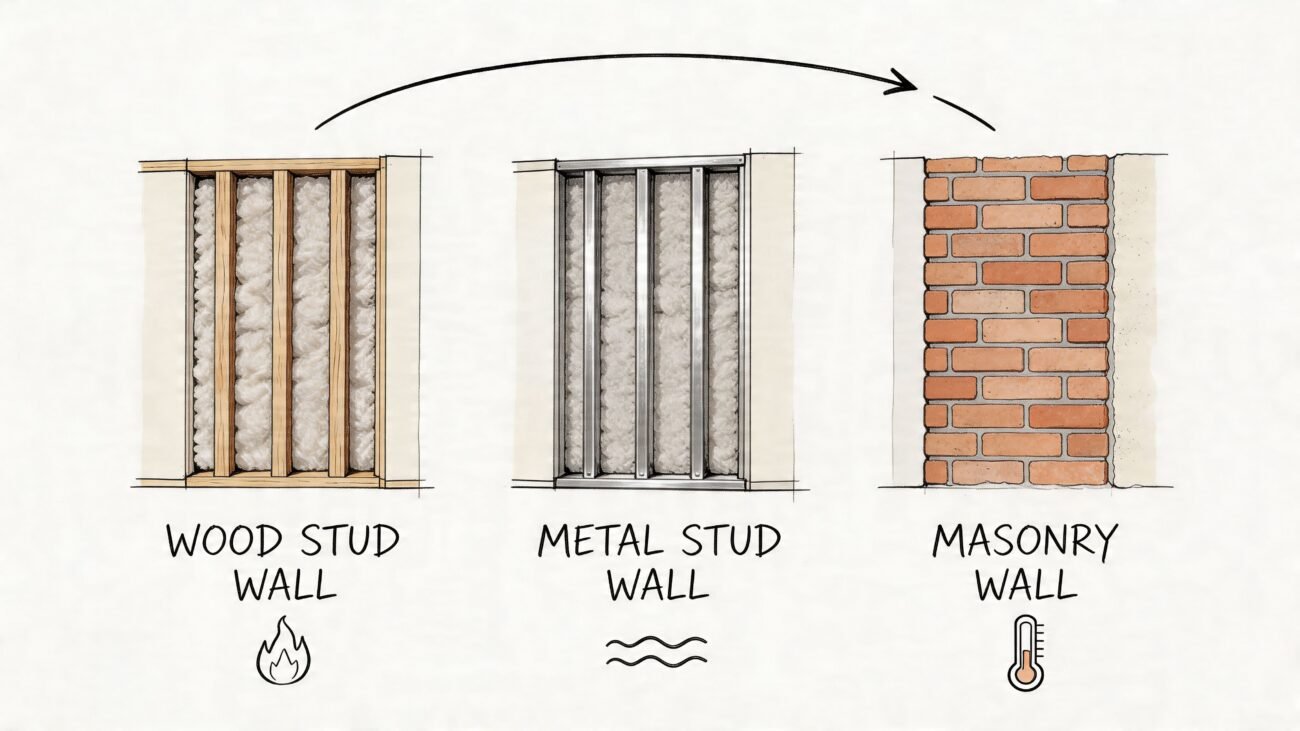
If the wall type legend, roof details, and foundation details don't clearly support the energy report, the rest of the set comes under suspicion fast. The fix is not complicated, but it requires discipline. Every assembly entered in the compliance path has to be named, described, and documented the same way in the drawings.

Put assembly values in the drawing set
Start with wall types.
If the compliance report models a wall as a mass wall, the wall type legend should identify it that way. If the report uses a framed wall assumption, the detail should show a framed assembly with the right insulation strategy. Don't make the reviewer infer that a wall type on A601 is “close enough” to the COMcheck line item.
Include these items directly in the architectural set:
- Wall assembly identification with clear type naming that matches the report terminology.
- R-value or U-factor support shown through the actual assembly build-up, not a vague note.
- Material layers and thicknesses so the thermal path is understandable.
- Foundation and slab insulation when those assemblies are part of the compliance input.
Roofs are where many sets fall apart. The detail has to show insulation type, thickness, and location. Above-deck continuous insulation is not the same as cavity insulation between framing. The code treats them differently, and your drawings need to make that distinction obvious.
Show the location of insulation, not just the intent
Production maturity becomes evident. Good details don't just list an R-value. They show where the insulation sits in the assembly and what continuity looks like at transitions.
The IECC makes air leakage limiting a non-tradable, mandatory requirement for all projects regardless of the compliance path, and that means envelope tightness has to be documented in a way the reviewer can verify, as outlined by the ICC overview of IECC compliance requirements.
A lot of architects understand this at a design level but under-document it at permit. Air barrier continuity, insulation continuity, and thermal transition points around parapets, slab edges, and openings need to read clearly in the details. Even a homeowner-facing resource like a health check-up for your home's envelope is useful as a reminder of how envelope performance is ultimately tested in practice. Tightness isn't abstract. Someone has to build and verify it.
The drawing set should answer the reviewer's next question before they ask it.
A tight envelope package usually includes
- Roof detail callouts that identify insulation type, thickness, and total intended thermal value.
- Wall legends with enough information to distinguish continuous insulation from cavity insulation.
- Below-grade details when basement walls, slab edges, or foundation insulation are part of the model.
- Air barrier notes and continuity details at transitions, penetrations, and perimeter conditions.
CAD-to-BIM evolution offers significant advantages. In a mature BIM workflow, wall types, roof types, and keyed details can be scheduled and checked against the compliance assumptions more reliably. In a loose 2D workflow, teams often miss one assembly revision and send conflicting information out the door.
Getting Glazing and Fenestration Documentation Right
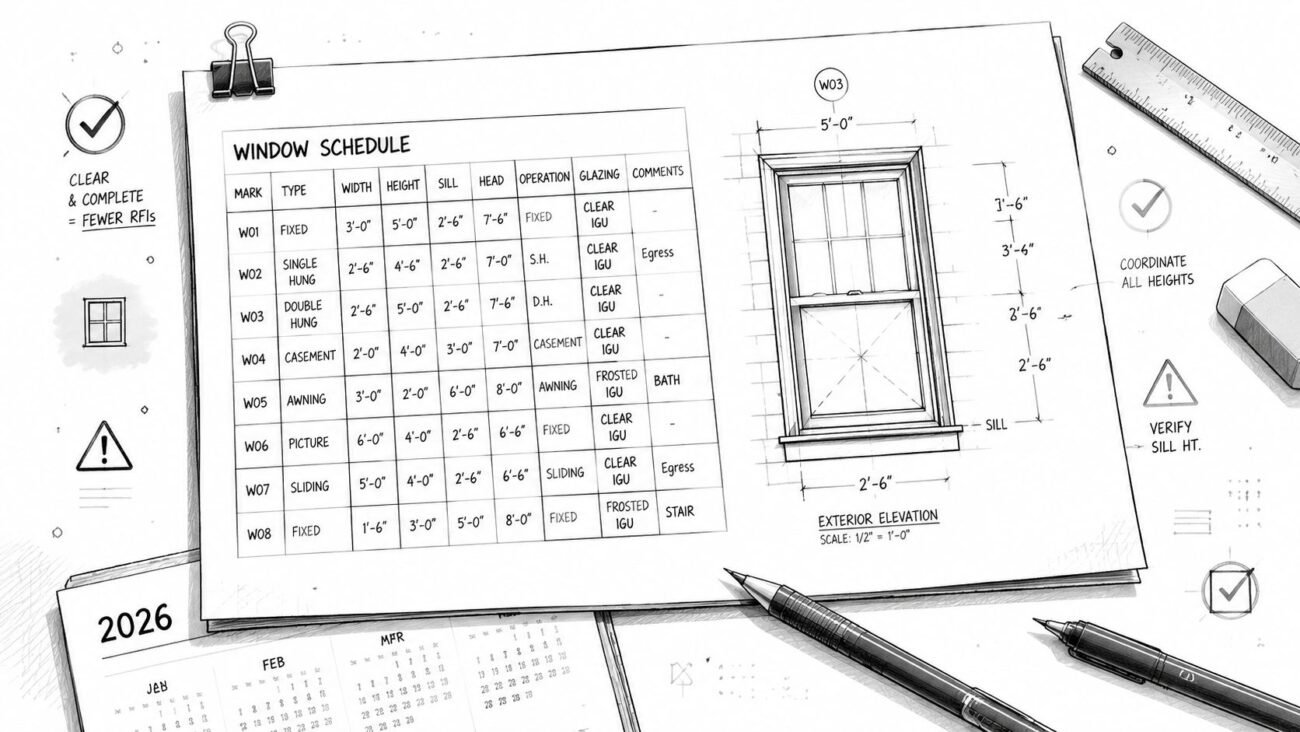
Glazing schedules are one of the easiest places to lose credibility with a reviewer.
The usual mistake is simple. The schedule lists type, size, frame, and remarks, but leaves thermal performance blank or says “per spec.” That doesn't work for energy code compliance documentation permit review because the reviewer needs direct, sheet-based confirmation of the values used in the report.

Every glazing type needs explicit performance data
Every window, storefront, curtain wall vision panel, glazed door, and skylight type should carry its performance data in the schedule. That means U-factor and SHGC should be shown where the reviewer expects to find them.
This matters even more on the performance path. ASHRAE Standard 90.1 provides two paths to compliance, prescriptive and performance, and the performance path relies on energy modeling that requires precise glazing U-factors and SHGCs to be rigorously documented on the drawings to be verifiable, as summarized in this review of ASHRAE 90.1 compliance standards and practices.
If your office handles curtain wall packages, keep spandrel separate from vision glazing. Don't let a curtain wall schedule imply that the whole assembly performs like the vision glass. Opaque spandrel panels need their own documented thermal treatment because the compliance model distinguishes them. The drawings should too.
For teams refining schedule standards, this reference on window glazing and glass selection is a useful place to align terminology and schedule structure with actual production output.
Common glazing misses that trigger comments
- Blank U-factor fields in the window or door schedule.
- Missing SHGC values for systems with multiple glazing types.
- Skylights treated like vertical glazing without separate schedule data.
- Spandrel panels rolled into a generic curtain wall note with no separate insulation information.
If the reviewer has to open the project manual to confirm a glazing value, the permit set is under-documented.
What a verifiable glazing package looks like
It isn't fancy. It's complete.
The window schedule identifies each glazing type and includes thermal performance values. The curtain wall elevations and details distinguish vision from opaque zones. The roof plan and skylight schedule make area and type easy to confirm. The specs still matter, but they support the drawings instead of rescuing them.
This is one area where Title 24 compliance drawings often force better behavior than generic commercial sets because California reviewers are used to asking for explicit values. The same standard should apply on any ASHRAE 90.1 or IECC project.
What to Show for Mechanical System Compliance
Mechanical sheets often include the right equipment and still miss the compliance mark because the energy information isn't documented in a usable way.
That usually happens when the equipment schedule is written for coordination, not for verification. Tonnage, airflow, and manufacturer are listed. The specific efficiency ratings that support the compliance report are missing, and the control sequences are too thin to prove required functions.

Put efficiency ratings where the reviewer can see them
For each relevant piece of HVAC equipment, the mechanical schedule should show the efficiency metric used for compliance. Depending on system type, that might be EER, SEER, COP, AFUE, or thermal efficiency. Heat pumps need both heating and cooling ratings documented.
If the report assumed a specific efficiency, the schedule needs to state it. Don't rely on model numbers alone. Reviewers should not have to research catalog data to determine whether the submitted system aligns with the code path.
This becomes more important when the project uses a performance path under ASHRAE 90.1 construction documents because the model and the installed design have to stay aligned. For firms tightening their documentation standards around these requirements, this guide to ASHRAE 90.1 project coordination is useful for structuring drawing outputs and review checks.
Show required controls, not generic intent
Economizers and demand control ventilation are classic correction items.
If an economizer is required, show it on the schedule and in the sequence of operation. The controls matter. The same goes for DCV in applicable spaces. A note that says “provide DCV where required” isn't enough. The sequence should indicate how outside air is reset or controlled, and where sensing occurs.
Some analyses show up to 35% non-compliance in HVAC efficiency and lighting control strategies due to gaps between design, documentation, and final installation. That aligns with what many production teams see during permit review and construction administration. The issue usually isn't that the team ignored the code. It's that the documents didn't clearly connect the design intent to verifiable requirements.
A related detail that gets missed often is duct sealing and insulation. Duct leakage control may be handled differently by project type and jurisdiction, but the drawings still need to state insulation levels and sealing expectations clearly. Even outside plan review, field-focused guidance on duct sealing is a useful reminder that air distribution performance depends on execution, not just equipment selection.
Mechanical items worth checking before permit
- Efficiency column in schedules for every primary HVAC unit.
- Economizer identification in schedule notes and control narrative when required.
- DCV sequence language tied to the spaces that trigger it.
- Duct and pipe insulation notes that are specific enough to verify.
- Coordination with reflected ceiling plans and controls drawings so sensors, dampers, and equipment logic don't conflict.
Good MEP documentation doesn't just say the system complies. It shows how compliance is supposed to work.
Finalizing Lighting and Electrical Documentation
Lighting is where a lot of teams leave the electrical sheets too generic.
A note saying “lighting controls per code” doesn't prove anything. Reviewers need to see the lighting power allowance approach, fixture wattage, control type, and where those controls apply. If the lighting package sits in a separate consultant file, that coordination gap can hold up the entire permit.
What needs to appear on the electrical sheets
At minimum, the electrical set should make the lighting power density approach legible. Whether the project uses a whole-building method or a space-by-space method, the allowance and connected load need to reconcile clearly enough for review.
Controls are the second half of the issue. Occupancy sensors, vacancy controls, daylight-responsive controls, time-switch functions, and exterior lighting controls should be drawn and labeled, not left to a generic note. Sensor locations matter because reviewers need to know the controls are properly assigned to the applicable spaces.
In jurisdictions like New York City, the NYCECC requires an Energy Analysis unless the application is exempt or compliance isn't required, and architects and engineers must document precise values for lighting and other systems to prove the design meets the standard, according to the NYC Buildings energy code compliance guidance.
Where teams usually trip
- LPD calculations are missing from the permit-facing electrical sheets.
- Control types are not named at room level.
- Sensor locations are absent on the plans.
- Exterior fixture wattage and control basis aren't coordinated with site lighting sheets.
For firms that want tighter coordination between lighting loads, panel data, and power assumptions, this resource on electrical load calculations helps connect design intent to permit-ready documentation.
A strong electrical package makes the control logic as visible as the fixture layout.
A Pre-Submittal QA Checklist for Energy Code Compliance
The cleanest permit sets don't happen because someone is careful at the end. They happen because the office uses a repeatable QA process before submission.
That matters because early-stage documentation gaps are common. Systematic analysis of permit submittals shows that unclear information requirements are a primary driver of non-compliance, causing 30-40% of issues in early review stages. That's why a structured pre-submittal review pays off. It catches the problems while the team still controls schedule and fee.

A practical permit audit before the set goes out
Run the check against the actual compliance report, not against memory.
Start with envelope reconciliation
Compare every wall, roof, slab, and below-grade assembly in the report against the drawing set. If the report says one thing and the details imply another, resolve it before issue.Audit glazing schedules line by line
Every type needs explicit U-factor and SHGC data. Curtain wall spandrel treatment should be documented separately from vision glazing.Open mechanical schedules and sequences together
Check that scheduled efficiency ratings match the compliance assumptions. Then verify that required controls, including economizer or DCV logic where applicable, are shown.Review lighting plans for proof, not intent
Confirm that LPD approach, fixture wattage, control types, and sensor locations are all visible and coordinated.Do one cross-discipline sheet walk
Architecture, mechanical, and electrical should review the same compliance assumptions in one pass, thereby exposing hidden contradictions.
The QA habits that protect margin
A mature workflow usually includes a few simple controls:
- Template discipline so schedules always include the fields required for verification.
- Decision checkpoints before 50 percent CDs and before permit issue.
- Named ownership for the reconciliation task so it doesn't get lost between the architect, energy consultant, and MEP team.
- Permit prep reviews that focus on likely AHJ comments, not just internal design intent.
- Scalable delivery pods that use the same checklist logic across projects, so quality doesn't depend on one person remembering everything.
The best QA check is the one that forces the team to prove every modeled assumption on paper.
A good COMcheck permit submission is not just a passing report attached to a set. It's a coordinated package where the drawings make the report believable, reviewable, and buildable.
Conclusion
Passing the energy report only gets the project to the starting line. The permit set gets it across.
When the drawings clearly show the same envelope values, glazing performance, HVAC efficiencies, and lighting controls that the compliance report assumed, review moves faster and field verification gets cleaner. That reduces avoidable comments, limits RFIs, and protects fee from late-stage document repair. It also says something important about the firm behind the set. The team has a production system, not just a pile of sheets.
That level of predictability is what owners, consultants, and reviewers notice over time. It comes from template discipline, BIM-aware coordination, and a QA process that catches mismatches before the permit desk does.
Category: Construction Coordination & Documentation
If your team needs sharper architectural or MEP documentation for commercial permit sets, contact BIM Heroes for architectural and MEP production support. They can also share practical frameworks, checklist thinking, and production support approaches that help teams tighten energy code compliance without turning every submittal into a fire drill.