Meta title: Truss Roof Design Loads: Snow, Wind, and Dead Load
Meta description: A clear, conceptual breakdown of dead, live, snow, and wind loads in truss roof design and why they require an engineer's calculation.
A late-stage truss RFI usually starts with something small. The roof material changed. The building moved to a different site. A low-slope area got added over a porch, garage, or entry. Then the truss package comes back with questions nobody budgeted time for.
That's why load literacy matters. Not so an architect, builder, or PM can size truss members or replace a stamped design, but so the team can hand off cleaner inputs, catch obvious coordination risks early, and avoid redesign loops that chew through schedule and margin.
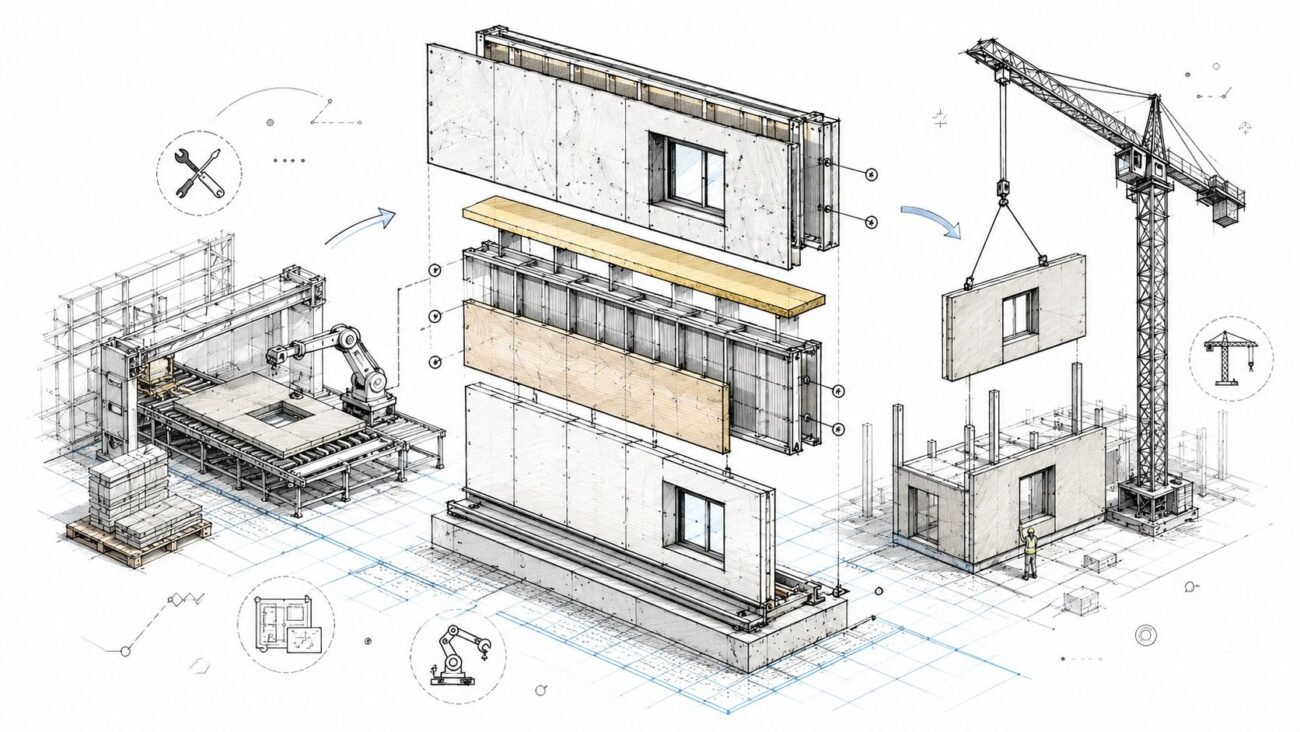
Modern wood truss framing became practical at scale after the metal truss plate breakthrough in the 1950s, and that shift turned roof framing from a custom field exercise into a prefabricated system that could frame a roof in half the time required for conventional rafter-based systems, according to this history of roof trusses. That efficiency only holds when the inputs are right.
Why Roof Loads Matter for Architects and Builders
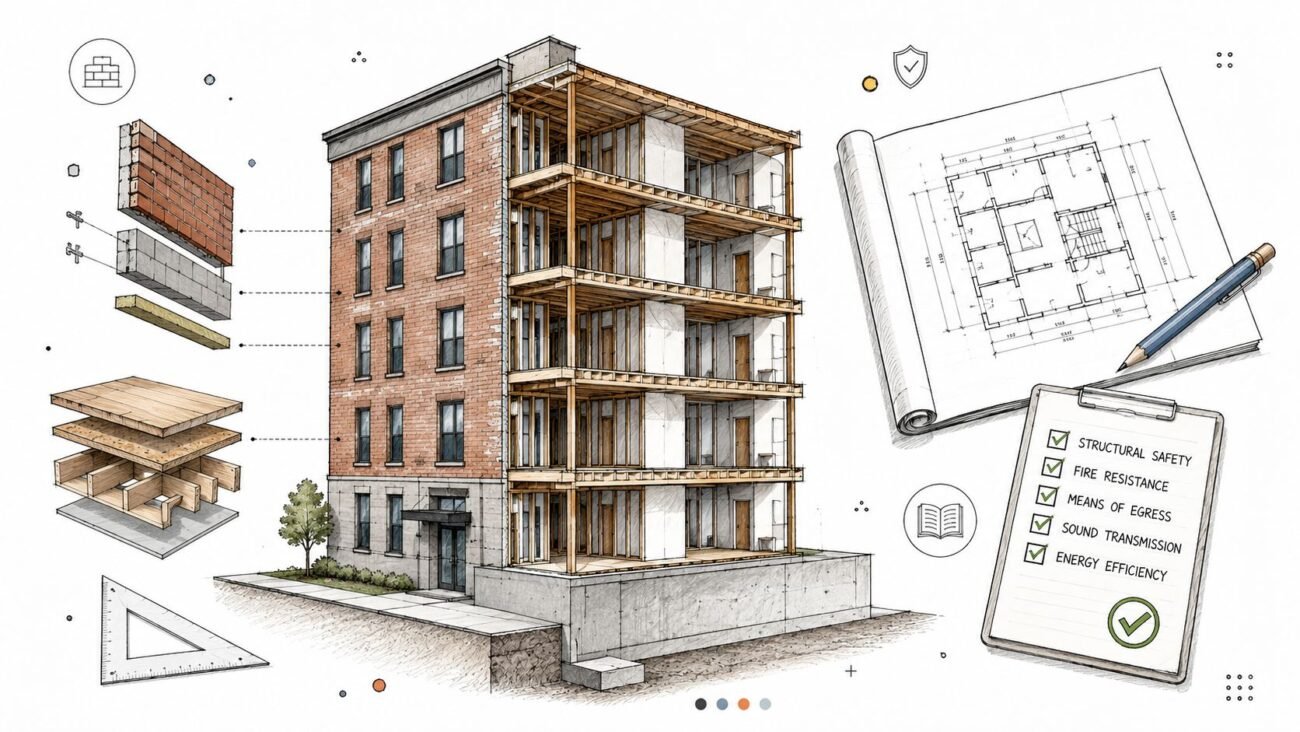
Those involved in roof coordination don't need truss engineering basics in textbook form. They need enough understanding to know when a roof decision will affect roof truss loads, permitting, fabrication, and field installation.
A builder sees this when a “simple” switch from shingles to tile suddenly changes spacing, connection requirements, or lead time. An architect sees it when a clean roofline creates drift-prone conditions at a valley or a low-slope pocket that needs more scrutiny than the plan notes suggest. A production team sees it when a repeat plan no longer transfers cleanly from one climate zone to another.
Better coordination starts before the truss engineer models anything. It starts with giving the engineer the right assumptions.
This guide is strictly conceptual. Truss roof design for a real project still depends on code, site conditions, geometry, and stamped engineering from the licensed professional responsible for the truss package.
How Truss Roof Design Actually Gets Engineered
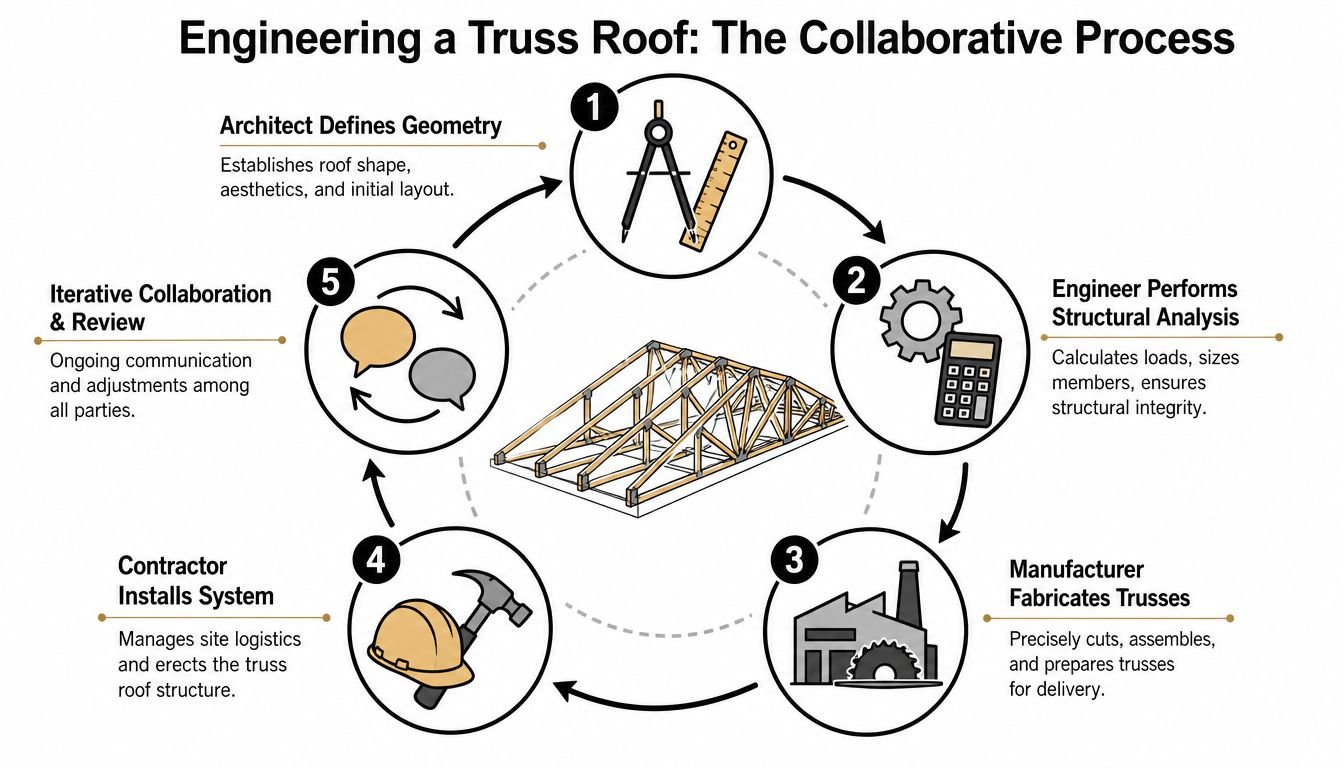
The workflow is collaborative, but the responsibilities aren't interchangeable. The architect and project team define the roof geometry, slope, overhangs, bearing conditions, intended materials, and overall design intent. The truss engineer or truss manufacturer's engineer then uses those inputs to design the individual trusses and issue the required engineering documents.
Who owns which decision
One of the most important coordination lines is also one of the most misunderstood. In residential truss work, the Building Designer is responsible for calculating and providing all dead, live, and lateral loads applied to each truss, including snow drift and unbalanced snow loads, while the Truss Designer is responsible for the structural design of each depicted truss, as outlined in the ANSI/TPI 1 responsibility discussion published by STRUCTURE magazine.
That division matters in practice. If the architectural or structural side doesn't clearly communicate roof loading assumptions, the truss package can come back noncompliant, incomplete, or delayed. In production environments, that turns into repeated RFIs, permit comments, and fabrication resequencing.
What clean inputs look like
The handoff gets smoother when the team treats roof coordination like a production process, not a one-time shop drawing exercise.
- Geometry first: Lock ridge heights, heel conditions, overhangs, cantilevers, and bearing points before the truss package starts.
- Assembly clarity: State the intended roof assembly, not just the visual finish. Sheathing, insulation strategy, ceiling finish, and any hung loads all affect design.
- Decision checkpoints: Freeze material substitutions through a formal review path so nobody swaps a roof finish after engineering without checking the consequences.
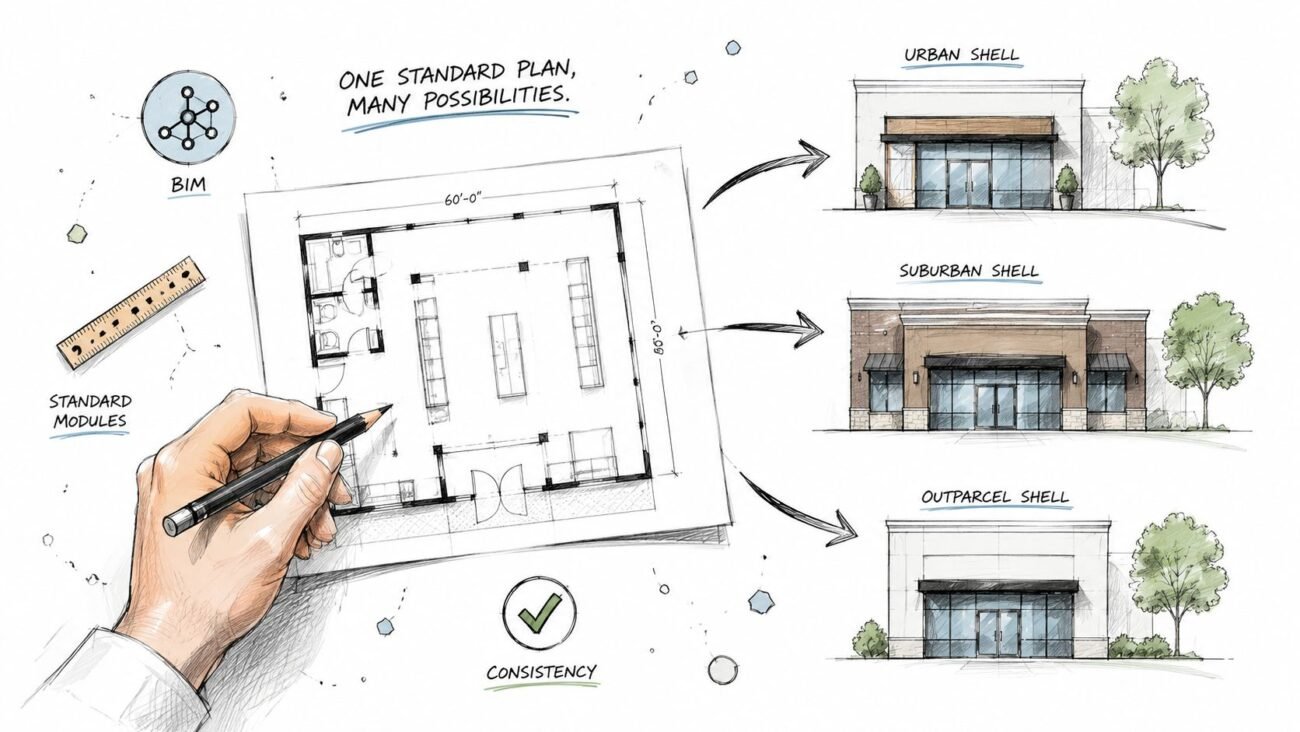
- Documentation discipline: Standard details, BIM templates, and coordination checklists help teams carry the same assumptions from permit set to fabrication release.
For teams that want a plain-language field overview before diving into engineered truss coordination, this roof framing guide for WA homeowners is a useful companion because it shows how framing intent and site execution intersect.
Production lesson: The more standardized your input package is, the fewer “engineering surprises” show up after bid or permit.
Dead Load The Unchanging Weight of the Structure
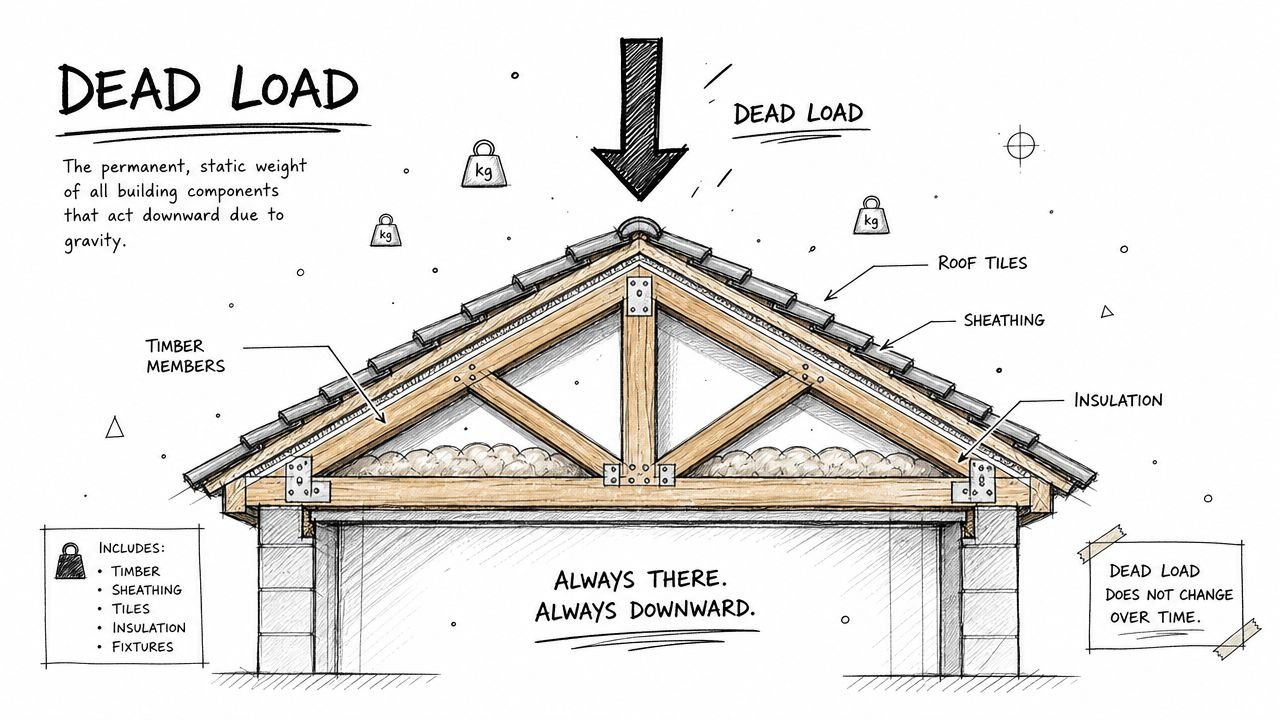
Dead load is the permanent weight the roof has to carry all the time. That includes the trusses themselves, roof sheathing, underlayment, roofing finish, insulation, ceiling materials, and other fixed parts of the assembly.
That sounds straightforward, but dead load becomes a coordination problem when the design team treats roofing materials as a finish-only choice. They're not. A heavier roof assembly changes what the truss system has to support, and that can affect spacing, member sizing, connections, and sometimes the whole framing strategy.
Why material changes trigger rework
The classic example is a late switch from a lighter roof covering to tile or another heavier finish. That's not a drafting update. It's a structural input change.
According to this roof truss design reference, benchmark deflection criteria for steel roof trusses require spacing to be reduced by 20 to 40 percent for tile roofs compared to metal roofing because of higher dead loads, and failure to adjust for heavier roofing materials results in a 28 percent increase in serviceability failures. Even when a project uses wood trusses, the coordination lesson is the same. Heavier assemblies demand a fresh engineering look.
What works in production settings
Teams keep dead load under control when they lock roof assembly decisions early and route any changes through a short review loop.
A practical review checklist usually includes:
| Coordination item | Why it matters |
|---|---|
| Roofing finish | Directly changes dead load assumptions |
| Ceiling type | Affects fixed suspended weight |
| Insulation approach | Can alter assembly weight and details |
| Mounted equipment | Adds permanent load if fixed to structure |
Dead load is the most predictable category. That's exactly why errors here are so avoidable.
Live Load Temporary Burdens from Use and Maintenance
Live load roof requirements cover temporary loads from use, access, and maintenance. Think people on the roof, temporary equipment, or service access related to mechanical systems. These loads aren't permanent parts of the assembly, which is what separates them from dead load truss assumptions.
In coordination meetings, live load often gets less attention because it feels routine. But it still needs to be addressed clearly in the design criteria handed to the engineer. Code minimums typically govern this category, and the applicable requirements depend on the project type and roof use.
Where teams get tripped up
The trouble starts when the roof is treated as “not occupiable” in one document and service-accessible in another. If an architect shows equipment access, screening, service paths, or roof-mounted elements, those decisions can affect what the engineer has to consider.
- Maintenance access: A roof that needs regular servicing may carry different assumptions than one that rarely gets accessed.
- Equipment coordination: Mechanical layouts can create local load concerns even when the main roof framing seems straightforward.
- Permit consistency: Notes on architectural, structural, and truss documents need to align so reviewers don't flag contradictions.
QA matters more than complexity. Clear scopes prevent small documentation mismatches from becoming submittal delays.
Snow Load Why Geography and Geometry Drive Everything
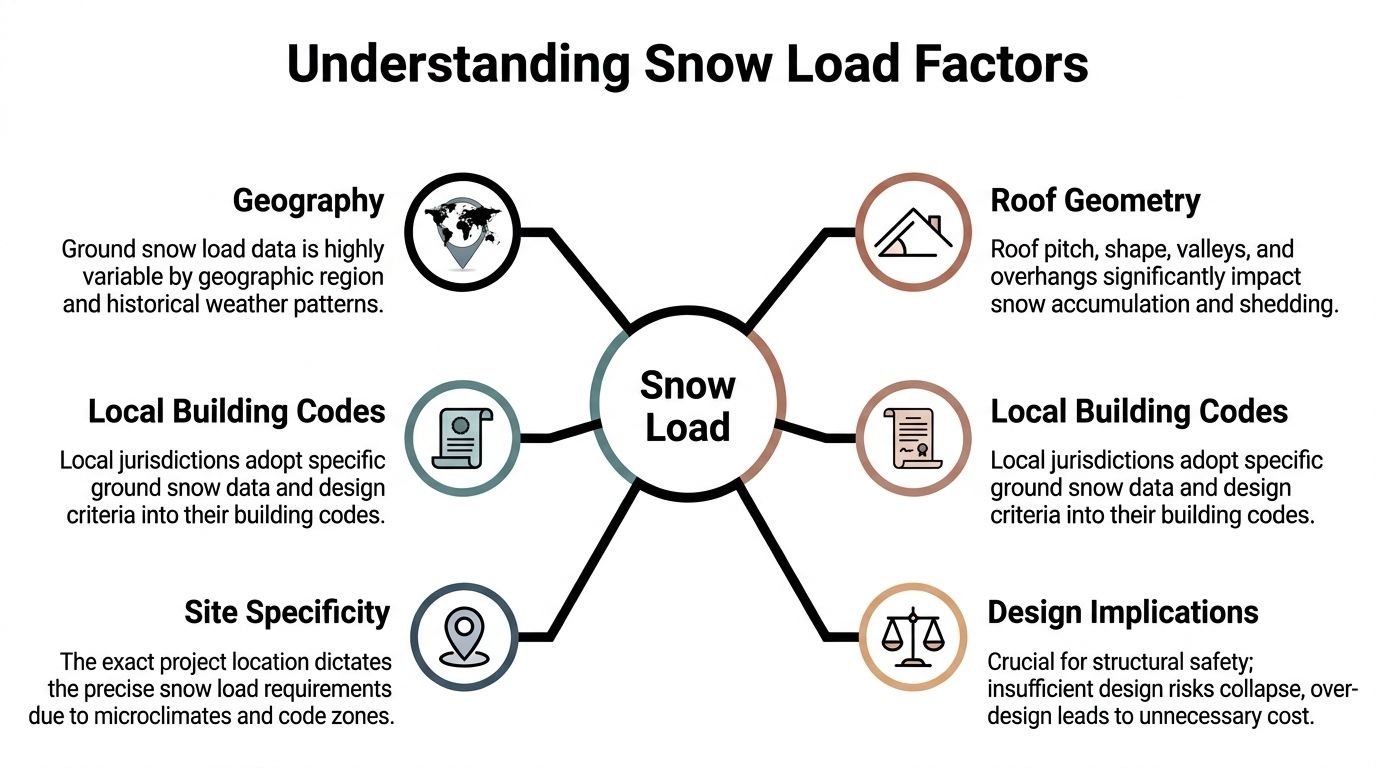
Snow is the load category that exposes weak assumptions fastest. Snow load roof design isn't based on a generic rule of thumb. It depends on where the project is, how the roof is shaped, and how the building performs thermally.
That's why a repeatable house plan can still need different truss engineering from one site to the next. The geometry may be identical, but the loading basis won't be.
Geography sets the baseline
Local code adoption drives the starting point. Ground snow data and jurisdictional requirements vary by region, and the engineer has to translate that into the roof design basis for the specific project.
For builders working across multiple states or counties, standardization can become dangerous if it turns into copy-paste. A plan that performed well in one market may need revised assumptions in another. That's especially true for roof forms with valleys, step-downs, low-slope transitions, and sheltered conditions that can accumulate snow differently than a simple gable.
Geometry changes the way snow behaves
Once the location is known, the roof itself starts changing the picture. Slope matters because some roofs shed snow more easily than others. Shape matters because valleys and offsets can collect drifting or uneven buildup. Exposure matters because wind and surrounding conditions can either strip snow away or let it accumulate.
Snow isn't just “weight on a roof.” It's weight that can build unevenly, drift into certain zones, and interact with roof geometry in ways a generic detail won't capture.
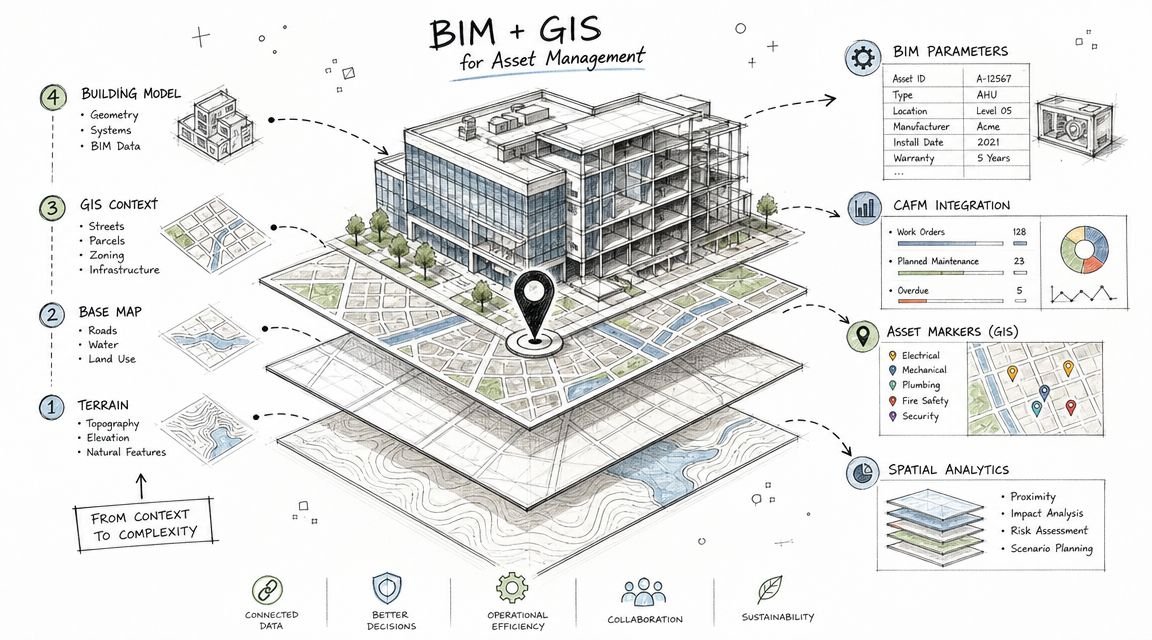
This is one reason truss coordination benefits from BIM and disciplined model handoff. Clean roof geometry in Revit or another production environment helps everyone see where conditions may be simple, and where they may not be.
Small assumptions can change the engineering path
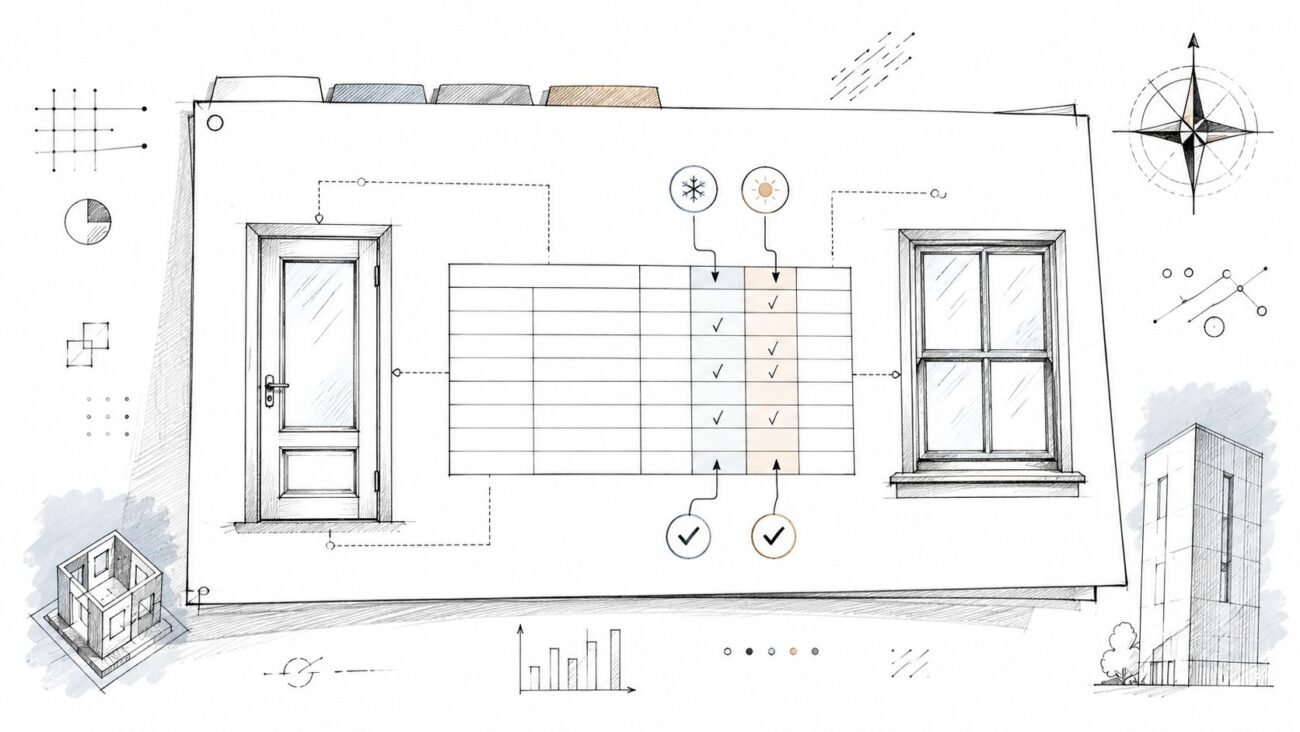
A good example is the thermal factor. Many designers default to Ct = 1.0, but residential trusses within an enclosed, heated space must use Ct = 1.1 because heat does not escape into the truss area, which directly affects snow load calculations, according to MiTek's discussion of common truss design errors.
That's the kind of detail non-engineers usually don't calculate, and shouldn't. But they should know enough to flag heated versus unheated conditions correctly in the design package.
For smaller detached structures, accessory buildings, and simple roof forms, this overview from expert shed foundation contractors can help illustrate how roof type, use, and site conditions still affect load thinking even on modest projects.
Wind Load More Than Pressure It Is All About Uplift
Wind is where many teams picture sideways pressure and stop there. In real wind load roof framing, the more important issue is often uplift. Wind moves over and around the roof and can create suction forces that try to lift the assembly, especially at edges, corners, ridges, and overhangs.
That changes the conversation from “can the truss carry weight downward?” to “can the whole roof system stay connected under uplift?”
Why connections become the story
This is why truss-to-wall connections, hold-down strategy, uplift clips, and bracing details deserve early attention. A roof can look fine in plan and still become connection-driven once exposure, height, pitch, and edge conditions are considered by the engineer.
For manufactured housing, for example, 24 CFR § 3280.402 roof truss requirements state that roof trusses must maintain an overload condition of dead load plus 2.5 times the design live load for at least 5 minutes without rupture, fracture, or excessive yielding during testing, and the code also sets uplift testing requirements by wind zone. The broader lesson isn't to borrow those values for unrelated projects. It's that wind and overload behavior are connection and performance issues, not just member-size issues.
What architects and builders should watch
A few conditions should always trigger a sharper coordination review:
- Large overhangs: These can amplify uplift effects and connection demands.
- Exposed sites: Open terrain behaves differently from sheltered contexts.
- Roof shape changes: Hips, step-backs, and intersecting roof lines often create more complicated wind behavior.
- Late facade changes: Aesthetic revisions at eaves and parapets can affect the roof edge condition more than teams expect.
For a broader resilience perspective in high-wind regions, this Florida hurricane home construction guide is worth reviewing because it connects roof behavior, envelope decisions, and build detailing in a practical way.
How These Loads Combine in a Final Truss Design
Real truss engineering doesn't check dead load, live load, snow load, and wind load one at a time and call it done. The engineer evaluates load combinations required by code to find the governing condition for each truss and connection.
That matters because the worst case isn't always the one a project team expects. A roof area may be governed by a gravity condition in one location and by uplift or an uneven environmental case in another. The controlling scenario can also shift when geometry, material, or exposure assumptions change.
Why informal estimating breaks down here
This is the point where experienced builders know to stop guessing. You can understand the categories. You can spot risk. You can ask better questions. But combining these loads correctly is exactly where engineering software, code fluency, and stamped responsibility become essential.
The value of the truss engineer isn't only member sizing. It's testing the roof against the combinations a field team won't reliably see from plans alone.
In scaled production environments, this is also where template discipline pays off. Standard roof notes, modeled geometry checks, and permit-ready load criteria reduce the chances of sending incomplete assumptions downstream. BIM Heroes publishes content on load path coordination in truss workflows, which fits that same production goal of reducing redesign and field changes without blurring the line between coordination and engineering.
Putting It All Together for Better Project Outcomes
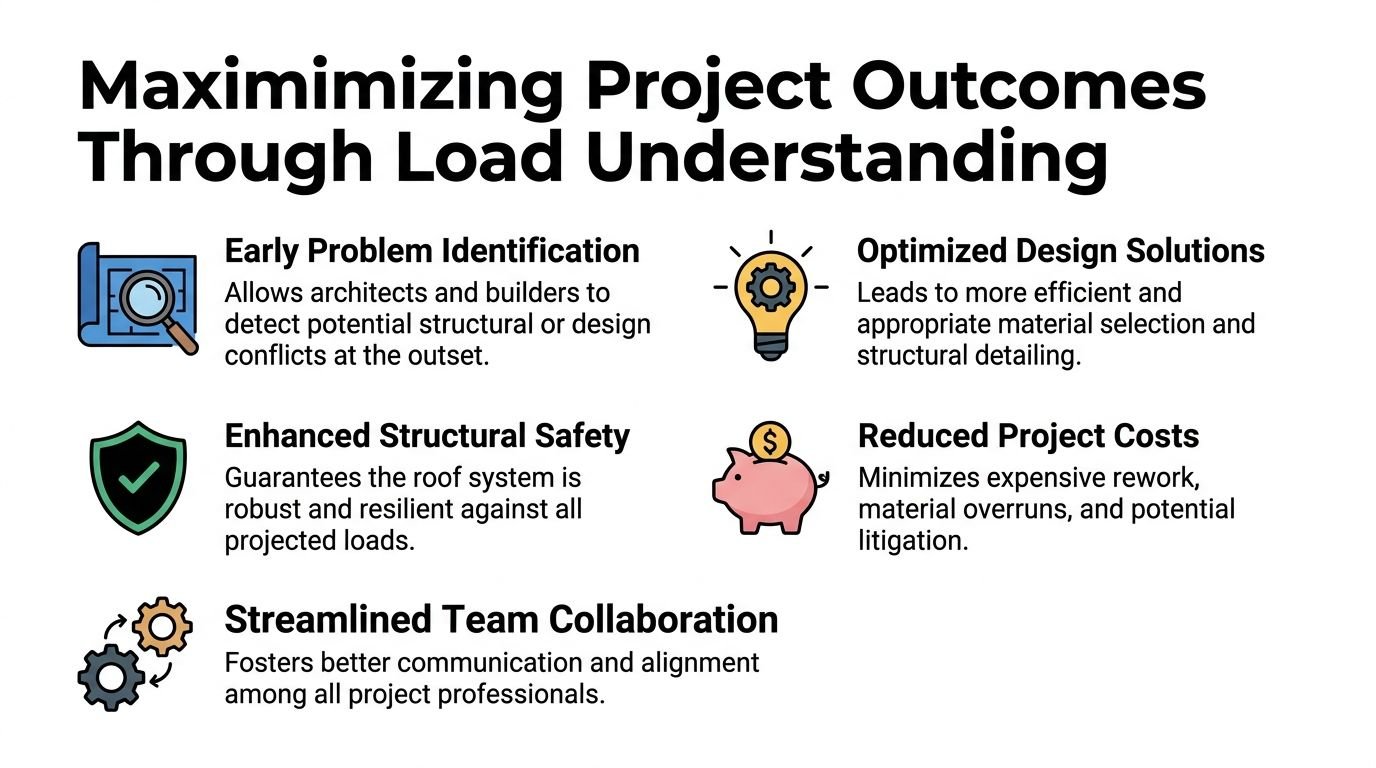
Teams protect margin when they understand what drives truss roof design before fabrication starts. Not to replace the engineer, but to remove preventable ambiguity from the process.
A few examples show the payoff. If a builder changes from a lighter assembly to a heavier one, that should trigger engineering review immediately. If an architect introduces a low-slope section between steeper roofs, someone should ask whether drainage notes are enough. If a standard plan moves into a different snow or wind context, the truss package should be treated as region-specific, not portable.
One overlooked issue that causes avoidable trouble
Low-slope conditions deserve extra respect. A critical issue on trusses at slopes less than or equal to ¼:12 is water ponding, which requires explicit evaluation under ASCE 7 and IBC Section 1608 for susceptible bays, not just a generic drainage note, as explained in this article on roof truss ponding design.
That's a strong example of why production maturity matters. The best teams don't rely on generic notes to cover special conditions. They build decision checkpoints into their workflow, coordinate model geometry carefully, and make sure permit sets, truss criteria, and field intent stay aligned.
What better coordination usually looks like
- Earlier RFIs prevention: Questions get answered in model review or permit prep, not after submittal.
- Cleaner BIM handoff: Roof geometry, bearing logic, and assembly assumptions stay consistent from CAD-to-BIM conversion through documentation.
- Scalable delivery pods: Repeatable internal QA lets multiple project teams apply the same review logic without reinventing the process each time.
That's how understanding load concepts turns into predictability.
Build Smarter from the Start
Dead load, live load, snow load, and wind load each shape the roof differently. One is permanent. One is temporary. Two are environmental and highly sensitive to location, geometry, and detailing. Together, they define the questions the truss engineer has to answer.
For architects, builders, and PMs, the practical takeaway is simple. Understand the inputs well enough to coordinate intelligently. Don't treat that understanding as a substitute for stamped engineering. That line protects safety, schedule, and profit.
If you're working on repeatable residential product, permit packages, or production modeling standards, it helps to pair load literacy with a stronger documentation workflow. This guide on BIM for home builders is a good next read if you want to tighten coordination before RFIs and redesign start stacking up.
BIM Heroes shares practical resources for teams that want cleaner production workflows, stronger BIM coordination, and fewer downstream surprises in design documentation. If a checklist, template framework, or deeper explainer would help your team standardize roof and framing coordination, explore BIM Heroes.
Suggested WordPress category: Construction Coordination & Documentation