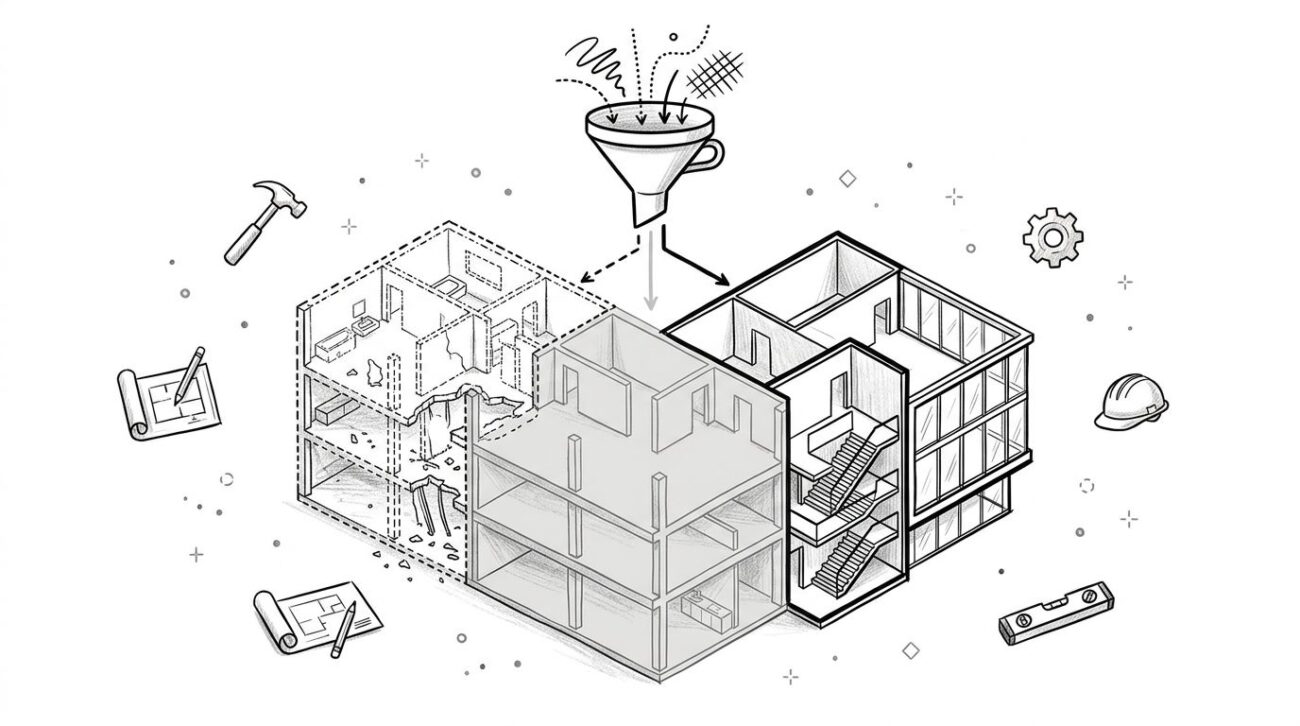
Your demolition plan is showing new work. Or the existing plan is completely blank. Elements are appearing in views where they absolutely shouldn't be. You’ve checked the phase setting on the view—it looks right—and still, the model is behaving strangely. This is one of the most common and frustrating problems in Revit production, but it’s completely solvable.
The root cause of 90% of phasing display problems is a simple misunderstanding. The view's phase setting and the Revit phase filter are two separate controls, and both have to be correct at the same time. Most users only think about the first one and then spend hours fighting the model when it doesn't cooperate. Once you understand how they work together, you can make every renovation view behave predictably. This guide breaks down what phase filters are, how they interact with view phases and graphic overrides, and how to set up your views correctly to prevent RFIs and protect your margins.
What Phase Filters Are (And What They're Not)
Let’s clarify the distinction most tutorials skip. A view’s phase and its phase filter are not the same thing; they are partners in controlling what you see.
- The view’s Phase sets when the view exists in the project timeline. It tells Revit which moment you're looking at, like "Existing" or "New Construction."
- The Phase Filter sets what gets displayed in that view based on an element's status. It's a lens that shows or hides elements based on whether they are New, Existing, Demolished, or Temporary.
They work together. A view set to the "New Construction" phase with a "Show All" filter behaves completely differently than the same view with a "Show Previous + Demo" filter—even though the phase is identical. To make sense of this, you need to understand the four statuses Revit assigns to every element based on its Phase Created and Phase Demolished values relative to the active view phase:
- New — created in this phase.
- Existing — created in a prior phase, not demolished.
- Demolished — created in a prior phase, demolished in this phase.
- Temporary — created and demolished within this same phase.
These statuses are what the phase filter is actually acting on. Once you grasp this logic, the entire system becomes predictable. Think of it as a simple decision matrix: for any given view phase, Revit checks every element's status and then looks at the phase filter to decide whether to show it, hide it, or change its appearance.
The Six Default Phase Filters — What Each One Actually Does
Revit comes with six default phase filters. Instead of guessing, it's crucial to know precisely what each one does. This is the core of a disciplined production workflow and prevents the kind of view contamination that leads to drawing errors. Here's what each filter is designed for, explained in plain language.
| Filter | Plain-Language Explanation | Best Used For |
|---|---|---|
| Show All | Shows every element regardless of status — new, existing, demolished, temporary. | Auditing the model, internal QA views, troubleshooting. |
| Show Complete | Shows only elements that exist and are not demolished in this phase. | Final condition views, as-built documentation, permit drawings showing the finished state. |
| Show New | Shows only elements created in this phase. | Isolated new work views, spec coordination, scope clarification. |
| Show Previous + Demo | Shows existing elements + what's being demolished — hides new work. | Demolition plans. This is the one you need. |
| Show Previous + New | Shows existing elements + new work — hides demolished elements. | Construction plans showing new vs. existing relationships. |
| Show Demolished | Shows only demolished elements. | Rarely used standalone; useful for QA to verify demolished items. |
Most demolition plan problems happen because a team uses "Show All" or "Show Complete" on a view set to the "New Construction" phase. These filters are designed to show new work, so it bleeds into the demo plan, making it unreadable and wrong. Naming this mistake is the first step to fixing it permanently. For a full breakdown of the most common phasing mistakes teams make, see our guide to Revit phasing done right.
How to Set Up the Four Essential Renovation Views Correctly
This is the most practical part of the process. Once you understand the logic, setting up the four essential views for any renovation project becomes a repeatable, five-minute task. Here are the exact phase and filter combinations you need.
1. Existing Conditions Plan
This view must show only what existed before your project started. No demo, no new work. It’s the baseline reality.
- Phase: Existing
- Phase Filter: Show Complete
A common mistake is setting the phase to "New Construction." While existing elements will still show as "Existing" status, it opens the door for new work to appear if the filter isn't tight enough. Setting the phase to "Existing" is the cleanest, most reliable setup.
2. Demolition Plan
This view shows existing-to-remain elements and clearly indicates what is being removed. New work must be hidden.
- Phase: New Construction
- Phase Filter: Show Previous + Demo
The most common mistake here is using the "Show All" filter, which allows new construction to bleed in and makes the demo plan unusable. It’s critical that demolished elements are displayed using specific graphic overrides (like dashed lines) to be legible, which we cover in the next section.
3. New Work / Construction Plan
This view shows what the contractor needs to build. It displays existing-to-remain elements alongside the new construction. Demolished elements must be hidden.
- Phase: New Construction
- Phase Filter: Show Previous + New
Using the wrong filter, like "Show All," causes demolished elements to appear as grey "ghost" lines, which clutters the drawing and confuses the construction team. This view should be clean, showing only what’s staying and what’s new.
4. As-Built / Final Conditions Plan
This view represents the completed project. It shows only what will exist when construction is finished, with no demolition or temporary elements visible.
- Phase: New Construction
- Phase Filter: Show Complete
Notice this uses the same filter as the Existing Conditions plan. The difference is the view's phase. By shifting the phase to "New Construction," the "Show Complete" filter now correctly displays the final state of the project, including new work and hiding everything that was demolished.
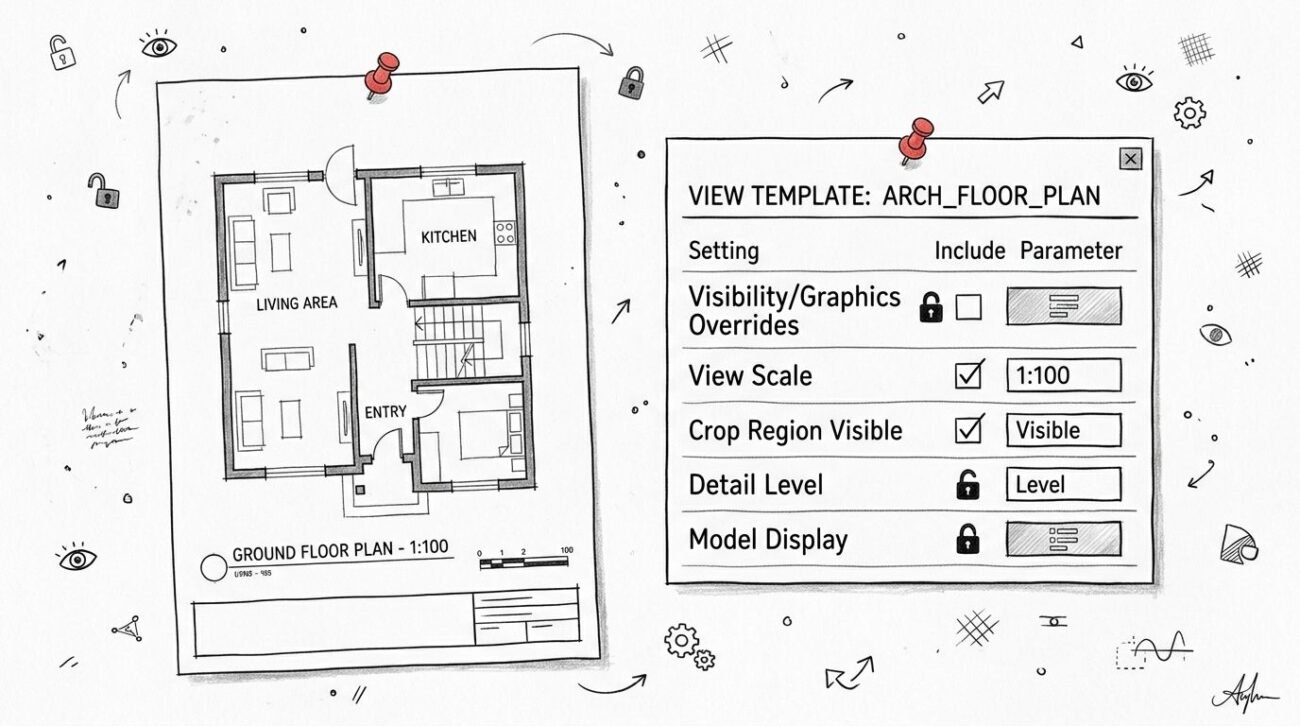
Once these four view types are set up correctly, save them as View Templates. This small act of production discipline turns this setup into a reusable asset, eliminating the need to re-figure it out on every single project.
Graphic Overrides — The Missing Piece That Controls How Phased Elements Look
Revit phase filters control visibility—what shows up and what doesn’t. Graphic Overrides control appearance—how those visible elements actually look on the sheet. Both have to be set up correctly for a readable demolition plan. This is the difference between a drawing that causes RFIs and one that prevents them.
The Phasing dialog's Graphic Overrides tab lets you define how each element status (New, Existing, Demolished, Temporary) displays in terms of line weight, line pattern, cut pattern, and surface pattern. These settings are project-wide and are essential for production maturity.
For clear documentation that follows standard US practice, use these conventions:
- Existing-to-remain: Show in halftone or a lighter line weight. No hatch. This makes existing geometry recede, allowing new work to stand out.
- Demolished: Show with dashed lines. This is the universal language for demolition. You might also add an "X" hatch for cut patterns.
- New construction: Show with full-weight lines and solid cut patterns according to the material. This is the "normal" state.
The most common override mistake is setting up phase filters correctly but never touching the graphic overrides. The result is a demo plan where demolished elements are drawn with solid lines, making them indistinguishable from existing-to-remain elements. It looks like a construction plan with extra lines—a recipe for on-site errors. These project-wide overrides can be supplemented at the view level using View Filters, but getting the project standard right is the first and most important step.
Why "Show Previous + Demo" Isn't Showing Anything (And How to Fix It)
This is perhaps the single most-Googled phasing problem: a user sets a view to the "New Construction" phase with a "Show Previous + Demo" filter and sees a blank canvas. It feels like a bug, but it's not. The filter is working perfectly; the model setup is wrong.
This happens when there are no elements in the "Existing" phase. The model was built entirely in the "New Construction" phase (which is Revit's default), so there is nothing "previous" for the filter to find and display.
The fix is to correct the model's timeline. Existing conditions must be modeled—or have their properties changed—to the Existing phase. To fix a project where this was set up incorrectly, select all the existing elements in your model and go to the Properties palette. Change their Phase Created parameter from "New Construction" to "Existing." Your views will immediately start behaving as expected.
A second common scenario involves linked models. If a consultant's linked Revit model isn't showing up correctly, the cause is almost always mismatched phase mapping. The fix is in the Manage Links dialog. Select the linked file and use the Phase Mapping setting to ensure their "Existing" phase maps to your "Existing" phase. This is a critical checkpoint for scalable delivery and QA processes on any multi-discipline project.
Building a Phase Filter Template You Can Reuse on Every Project
Turning this setup knowledge into a reusable production asset is the hallmark of a mature BIM workflow. By saving a correctly configured project as a Revit template (.rte), you build an operational standard that protects margins and ensures consistency. Most firms redo this setup from scratch on every project, wasting hours of production time and introducing needless risk.
Your phase-ready template should contain these transferred project standards:
- Phase filter settings
- Graphic override definitions
- View templates for the four essential renovation views
This isn't a nice-to-have; it's the difference between a firm that manages Revit and a firm that has production standards. The template is a system that delivers clarity and predictability. It prevents the need to solve the same problems over and over, allowing your delivery pods to scale reliably without sacrificing quality. If setting up and maintaining Revit project templates sounds like something your firm keeps deprioritizing, a BIM production partner can build and own that infrastructure—so your team walks into every project with the setup already done correctly.
Get Your Phasing Right, Every Time
Phase filter confusion costs production time, creates drawing errors, and causes permit review delays. It’s not a limitation of Revit; it's a setup problem. And it's completely solvable once the logic clicks. True control comes from understanding that three settings must work together in harmony.
When your view phase, phase filter, and graphic overrides are all aligned, every renovation view behaves predictably. The demolition plan is clean, the construction plan is clear, and your documentation inspires confidence. The reader of your drawings, whether a contractor or a plan checker, understands exactly what to do.
This level of operational consistency is what we build for our clients. For AEC firms that don't have the bandwidth to build and maintain these production standards in-house, a dedicated production partner can provide the systems, templates, and frameworks needed for scalable, predictable delivery. We don’t sell hours; we sell clarity. If you're ready to stop fighting with your software and start shipping reliable documentation, we should talk.