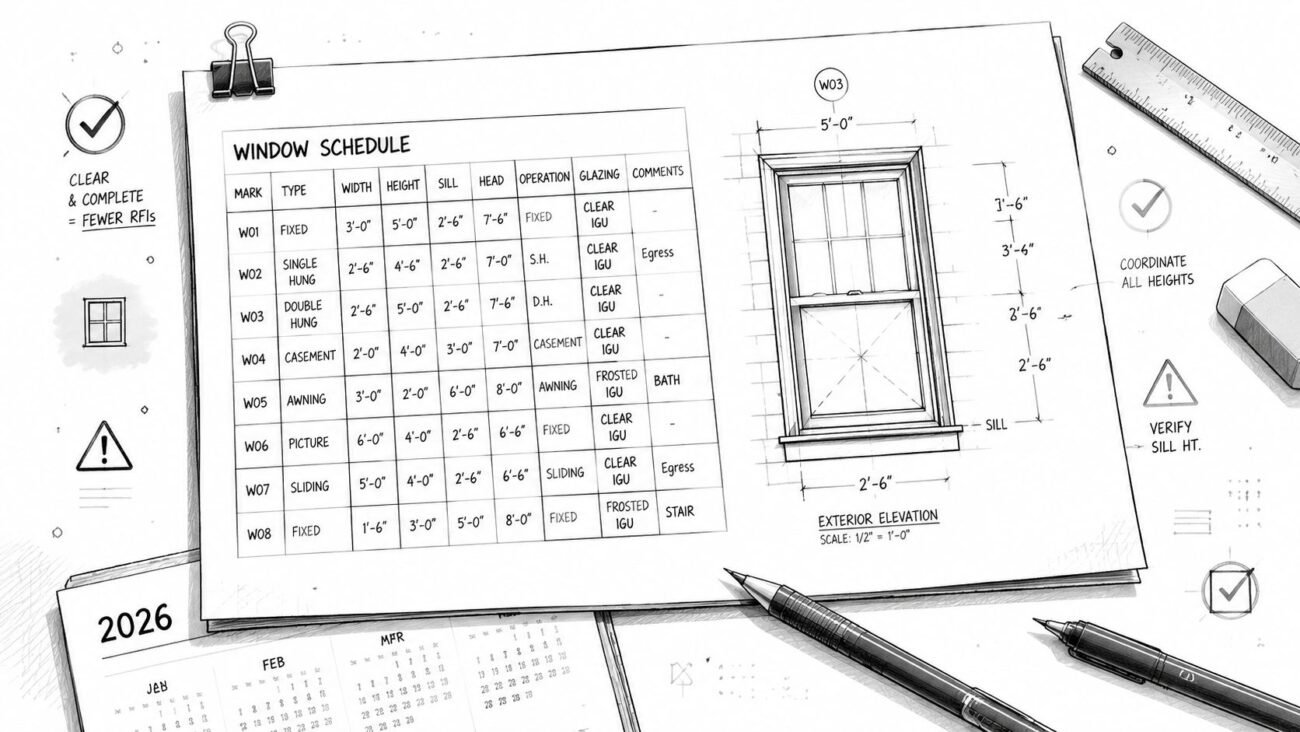
A permit set can look polished right up until the stair sheet gets reviewed. The plan shows a stair in plan, the note says “see structural,” and there's no section that resolves the finish-floor transition. The reviewer kicks it back, the framer builds the top riser off by 3/4 inch, and the inspection turns that miss into a code problem on site.
That's why stair details aren't a decorative add-on. They're the drawings that let a stair get built, checked, and signed off without guesswork. In production terms, they sit right at the intersection of geometry, structure, finish layers, and railing coordination, which is also why they often take up more sheet space than almost any other single element in a set. For the code side, keep your requirements cross-linked to our IBC stair code requirements, then use this page to make the drawings buildable.
What Stair Details Actually Cover
A bad stair sheet usually fails in a familiar way. Someone shows the stair in plan, punts the actual geometry to a structural note, and assumes the field will “figure out” the rest. That might survive an internal review on a small job, but it rarely survives permit review or the first coordination pass with framing, finishes, and railing fabrication.
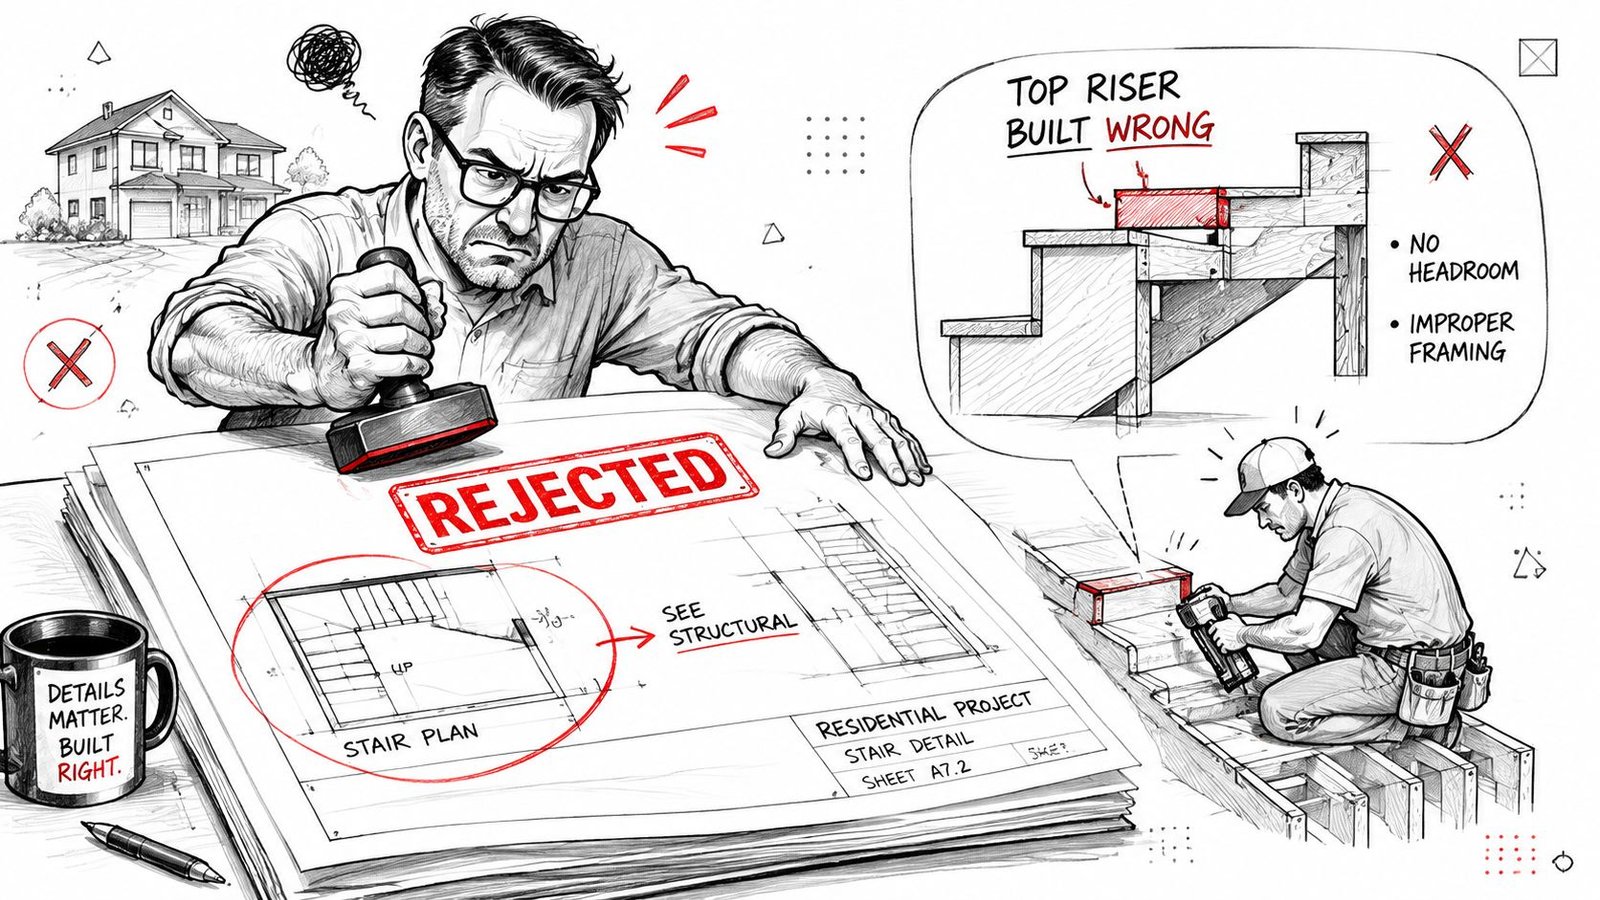
Stair details are the combined set of plans, sections, and enlarged details that fully dimension a stair's geometry, structure, and railings so it can be built and pass inspection without RFIs. That includes the stuff drafters sometimes treat as secondary, like the finish build-up at the top riser, the handrail termination, and the landing edge that connects the stair back to the floor system. It also includes consistency, because the stair has to read the same way in plan, section, and detail.
Practical rule: if the framer, the carpenter, and the inspector would each ask a different question from the same sheet, the stair detail set isn't complete yet.
Stairs aren't a niche feature. They're one of the most drawing-intensive circulation elements in a building, and they're also one of the most failure-prone when the team assumes a single view is enough. Our code post owns the dimensional rules. This post is about the production package that turns those rules into a set the field can use.
The Complete Stair Drawing Package
A permit-ready stair package is a coordination set, not a single detail. The reviewer wants to see how the stair works in plan, how it closes in section, and how the railings and connections resolve at the edges. If any one of those pieces is missing, the odds of a comment go up fast.
Stair Drawing Package Checklist
| Drawing | Typical Scale | What It Must Show |
|---|---|---|
| Enlarged stair plan at each level | 1/4" = 1'-0" or larger | Up and down arrows, tread count, landing geometry, dimensions to structure and finish, and headroom flags where conditions tighten |
| Longitudinal stair section | 1/4" = 1'-0" or larger | Total rise, riser math, stringer or support bearing, landing depths, finish build-up, and headroom clearance |
| Handrail detail | 1 1/2" = 1'-0" or 3" = 1'-0" | Height, graspable profile, extensions, returns, wall or post attachment, and load note where required |
| Guardrail detail | 1 1/2" = 1'-0" or 3" = 1'-0" | Guard height, infill configuration, post spacing logic, and attachment to structure |
| Stringer or support connection detail | 1 1/2" = 1'-0" or larger | How the stair bears, how it connects, and how it transfers load to framing or concrete |
| Landing and finish transition detail | 1 1/2" = 1'-0" or larger | Floor finish thickness, nosing alignment, under-riser closure, and the top and bottom transitions |
That table is the sheet checklist I want a junior drafter to use before a stair package goes out. It's not about over-detailing for the sake of it. It's about making sure each drawing answers a different production question, because that's what keeps RFIs from piling up later.
The rest of the package is really a set of judgment calls about where to show what. Some items belong in the plan because they're spatial. Others belong in section because they only make sense in profile. And a few, especially railings and transitions, need their own enlarged details because the sheet can't rely on a general note to carry the risk.
Stair Plans at Each Level
The stair plan is usually the first thing a reviewer scans, and it's where sloppy coordination shows immediately. If the plan is only a symbolic stair graphic with an up arrow and a label, it doesn't tell the builder enough to lay out the work cleanly. It also leaves the reviewer hunting for the numbers that should already be on the sheet.
What the plan has to communicate
The plan should show up and down arrows that match the section cut, not a generic graphic that looks different from the elevation logic. It should include tread numbering so the field can cross-check the run against the section and landing geometry. And if the stair tightens at the top landing, the plan should flag headroom clearance where it matters instead of assuming the section will carry the warning alone.
Just as important, dimension to the right thing. If you only dimension to structural walls and ignore the finish face, the stair can still go bad once the flooring, tread material, or landing finish is installed. That's the kind of mistake that doesn't show up in a clean plan but becomes obvious when the top riser lands wrong on site.
The plan is for layout. The section is for truth. If they don't agree, the field will trust neither.
A good stair plan also keeps references clean. I like to see plan callouts tied directly to the matching section and detail bubbles so no one has to guess where the finish transition or railing condition is resolved. That kind of consistency matters on CD sets because stair sheets often get separated from the rest of the package during permit review or field use.
Stair Sections as the Money Drawing
The longitudinal stair section is the drawing that closes the geometry. If the plan is where the stair starts to make sense, the section is where it either holds together or falls apart. Most plan review comments I've seen on stairs point back to a section that didn't fully resolve the build conditions.
The four checks the section has to close
First, the section has to verify total rise against the actual floor-to-floor condition. If the as-drawn rise doesn't match the actual framing and finish stack, the stair won't land cleanly. Second, the section has to show riser height math in a way anyone on the team can check, not just a calculated note hidden in a schedule.
Third, the section needs headroom dimensioned from the nosing line. The commonly cited minimum is 80 inches measured vertically from the line connecting the nosings, which lines up with the building-code summary we use for production checks on stair sheets (stair code summary). Fourth, the section should call out stringer depth and bearing so the support condition isn't left to assumption.
The best stair sections also resolve the landing framing strategy. A stair that lands on a platform, a framed floor, or a concrete edge doesn't get drawn the same way, and the section should show that difference clearly. If the landing depth or support line is vague, the field usually fills in the gap with whatever is fastest, which is rarely the same thing the designer intended.
What a clean section avoids
A clean section doesn't bury the important questions in notes. It shows the arithmetic, the supports, and the transitions in one readable cut. A messy section looks complete at a glance, then falls apart when someone checks the rise, the headroom, and the finish layers against the actual job conditions.

Handrail and Guardrail Details
Railings are where a lot of stair sheets get sloppy, because teams treat them as a note instead of a detail. That works until the fabricator wants to know how the rail terminates, where the post bears, or how the guard attaches at the edge condition. At that point, the missing detail becomes an RFI.
What belongs in the railing detail
The handrail detail should show the height range, the graspable profile if the rail shape changes, and the extensions at the top and bottom of the flight. It should also show whether the rail is wall-mounted or fixed to posts, because that changes the connection logic and the finish coordination around it.
For guards, the detail needs to show the infill spacing and the post-to-structure relationship, not just the outline of the railing. If there's an open side at a landing, that open condition needs its own guard detail, because the edge often behaves differently from the stair run itself. The structure side matters too, since the load path can't be left vague.
Don't let the railing live only in plan. If the detail doesn't show how it's anchored, the shop drawing phase will end up doing your job for you.
For the code numbers, link back to the stair code post and keep this sheet focused on what the builder needs to fabricate and install. The IBC post should handle the dimensional requirements, while your stair detail drawing should handle the configuration, connection, and annotation discipline. That split keeps the sheet readable and keeps the code discussion from crowding out the production work.
Connection and Material Details
The finish-floor transition is the stair condition that gets built wrong most often because it looks simple until the last layer goes in. A stair can be framed correctly and still fail at the top riser if the finish thickness wasn't carried through the section. That's why I never treat the transition detail as optional.
For a wood-framed stringer, the key question is how the stair lands on the framing and where the finish floor thickness is absorbed. For a steel pan stair filled with concrete, the detail has to show the pan edge, the fill, and the finish transition so the top step doesn't read differently from the rest of the run. For cast-in-place concrete, the structural geometry and the finish surfaces still need to be coordinated, because the field will build what the sheet shows, not what was implied.
Our timber connection resource is useful when the stair frame interfaces with wood construction that needs a cleaner connection drawing. But even then, the stair detail still has to carry the finish layer, the nosing, and the under-riser closure.
The transition details that save rework
- Nosing alignment: The tread edge has to read correctly once the finish is installed.
- Finish thickness: Tile, wood tread, or carpet build-up has to be included in the section.
- Under-riser closure: If the underside is open, the detail should say so. If it's closed, the closure has to be drawn.
- Top and bottom risers: The transition at both ends needs the same attention, not just the top one that gets noticed first.
Many CD sets fail to align the structural frame with the finish package, resulting in a built stair that is off despite correct software geometry. This is a production miss, not a design concept problem.
Errors That Trigger Plan Review Comments and RFIs
If a stair sheet has one of these issues, expect a comment. I've seen each one turn into either a permit revision or a field question that should've been caught on the sheet.
The repeat offenders
- Rise math that doesn't close: The total rise doesn't match the floor-to-floor condition, so the stair can't be laid out cleanly.
- Finish thickness ignored: The section was drawn to structure only, so the finish package pushes the top riser off.
- Missing handrail extension: The railing detail stops short of showing the top and bottom conditions.
- No guard detail at open sides: The landing edge is left to assumption, which is exactly where reviewers start asking questions.
The other common miss is a structural note that says “see architectural” while the architectural sheet says “see structural.” That loop tells the reviewer nobody owns the condition. Another one is dropping a Revit stair-by-component view onto a sheet without adding the dimensions, sections, or keynotes that make it usable in the field.
If the sheet depends on someone else's sheet to explain the stair, it's not a complete stair package.
Each of those failures traces back to a part of the drawing package already covered above. That's the point. A stair detail set should work as a self-audit before it works as a permit package.
Drawing Stairs in Revit for CD Sheets
Revit can produce a clean stair, but the software won't rescue a weak production setup. The stair-by-component tool is useful for getting the geometry started, yet it can become a trap if the team assumes the output is sheet-ready. Break lines, sketch behavior, finish overrides, and view clarity all become problems when the stair gets pushed straight from model to sheet.
Model the stair or draft the detail
For simple conditions, I'll model the stair and then polish the sheet with detail components and annotations. For more complicated transitions, especially where the finish build-up or railing connection needs to be explicit, it's often cleaner to draft the section as a detail view instead of fighting the model view. That isn't a shortcut. It's a production decision based on what the reviewer and builder need to see.
View templates matter here. A stair sheet should not look like a random collection of views from three different templates. Use a consistent template for stair plans, another for sections, and another for the enlarged railing or transition details so lineweights, fills, and annotation behavior stay predictable. If your firm already has a standard setup, a Revit view templates workflow is the right place to tighten that discipline.
Keep keynotes and labeling consistent
Keynoting is where a lot of teams drift. The same handrail condition should read the same way on plan, section, and the guard detail, or the field starts treating the sheet as three separate opinions. Consistent keynotes are especially useful when the stair package gets distributed to consultants, permitting staff, or shop drawing reviewers who don't have time to decode your intent.
That consistency is also why offshore BIM production pods can handle stair packages at scale when the templates are set up well. The work isn't about drawing faster for its own sake. It's about giving every sheet the same logic so the output stays clean across multiple projects and reviewers.
FAQ
What details are needed for stairs?
At minimum, an enlarged plan, a section, handrail and guardrail details, and the connection or transition details that resolve the build.
What scale are stair details drawn at?
Usually enlarged enough to show the geometry clearly, with plan, section, and details often starting around 1/4" = 1'-0" or larger depending on the view.
What is a stair section?
It's the longitudinal cut that verifies rise, headroom, supports, and landing conditions.
What must a handrail detail show?
Height, profile, extensions, attachment, and the way the rail connects back to structure or the wall.
If you want a clean starting point, download an annotated stair detail sheet PDF and use it as a production checklist before the set goes out. And if you need fully detailed, permit-ready stair packages in every CD set, send us your sheet list and book a call for a free LOD recommendation and pricing within 24 hours.
BIM Heroes produces permit-ready stair packages as part of outsourced BIM and CAD production, including fully detailed stair sheets, sections, railings, and construction documentation for architecture and construction teams. If you want a production partner that can help tighten stair details before the set goes out, visit BIM Heroes and send over your drawings for review.