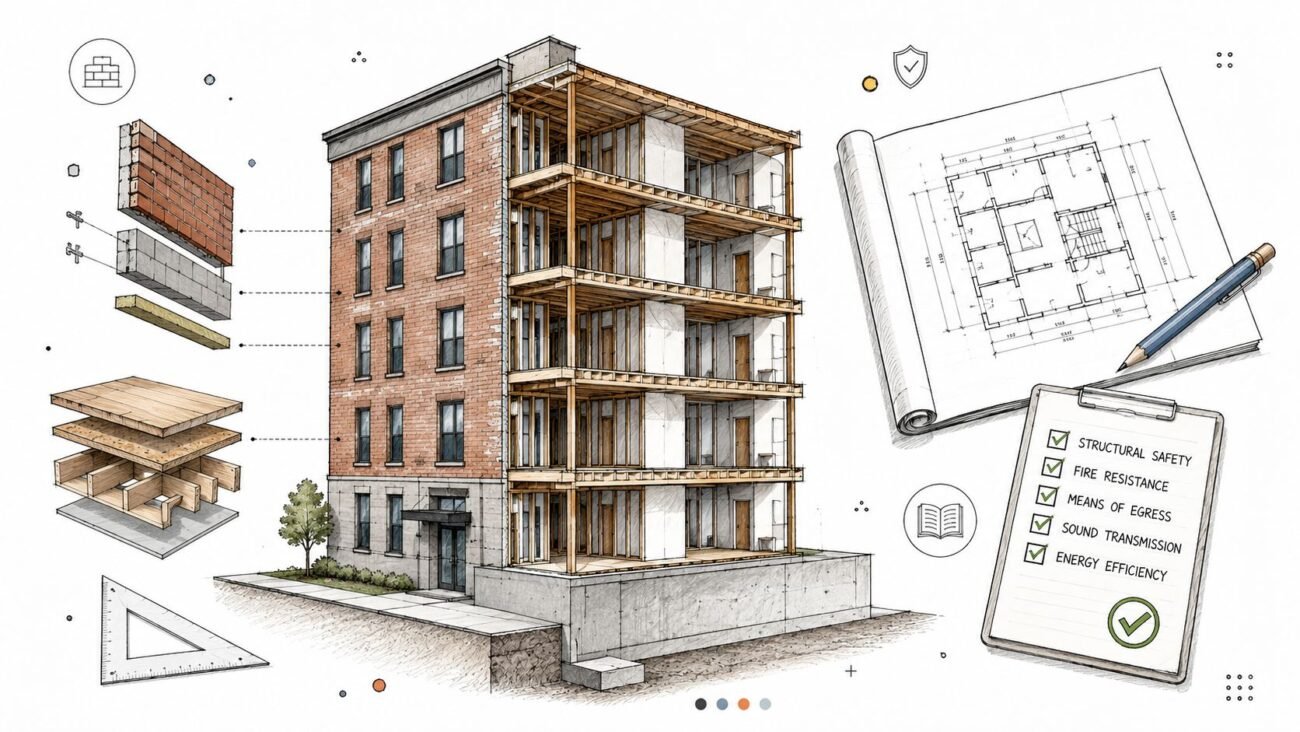
Egress checks usually fail late, after the drawings already feel “done.” A reviewer spots a travel distance miss on a permit set, the room tags changed after schematic design, and suddenly the team is redrawing corridors instead of closing out comments. Automated egress check BIM workflows are valuable because the three checks that trigger the most back-and-forth, occupant load, exit width, and travel distance, can be pulled directly from a properly built model before submittal. This is not a substitute for a licensed code review, and local amendments override the IBC values, with the AHJ having final say.
Meta description: Automated egress check BIM workflows for IBC reviews, covering occupant load, exit width, and travel distance before submittal.
The Late-Night Egress Catch You Could Have Prevented
The worst egress problems rarely look dramatic in the moment. A plan reviewer circles one corridor dimension on sheet A-201, asks for a corrected travel path, and the comment lands two weeks before bid when the rooms have already been reclassified three times. That is the moment the project architect starts asking why nobody caught it before the set went out.
code review automation earns its keep at that point, but only as part of a layered pipeline. Clean model data comes first, then rule authoring, then the check itself, then review governance. If the model is built with enough discipline, the checks that drive a lot of plan-review comments can run early and repeatably, instead of waiting for someone to trace every path by hand on a PDF. The point is not to replace judgment. It is to stop spending that judgment on issues the model can already surface cleanly.
Practical rule: if a reviewer can find the same issue on a sheet, the model should flag it first.
That matters on projects moving fast through permit prep, where a late egress miss can force a redesign cycle and send pressure into door schedules, tenant fit-out assumptions, and coordination across MEP and interiors. The workflow matters more than the pitch. A good automated pass gives the team a cleaner model to review, not a promise that code compliance can be handed off to software.
For teams mapping the actual route of travel, a clear egress path model is often the difference between a useful rule set and a false positive generator. If the geometry is sloppy or the path logic is vague, the automation will still produce output, but it will not produce trust.
What the Model Has to Contain Before Any Check Will Work
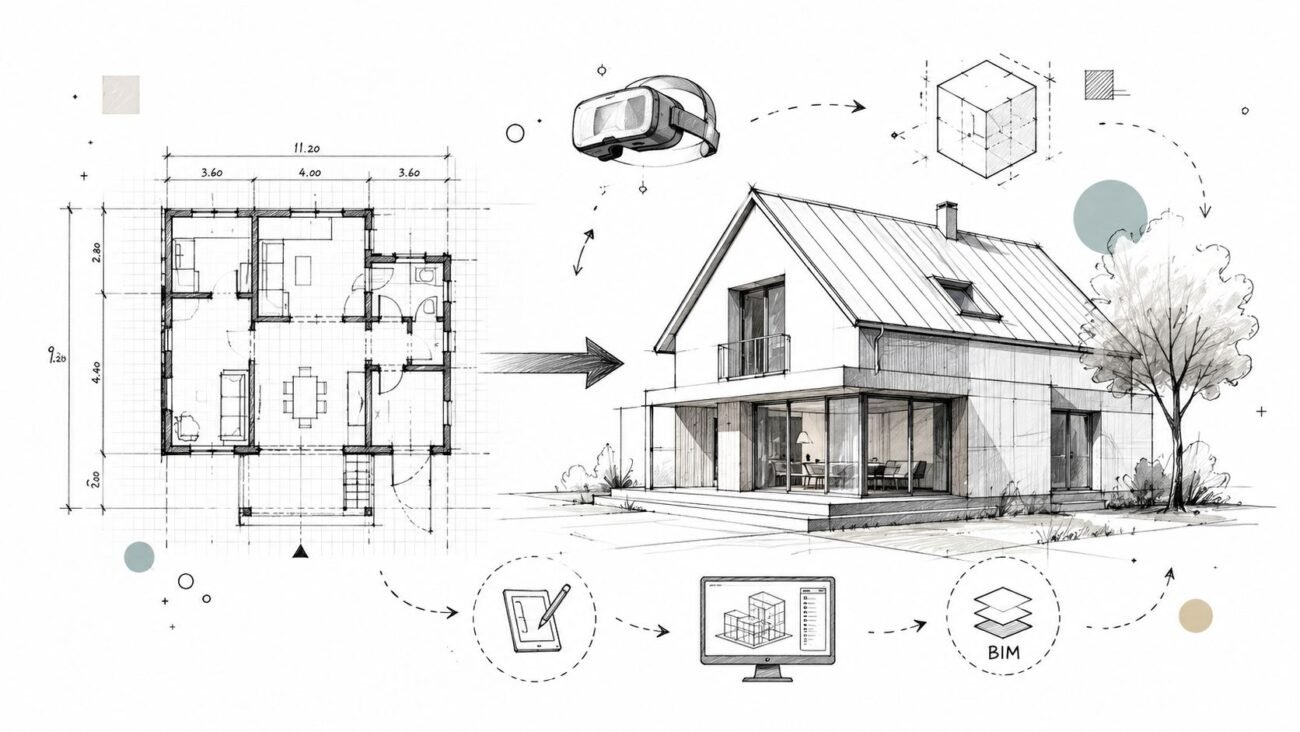
Automation only works when the model carries real project data, not placeholders and guesswork. Spaces need the correct occupancy classification, room boundaries need to match what the architect intends, door widths need to live as parameters rather than typed notes, and stairs need actual geometry instead of symbolic blocks. If that foundation is weak, the output will look polished and still be wrong.
A good BIM manager treats this as a data hygiene problem first. The model has to know what kind of room it is, how large it is, and what edge conditions govern movement through it. That means the egress pass depends on model discipline upstream, not just a clever rule engine downstream.
| IBC Table 1004.5 Occupant Load Factors at a Glance | ||
|---|---|---|
| Function of Space | Occupant Load Factor | Reference Basis |
| Business use | 150 gross sq ft per occupant | IBC Table 1004.5 |
| Assembly, unconcentrated | 15 net sq ft per occupant | IBC Table 1004.5 |
Those numbers are the simplest sanity check in the room, and they're the reason schedules need to be trustworthy before anyone automates the math. The same model that drives a clean permit set should also drive the occupant load calculation Revit schedule, or whatever downstream QA process the team uses.
Garbage in, garbage out. The cost of clean data is always lower than the cost of a missed code call.
For teams doing outsourced production, template discipline pays off. When room naming, space classification, and parameter mapping are standardized, the model becomes checkable instead of merely drawable. That's the difference between a one-off draft and a workflow that can support BIM code compliance across repeated submittals.
Check One, Pulling Occupant Load Straight From the Model
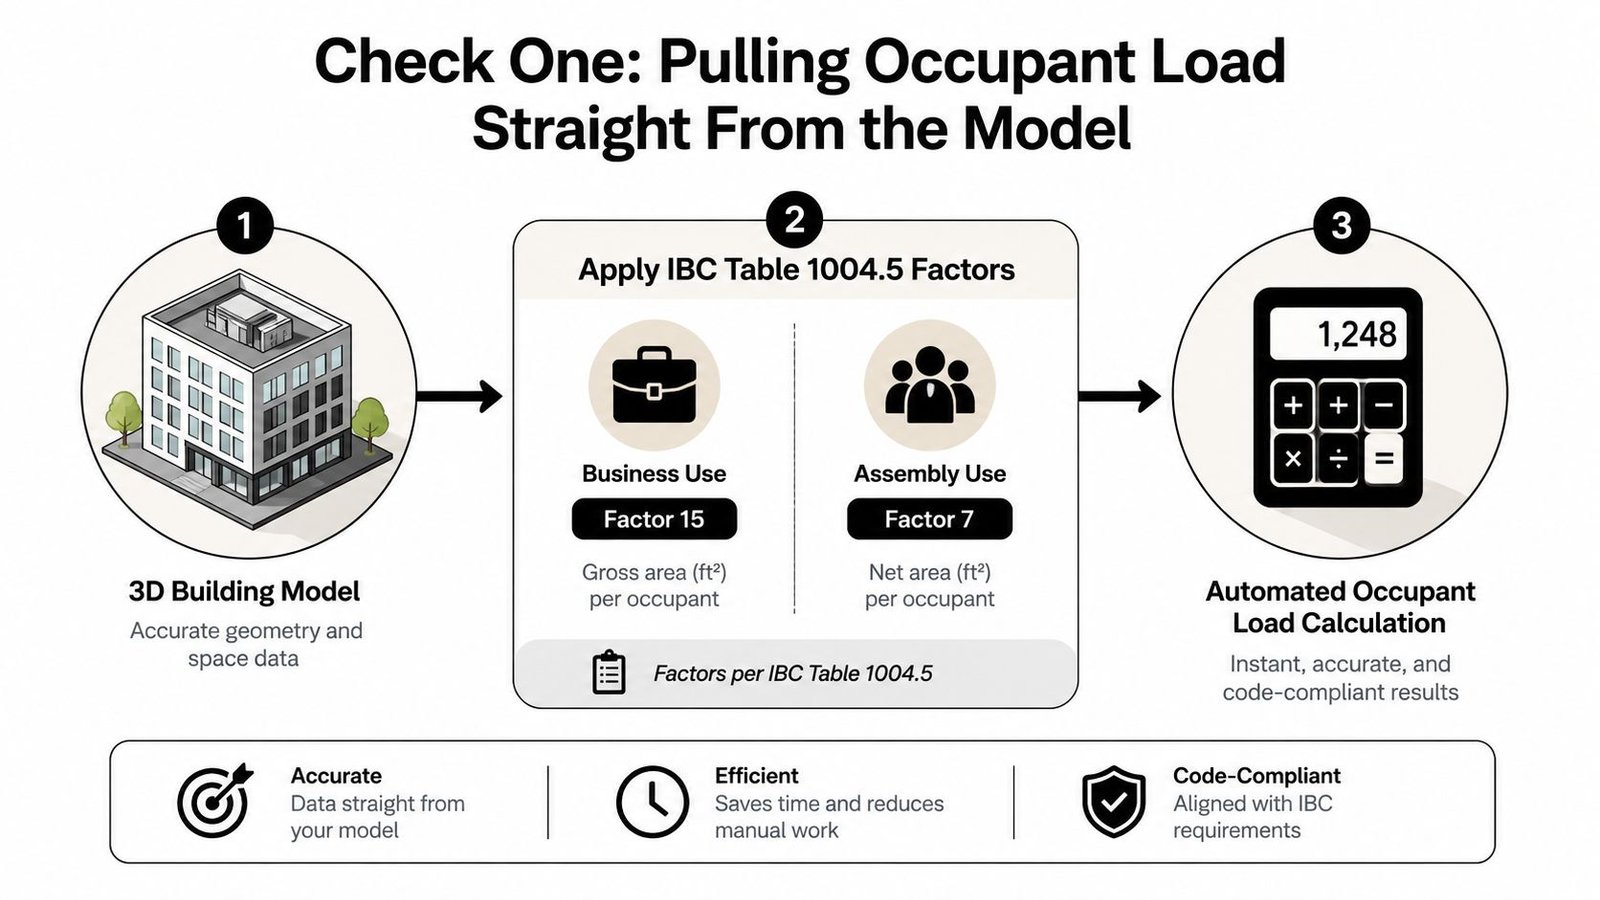
The first check is the one that can be automated cleanly because the math is straightforward once the room data is right. Pull the bounded area from the model, read the occupancy type, apply the factor from IBC Table 1004.5, and the schedule can calculate totals per room, story, and exit group. For business use, the factor is 150 gross sq ft per occupant. For assembly, unconcentrated, it's 15 net sq ft per occupant.
In Revit, this can live in a calculated schedule and then be pushed into a sheet-ready table. Dynamo is useful when the team wants the calculation to feed a QA dashboard or a model audit rather than just a static schedule, while Solibri works well when rules need to be checked as part of a broader model validation pass. The tool matters less than the data path. If the model carries the right occupancy classification, the totals become repeatable.
The common failure mode is easy to name. A room gets tagged with the wrong occupancy type after a program change, and the automated total becomes wrong for exactly the same reason the manual total would be wrong, only faster. That's still useful, because the rule flags the mismatch and forces a human to verify the classification upstream instead of letting the error sit hidden in a schedule.
Workflow note: automate the arithmetic, not the code judgment. The model can compute a load, but someone still has to confirm the space is classified correctly.
The cleanest result is a sheet where the load table matches the model, the room schedule is auditable, and the reviewer can trace the basis quickly. That's why teams that maintain strong QA/QC routines spend less time reconciling math and more time reviewing exceptions. BIM level of detail discipline matters here because poor model definition is what makes the automation noisy.
Check Two, Comparing Required Exit Width Against the Door Schedule
Once the occupant load is known, exit width becomes a direct comparison, not a guessing game. IBC 1005.1 gives the capacity basis, 0.3 inches per occupant for stairs and 0.2 inches per occupant for other components, with reduced factors available in sprinklered conditions paired with EVAC systems. The model doesn't need to “understand” the code philosophically, it just needs to compare required capacity against what the doors and stairs provide.
A rule engine can read clear widths from door parameters and stair widths from modeled geometry, then total the capacity for each egress path. That's where schedule discipline matters. A door can look fine on a door schedule and still fail the capacity check once it's compared against the actual occupant load the path serves.
The classic miss is blunt and common. The schedule says 36 inches, but the occupant load pushes the required capacity to 40 inches, and nobody sees the gap until the schedule and the load calculation live in the same QA pass. That's exactly the kind of issue automation should catch before permit review turns it into a redesign note.
A clean implementation usually works in layers:
- Read the load first: use the occupant load calculation as the driver, not a separate spreadsheet.
- Pull modeled widths: use real door and stair parameters, not sheet annotations.
- Compare by path: assign the requirement to the exit component that serves the load.
Revit schedules, Dynamo, and Solibri can all support this in different ways, and the right choice depends on whether the firm wants a sheet output, a model audit, or a rule-based coordination check. Determining occupancy load in a BIM workflow is where the math usually starts, but the important part is keeping the calculation and the geometry in the same review loop. The human review still matters for unusual exit arrangements, but the model can remove most of the mechanical checking.
Check Three, Travel Distance Along the Actual Walkable Path
Travel distance is where many teams still default to hand tracing, and it's the check that benefits most from model-based review. IBC Table 1017.2 sets the baseline for allowable travel distance, including the commonly referenced 250 ft sprinklered business occupancy condition, and the analysis also has to respect common path of travel and dead-end corridor limits. That means the route has to be measured along the path someone can walk, not as a straight-line shortcut on a sheet.
Revit's Path of Travel tool, Dynamo route analysis, and Solibri's escape-route checking all approach the same problem from different angles. They start at the most remote point and measure to an exit along the route the model allows, which is far better than eyeballing a dimension string after the fact. For coordination teams, that gives a fast pre-check before a consultant or reviewer opens the drawing set.
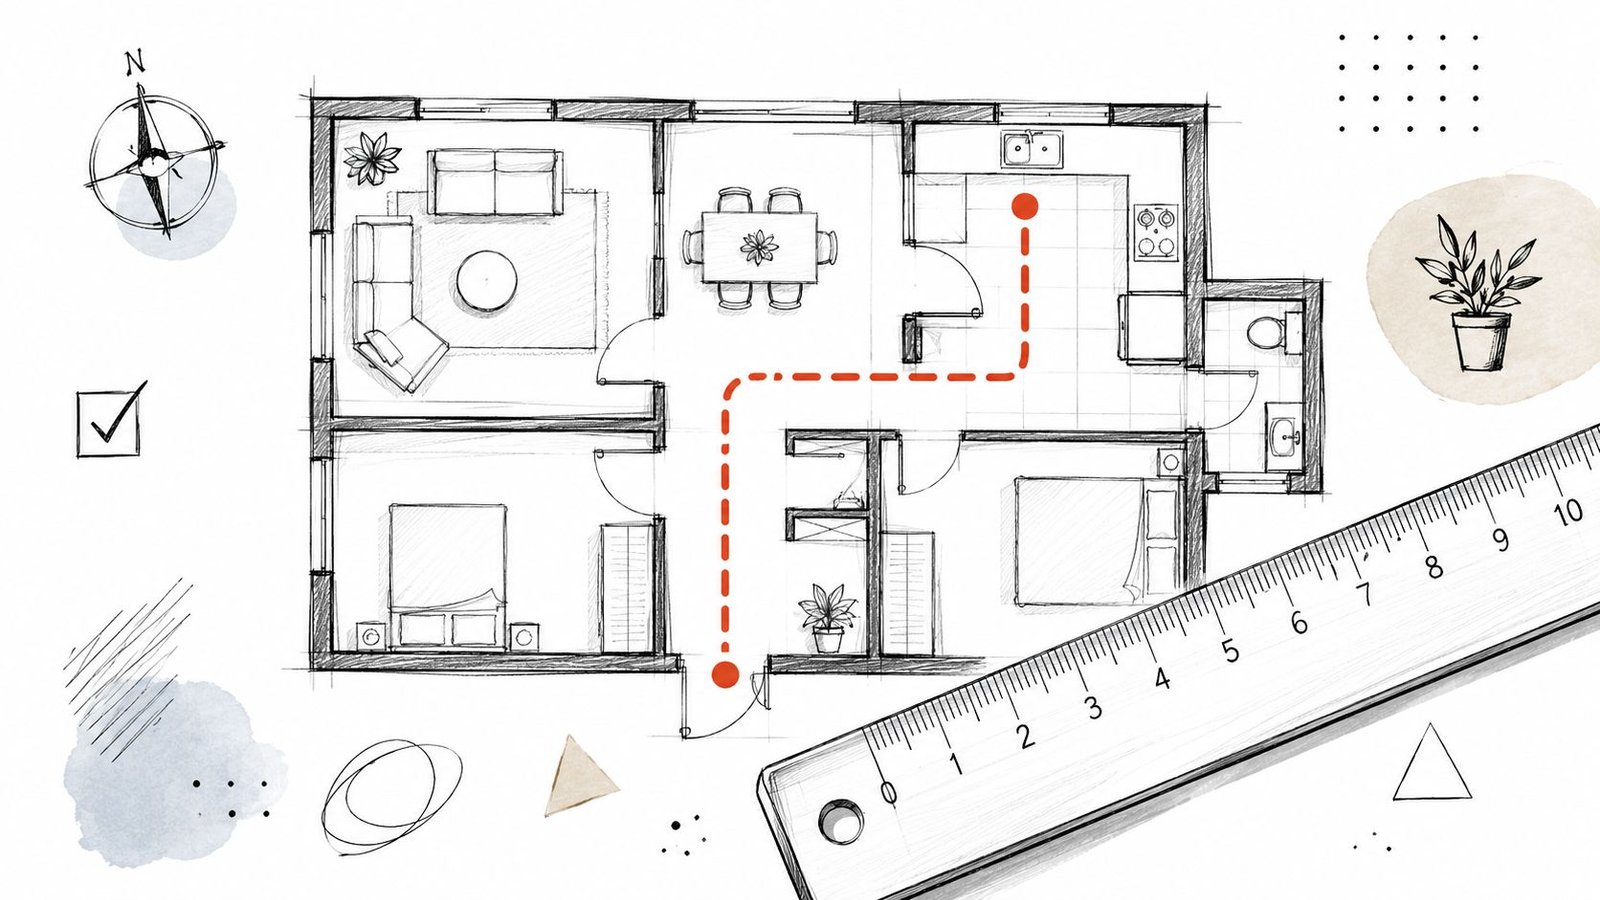
The limitation is real, though, and it shows up fast in furnished plans. Pathfinding tools can route through furniture-free open space that isn't a true corridor condition, so the result still needs human review before it goes into a submittal package. That's why automated travel analysis should be treated as a pre-check, not a final signoff.
Local amendments override IBC values, and the AHJ has final say.
This check is most reliable when the model is already close to permit-ready, with actual partitions, door swings, and circulation clearances in place. At that stage, the software can quickly expose a bad route, a corridor pinch point, or a dead-end condition that would otherwise show up only after the reviewer circles it on paper. For firms working in Revit path of travel workflows, that early flag is the whole advantage.
Where These Checks Run in a Real Design Timeline
The mistake many BIM leads make is treating egress automation like a last-mile task. It should run every time the model changes in a way that can affect circulation, not just when someone thinks the set is ready to leave the office. SD, DD, and CD each deserve a pass, especially when room use shifts, stairs move, or an exit gets added.
That cadence matters because egress problems rarely appear in isolation. A room reclassification can alter occupant load, which can change required exit capacity, which can in turn expose a travel distance issue elsewhere on the floor. If the model is checked at each milestone, those interactions stay visible while the changes are still cheap to fix.
Mixed occupancies, atriums, and odd geometric layouts still need human interpretation. The automation layer is good at surfacing a mismatch, but the code consultant or BIM lead has to decide how the rule applies when the project doesn't fit a neat template. That handoff needs to be explicit. The machine does the first pass, the human resolves the edge case.
A practical team rhythm looks like this:
- SD: catch gross room-program or circulation errors early.
- DD: verify that load, width, and route assumptions still match the evolving plan.
- CD: run the final pre-submittal pass and flag any code-sensitive changes before issue.
That rhythm also keeps re-submittal risk down. A structured QA/QC process catches avoidable misses before they become coordination emergencies, so the team spends less time redrawing sheets after comment rounds start. BIM QA/QC workflows are stronger when the checks are repeatable and tied to the model, not when they depend on memory in the final week.
Governance, Staffing, and the ROI of Automated Egress Checks
A late comment letter is not where the cost starts. The cost starts when a permit set has to be reopened, coordinated again, and pushed back through review because an egress assumption was never tested against the model. A good ruleset cuts that cycle short, and that is where the return shows up for firms producing permit sets, outsourced Revit production, or scan-to-BIM deliverables. Predictable review work is worth more than a vague speed claim because it protects margin by reducing avoidable redraws and re-submittals.
Build-versus-buy still deserves a real decision. Some firms want to write and maintain their own rule sets, which works best when a BIM lead owns the logic and production staff keep the model data clean. Other firms are better off handing the QA pass to a studio that already runs code-checkable models through a repeatable review workflow, especially when project cadence is tight and the team is already balancing coordination, permit prep, and client deadlines.
The staffing model should stay clear. One person owns the ruleset, one group maintains parameter discipline, and the final human review sits with someone who can interpret the code question. That keeps automation from turning into a pile of scripts nobody trusts. It also keeps the model reliable enough to support architectural coordination, MEP checks, and permit-ready documentation without constant clean-up.
Rule of thumb: automate the repeatable check, assign the exception to a person, and document the handoff.
The ROI comes from fewer interrupted production cycles. When the model is checkable, a team can catch a bad egress assumption before it becomes a comment letter, and that means less time spent reopening sheets, revising details, and chasing down coordination fallout. For firms that scan, model, and submit on a fast turnaround, the cleaner business case is usually a team that treats QA/QC as a production system, not a one-time review.
If you want a second set of eyes on a model before it reaches an AHJ, BIM Heroes can help with code-checkable BIM production, egress QA/QC, and coordinated documentation. Send your scan data or current model for a free consultation, and visit BIM Heroes if you want a practical read on what a cleaner ruleset would catch on your next project.