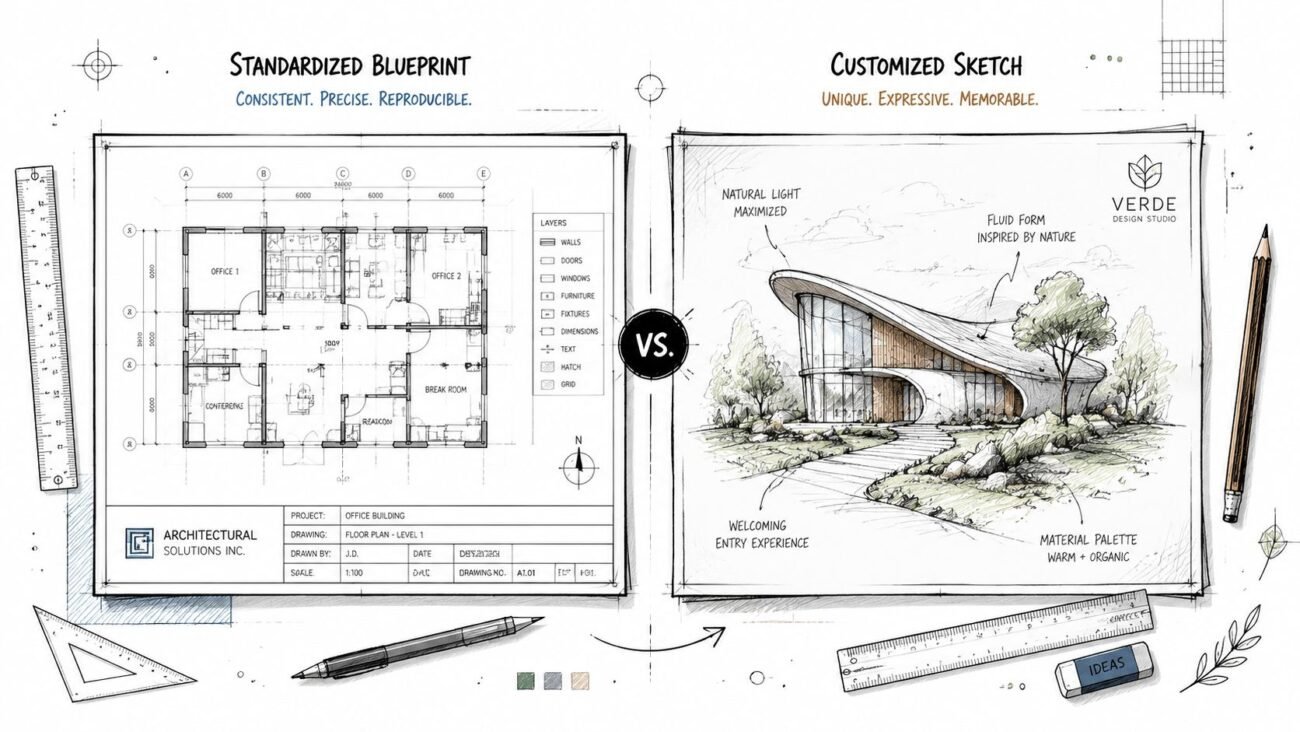
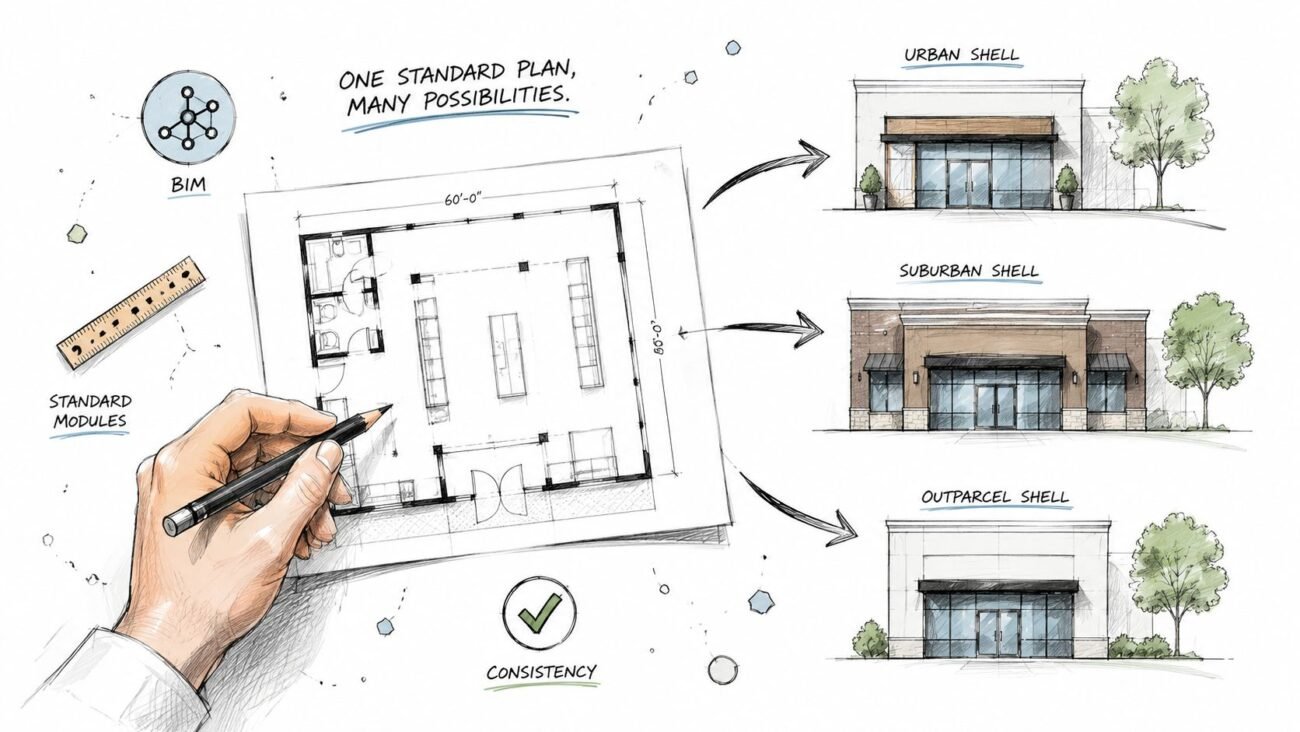
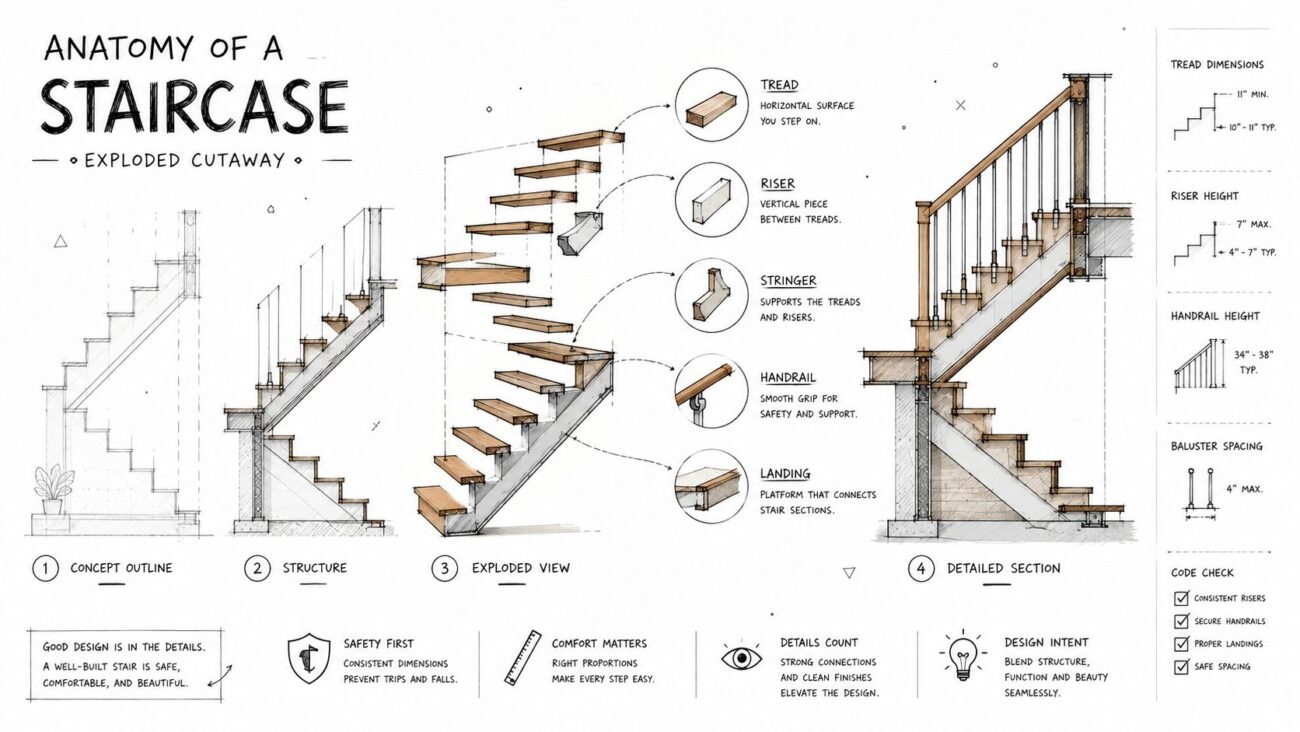
A restroom can look finished and still fail final. I've seen a tenant improvement sail through architecture, structural, and MEP coordination, then stall at punch because the rear grab bar landed a couple of inches off, the mirror was mounted too high, and the door swing ate the turning space that everyone assumed was safe. Nobody “forgot ADA” on purpose. The problem was that the restroom lived as a fixture plan in one model, a finish plan in another, and a vague note set somewhere in between.
That's why ADA toilet room layout drawings matter more than the fixture selection itself. A compliant toilet is only one part of the room. Failure points are usually the geometry around it, the clearances, the approach, and the way those dimensions survive value engineering, template reuse, and late-stage field changes.
Inspection Failure Scenario
A superintendent once called after final inspection with a familiar tone, the one that means the day just got longer. The issue was a rear grab bar that had been set too low, paired with a flush control that looked fine on the sheet but got blocked by a dispenser in the field. The restroom was otherwise clean, tile was in, partitions were up, and the owner wanted turnover. None of that mattered once the inspector started checking the room against the accessibility baseline.
That's the trap with ADA restroom clearances. The room can feel complete to the eye and still fail at the measured details. A fixture schedule won't save you if the layout on the permit set didn't lock the turning space, the grab bar locations, and the toilet placement together as one coordinated system.
Practical rule: if the restroom relies on a “we'll adjust in the field” mindset, it's already at risk. Accessibility isn't an install finish issue, it's a layout issue.
The cost shows up in rework, RFIs, and a permit set that has to be reissued when the field team realizes the room doesn't physically support the documented dimensions. In BIM terms, that's a coordination miss, not a product miss. The toilet itself didn't fail, the surrounding documentation did.
Choosing the Governing Standard
Start With the restroom type
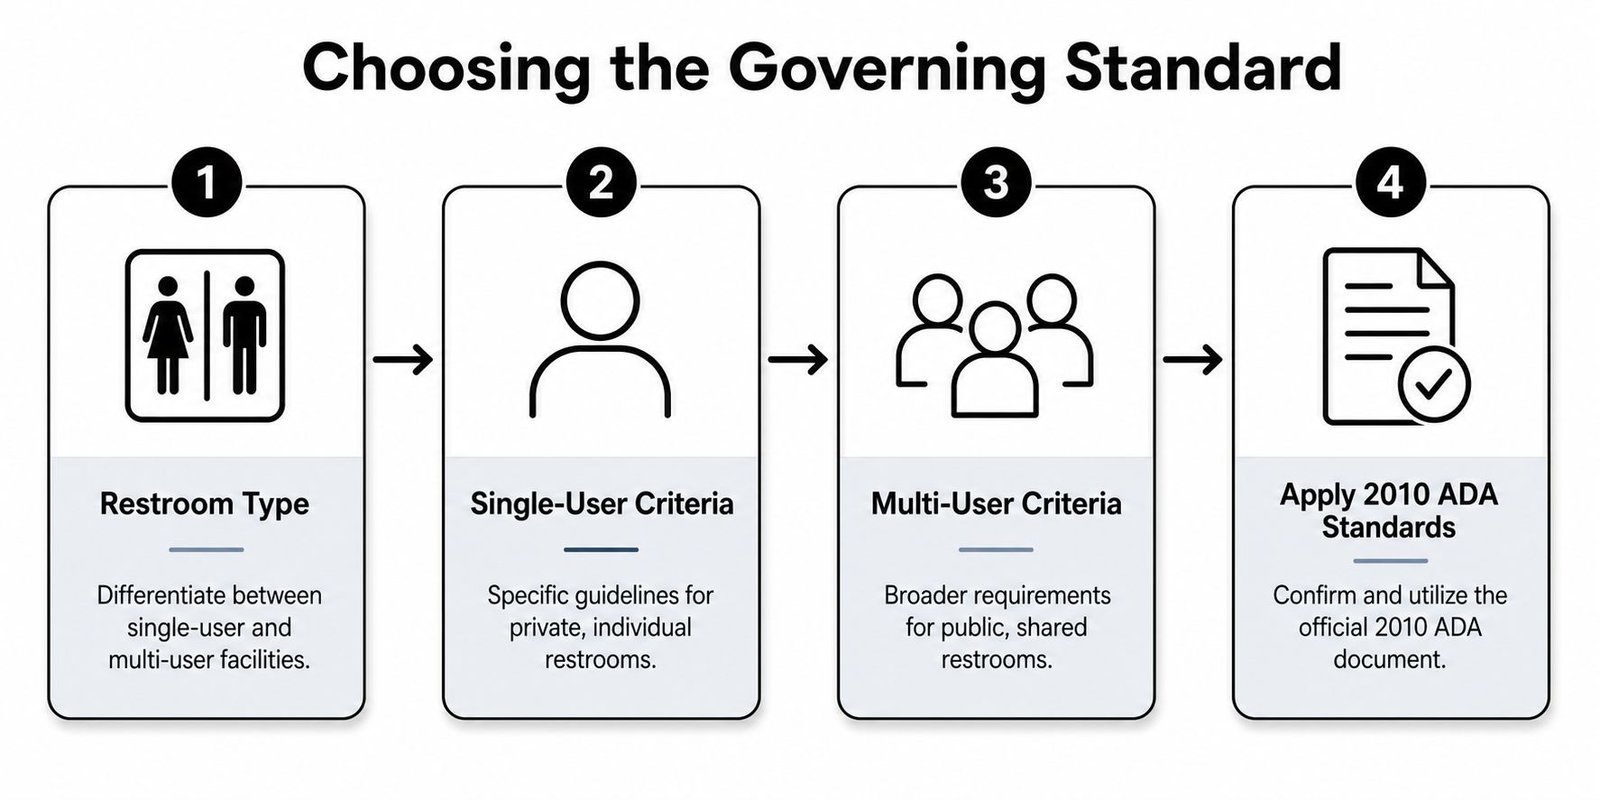
The first decision is whether the project is dealing with a single-user room or a multi-user restroom. That sounds basic, but it changes how the layout gets read, reviewed, and redlined. A single-user room often has more flexibility on paper, while a multi-user room usually demands more disciplined planning because the path, fixtures, and stalls all have to work together.
The next decision is jurisdiction. For many commercial projects, the baseline is the 2010 ADA Standards for Accessible Design. In accessible toilet room planning, that's the core reference when federal ADA compliance is in play, and it sets the placement benchmarks used in most permit sets and inspection checklists. For a current design team, the primary task is not memorizing every rule, it's documenting which rule set governs the project and why.
Decide which code actually controls
If the project sits in a state with its own accessibility code, that code may be stricter than the federal baseline. In practice, the strictest applicable requirement controls. That's the part teams miss when they assume “ADA-compliant” means one universal answer. It doesn't.
For example, projects in California or Texas often bring additional state-level review layers into the process, and local amendments can add more constraints. If the jurisdiction or owner has a higher standard, the permit set should call that out early, not after back-check comments pile up. For a broader code-comparison mindset, it helps to track the same way you would with UK building safety standards, meaning, don't wait until the end to discover the rule hierarchy.
Use a clean note in the set that identifies the governing standard, the adopted code basis, and any state or local amendment that tightens the design. That one note prevents a lot of “which rule are we using?” RFIs later.
A good permit set also shows the restroom in relation to the larger floor plan, not as a detached detail. That's where site plan coordination becomes useful, because circulation, entry routes, and overall room placement can affect whether the accessible route is achievable.
Drafting Floor Space and Turning Radius
Draw the maneuvering zone first
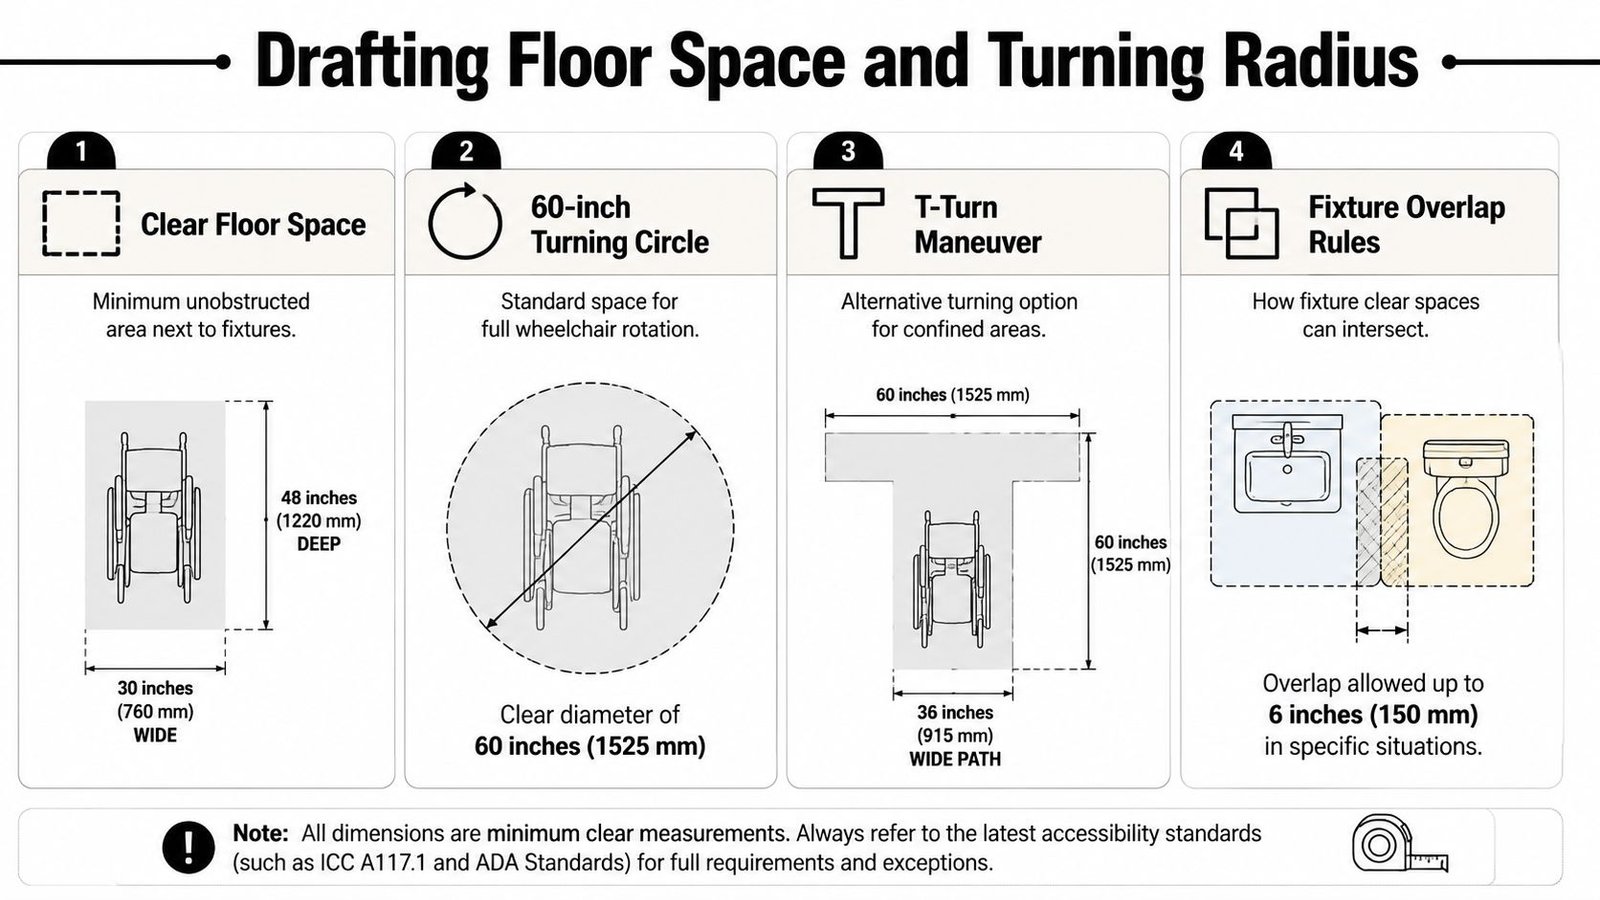
The biggest drafting error is simple. Someone places the toilet, the lavatory, and the door, then realizes the turning space is gone. For an accessible restroom, the 60-inch diameter turning space is the anchor. The room has to let a wheelchair user maneuver without the fixture layout stealing that space.
In tighter rooms, the T-turn alternative can help, but only if the layout supports it. I've seen teams draw a T-turn symbol as if it were a decorative diagram, then ignore the fact that the door swing and fixture edges made the maneuver impossible. The symbol isn't the compliance, the actual clear geometry is.
Check the room as a whole, not fixture by fixture
A 30 by 48 inch clear floor space at fixtures and a 60-inch diameter turning circle are repeatedly cited as the practical baseline for accessible layout, and doorway widths need to support maneuvering too ADA bathroom layout guidance. Those dimensions can overlap in some conditions, but overlap isn't an excuse to compress the room into a nonfunctional shape.
A quick QA routine helps:
- Place the turning zone first: lock the maneuvering circle before you place accessories or partition walls.
- Trace the door arc: confirm the swing doesn't cut into the turning area or wipe out approach space.
- Verify the fixture envelope: check that the toilet, lavatory, and any adjacent element don't crowd the clear floor space.
- Run a final visual in plan and section: small room errors show up faster when the model is checked from both views.
The mistake I see most often is a room that looks legal until the door swing is drawn at full size. At that point, the turning circle disappears, and the permit set no longer matches the built room. That's why this check belongs in BIM, not in the field.
ADA Compliant Toilet Placement
Lock the placement before the finish set
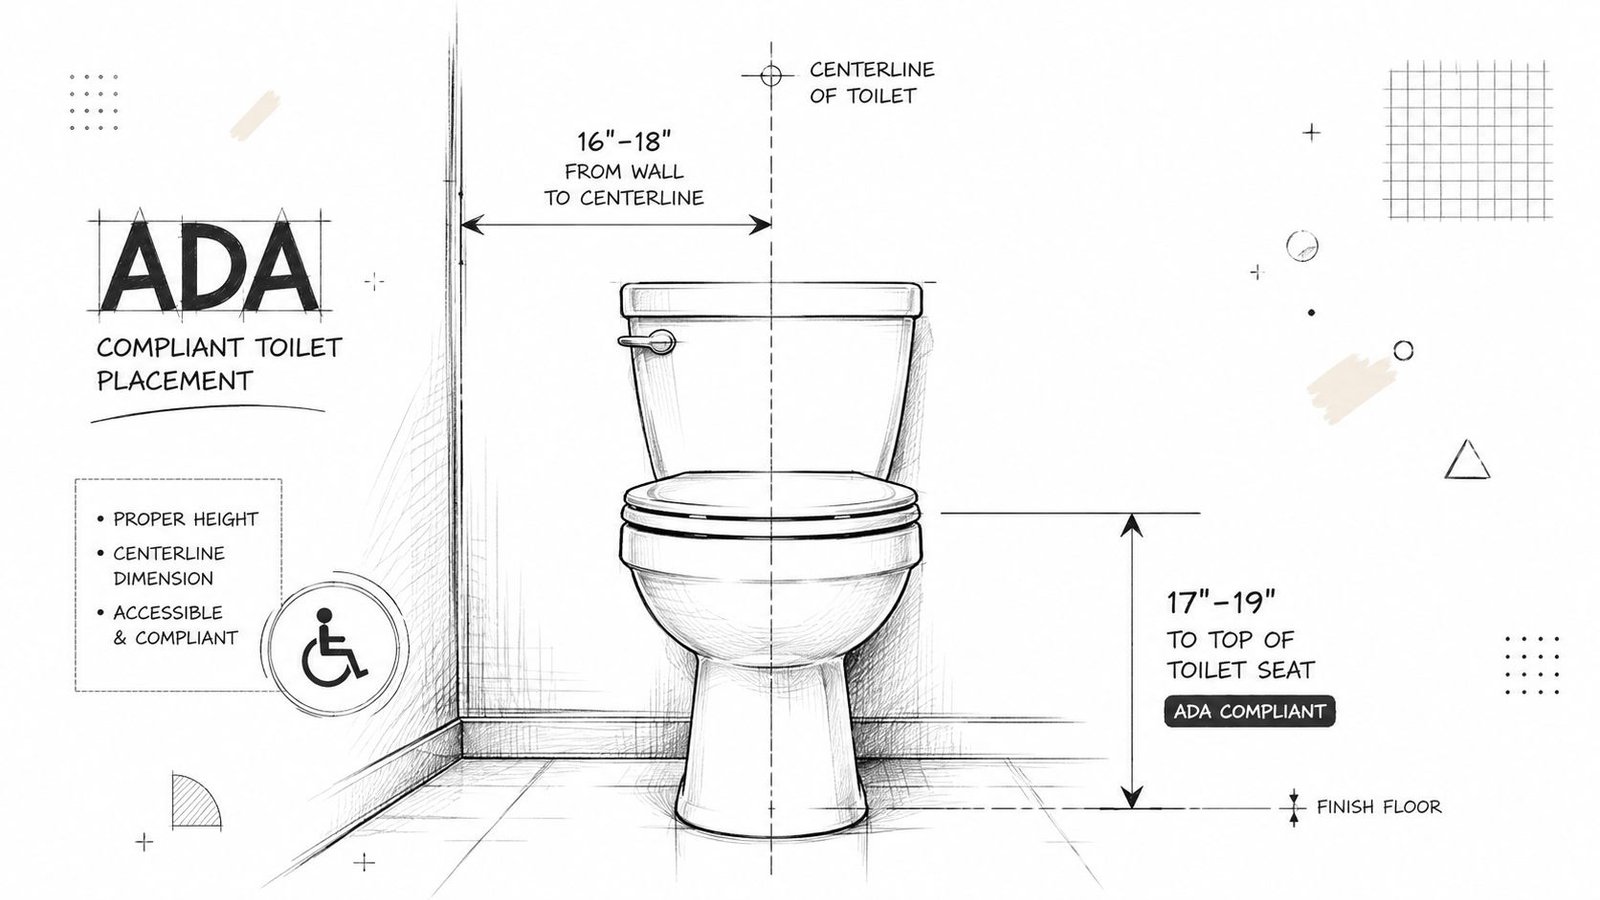
For an ADA compliant toilet, the seat top needs to sit 17 to 19 inches above the finished floor, and the toilet centerline has to land 16 to 18 inches from the side wall or partition ADA toilet placement benchmark. Those are not decorative dimensions. They determine whether the room works for transfer and side approach.
Flush controls have to be on the open side and operable with one hand using no more than 5 pounds of force. That detail often gets missed when a team swaps a side, flips the room, or tries to standardize the toilet family across multiple plan types. Once the controls are on the wrong side, the mistake ripples through the elevations and the field install.
The toilet family should never be modeled in isolation. Its placement has to be tied to wall offsets, finish thickness, and the actual side of approach.
Use a family strategy that resists overrides
In Revit, the cleanest approach is to lock the centerline and height into the family type or template, then protect those values through QA review. In CAD-based sets, the equivalent is a detail block or annotation standard that forces the designer to recheck the dimensions before issue. If the office uses a mixed production stack, the same benchmark needs to appear in both systems, or someone will “fix” it one way and break it the other.
There's also a stall distinction to keep in mind. An ambulatory stall is not the same thing as a standard accessible stall, and teams should avoid using one label as a catch-all. The room type drives the detail, and the detail drives the sheet note.
For plumbing coordination, I keep the toilet placement tied to the upstream fixture layout so the plan, elevations, and waste routing all agree. A useful model-management reference is our plumbing design workflow, because toilet placement is where architectural and plumbing coordination usually meet first.
Grab Bar Length and Height Requirements
Length and mount height have to match the room
Grab bars are one of the first places an “almost compliant” restroom gets rejected. The side wall bar needs to be at least 42 inches long, the rear bar at least 36 inches, and both need to be mounted 33 to 36 inches above the floor. If the bar is too short, too high, or too low, the room can fail even when the toilet placement is otherwise correct.
The drafting mistake usually shows up as a package problem, not a single bad dimension. A bar may be drawn at the right size, but the usable grab zone gets blocked by an accessory, a partition, or a wall condition that was never coordinated. The elevation still shows a grab bar, but the field condition no longer gives the user a clean handhold.
Coordinate the wall package early
Check this detail against tile layout, blocking, accessories, and partitions before the restroom sheet leaves QA. A bar that lands on a tile joint can get shifted in the field, and that small change can throw off the mounting height or the usable length. If a mirror, dispenser, or trim piece steals the same wall space, the drawing no longer matches what gets installed.
Plan, elevation, and schedule views need to agree. The plan sets the location. The elevation confirms the height. The schedule confirms the product and length. If one view conflicts with the others, the set is not ready for permit or field use.
A practical BIM habit is to tag the bar in both the plan and the interior elevations, then check the dimensions during sheet review. That catches the failures that often slip through when the restroom is treated like a finish package instead of a coordinated accessibility detail.
Lavatory Mirror and Accessory Heights
Keep the lavatory and mirror in the same conversation
Sink, mirror, and accessory heights often get treated as finish choices, then they turn into inspection problems. The lavatory needs to stay no higher than 34 inches, with at least 27 inches of knee clearance below it, and the mirror's bottom edge cannot sit above 40 inches if it is meant to stay within accessible reach. If a late design change shifts the cabinet or vanity, the clearance can disappear before anyone catches it in review.
The safer approach is to coordinate the lavatory as one assembly. The countertop, plumbing, trap, front edge, and mounting conditions all need to be checked together. In many TI sets, the architecture sheet, MEP detail, and millwork elevation each hold part of the requirement, which is how a bad dimension can survive QA and show up at permit time.
Use section cuts and field-friendly coordination
In BIM coordination, section views are the fastest way to prove the knee space is usable. If the model shows clearance but the trap, supply, or cabinet kick lands in the way, the section exposes it immediately. That is the kind of miss a coordinated restroom set should catch before the reviewer does.
Accessory height still needs the same attention. Towel bars, dispensers, and similar items have to stay within reachable ranges, and if those items are missing from the interior elevations, the field team usually guesses. That guess often puts hardware above the usable zone or into a spot that conflicts with the user path.
Drafting habit: every accessory that affects reach should appear on the same sheet set as the sink and mirror. Split it up, and someone will make an assumption that costs a correction.
Door Swing and Approach Clearance
Let the door work for the room, not against it
Door approach is one of the easiest places to lose compliance without noticing. Accessible stalls commonly need the door to swing outward so the maneuvering space stays usable, and restroom doorways need to be wide enough for approach and entry. The practical issue is that the door doesn't just occupy the wall opening, it claims a path in the room.
That means the latch side and hinge side have to be checked against the rest of the layout. A neat plan can still fail if the door leaf blocks the clear floor space or steals the turning zone when it opens. In small rooms, that can happen with a single line adjustment.
Draft approach clearances as live geometry
I prefer to show the door arc directly in the model or on the plan view, then verify the approach with a simple clearance overlay. If the door has to be held open in the field to make the room work, the drawing is already behind. The user should not have to negotiate with the hardware to use the restroom.
A good permit set matters; it needs enough detail that the reviewer can see the room logic without guessing, and enough consistency that the contractor doesn't improvise on site. A well-built sheet set reduces the back-and-forth that usually turns into avoidable RFIs, and that's the same discipline we apply in a complete permit set workflow.
Common Drawing Mistakes
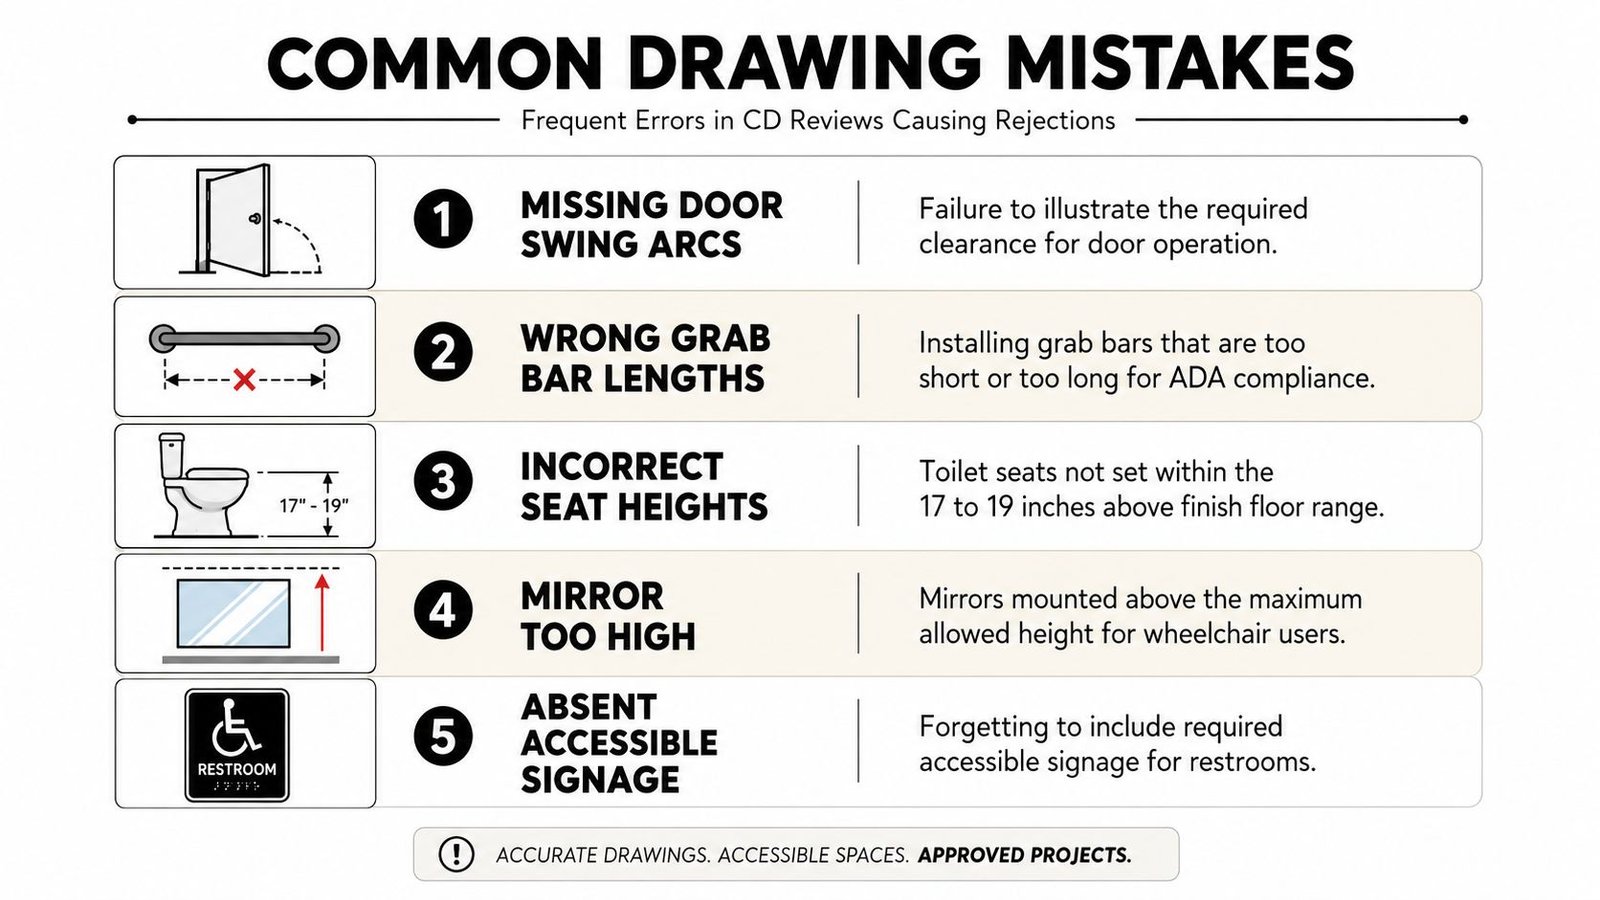
-
Missing door swing arcs: The plan looks clean, but the clearance wasn't checked.
Consequence: The turning space gets consumed in the field, and the inspector flags the room. -
Wrong grab bar lengths: The bar was modeled as a generic fixture instead of a measured assembly.
Consequence: The room fails even though the wall looks “ready.” -
Incorrect seat heights: The toilet family was reused without confirming the final mount height.
Consequence: The installer has to reset the fixture or the set gets a correction notice. -
Mirror too high: The elevation was drawn from a standard finish layout, not an accessible reach layout.
Consequence: The bathroom passes visual review and fails measured review. -
Absent accessible signage: The room detail focused on fixtures and skipped the identification callout.
Consequence: The permit set feels incomplete, and reviewers start looking harder at everything else. -
No explicit clearance notes: The sheet assumes the contractor knows the accessible geometry.
Consequence: RFIs multiply because no one wants to own the interpretation.
A lot of these mistakes trace back to one thing, a gap between the drafting model and the compliance checklist. The fix is discipline, not more redlines. Standardize the restroom sheets, then review them the same way on every job.
Closing Invitation
ADA restroom detailing should be part of the base production package, not a late add. When the toilet layout, grab bars, clearances, and door approach are built into the model and QA process from the start, the permit set becomes more predictable and the field has fewer reasons to improvise. That protects margin, shortens review loops, and keeps the team out of the usual accessibility scramble.
BIM Heroes handles ADA restroom detailing as a standard part of commercial CD sets, alongside the coordination checks that keep drawings inspection-ready. If you want a clean checklist framework, a template audit, or a second set of eyes on your restroom layouts, book a brief call and we'll walk through where your current process is leaking time.
A CTA for BIM Heroes.