A project manager staring at two quotes for scan to BIM has one real decision to make, and it's not about the prettier demo. It's about whether the capture method will give the design team an as-built model they can trust, or a point cloud that looks impressive and still turns into a liability in Revit. If you're comparing LiDAR and photogrammetry right now, the safest way to think about it is simple, match the method to the tolerance and budget, then make sure the modeling handoff is disciplined.
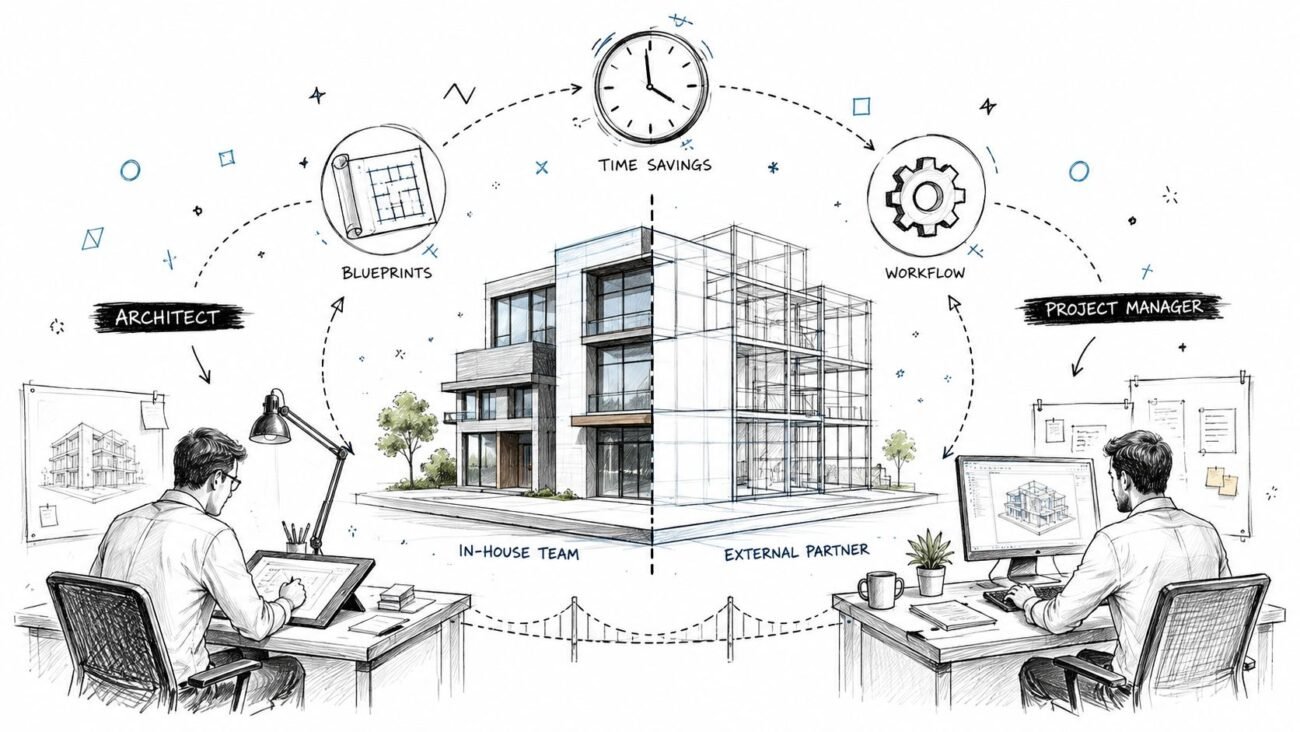
If you need a practical starting point, our scan to BIM services are built around that exact handoff, capture data comes in, the model goes out with scope, accuracy target, and deliverables defined up front. That matters because the scanner is only the first decision. The model is what your architect, GC, or MEP team builds from.
Why the Capture Method Decides Whether Your Model Is Trustworthy
A lot of teams treat capture like a commodity purchase. That's a mistake. In scan to BIM, the capture method sets the ceiling on what the model can safely do downstream, especially when you need the result for coordination, renovation, or permit-sensitive documentation.
The market reality is clear, too. More than 70% of surveyed scan-to-BIM professionals reported working in the prior 12 months on the core workflow stages, laser scanning survey, point-cloud processing, registration and cleanup, and BIM modeling, which shows this is a production method, not an experiment, especially in the US (survey source). That's why the better question isn't “Which technology is newer?” It's “Which capture method gives me enough fidelity without wasting money?”
Practical rule: buy the accuracy your project needs, not the accuracy a sales demo can impress you with.
If you're only after visual context, one method may be enough. If you're driving routing, clash checks, or renovation decisions, the wrong capture choice forces rework later. That's where the model becomes a liability, because the team starts designing off confidence that the data doesn't deserve.
What Scan to BIM Means in Practice
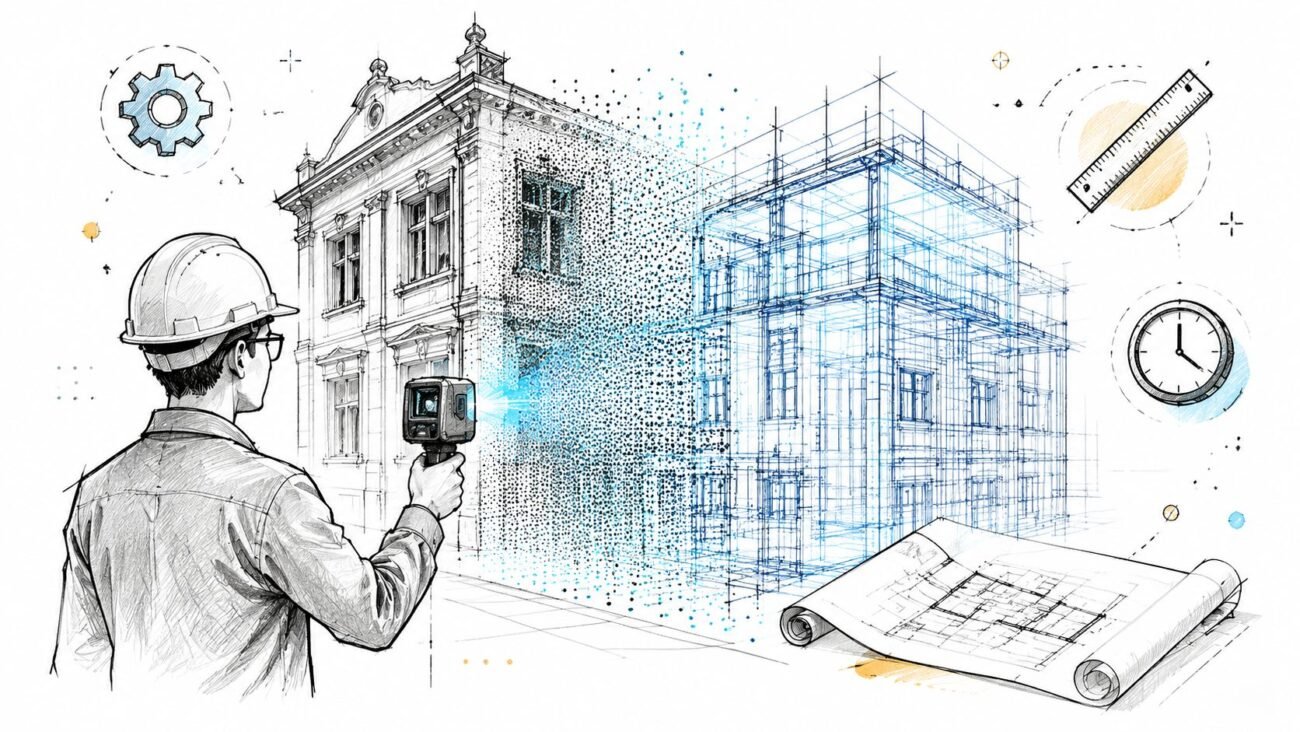
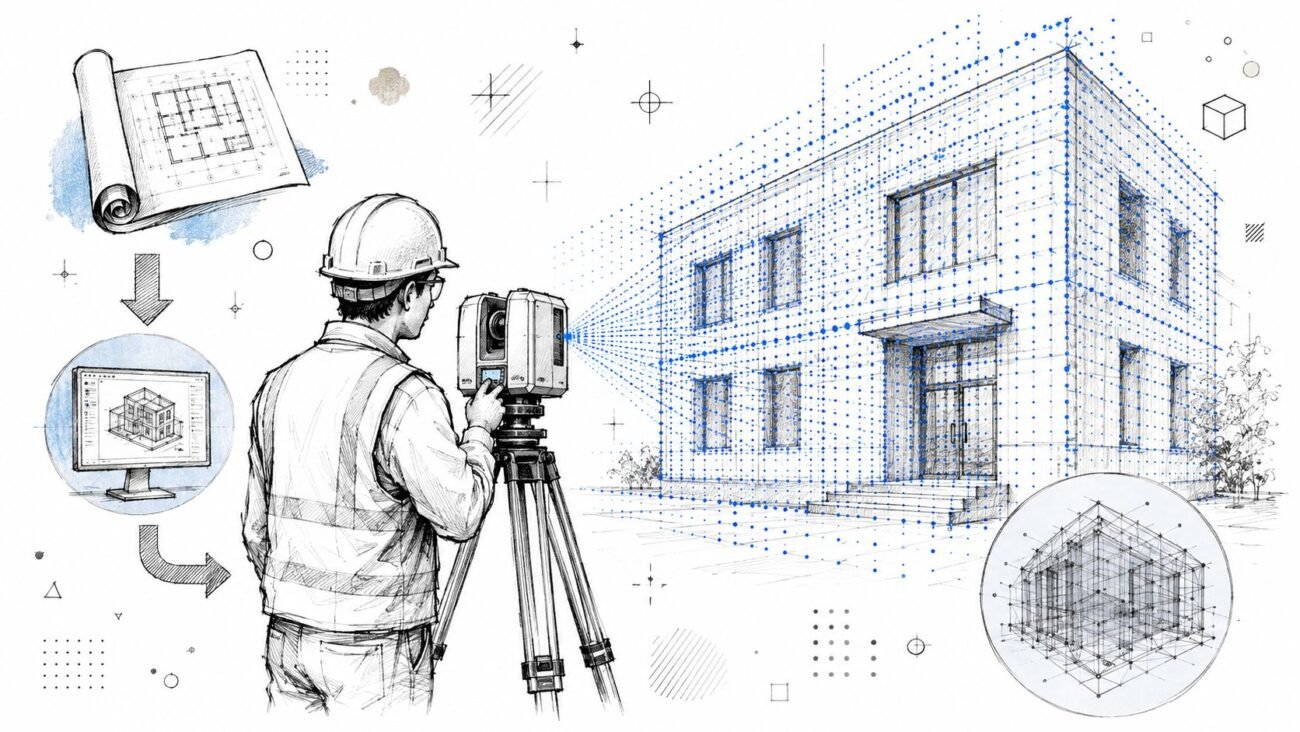
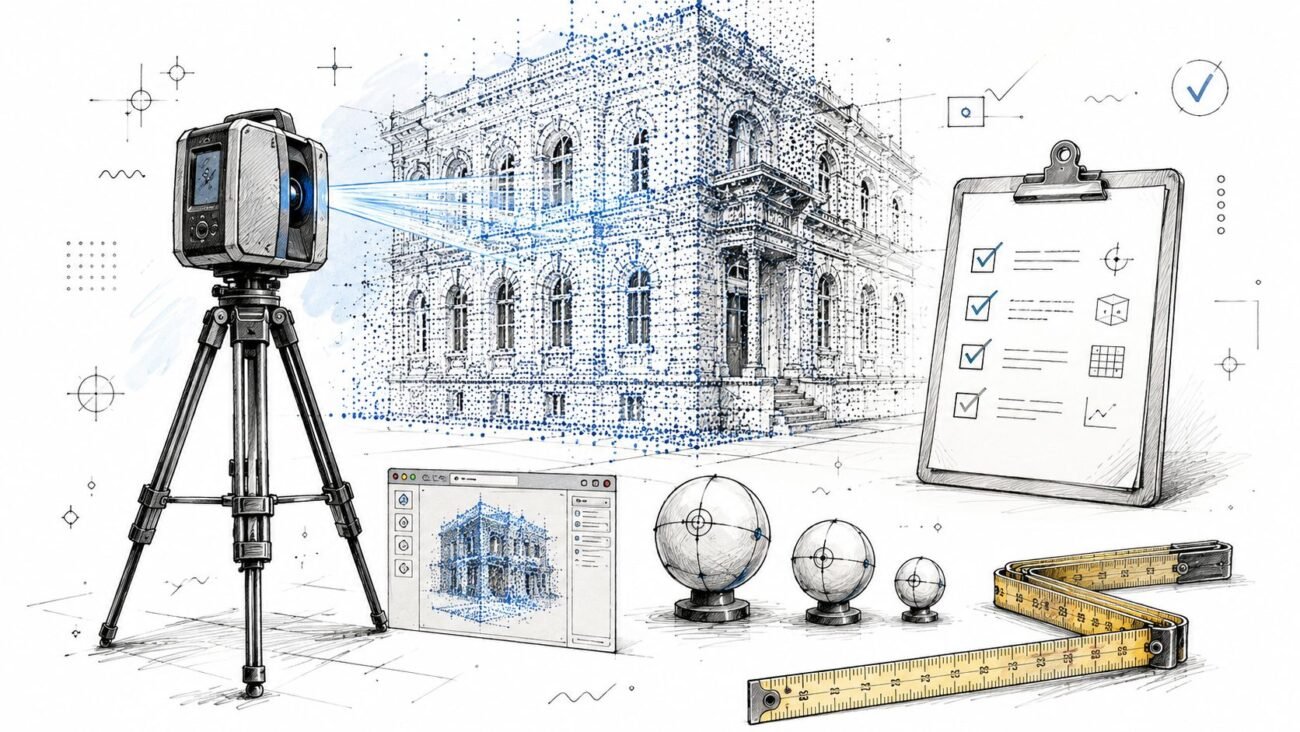
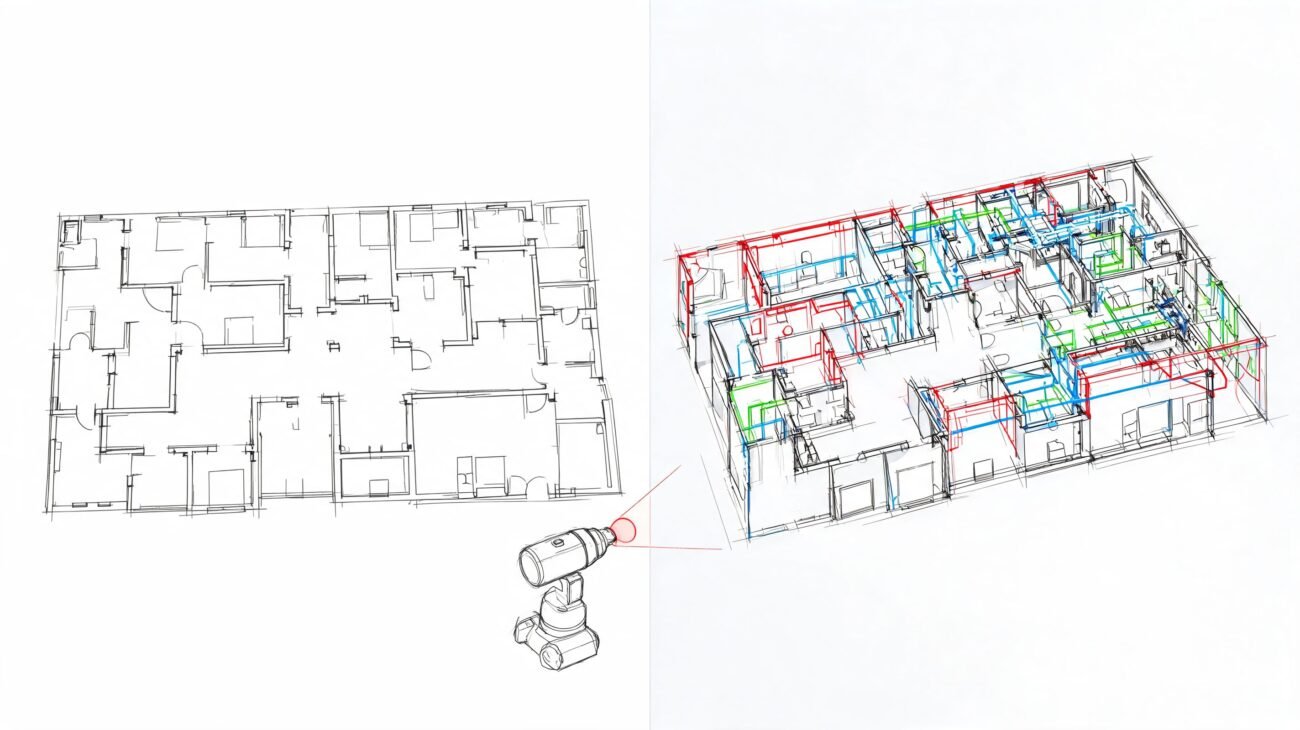
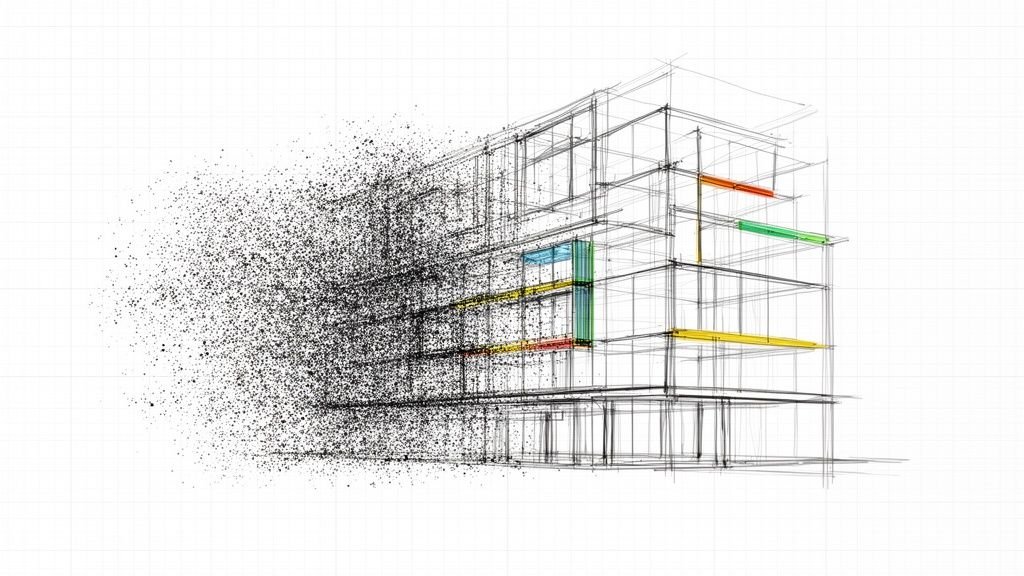
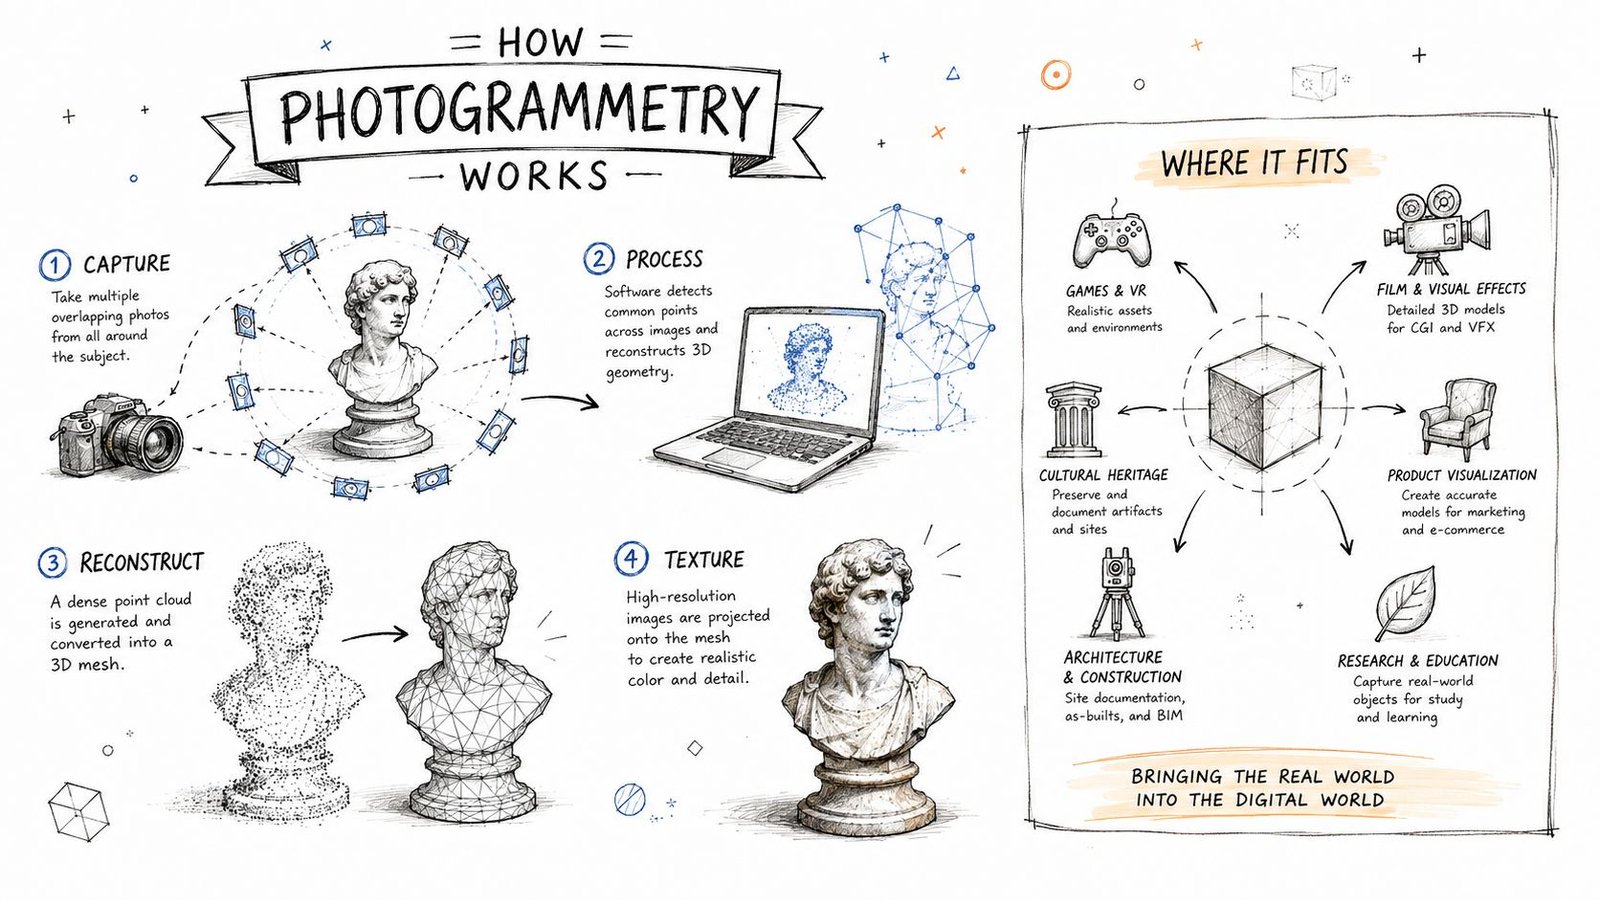
Scan to BIM is a two-part workflow. First, you capture existing conditions as a point cloud, a dense set of measured 3D points. Then that cloud gets modeled into a coordinated BIM or Revit as-built model that the project team can use.
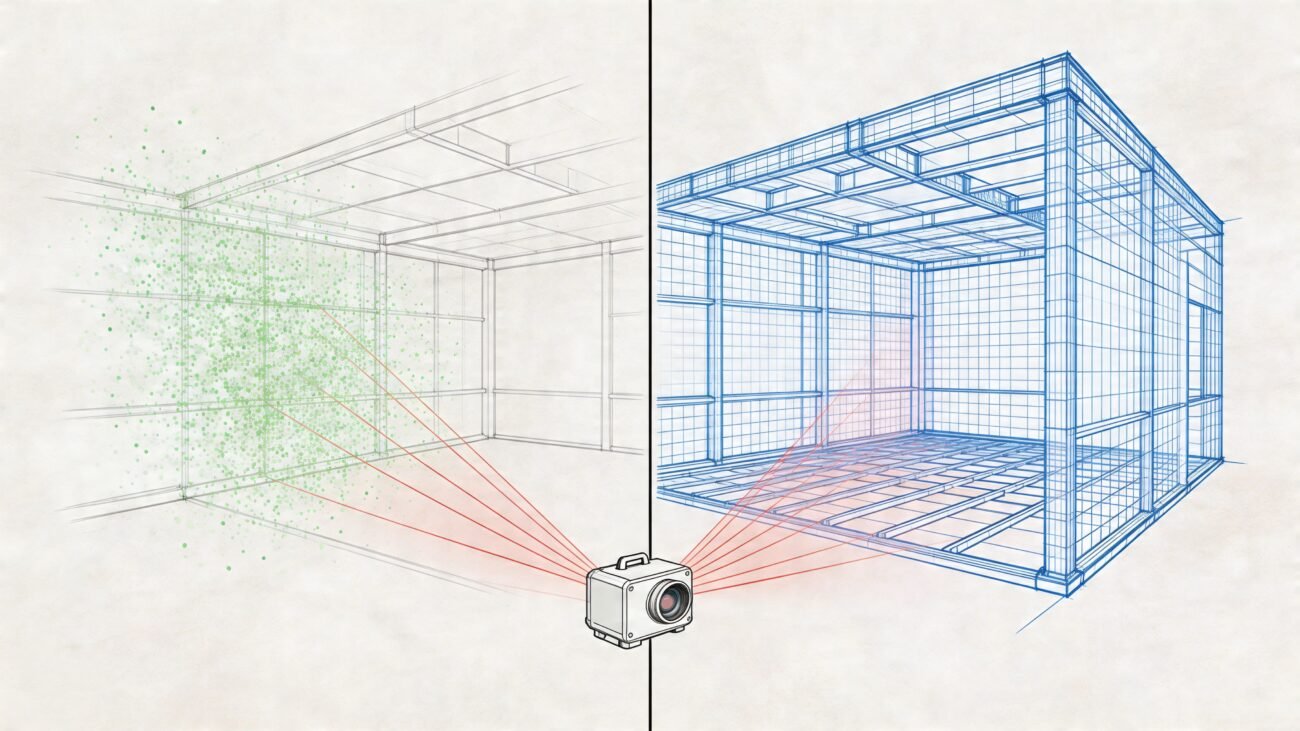
The capture stage is where LiDAR and photogrammetry diverge. LiDAR uses laser measurement, photogrammetry uses overlapping photos, and both can feed a usable workflow when the scope is set clearly. The modeling stage is separate, and that separation matters because a strong capture method doesn't rescue weak scope definition or sloppy model standards.
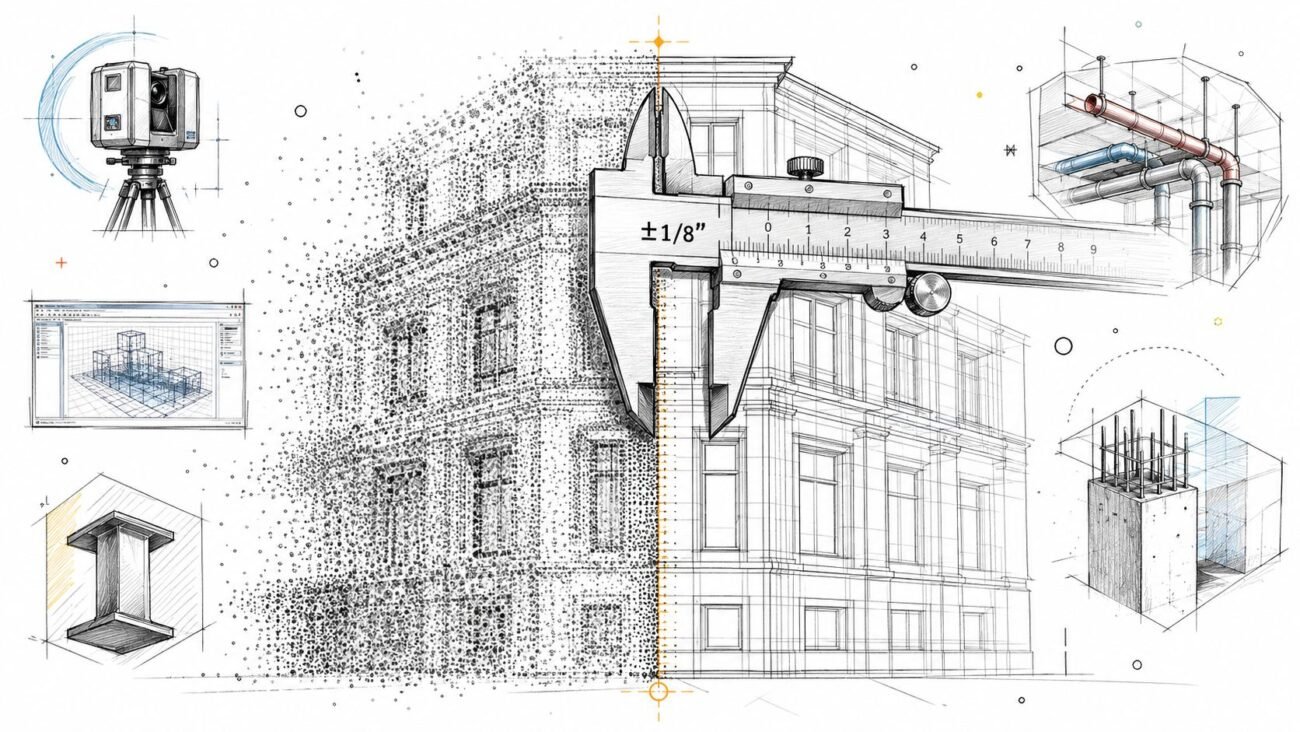
In practice, the cleanest projects define three things before anyone presses a shutter or triggers a scanner. They define what needs to be captured, how accurate the deliverable must be, and what the model will be used for. That's the difference between a cloud that looks good on screen and an as-built model that holds up in coordination.
A peer-reviewed methodology even breaks scan-to-BIM into six steps, starting with element classification and required level of detail before moving into acquisition and model creation (ISPRS methodology). That's the right mindset. Scope first, capture second, model third.
How LiDAR Scanning Works and Where It Wins
LiDAR stands for light detection and ranging. The scanner sends laser pulses, times the return, and turns those measurements into a dense point cloud. That gives you measured geometry, which matters more than a polished look when the model has to support real coordination decisions. For a deeper technical overview, see this 3D LiDAR scanning guide.
Where LiDAR earns its keep
LiDAR performs well in low light, tight mechanical rooms, and crowded interiors where walls, structure, and MEP runs all need to line up. In retrofit work, hospitals, and dense commercial cores, laser data usually gives the modeling team cleaner geometry to trace and verify. It also fits projects where the downstream deliverable has to support coordination, clash review, and as-built validation, not just visual reference.
Where LiDAR gets expensive
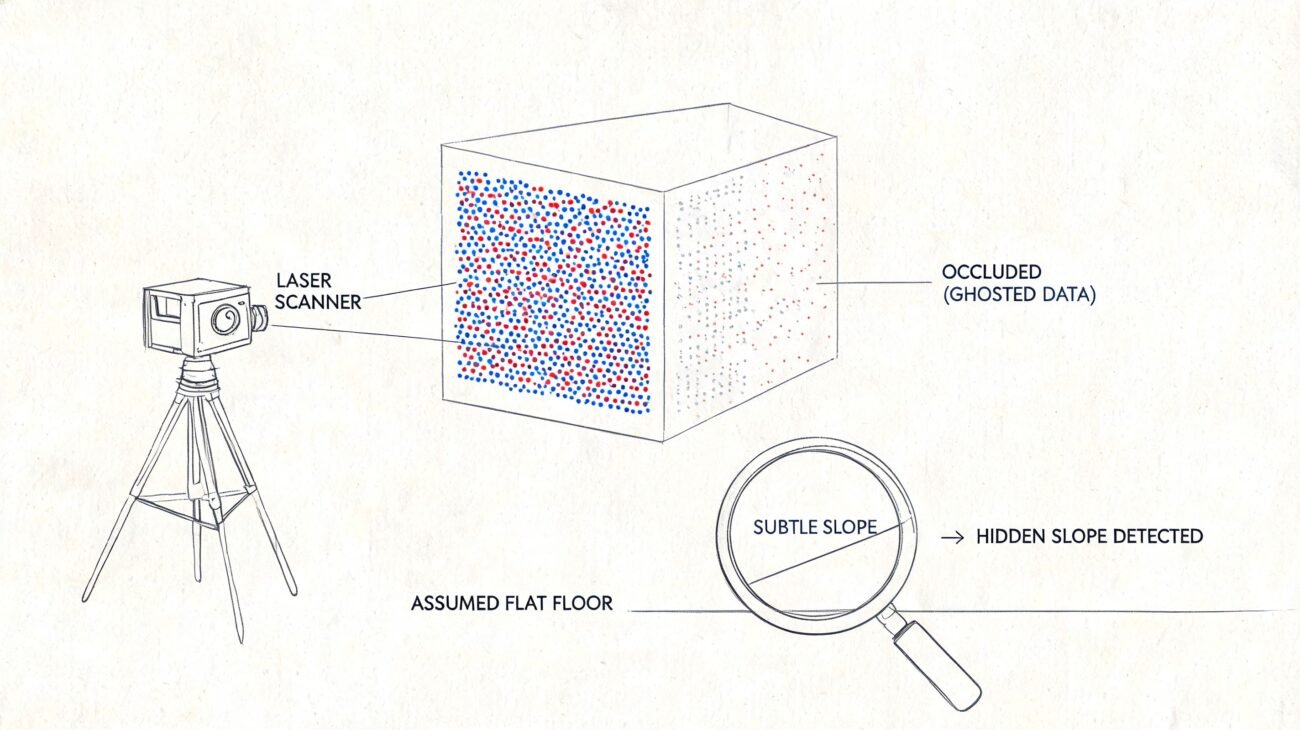
The trade-off is cost and processing effort. The hardware costs more, scan days can run longer, and the datasets are large enough that registration and cleanup demand discipline. Reflective, transparent, and shiny surfaces still cause problems. Glass curtain walls and polished metal do not always return clean reads, so the scanner does not solve every surface in the building.
BIM Heroes accepts any scanner format, including Leica, FARO, Trimble, and NavVis inputs, so the workflow does not get locked to one capture brand. That is the right stance for outsourcing. The file format should serve the model, not the other way around.
How Photogrammetry Works and Where It Fits
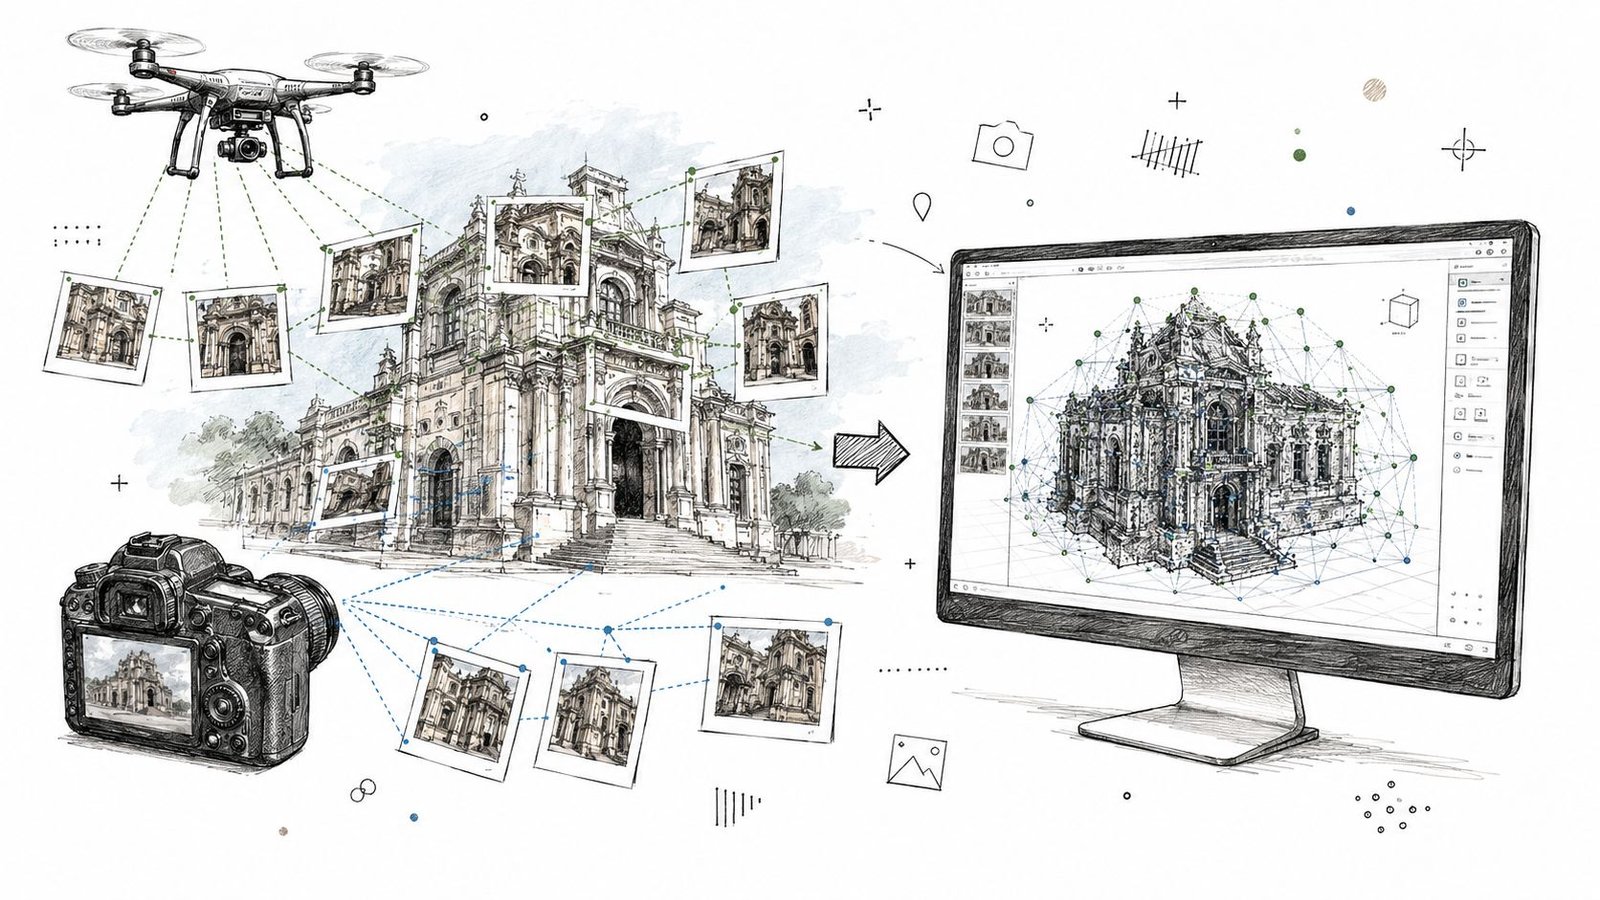
Photogrammetry starts with overlapping photos, usually from a DSLR, 360 camera, or drone. Software matches shared visual points across those images and reconstructs them into a 3D model or point cloud. It is the photo-first option, which matters when budget, access, or site coverage drive the job. For a broader view of how reality capture methods compare, see this reality capture overview.
Where photogrammetry fits best
Photogrammetry fits large exteriors, roofs, facades, and site-level context. It also helps when visual texture matters, because the output carries rich color and surface detail that laser scans do not provide on their own. For owner walkthroughs or early coordination visuals, that extra texture gives the model more communication value.
Where the method breaks down
Accuracy depends heavily on light, image quality, overlap, and consistent coverage. Low light, motion blur, and blank or featureless surfaces weaken the result quickly. Long, smooth walls, poor contrast, or inconsistent exposure can push the reconstruction off target, and that drift becomes costly once the model has to support renovation or coordination work.
BIM Heroes accepts Matterport and drone-based inputs alongside laser data, which is the right way to handle this workflow. Photogrammetry is not lesser by default. It works well when the tolerance is looser, the budget is tighter, and the downstream model only needs to support the level of decision-making the project requires.
LiDAR vs Photogrammetry at a Glance
| Criterion | LiDAR (laser scanning) | Photogrammetry (photo-based) |
|---|---|---|
| Accuracy | Higher, better for precision-critical interiors | More variable, depends on capture conditions |
| Best for | MEP rooms, interiors, retrofit work, complex geometry | Exteriors, roofs, sites, visual context |
| Lighting dependence | Low | High |
| Relative cost | Higher | Lower |
| Data size | Larger | Usually lighter, but still depends on coverage |
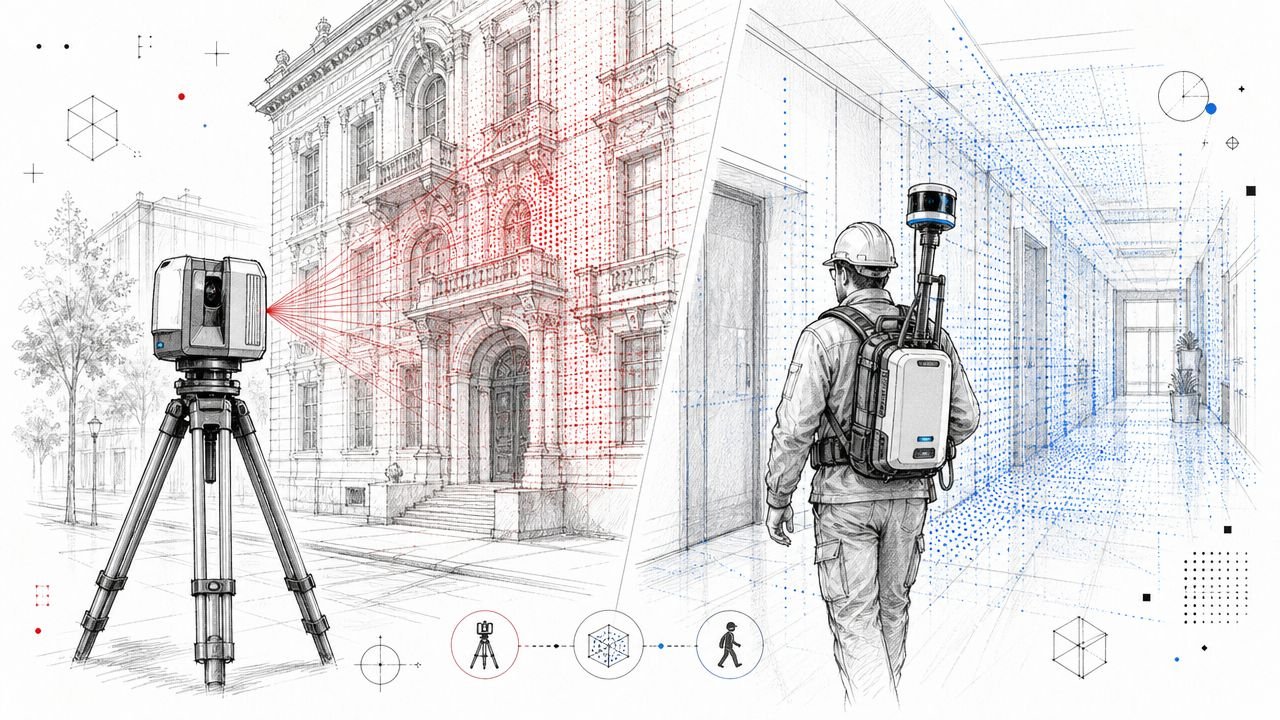
The pattern is hard to miss. Precision-critical interiors and MEP work favor LiDAR, while large exteriors and budget-driven visual context favor photogrammetry. Many real projects combine both, because one method rarely covers every condition well.
How to Choose the Right Capture Method
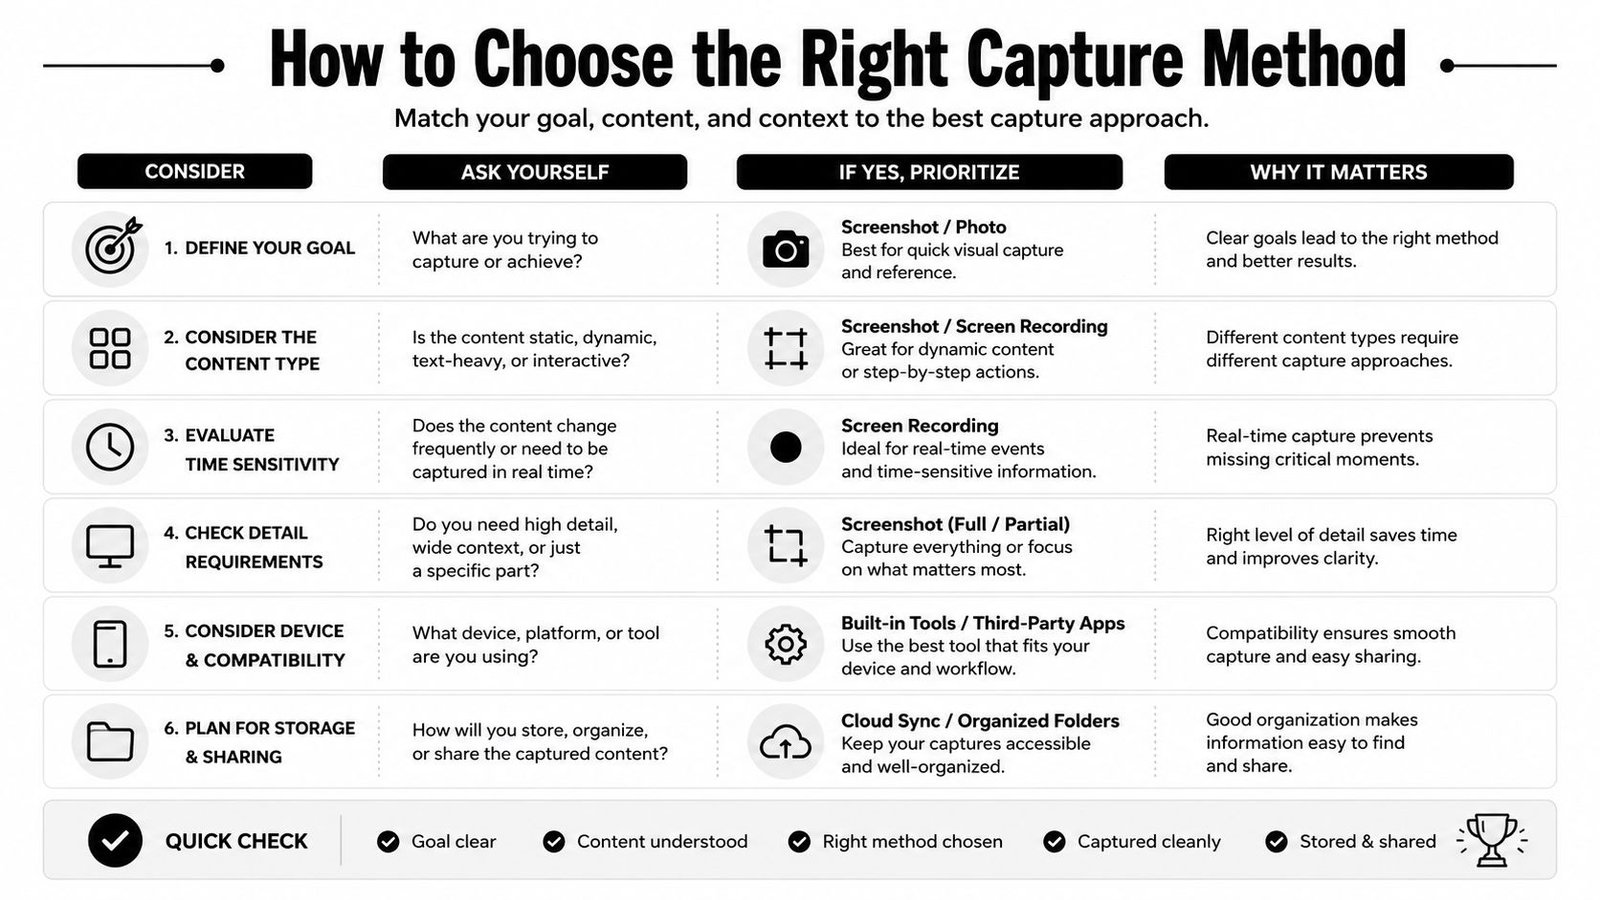
Start with the tolerance, not the tool. If the project needs tight geometry for coordination, fabrication, or a renovation tie-in, LiDAR should be your default. If the deliverable is mainly visual context, roof coverage, or broad site documentation, photogrammetry can be the smarter spend.
Use these five checks before you commit
- How tight is the tolerance? If the answer is “very tight,” choose laser capture. If the answer is “general reference,” photo-based capture may be enough.
- Is the work interior or exterior? Interiors with MEP and structure usually want LiDAR. Exteriors and site conditions often suit photogrammetry.
- What are the lighting conditions? Low-light spaces are a bad bet for photo-heavy workflows.
- What's the budget and timeline? If you need broader coverage with lighter capture overhead, photogrammetry can keep the job moving.
- Do you need color and texture, or just geometry? If the visuals matter to the client or owner, photos add value. If the model is for coordination, geometry wins.
If you can't define the use case clearly, you're not ready to pick a capture method yet.
One Autodesk guidance document says control points should be approved before scanning starts, with three to seven points typically needed for geolocation and distributed across the facility (Autodesk guidance). That reinforces the primary point here. Capture isn't just a camera or scanner choice, it's a control and planning decision.
From Point Cloud to a Model You Can Actually Build From
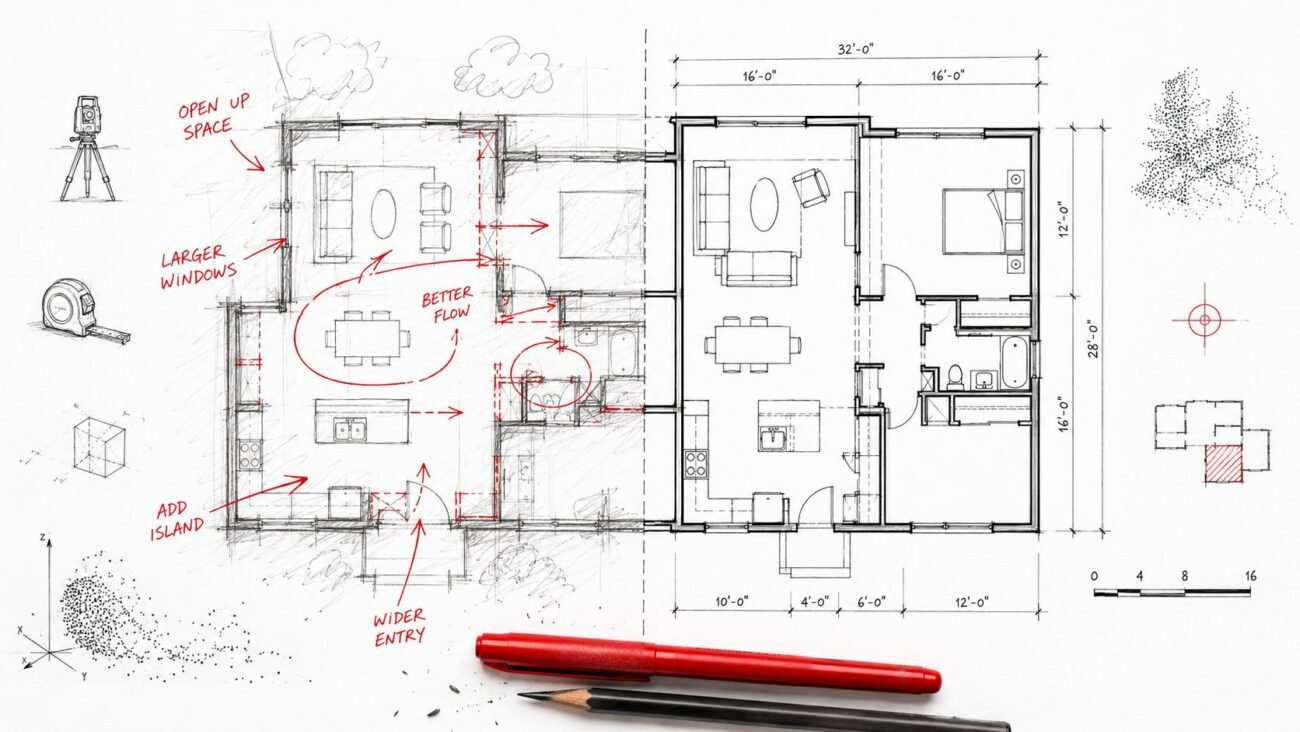
The capture method gets too much credit in most conversations. The deliverable is the model, and the model only becomes useful once the point cloud is built to the right LOD and coordinated to the project's needs. If you over-model, you waste fee. If you under-model, you push ambiguity into the design phase.
Research on scan-vs-BIM validation keeps pointing in the same direction, quality control is still a live issue, and LOD or geometric-information requirements should be defined before capture so teams don't overbuild or underbuild the model (validation research). That's the practical lesson for buyers. The capture data is raw material, not the finished product.
For teams that need the handoff done right, point cloud to Revit work should be scoped like production, not like a side task. BIM Heroes builds from either LiDAR or photogrammetry, uses Revit, ReCap, Leica Cyclone, FARO Scene, and Navisworks, and delivers RVT, IFC, DWG, NWD, and BCF files with LOD 200 to 350 outputs and a deviation report on every model. That's the part that protects schedule, margin, and coordination clarity.
If you're scoping renovation or other existing conditions work, the capture decision matters less than whether the modeling team can convert it into a reliable as-built. The same is true for as-built documentation, because the end user cares about trust, not scanner branding.
Send Us Your Scan Data and We Will Tell You What Fits
Send the data, and we'll tell you whether LiDAR, photogrammetry, or both make sense for the model you need. If you want a free LOD recommendation and pricing within 24 hours, use the Book a Call page and send the scan files over. The right capture choice saves money, but the right modeling handoff is what keeps the project clean.
BIM Heroes turns scan data into coordinated as-built models that your team can use without guessing. If you're comparing scan to BIM options for interiors, renovations, or mixed capture workflows, visit BIM Heroes and send your scan data for a practical LOD recommendation and pricing within 24 hours.