The best architectural rendering software isn't the one with the flashiest features. It’s the one that plugs directly into your firm's production workflow, protects your margins, and makes design decisions clearer. For a team deep in Revit, a direct plugin like Enscape is often the fastest path from model to decision. For a studio chasing absolute photorealism for high-stakes marketing, the pipeline is likely built around a powerhouse like V-Ray. The right choice is always a decision support tool first, an eye-candy generator second.
Rendering as a Decision Support Tool, Not Just a Final Polish
For mature architects, home builders, and design-build firms, the conversation around the best architectural rendering software has evolved. It’s no longer about creating pretty pictures for the portfolio. It’s about embedding a visualization tool into the design-to-production workflow that improves predictability, supports QA processes, and brings operational consistency to every project.
The real pain points we see in the field aren't about render quality—they're about workflow friction. Teams lose billable hours wrestling with heavy models, plugins breaking during a deadline crunch, or designers wasting time on a clunky export-import cycle. These are the hidden costs that eat into margin protection far more than any software license.
From CAD-to-BIM to Integrated Visualization
The evolution from CAD to BIM already transformed how firms manage project data. Integrating rendering directly into the BIM ecosystem is the next logical step in production maturity. The goal is to make visualization a core part of your QA process and a key decision checkpoint, not an isolated task performed at the end.
This requires software that complements your core production environment, whether that’s Revit, ArchiCAD, or another platform. We’ve seen teams cut presentation prep time dramatically when their rendering tool aligns with their primary BIM environment. This synergy is crucial for creating scalable delivery pods and preventing costly RFIs during permitting prep. For a deeper dive into this relationship, exploring the fundamentals of BIM and 3D modeling offers essential context.
The most profitable firms don't treat rendering as a separate task. They embed it into their design validation and client communication workflows, using visuals to gain alignment early and often, which drastically reduces late-stage changes.
Ultimately, the best rendering software lets your team validate design intent quickly, communicate with total clarity, and move into documentation with confidence. It’s a tool that supports disciplined templates, curated asset libraries, and a unified workflow—producing visuals faster and with far fewer revisions.
Comparing Top Rendering Tools Through a Production Workflow Lens
Choosing the right rendering software is a hard-nosed operational decision, not an artistic one. The right tool must integrate cleanly into your BIM workflows, accelerate decision checkpoints, and protect project margins with predictable, consistent results.
Let’s cut through the marketing hype and analyze the top rendering tools for architects based on production speed, workflow impact, and client clarity. The goal is to find the platform that solves your firm’s specific bottlenecks, not just the one that makes the prettiest picture. This is critical as the market grows; the global 3D rendering software space is booming, with forecasts from sources like Grand View Research predicting major expansion. That competition forces us to ask tough questions about which tools are truly built for a professional AEC workflow.
Enscape: The Champion of Real-Time BIM Integration
Enscape is a staple in production-focused firms for one reason: it lives inside your design software. As a direct plugin for tools like Revit, SketchUp, and ArchiCAD, it eliminates the clumsy export-import cycle that grinds other rendering pipelines to a halt.
For any firm centered on a BIM workflow, this is a game-changer. Every change made in the Revit model—moving a wall, swapping a material—appears instantly in the Enscape window. This live-sync capability turns rendering from a final presentation step into a dynamic design validation tool.
This tight integration is invaluable for internal design reviews and client feedback sessions. You can clarify design intent and prevent RFIs long before documentation begins. The trade-off is that while the quality is excellent for most day-to-day needs, it’s not designed to compete with the bespoke photorealism of an offline renderer like V-Ray. Enscape is built for production speed and clarity first.
Workflow Takeaway: Enscape is the best choice for firms that prioritize iteration speed and seamless BIM integration above all else. It’s a production machine designed to improve clarity and accelerate decisions within an existing Revit-centric workflow.
Twinmotion and Lumion: The Scene-Building Specialists
Twinmotion and Lumion are standalone applications that excel at quickly building rich, atmospheric scenes around your imported models. Their strength lies in their massive, drag-and-drop asset libraries—realistic trees, animated people, cars, and environmental effects.
- Twinmotion: Backed by Epic Games, its Unreal Engine foundation provides serious real-time performance. The intuitive interface allows designers to create compelling animations and fly-throughs with dynamic weather and lighting.
- Lumion: For years, Lumion has been the go-to for architects needing high-quality visuals without a steep learning curve. The workflow is simple: import your model, populate the scene from its vast library, apply pre-set effects, and render.
The key difference from Enscape is that you are working in a separate environment. While live-syncing has improved, it's still an extra step. This gives you more creative freedom for scene composition—ideal for client-facing marketing materials—but adds a layer to the production pipeline.
V-Ray: The Standard for Photorealistic Control
V-Ray is an industry institution. For firms needing absolute photorealistic quality for marketing collateral or high-stakes client approvals, V-Ray remains the undisputed king. As a plugin for apps like 3ds Max and Rhino, it offers granular control over every detail of lighting, materials, and camera physics.
That power, however, comes with a steep learning curve and a more deliberate, offline rendering process. V-Ray is a specialist's tool. It’s not built for the instant feedback of real-time architectural rendering engines but for planned, high-fidelity output where every pixel matters. For firms with dedicated visualization teams, a V-Ray pipeline is non-negotiable, and its scalability makes it a fit for complex projects. Its features also share common ground with other specialized tools, such as professional interior design software.
D5 Render: The Modern Real-Time Contender
D5 Render is a newer player that blends the speed of real-time rendering with the quality of ray tracing. It’s a standalone app with live-sync plugins for most major modeling tools, offering a workflow similar to Lumion or Twinmotion but with a strong focus on photorealistic lighting and material effects.
Its advantage is its balance. D5 produces visual quality that gets surprisingly close to offline renderers but with the interactive speed of a real-time engine. This makes it a compelling option for firms wanting higher-quality output without committing to the slower, more complex workflow of a tool like V-Ray.
Architectural Rendering Software Workflow Compatibility Matrix
This table breaks down how these top rendering tools fit into the production workflows of architectural and design firms, based on the criteria that matter in the field.
| Software | Primary BIM Integration (e.g., Revit) | Best Use Case | Learning Curve & Skill Required | Iteration Speed & Real-Time Sync |
|---|---|---|---|---|
| Enscape | Excellent (Direct Plugin) | Internal design reviews, rapid iteration, and real-time client feedback sessions. | Low. Intuitive for designers already in the BIM environment. | Instant. Changes in the BIM model appear in real-time. |
| Twinmotion | Good (Live Link) | Creating immersive environments, animations, and marketing visuals quickly. | Low. Very user-friendly with a drag-and-drop interface. | Fast. Live link syncs changes, but it's a separate application. |
| Lumion | Good (Live Link) | High-quality marketing renders and fly-throughs with a focus on scene composition. | Low-Medium. Easy to learn the basics, with depth for advanced users. | Fast. Live sync is effective, but requires managing two programs. |
| V-Ray | Good (Plugin for Host App) | Ultimate photorealism for high-stakes marketing, competitions, and final client approvals. | High. Requires specialized knowledge in lighting, materials, and rendering settings. | Slow (Offline). Designed for deliberate, high-fidelity output, not instant feedback. |
| D5 Render | Good (Live Link) | High-quality real-time visualization that balances speed with photorealistic ray tracing. | Medium. More technical than Lumion/Twinmotion but less complex than V-Ray. | Fast. Live link provides a responsive workflow between modeler and renderer. |
Ultimately, the choice between these powerful Revit rendering plugins and standalone tools comes down to your firm’s operational DNA. Do you live by rapid iteration inside BIM, or is final image quality paramount? The best architectural rendering software is the one that aligns with your business model and gives you the clarity to keep projects moving forward.
Matching Rendering Software to Your Firm's Business Model
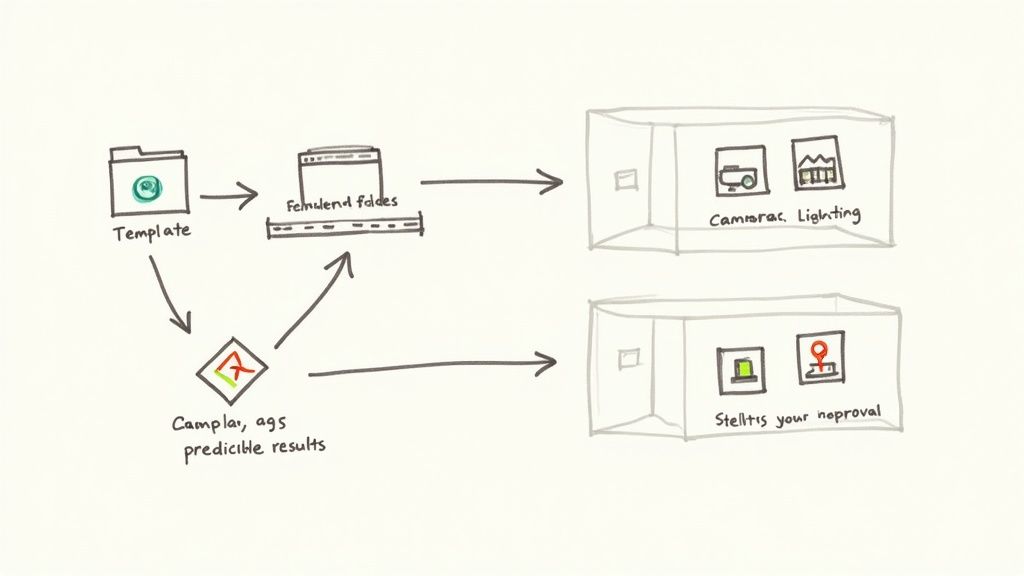
A one-size-fits-all approach to rendering software is a path to lost margins. The best architectural rendering software is the tool that fits your firm's specific business model, team structure, and delivery methods. This is a strategic decision that impacts everything from pre-design clarity to final permitting prep.
A small, agile practice thrives on rapid iteration and needs a tool that moves at the speed of conversation. A large enterprise with scalable delivery pods requires a system built on template discipline and robust asset management. The core idea is simple: match the tool to the job.
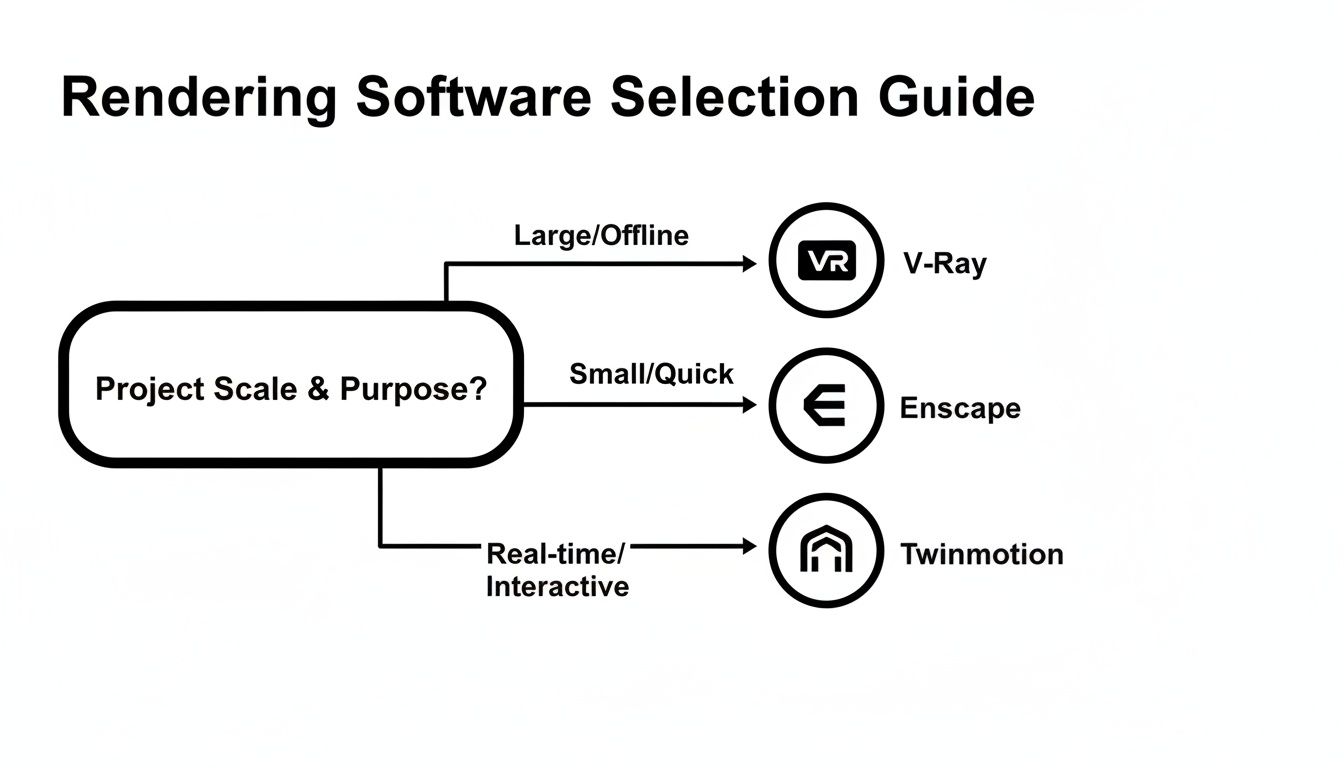
As the flowchart shows, project scale and the need for real-time feedback create distinct pathways, pointing toward specialized tools for each scenario.
Agile Practices and Interior Design Firms
For smaller firms and interior designers, speed and simplicity are paramount. The ability to translate an idea from a Revit model into a compelling visual in real-time is a massive competitive advantage. These teams don't have dedicated visualization specialists or long rendering queues.
- Priority: Fast iteration cycles and direct BIM integration.
- Workflow Impact: Rendering becomes a real-time design validation tool, not a final presentation step.
- Recommended Tools: Enscape is the standout here due to its live-sync capability. For interior designers needing extensive material and furniture libraries, D5 Render and Twinmotion offer a fantastic balance of speed and asset availability.
We've seen teams cut client presentation prep time in half when their rendering tool is treated as a direct extension of their primary BIM environment. This prevents misunderstandings and accelerates the decision-making checkpoints.
Large Enterprise Firms and Production Pods
Large-scale practices run on systems. Consistency, predictability, and scalability are the metrics that matter. The rendering workflow must support template discipline, centralized asset libraries, and clear QA processes that can be replicated across multiple delivery pods.
Here, the software must handle immense model complexity and support a structured, offline pipeline for high-stakes marketing and client approvals.
- Priority: Photorealistic quality, granular control, and network rendering capabilities.
- Workflow Impact: Visualization is a planned stage gate in the project, ensuring brand standards and quality control.
- Recommended Tools: V-Ray remains the industry standard. Its power, combined with distributed rendering options, allows large firms to build a reliable and scalable production machine. A deep understanding of BIM modeling best practices is essential for prepping complex models for this type of pipeline.
Volume Home Builders
Volume builders face a unique challenge: producing a high volume of repeatable, high-quality visuals from standardized models. Their business model depends on using templates to create variations—like material packages or facade options—quickly and cost-effectively.
- Priority: Template-driven workflows and extensive asset libraries for exteriors.
- Workflow Impact: Rendering becomes an assembly line where standardized components generate marketing collateral.
- Recommended Tools: Lumion excels in this environment. Its massive library and intuitive scene-building tools let teams quickly stage and render variations from a base model, protecting margins through repetition and speed.
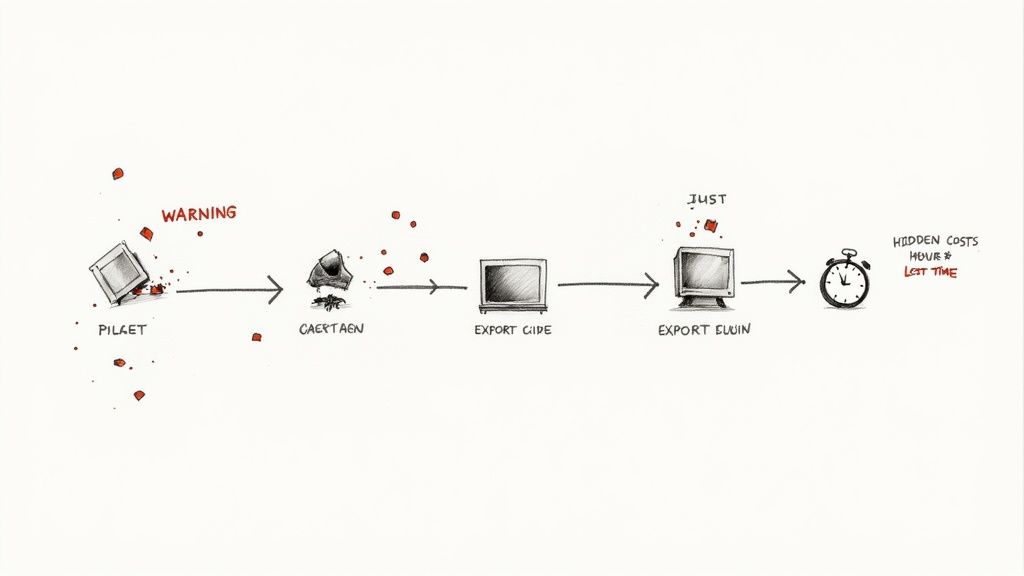
The Hidden Costs of a Disconnected Rendering Pipeline
The biggest hit to your firm’s bottom line isn't the software license fee—it’s the operational drag from a disconnected rendering pipeline. A tool that doesn’t integrate cleanly with your primary design software creates friction that quietly erodes project profits.
Every manual export from Revit, every re-linked material, and every hour spent troubleshooting a broken plugin is a direct cost. We’ve seen teams lose entire days syncing a standalone rendering model with BIM updates before a client deadline. That chaos undermines the predictable workflows you’ve worked to build.
The Ripple Effect of Inefficiency
A fragmented process breeds inconsistencies that derail client communication and lead to expensive rework. When designers use different asset libraries or lighting setups, visuals look different from one presentation to the next. This lack of a single source of truth confuses stakeholders and weakens their confidence.
A disconnected rendering pipeline is a tax on every project. It forces your most skilled designers to become data managers, fixing broken links and chasing model updates instead of solving design problems.
From Manual Labor to Margin Protection
An integrated rendering tool is an investment in operational consistency. When your rendering software acts as a direct extension of your BIM environment, you eliminate the manual labor that drains resources. Instead of exporting and importing, your team can focus on validating design decisions, preventing RFIs, and preparing for permitting.
This alignment also makes it easier to standardize your outputs with disciplined templates and a unified asset library. That predictability is the bedrock of a scalable delivery model. For firms struggling with this, understanding the pros and cons of outsourcing rendering services can offer a valuable framework for either building an in-house system or finding a partner.
Ultimately, the goal is to turn rendering into a seamless part of your production system. The best architectural rendering software is the one that makes this possible, protecting your team’s time, your project’s clarity, and your firm’s profitability.
Building a Standardized Workflow for Predictable Results
Picking the right software is just the first step. True efficiency comes from disciplined implementation. The best architectural rendering software is only as good as the production system you build around it. Without a standardized workflow, even powerful tools lead to inconsistent outputs and unpredictable results.
Mature firms don’t just buy software; they build a production pipeline. This means integrating rendering into your design and documentation process, turning it from a potential bottleneck into a powerful decision-making tool that helps prevent RFIs and secure client approvals.
Enforcing Template Discipline
The foundation of any scalable rendering workflow is template discipline. Letting individual designers set up lighting, cameras, and output settings from scratch on every project is a recipe for chaos. A solid template system ensures every rendering starts from a proven, pre-configured baseline.
- Lighting Templates: Establish standard HDRI environments and sun settings for common scenarios.
- Camera Settings: Create pre-set camera views with specific focal lengths that match your firm’s visual style.
- Output Formats: Standardize resolutions, file types, and naming conventions.
This isn't about killing creativity. It’s about building a reliable foundation so your team can focus on design, not technical grunt work.
Developing a Centralized Asset Library
One of the biggest time-sinks in any rendering pipeline is the hunt for quality assets. A centralized, curated asset library is non-negotiable for efficiency. This single source of truth ensures everyone uses the same approved models—from furniture to material swatches—that meet your quality standards. A report from Architect Magazine notes that effective digital asset management drastically cuts time spent searching for files, which directly boosts productivity.
The discipline of maintaining a clean, curated asset library pays for itself almost immediately. It prevents last-minute scrambles and improves visual consistency by ensuring everyone pulls from the same set of high-quality, pre-approved components.
Establishing QA and Decision Checkpoints
Finally, a mature workflow embeds rendering into key project milestones as a formal QA process and decision checkpoint. Visualization becomes a core tool for validating design intent with all stakeholders before you move into costly documentation phases.
These checkpoints should be formal meetings where renderings are used to:
- Validate Design Intent: Ensure the 3D visualization matches 2D plans and client expectations.
- Align Stakeholders: Give clients a clear, unambiguous view of the project to get everyone on the same page.
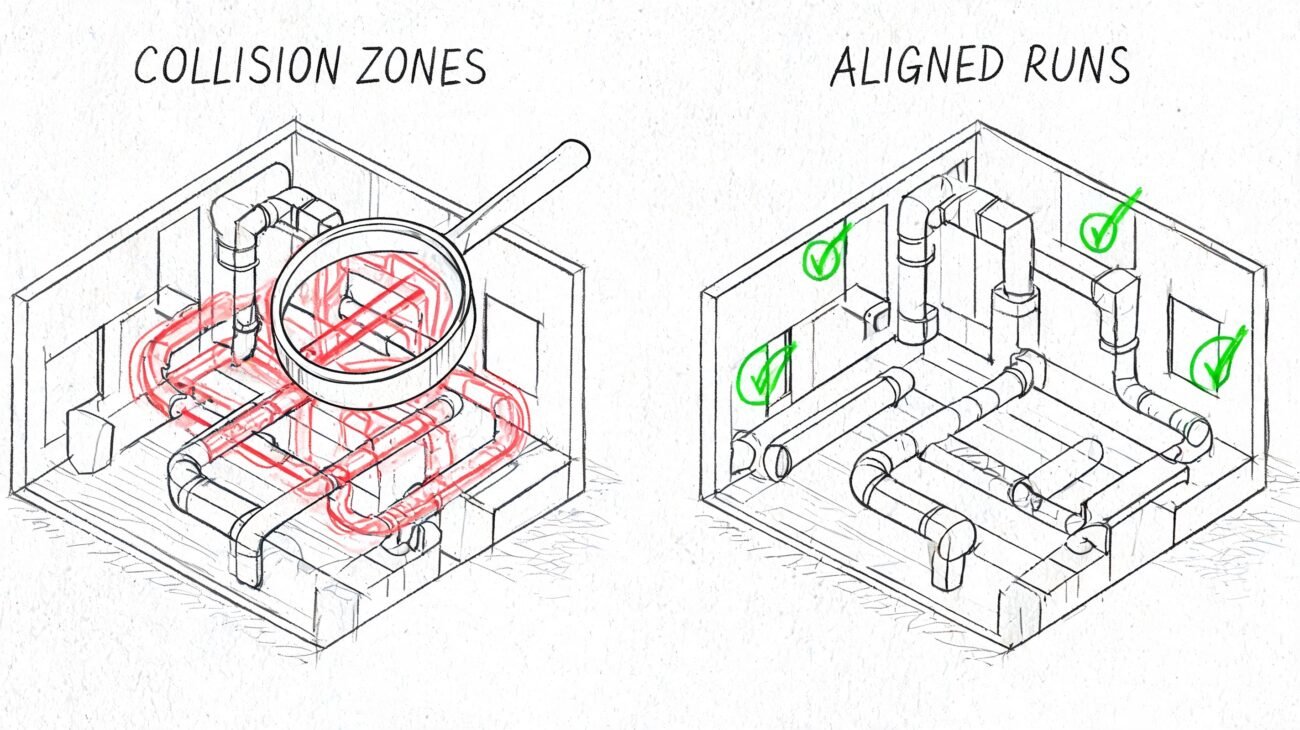
- Prevent RFIs: Catch potential construction issues in the visual model that might be missed on paper.
By making visualization a core part of your production system, you turn real-time architectural rendering into a powerful tool for clarity, risk reduction, and operational excellence.
Future-Proofing Your Firm’s Visualization Strategy
The world of architectural rendering is moving fast. Real-time engines, cloud services, and AI-driven tools are now practical production realities. Choosing the best architectural rendering software isn't just about what works today; it's about picking a platform that allows your firm to adapt without disrupting your core workflows.
A software choice that grows with you means looking beyond the feature list to see if a vendor is genuinely committed to solving AEC problems. The goal is to adopt new technology strategically, not just chase the latest shiny object.
The Impact of Cloud Rendering and AI on Production
The shift to cloud and AI is changing the economics of visualization. It's clear the industry is moving away from local, hardware-locked rendering toward services that bundle collaboration and AI acceleration.
- Hardware Independence: Cloud rendering takes the heavy lifting off your local workstations, extending hardware life and giving the entire team access to high-end rendering. For more on this, check out our guide on the best cloud rendering platforms for architects.
- AI-Powered Efficiency: Features like AI denoising and automated scene population chew through repetitive tasks, freeing up your team to focus on design intent.
As rendering software evolves, firms should also consider the broader impact of generative AI on digital content creation to understand how these tools fit into a mature production system.
Aligning Technology with Timeless Principles
Despite rapid technological change, the core principle remains: the best tools clarify design intent and smooth the path to production. Whether you’re using a real-time architectural rendering engine or a cloud platform, the software must serve your firm’s goal of delivering clear, predictable, and profitable projects.
No matter how advanced the technology gets, its value is measured by how well it helps you and your clients make better decisions, faster. A tool that creates confusion or breaks your workflow—no matter how impressive its output—is a liability.
Future-proofing your visualization strategy isn’t about buying the newest software. It’s about building a flexible, disciplined system around a tool that aligns with your BIM workflows, supports your QA processes, and empowers your team to communicate with absolute clarity.
At BIM Heroes, we believe the right technology should support a robust, predictable production system. If you're looking to refine your firm's rendering pipeline, our complimentary Rendering Workflow Checklist can help you identify opportunities for greater efficiency and clarity.